
DIY plastic garden projects are not just a trendy way to spend a weekend; they’re a fantastic solution for anyone looking to embrace the joys of gardening without breaking the bank or needing acres of land! Have you ever looked at your overflowing recycling bin and thought, “There has to be a better use for all this plastic?” Well, you’re in luck! For centuries, resourceful gardeners have found innovative ways to repurpose materials, and today, we’re taking that tradition to the next level with readily available plastic.
From ancient civilizations using clay pots to modern urban dwellers transforming plastic bottles into vertical gardens, the spirit of making the most of what you have has always been at the heart of gardening. But why should you jump on the DIY plastic garden bandwagon? Simple: it’s eco-friendly, budget-friendly, and surprisingly effective. In this article, I’m going to share some of my favorite DIY tricks and hacks to help you create a thriving garden using recycled plastic. Whether you’re a seasoned gardener or just starting out, these projects will inspire you to see plastic in a whole new light and transform your space into a green oasis.
Creating Your Own Upcycled Plastic Bottle Garden
Hey there, fellow garden enthusiasts! I’m so excited to share this super fun and eco-friendly DIY project with you: building a garden using recycled plastic bottles. Not only is it a fantastic way to reduce waste, but it also allows you to create a unique and visually appealing garden space, even if you’re short on space or budget. Trust me, it’s easier than you think, and the results are incredibly rewarding. Let’s dive in!
What You’ll Need
Before we get started, let’s gather all the necessary materials. This will make the process smoother and more enjoyable.
* Plastic Bottles: The star of the show! Collect as many plastic bottles as you can. Different sizes and shapes will add visual interest to your garden. Think soda bottles, water bottles, juice containers – anything goes! Just make sure they’re clean and dry.
* Scissors or a Utility Knife: For cutting the plastic bottles. Be careful and always use appropriate safety measures.
* Soil: Choose a good quality potting mix that’s suitable for the plants you intend to grow.
* Plants or Seeds: Select your favorite herbs, vegetables, flowers, or succulents. Consider the amount of sunlight your garden will receive when making your choices.
* Drill or Nail and Hammer: To create drainage holes in the bottles.
* String, Wire, or Zip Ties: For hanging or connecting the bottles.
* Gloves: To protect your hands while working with soil and plastic.
* Optional: Paint and Brushes: To decorate your bottles and add a personal touch.
* Optional: Measuring Tape or Ruler: To ensure consistent spacing and alignment.
* Optional: Sandpaper: To smooth out any rough edges after cutting the bottles.
Preparing the Plastic Bottles
This is a crucial step, so let’s take our time and do it right.
1. Clean the Bottles: Thoroughly wash each bottle with soap and water to remove any residue. Rinse them well and let them dry completely. This will prevent mold and bacteria growth.
2. Remove Labels: Peel off the labels as best as you can. If they’re stubborn, try soaking the bottles in warm, soapy water for a while. You can also use a scraper or adhesive remover to get rid of any sticky residue.
3. Cut the Bottles: Decide how you want to cut your bottles. There are several options:
* Horizontal Cut: Cut the bottle horizontally, about halfway down, to create a trough-like planter. This is great for herbs, succulents, and shallow-rooted plants.
* Vertical Cut: Cut a rectangular or square opening in the side of the bottle, leaving the top and bottom intact. This is suitable for larger plants with deeper root systems.
* Hanging Planters: Cut the bottom off the bottle completely and invert it to create a hanging planter. You’ll need to create a system for suspending it.
I personally prefer the horizontal cut for most of my herbs and smaller flowers. It’s simple and effective.
4. Smooth the Edges (Optional): After cutting, the edges of the plastic can be sharp. Use sandpaper to smooth them out and prevent any accidental cuts. This is especially important if you have kids or pets around.
5. Create Drainage Holes: Use a drill or a nail and hammer to create drainage holes in the bottom of each bottle. This is essential to prevent waterlogging and root rot. I usually make 3-4 small holes in each bottle.
Building Your Garden
Now for the fun part – putting it all together!
1. Choose Your Garden Style: Decide how you want to arrange your plastic bottle garden. Here are a few ideas:
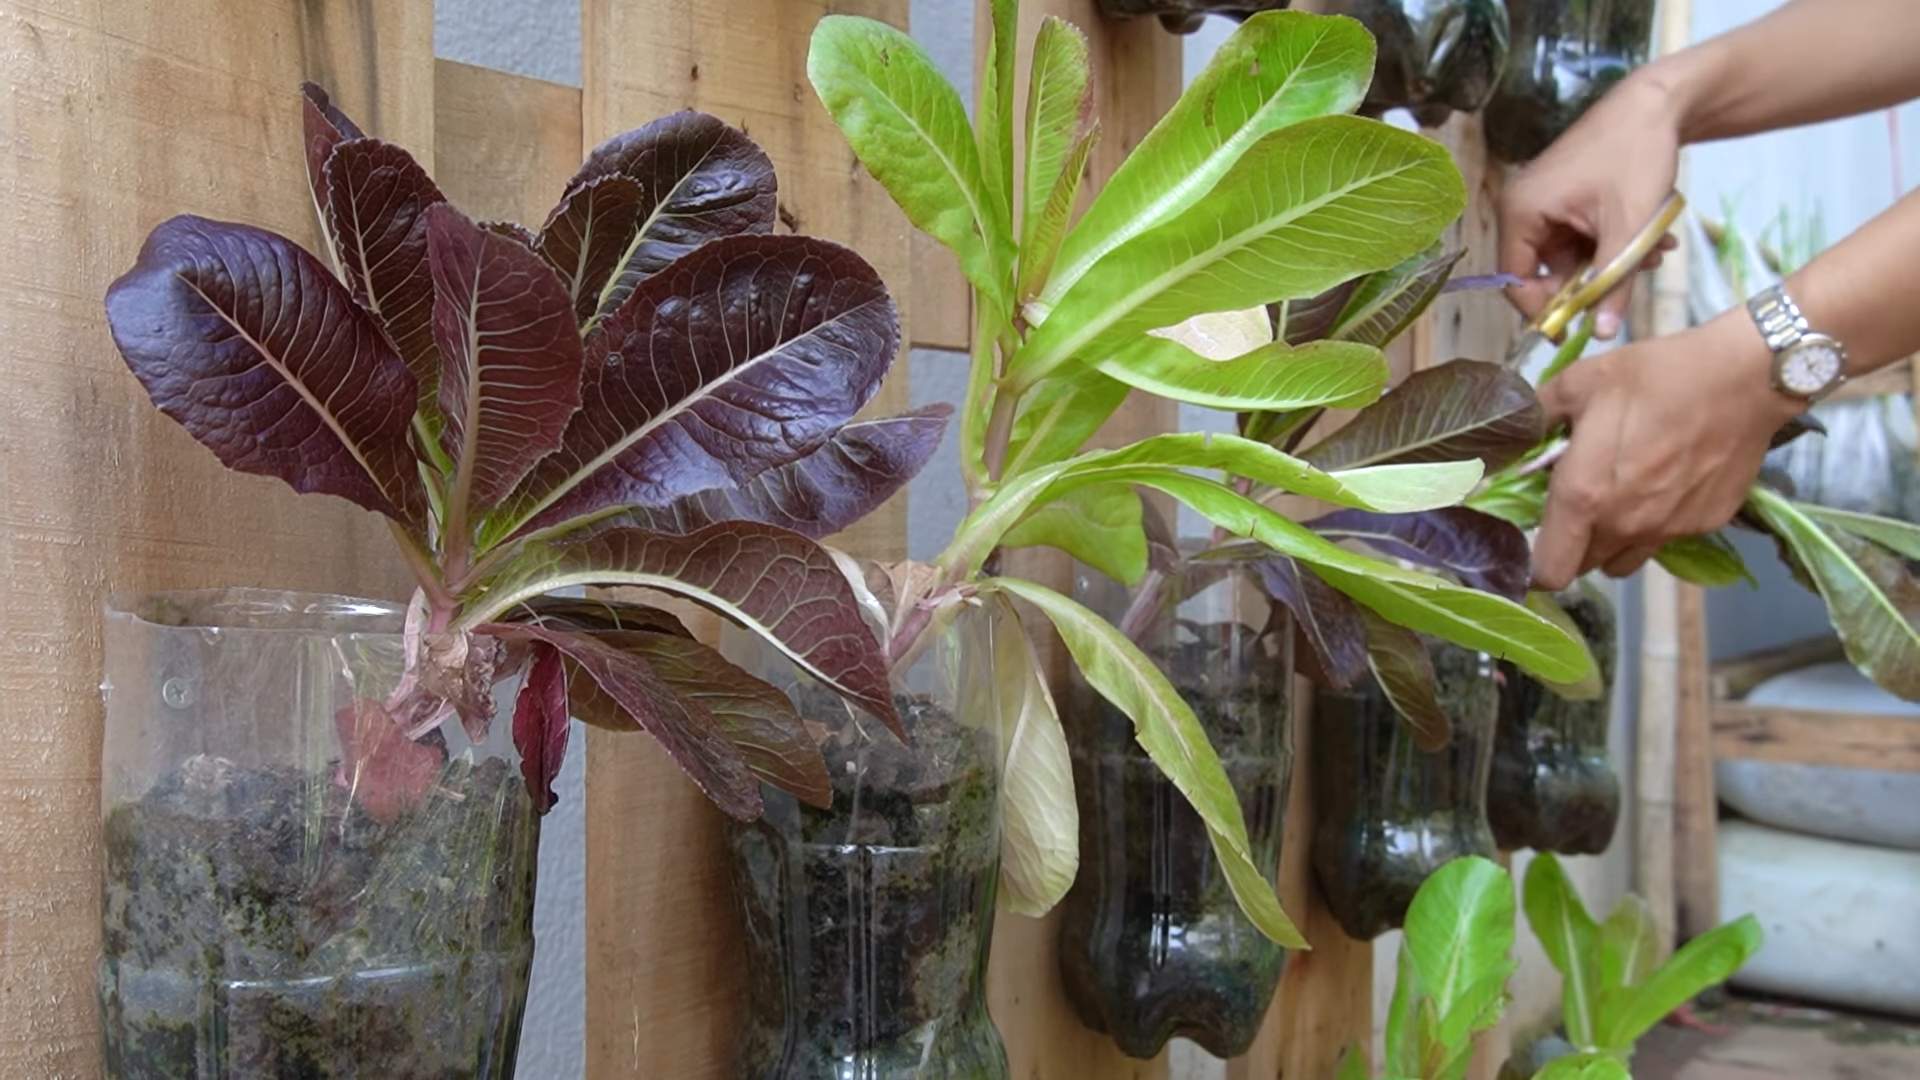
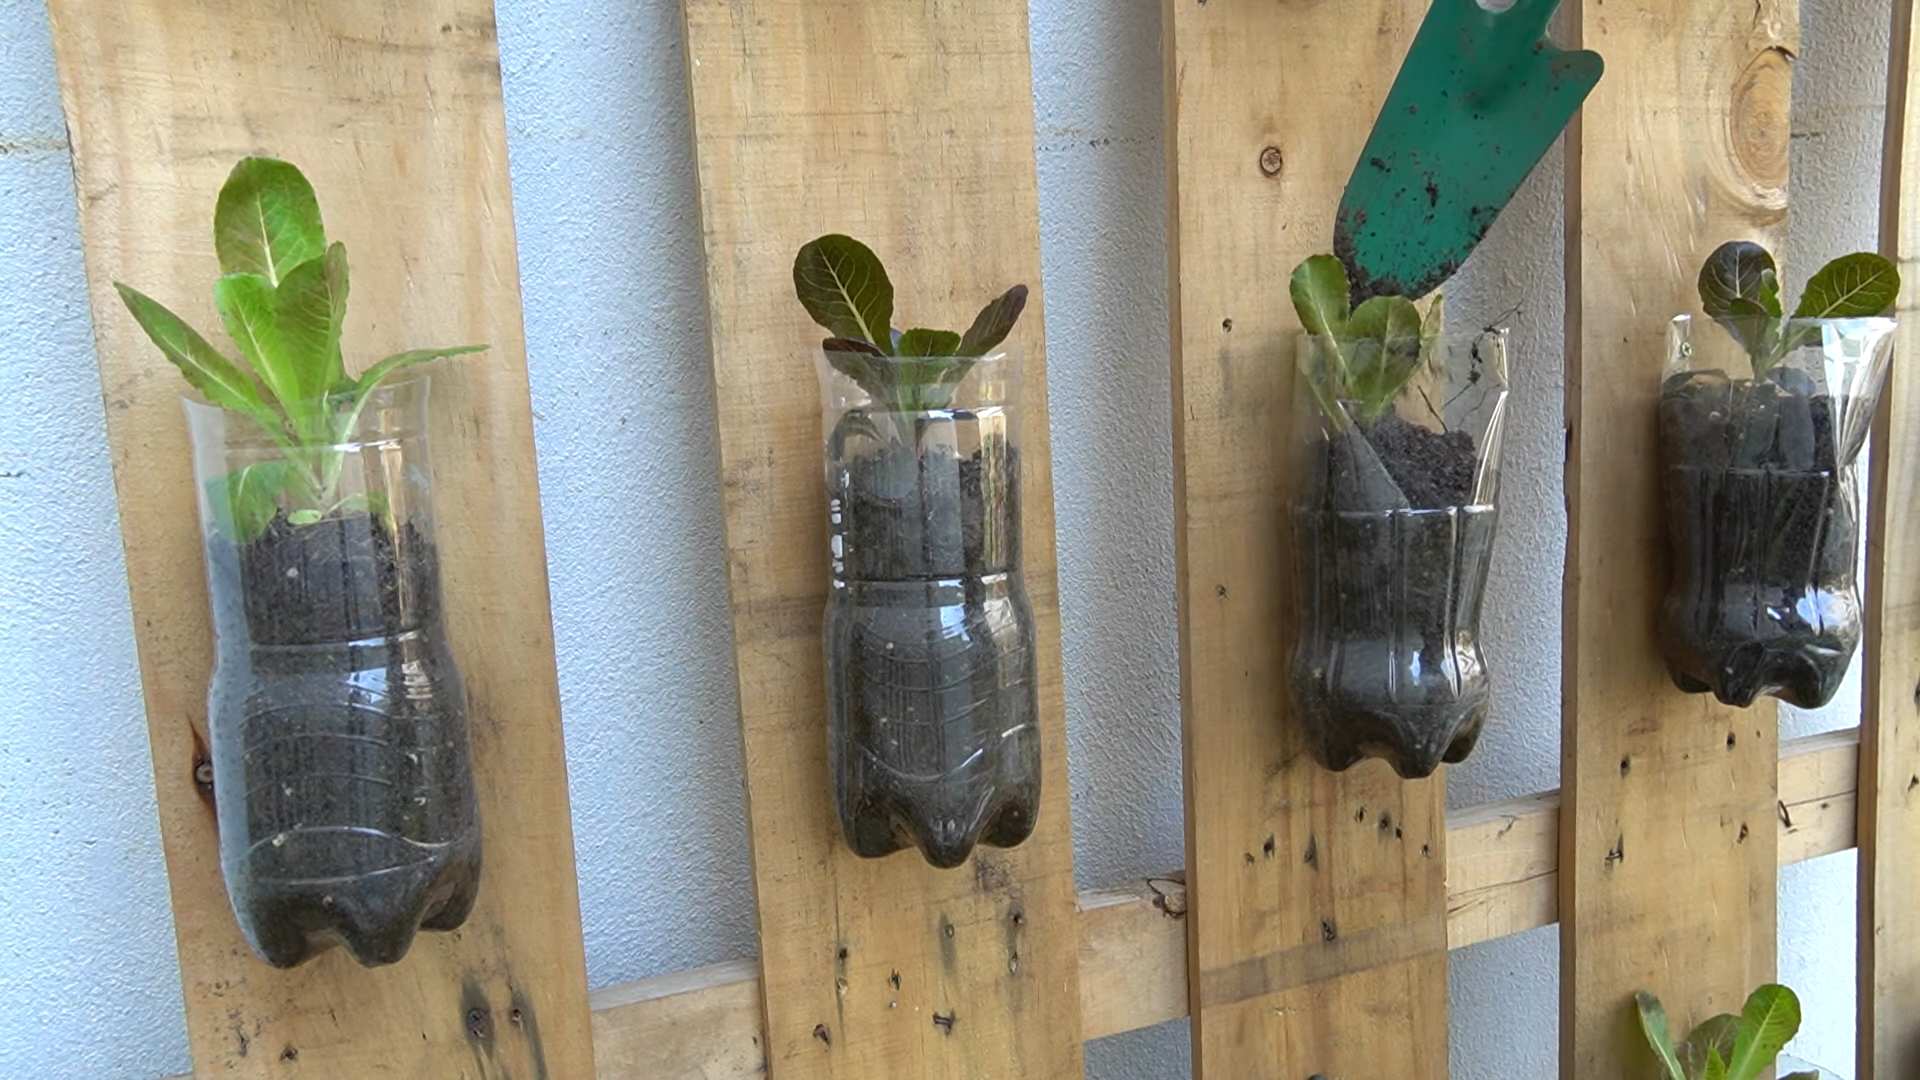
* Vertical Garden: Hang the bottles on a wall, fence, or balcony railing using string, wire, or zip ties. This is a great space-saving option.
* Stacked Garden: Stack the bottles on top of each other to create a tiered garden. This adds height and visual interest.
* Hanging Garden: Suspend the bottles from the ceiling or a sturdy branch to create a whimsical hanging garden.
* Ground Garden: Arrange the bottles on the ground in rows or patterns. This is a simple and straightforward option.
I’ve tried all of these, and my favorite is the vertical garden. It’s so visually appealing and makes the most of limited space.
2. Decorate the Bottles (Optional): If you want to add a personal touch, paint the bottles with bright colors, patterns, or designs. Use acrylic paint that’s suitable for plastic. Let the paint dry completely before moving on to the next step.
3. Add Soil: Fill each bottle with potting mix, leaving about an inch of space at the top. Gently pat down the soil to remove any air pockets.
4. Plant Your Plants or Seeds: Carefully plant your chosen plants or seeds in the soil. Follow the instructions on the seed packet or plant label for proper spacing and depth.
5. Water Your Garden: Water your garden thoroughly after planting. Make sure the water drains out of the drainage holes.
6. Position Your Garden: Place your garden in a location that receives the appropriate amount of sunlight for your plants. Most herbs and vegetables need at least 6 hours of sunlight per day.
7. Maintain Your Garden: Water your garden regularly, fertilize as needed, and prune your plants to keep them healthy and thriving.
Specific Garden Styles: Detailed Instructions
Let’s delve into some specific garden styles with more detailed instructions.
Vertical Plastic Bottle Garden
This is my personal favorite!
1. Prepare the Bottles: Follow the steps in the “Preparing the Plastic Bottles” section. I recommend using horizontal cuts for this style.
2. Create Hanging Points: Drill two small holes on either side of the bottle, near the top. These holes will be used to thread the string or wire for hanging.
3. Attach Hanging Material: Cut lengths of string, wire, or zip ties. Thread them through the holes and tie them securely. Make sure the lengths are consistent so the bottles hang evenly.
4. Attach to Wall or Fence: Hang the bottles on a wall, fence, or balcony railing. You can use hooks, nails, or screws to secure them.
5. Arrange the Bottles: Arrange the bottles in a visually appealing pattern. You can create rows, columns, or a staggered design.
6. Add Soil and Plants: Fill the bottles with soil and plant your chosen plants.
7. Water and Maintain: Water your garden regularly and maintain it as needed.
Stacked Plastic Bottle Garden
This adds height and visual interest.
1. Prepare the Bottles: Follow the steps in the “Preparing the Plastic Bottles” section. I recommend using vertical cuts for this style.
2. Create a Base: Choose a sturdy base for your stacked garden. This could be a wooden pallet, a large pot, or even a stack of bricks.
3. Stack the Bottles: Stack the bottles on top of each other, creating a tiered effect. You can use glue or adhesive to secure them together, but it’s not always necessary.
4. Fill with Soil and Plants: Fill each bottle with soil and plant your chosen plants.
5. Water and Maintain: Water your garden regularly and maintain it as needed.
Hanging Plastic Bottle Garden
For a whimsical touch!
1. Prepare the Bottles: Follow the steps in the “Preparing the Plastic Bottles” section. Cut the bottom off the bottle completely and invert it.
2. Create Suspension System: Drill three or four small holes around the top of the bottle. These holes will be used to thread the string or wire for hanging.
3. Attach Hanging Material: Cut lengths of string, wire, or chain. Thread them through the holes and tie them securely. Gather the ends together and create a loop for hanging.
4. Hang the Bottles: Hang the bottles from the ceiling, a sturdy branch, or a hanging plant stand.
5. Add Soil and Plants: Fill the bottles with soil and plant your chosen plants. You may need to use a liner (like burlap or coconut coir) to prevent soil from falling out.
6. Water and Maintain: Water your garden regularly and maintain it as needed.
Tips and Tricks for Success
Here are a few extra tips to help you create a thriving plastic bottle garden:
* Choose the Right Plants: Consider the amount of sunlight your garden will receive and choose plants that are well-suited to those conditions.
* Use Good Quality Soil: Don’t skimp on the soil! Use a good quality potting mix that’s rich in nutrients.
* Water Regularly: Water your garden regularly, especially during hot weather. Check the soil moisture before watering to avoid overwatering.
Conclusion
So, there you have it! Transforming discarded plastic into a thriving garden isn’t just a clever upcycling project; it’s a powerful statement about sustainability and resourcefulness. This DIY plastic garden method offers a multitude of benefits, from reducing landfill waste and saving money to creating a unique and personalized outdoor space. It’s a win-win for you and the environment.
But why is this DIY trick a must-try? Beyond the obvious environmental advantages, consider the sheer versatility. You’re not limited to a specific size or shape. Need a vertical garden for your balcony? Plastic bottles are your answer. Want raised beds for easier gardening? Stacked and secured plastic containers can do the trick. The possibilities are truly endless, limited only by your imagination and the amount of plastic you can collect.
Furthermore, this method is incredibly accessible. You don’t need specialized tools or extensive gardening knowledge. Even beginners can successfully create a beautiful and productive garden using recycled plastic. It’s a fantastic way to introduce children to gardening and teach them about the importance of recycling and environmental responsibility.
Looking for variations? Consider these ideas:
* Herb Spiral from Plastic Bottles: Cut plastic bottles in half and arrange them in a spiral shape, filling each layer with soil and planting different herbs. The spiral design maximizes sunlight exposure and drainage.
* Self-Watering Planters: Create self-watering planters by inverting a plastic bottle inside another, using the top half as a reservoir and the bottom half as the planting container. This is perfect for busy gardeners or those who tend to forget to water their plants.
* Vertical Strawberry Tower: Stack plastic containers with holes cut into the sides, filling them with soil and planting strawberry plants in each hole. This creates a stunning and space-saving strawberry tower.
* Color-Coded Planting: Use different colored plastic containers to organize your garden by plant type or family. This not only looks visually appealing but also helps with garden management.
* Plastic Bottle Greenhouse: For the ambitious gardener, consider building a small greenhouse using hundreds of plastic bottles. This provides a protected environment for seedlings and extends the growing season.
Don’t be afraid to experiment and personalize your DIY plastic garden. Try different types of plants, different container arrangements, and different decorative elements. Add paint, mosaics, or other embellishments to make your garden truly unique.
We wholeheartedly encourage you to give this DIY trick a try. It’s a rewarding and sustainable way to create a beautiful and productive garden. And most importantly, we want to hear about your experience! Share your photos, tips, and challenges in the comments below. Let’s inspire each other to create a greener and more sustainable world, one plastic bottle at a time. Your journey to a thriving, eco-friendly garden starts now! Show us your creations and let’s build a community of resourceful gardeners.
Frequently Asked Questions (FAQ)
What types of plastic are safe to use for a DIY plastic garden?
The best types of plastic to use are those labeled with recycling codes #1 (PET or PETE), #2 (HDPE), and #5 (PP). These plastics are generally considered food-safe and are less likely to leach harmful chemicals into the soil. Avoid using plastics labeled with #3 (PVC), #6 (PS), and #7 (Other), as these may contain harmful chemicals that can contaminate your plants and soil. Always thoroughly clean any plastic containers before using them for gardening. If you are concerned about leaching, consider lining the containers with a food-grade plastic liner or using a layer of organic material, like coconut coir, between the plastic and the soil.
How do I prepare plastic containers for planting?
First, thoroughly wash the plastic containers with soap and water to remove any dirt, debris, or residue. If the containers have labels, try soaking them in warm soapy water to loosen the adhesive. Next, drill drainage holes in the bottom of the containers to prevent waterlogging. The number and size of the holes will depend on the size of the container and the type of plants you’re growing. For larger containers, you may also want to add a layer of gravel or pebbles to the bottom to improve drainage. If you’re using clear plastic containers, consider painting them or covering them with opaque material to prevent algae growth.
What kind of soil should I use for my DIY plastic garden?
Use a high-quality potting mix specifically formulated for container gardening. Avoid using garden soil, as it can become compacted in containers and doesn’t drain well. Look for a potting mix that contains a blend of peat moss, perlite, and vermiculite. You can also add compost to the potting mix to provide extra nutrients for your plants. Consider the specific needs of the plants you’re growing when choosing a potting mix. For example, succulents and cacti prefer a well-draining mix, while acid-loving plants like blueberries require a mix with a lower pH.
How do I water plants in plastic containers?
Water your plants regularly, but avoid overwatering. The frequency of watering will depend on the type of plants you’re growing, the weather conditions, and the size of the containers. Check the soil moisture by sticking your finger into the soil. If the top inch of soil feels dry, it’s time to water. Water deeply, until water drains out of the drainage holes. Avoid watering the foliage, as this can promote fungal diseases. Consider using a watering can with a long spout to reach the soil without wetting the leaves.
How do I fertilize plants in my DIY plastic garden?
Container plants need regular fertilization because the nutrients in the potting mix are quickly depleted. Use a balanced fertilizer specifically formulated for container plants. Follow the instructions on the fertilizer label for application rates and frequency. You can use either a liquid fertilizer or a slow-release granular fertilizer. Liquid fertilizers are applied more frequently but provide a quick boost of nutrients. Slow-release fertilizers provide a steady supply of nutrients over a longer period. Consider using organic fertilizers, such as compost tea or fish emulsion, to provide a more sustainable source of nutrients.
How do I protect my DIY plastic garden from pests and diseases?
Inspect your plants regularly for signs of pests or diseases. Common pests that affect container plants include aphids, spider mites, and whiteflies. You can control these pests with insecticidal soap, neem oil, or horticultural oil. Diseases that can affect container plants include powdery mildew, root rot, and fungal leaf spots. Prevent these diseases by providing good air circulation, avoiding overwatering, and using disease-resistant plant varieties. If you notice signs of disease, remove the affected leaves or plants immediately.
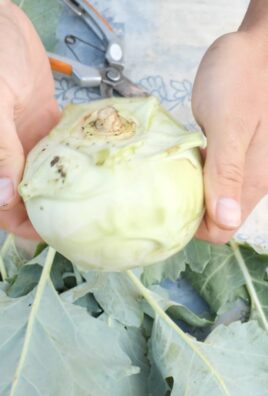
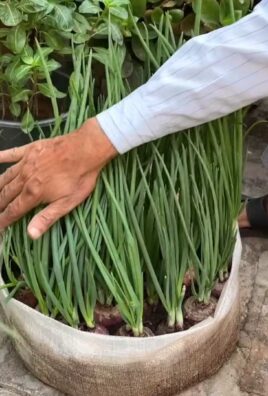
Can I grow vegetables in a DIY plastic garden?
Yes, you can absolutely grow vegetables in a DIY plastic garden! Many vegetables thrive in containers, including tomatoes, peppers, cucumbers, lettuce, and herbs. Choose vegetable varieties that are well-suited for container gardening. Provide adequate sunlight, water, and nutrients for your vegetables. Consider using larger containers for vegetables that have deep roots, such as tomatoes and peppers. Support vining vegetables, such as cucumbers and tomatoes, with trellises or stakes.
How do I overwinter plants in my DIY plastic garden?
The best way to overwinter plants in your DIY plastic garden depends on the hardiness of the plants and your climate. Tender plants that are not frost-tolerant should be brought indoors before the first frost. Place them in a sunny location and water them sparingly. Hardy plants that can tolerate frost can be left outdoors, but they may need some protection. Mulch around the base of the plants to insulate the roots. Wrap the containers with burlap or bubble wrap to protect them from freezing temperatures. Water the plants occasionally during the winter months, but avoid overwatering.

Leave a Comment