
Homemade Floor Shine Solution: Who doesn’t love the gleam of a freshly cleaned floor? But let’s be honest, those store-bought floor cleaners can be harsh on your wallet and sometimes even harsher on the environment. I’ve always been a bit of a DIY enthusiast, and I’ve discovered a secret weapon for achieving that dazzling shine without breaking the bank or compromising on eco-friendliness.
The tradition of using natural ingredients for cleaning dates back centuries. Our grandmothers knew the power of simple, readily available items like vinegar and lemon juice to keep their homes sparkling. They understood that a clean home wasn’t just about appearances; it was about creating a healthy and welcoming space for their families. This knowledge has been passed down through generations, and I’m excited to share my own twist on these time-tested methods.
In today’s busy world, we’re all looking for ways to simplify our lives and save a few dollars. That’s where this homemade floor shine solution comes in. Not only is it incredibly easy to make with ingredients you probably already have in your pantry, but it’s also a fantastic way to reduce your reliance on harsh chemicals. Plus, the satisfaction of creating something yourself is truly rewarding! So, ditch those expensive cleaners and let’s get ready to make your floors shine like never before with this simple, effective, and budget-friendly DIY project!

DIY Floor Shine Solution: Revive Your Floors with Natural Ingredients!
Hey there, fellow DIY enthusiasts! Are your floors looking a little dull and lifeless? Do you cringe every time you see a footprint or smudge? Well, fret no more! I’m going to share my favorite homemade floor shine solution that will have your floors gleaming in no time, and without harsh chemicals! This recipe is not only effective but also eco-friendly and budget-friendly. Let’s get started!
What You’ll Need: The Ingredients
Before we dive into the mixing, let’s gather our supplies. Here’s what you’ll need to create this amazing floor shine solution:
* **White Vinegar:** This is our secret weapon! Vinegar acts as a natural cleaner and disinfectant, cutting through grime and leaving a streak-free shine.
* **Rubbing Alcohol (Isopropyl Alcohol):** This helps the solution dry quickly and prevents streaks.
* **Dish Soap (Gentle, pH-Neutral):** A small amount of dish soap helps to lift dirt and grease. Make sure it’s pH-neutral to avoid damaging your floor.
* **Essential Oil (Optional):** For a pleasant scent, choose your favorite essential oil. Lemon, lavender, or tea tree oil are great options.
* **Water:** Distilled water is best to avoid mineral deposits, but tap water works fine too.
* **Spray Bottle:** A clean spray bottle is essential for easy application.
* **Bucket:** For mixing the solution (if you prefer not to mix directly in the spray bottle).
* **Mop or Microfiber Cloth:** Choose a mop or microfiber cloth suitable for your floor type.
* **Measuring Cups and Spoons:** For accurate measurements.
Choosing the Right Recipe for Your Floor Type
Important Note: Before using any homemade cleaner, always test it on a small, inconspicuous area of your floor to ensure it doesn’t cause any damage or discoloration.
Here are a few variations of the recipe, tailored to different floor types:
* **For Hardwood Floors:**
* 1/2 cup white vinegar
* 1/4 cup rubbing alcohol
* 1 teaspoon pH-neutral dish soap
* 10 drops essential oil (optional)
* 1 gallon of warm water
Important: Hardwood floors are sensitive to moisture. Use a damp mop, not a soaking wet one, and dry the floor immediately after cleaning.
* **For Tile Floors:**
* 1 cup white vinegar
* 1/4 cup rubbing alcohol
* 1 teaspoon pH-neutral dish soap
* 10 drops essential oil (optional)
* 1 gallon of warm water
Note: Tile floors are more durable than hardwood, so you can use a slightly stronger solution.
* **For Laminate Floors:**
* 1/4 cup white vinegar
* 1/4 cup rubbing alcohol
* 1 teaspoon pH-neutral dish soap
* 10 drops essential oil (optional)
* 1 gallon of warm water
Important: Laminate floors are also sensitive to moisture. Use a damp mop and avoid soaking the floor.
* **For Vinyl Floors:**
* 1 cup white vinegar
* 1/4 cup rubbing alcohol
* 1 teaspoon pH-neutral dish soap
* 10 drops essential oil (optional)
* 1 gallon of warm water
Note: Vinyl floors are relatively durable and can handle a stronger cleaning solution.
Step-by-Step Instructions: Making and Using the Floor Shine Solution
Okay, let’s get down to business! Here’s how to make and use this fantastic floor shine solution:
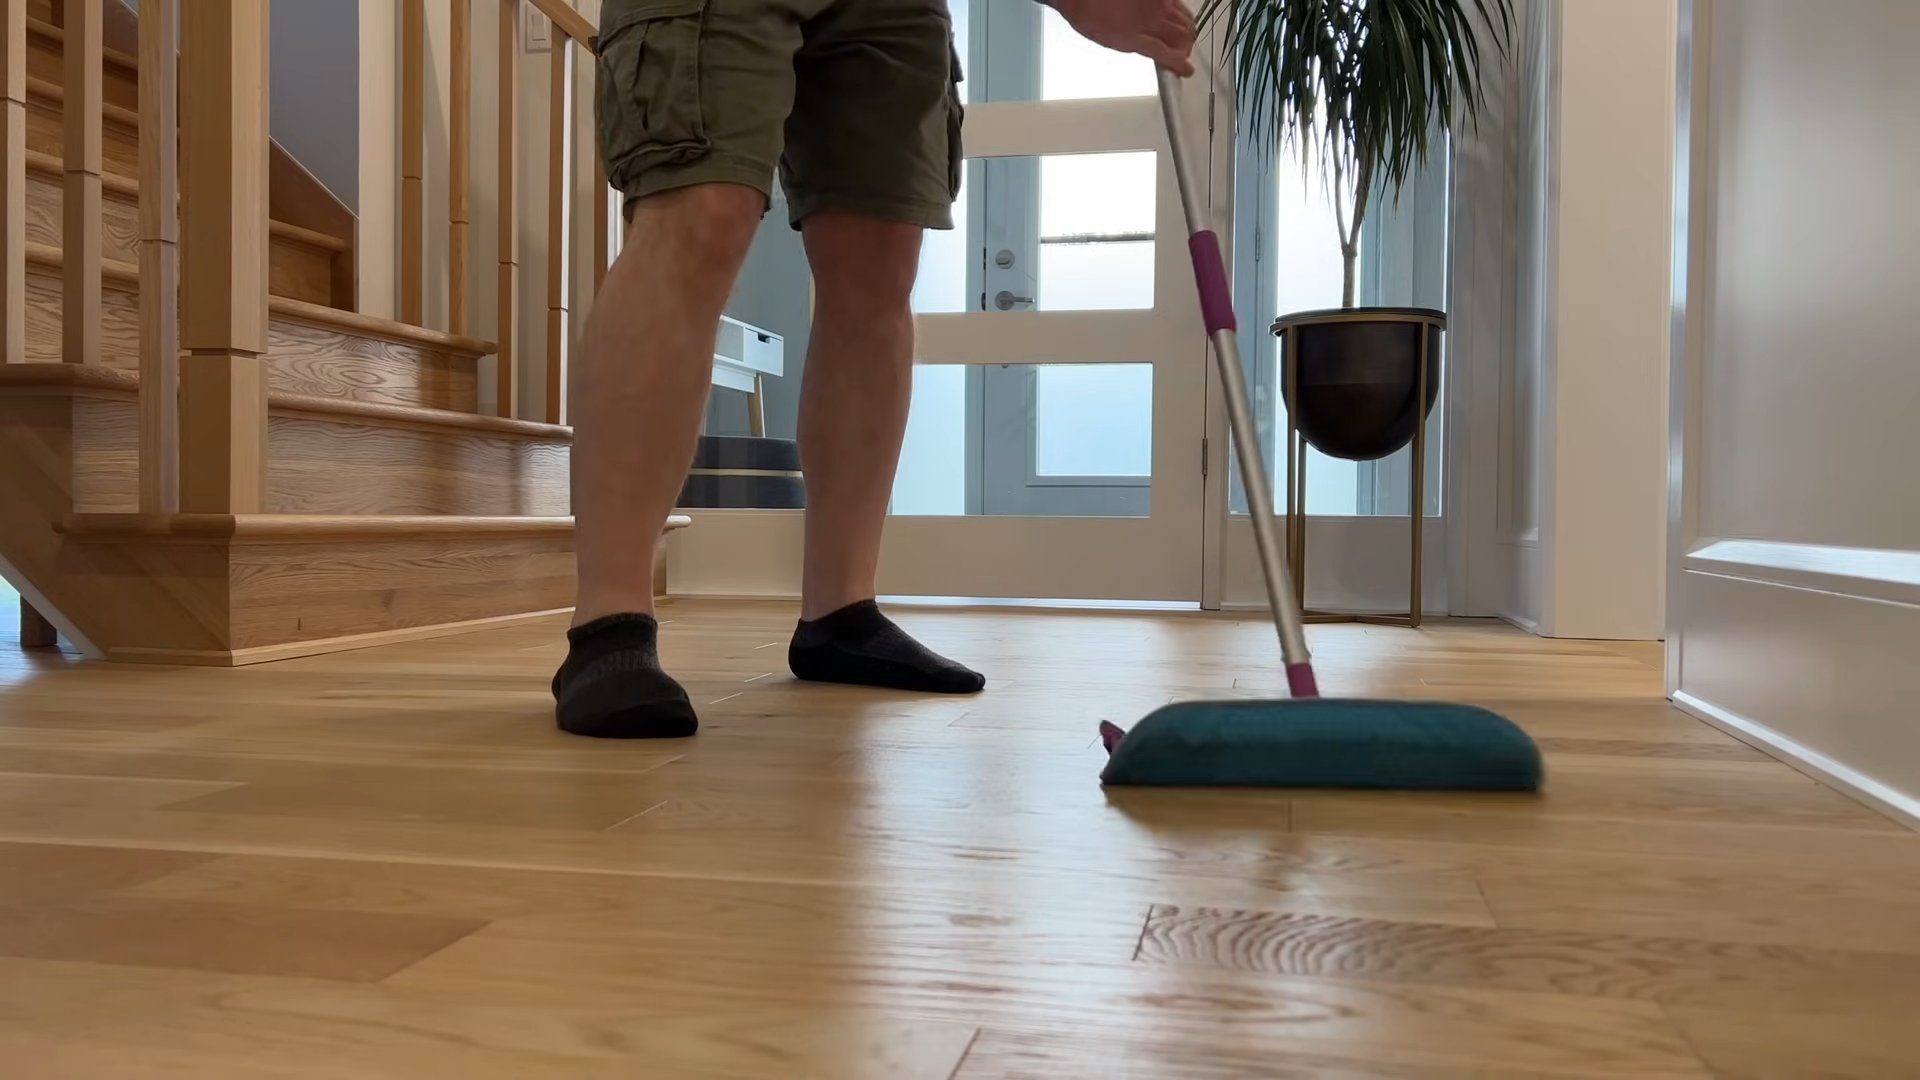
1. **Prepare Your Floor:** Before you start mopping, it’s essential to prepare your floor. Sweep or vacuum thoroughly to remove any loose dirt, dust, and debris. This will prevent you from just pushing the dirt around while mopping.
2. **Mix the Solution:**
* **In a Bucket:** If you’re using a bucket, pour the warm water into the bucket first. Then, add the white vinegar, rubbing alcohol, and dish soap. If you’re using essential oil, add it now. Stir well to combine all the ingredients.
* **In a Spray Bottle:** If you’re using a spray bottle, you might need to mix a smaller batch. Use the same ratios as above, but adjust the quantities accordingly. For example, if your spray bottle holds 32 ounces (4 cups), you could use 1/2 cup of white vinegar, 1/8 cup of rubbing alcohol, 1/4 teaspoon of dish soap, and a few drops of essential oil. Add the ingredients to the spray bottle and fill the rest with warm water. Shake gently to mix.
3. **Test the Solution:** As I mentioned earlier, it’s crucial to test the solution on a small, inconspicuous area of your floor before applying it to the entire floor. This will ensure that it doesn’t damage or discolor your floor. Apply a small amount of the solution to the test area, let it sit for a few minutes, and then wipe it clean. Check for any adverse reactions.
4. **Mop or Wipe the Floor:**
* **Using a Mop:** Dip your mop into the bucket of solution, wring it out thoroughly so it’s damp but not soaking wet, and then mop the floor in overlapping strokes. Rinse the mop frequently in clean water to remove dirt and grime.
* **Using a Microfiber Cloth:** Spray the floor with the solution from the spray bottle, and then wipe it clean with a microfiber cloth. Use a clean section of the cloth as it becomes dirty. You can also dampen the cloth with the solution and wipe the floor.
5. **Dry the Floor:** After mopping or wiping, it’s important to dry the floor as quickly as possible, especially if you have hardwood or laminate floors. You can use a clean, dry microfiber cloth or towel to dry the floor. You can also open windows or use a fan to help speed up the drying process.
6. **Admire Your Shiny Floors!** Once the floor is dry, step back and admire your sparkling clean and shiny floors! You’ll be amazed at the difference this simple homemade solution can make.
Troubleshooting Tips and Tricks
Even with the best recipes, sometimes things don’t go exactly as planned. Here are a few troubleshooting tips to help you achieve the best results:
* **Streaks:** If you’re experiencing streaks, it could be due to using too much soap or not drying the floor properly. Try reducing the amount of dish soap in the solution and make sure to dry the floor thoroughly after mopping. You can also try using distilled water instead of tap water.
* **Dullness:** If your floors still look dull after cleaning, it could be due to a buildup of old wax or polish. You may need to strip the old finish before using the homemade solution.
* **Sticky Residue:** If you notice a sticky residue on your floors, it could be due to using too much dish soap or not rinsing the mop or cloth frequently enough. Make sure to use a small amount of pH-neutral dish soap and rinse the mop or cloth often.
* **Cloudiness:** Cloudiness can be caused by hard water. Try using distilled water in your solution.
Safety Precautions
While this homemade floor shine solution is relatively safe, it’s still important to take a few precautions:
* **Keep out of reach of children and pets.**
* **Avoid contact with eyes.** If contact occurs, rinse thoroughly with water.
* **Do not ingest.**
* **Test the solution on a small, inconspicuous area of your floor before applying it to the entire floor.**
* **Wear gloves if you have sensitive skin.**
Extra Tips for Sparkling Floors
Here are a few extra tips to keep your floors looking their best:
* **Regular Cleaning:** Clean your floors regularly to prevent dirt and grime from building up.
* **Use Doormats:** Place doormats at entrances to trap dirt and debris before they get tracked onto your floors.
* **Remove Shoes:** Encourage family members and guests to remove their shoes before entering your home.
* **Protect Your Floors:** Use furniture pads under furniture legs to prevent scratches and dents.
* **Avoid Harsh Chemicals:** Avoid using harsh chemicals or abrasive cleaners on your floors, as they can damage the finish.
Conclusion
So there you have it! My favorite homemade floor shine solution that will leave your floors sparkling clean and shiny. It’s easy to make, eco-friendly, and budget-friendly. Give it a try and let me know what you think! Happy cleaning!
Conclusion
So, there you have it! Ditching the expensive, chemical-laden store-bought cleaners and embracing this homemade floor shine solution is more than just a cost-effective alternative; it’s a step towards a healthier home and a happier planet. We’ve walked you through the simple process, highlighting the ease and accessibility of the ingredients. But the real magic lies in the results: floors that gleam with a natural, radiant shine, free from harsh residues and overpowering artificial scents.
Why is this DIY trick a must-try? Because it empowers you to take control of what you’re using in your home. You know exactly what’s going onto your floors, making it a safer option for families with children and pets. Plus, it’s incredibly versatile. Feel free to experiment with different essential oils to create a custom scent that perfectly suits your preferences. A few drops of lavender oil can add a calming aroma, while lemon or orange oil can provide an invigorating, citrusy boost.
Beyond the scent, you can also adjust the proportions of the ingredients to suit your specific flooring type. For example, if you have delicate hardwood floors, you might want to reduce the amount of vinegar to prevent any potential damage. Always test a small, inconspicuous area first to ensure compatibility.
Consider these variations to personalize your homemade floor shine solution even further:
* For extra cleaning power: Add a tablespoon of borax to the mixture. Borax is a natural mineral that can help to remove stubborn stains and grime.
* For a streak-free finish: Use distilled water instead of tap water. Distilled water is free of minerals that can cause streaks.
* For a natural disinfectant: Add a few drops of tea tree oil to the mixture. Tea tree oil has antibacterial and antifungal properties.
* For a wood floor boost: Add a tablespoon of olive oil to the mixture. Olive oil will help to nourish and protect your wood floors.
But the best part? The satisfaction of knowing you’ve created something effective and eco-friendly with your own two hands. It’s a small change that can make a big difference, both in your home and in the world.
We wholeheartedly encourage you to give this homemade floor shine solution a try. It’s simple, affordable, and yields fantastic results. Once you’ve experienced the difference, we’re confident you’ll never go back to store-bought cleaners again.
Don’t just take our word for it! We’d love to hear about your experience. Share your results, your variations, and any tips you discover along the way in the comments below. Let’s build a community of DIY enthusiasts who are passionate about creating a clean, healthy, and sustainable home. Your feedback is invaluable and will help others discover the benefits of this amazing homemade solution. So, grab your ingredients, get mixing, and prepare to be amazed by the shine!
Frequently Asked Questions (FAQ)
What types of floors can I use this homemade floor shine solution on?
This solution is generally safe for most sealed hard flooring surfaces, including tile, linoleum, vinyl, and sealed hardwood. However, it’s crucial to test it on a small, inconspicuous area first, especially on hardwood floors, to ensure it doesn’t damage the finish. Avoid using it on unsealed wood, marble, or porous stone surfaces, as the vinegar could potentially etch or stain them. Always consult your flooring manufacturer’s recommendations for specific cleaning guidelines.
How often should I use this homemade floor shine solution?
The frequency of cleaning depends on the amount of foot traffic and dirt your floors accumulate. For most households, cleaning with this solution once or twice a week is sufficient. However, in high-traffic areas or homes with pets, you may need to clean more frequently. Avoid over-cleaning, as excessive moisture can damage some flooring types, particularly hardwood.
Can I use a different type of vinegar besides white vinegar?
While white vinegar is the most commonly recommended type for cleaning due to its acidity and lack of color, you can experiment with other types of vinegar, such as apple cider vinegar. However, be aware that apple cider vinegar has a slight color that could potentially stain light-colored floors. Always test any new type of vinegar on a small, hidden area first to ensure it doesn’t cause discoloration. White vinegar is generally the safest and most effective option for a homemade floor shine solution.
What if I don’t have essential oils? Can I still make the solution?
Yes, you can absolutely still make the solution without essential oils. The vinegar and water mixture will still effectively clean and shine your floors. Essential oils are primarily added for their fragrance and potential antibacterial properties, but they are not essential for the cleaning power of the solution. If you prefer a scent, you can try adding a few drops of lemon juice or orange peel to the mixture for a natural citrus fragrance.
My floors are still streaky after using the solution. What am I doing wrong?
Streaky floors can be caused by several factors. First, ensure you’re using a clean mop or cloth. A dirty mop will simply spread dirt around, leaving streaks. Second, avoid using too much solution. A little goes a long way. Over-saturating your floors can lead to streaks. Third, try using distilled water instead of tap water, as tap water contains minerals that can leave streaks. Finally, make sure you’re rinsing your mop or cloth frequently to remove any excess dirt and grime. Wiping the floor with a dry microfiber cloth after mopping can also help to eliminate streaks and enhance the shine.
Is this solution safe for pets and children?
Yes, this homemade floor shine solution is generally considered safe for pets and children, as it uses natural ingredients. However, it’s always a good idea to keep pets and children away from the area while you’re cleaning and until the floors are completely dry. While the ingredients are non-toxic, ingesting large amounts of vinegar could cause stomach upset. If you’re concerned about the scent of vinegar, you can add more essential oils to mask the odor. As with any cleaning product, keep the solution out of reach of children and pets when not in use.
How should I store the leftover solution?
Store any leftover solution in a clean, airtight container, such as a spray bottle or a glass jar. Label the container clearly to avoid confusion. Keep the solution in a cool, dark place away from direct sunlight and heat. The solution should last for several weeks, but it’s best to use it within a month for optimal effectiveness. If you notice any changes in color or odor, discard the solution.
Can I use this solution on laminate floors?
Laminate floors can be tricky. While some sources say a diluted vinegar solution is safe, others advise against it due to the potential for moisture damage. It’s best to consult your laminate flooring manufacturer’s recommendations before using this solution. If you choose to use it, use a very diluted solution (more water, less vinegar) and ensure you’re using a damp mop, not a soaking wet one. Dry the floor immediately after mopping to prevent water from seeping into the seams. Always test in an inconspicuous area first.

Leave a Comment