
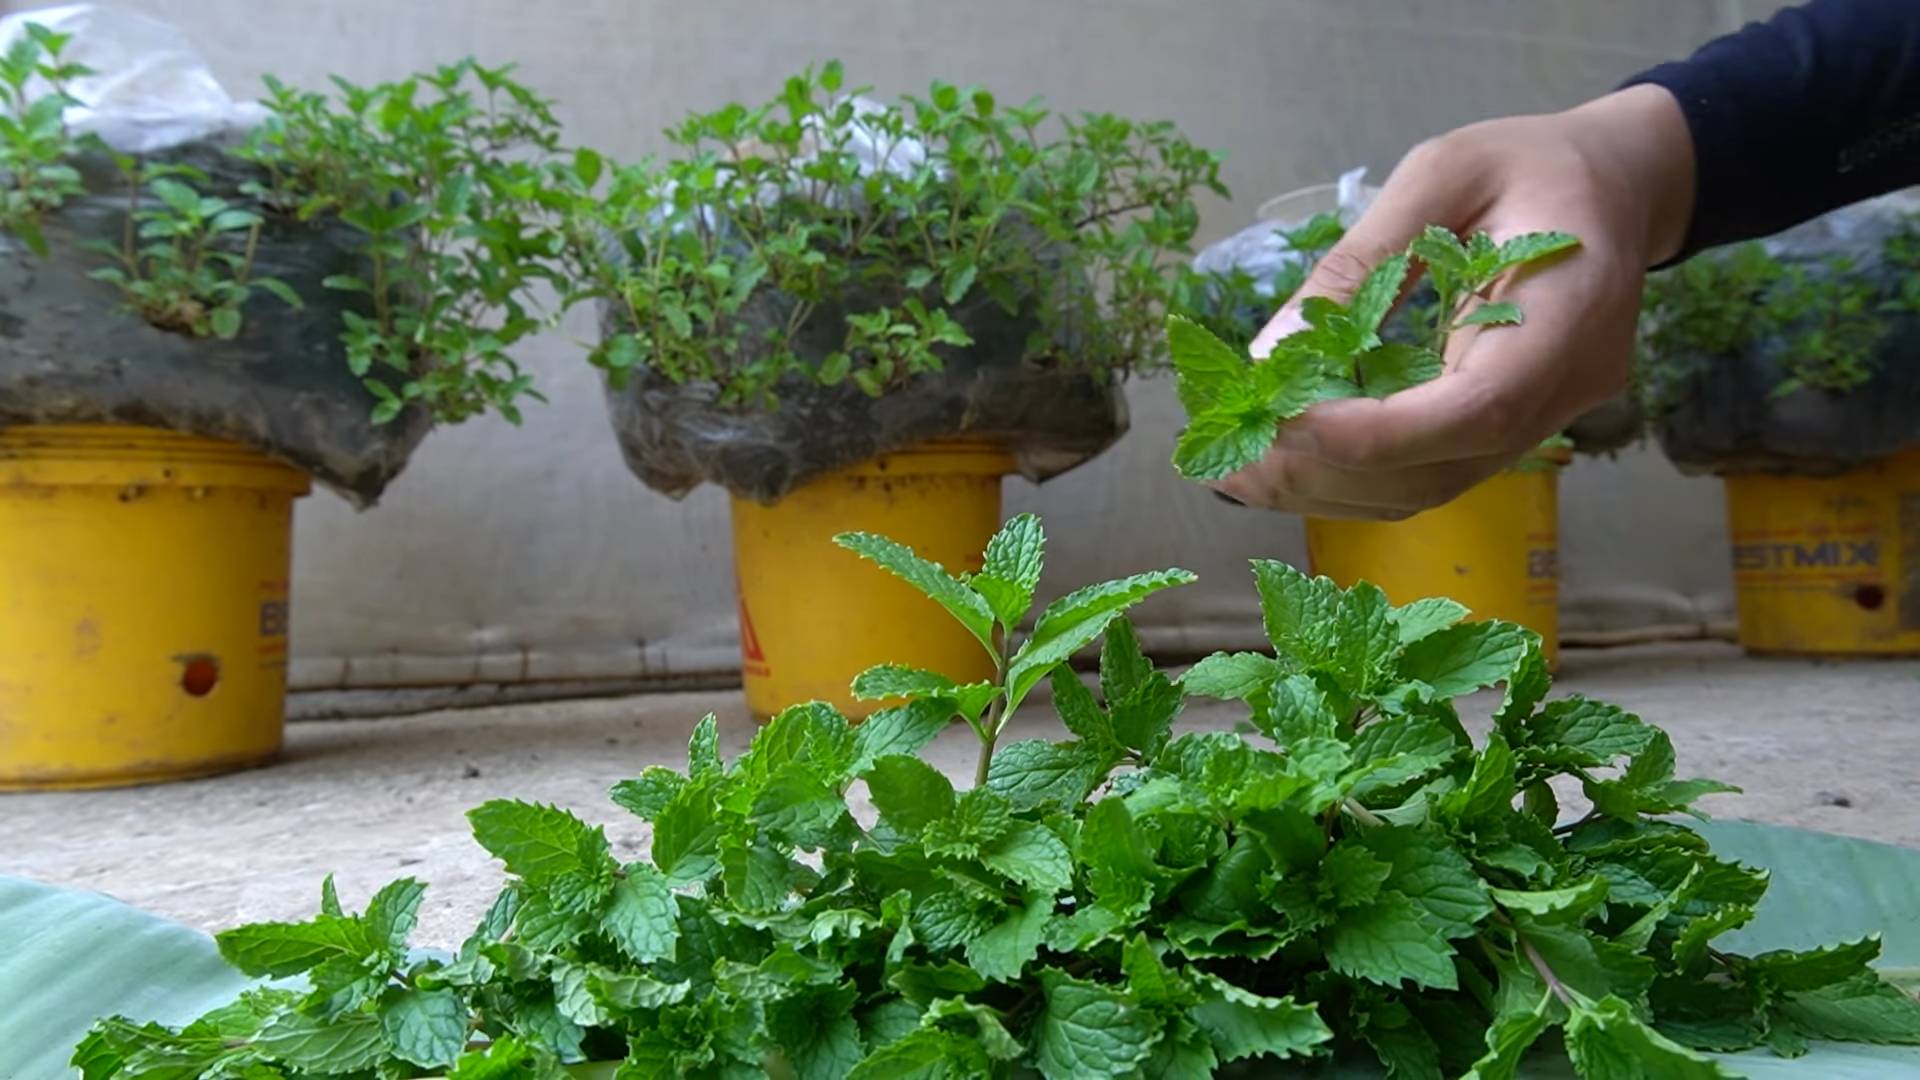
Grow Daily Vegetables at Home – imagine stepping into your backyard and harvesting fresh, crisp lettuce for your salad, or plucking ripe tomatoes still warm from the sun for your pasta sauce. Sounds idyllic, right? Well, it’s more achievable than you might think! For centuries, humans have cultivated their own food, from ancient Roman kitchen gardens to the victory gardens of wartime eras. This connection to the earth, and the satisfaction of nurturing life, is deeply ingrained in us.
But let’s be honest, in today’s busy world, the idea of a sprawling vegetable patch can feel overwhelming. That’s where clever DIY tricks and hacks come in! I’m here to show you how to grow daily vegetables at home, even if you have limited space, time, or experience. This isn’t about becoming a full-time farmer; it’s about incorporating fresh, healthy, and delicious produce into your daily life with minimal effort.
Why do you need these DIY tricks? Because store-bought vegetables, while convenient, often lack the flavor and nutritional value of homegrown produce. Plus, you’ll know exactly what’s going into your food – no hidden pesticides or questionable practices. Get ready to unlock the secrets to a thriving home garden, one simple DIY project at a time!
DIY Vertical Strawberry Tower for a Bountiful June Harvest
Hey there, fellow garden enthusiasts! June is the perfect time to get those strawberry plants thriving, and what better way to maximize your space and enjoy a delicious harvest than with a DIY vertical strawberry tower? I’m going to walk you through creating your own stunning and productive strawberry tower, step-by-step. It’s easier than you think, and the results are so rewarding!
Materials You’ll Need
Before we dive in, let’s gather everything we need. This will save you time and frustration later.
* Two Plastic Pots: One large (about 18-24 inches in diameter) and one smaller (about 6-8 inches in diameter). The larger pot will be the base, and the smaller one will act as a watering column.
* Strawberry Plants: Choose everbearing varieties for a continuous harvest throughout June and beyond. I recommend getting at least 10-15 plants, depending on the size of your large pot.
* Potting Soil: A good quality potting mix is crucial for healthy strawberry growth. Avoid using garden soil, as it can compact and hinder drainage.
* Gravel or Small Rocks: For drainage at the bottom of the large pot.
* Landscape Fabric or Burlap: To line the inside of the large pot and prevent soil from washing out.
* PVC Pipe (Optional): If you want a more robust watering column, use a section of PVC pipe instead of the smaller pot. Make sure it’s tall enough to reach near the top of your finished tower.
* Drill (Optional): If using PVC pipe, you’ll need a drill to create holes for water distribution.
* Measuring Tape or Ruler: For accurate spacing of planting holes.
* Scissors or Utility Knife: For cutting landscape fabric.
* Gloves: To protect your hands.
* Watering Can or Hose: For watering your strawberry tower.
Preparing the Base Pot
This is where we lay the foundation for our strawberry paradise!
1. Line the Large Pot: Cut a piece of landscape fabric or burlap large enough to line the inside of the large pot. This will prevent soil from escaping through the drainage holes. Make sure the fabric extends a few inches above the rim of the pot.
2. Add Drainage: Pour a layer of gravel or small rocks into the bottom of the lined pot. This will improve drainage and prevent the roots from sitting in water. A layer of about 2-3 inches should be sufficient.
3. Add Initial Soil Layer: Add a layer of potting soil on top of the gravel, about 4-6 inches deep. This will provide a base for your first row of strawberry plants.
Creating the Watering Column
The watering column is key to ensuring even moisture distribution throughout the tower.
1. Prepare the Small Pot (or PVC Pipe): If using the small pot, simply place it in the center of the large pot, on top of the initial soil layer. If using PVC pipe, this is where the drill comes in.
2. Drill Holes (If Using PVC Pipe): Drill holes all around the PVC pipe, spacing them about 2-3 inches apart. These holes will allow water to seep out and hydrate the surrounding soil. Make sure the holes are small enough to prevent soil from clogging them.
3. Position the Watering Column: Place the prepared PVC pipe (or the small pot) in the center of the large pot, on top of the initial soil layer. Ensure it’s standing upright and stable.
Planting the Strawberries
Now for the fun part – bringing your strawberry tower to life!
1. Add More Soil: Add more potting soil around the watering column, filling the large pot to a level where you can comfortably plant your first row of strawberries. Leave about 2-3 inches of space between the soil surface and the rim of the pot.
2. Plant the First Row: Gently remove a strawberry plant from its container and loosen the roots slightly. Dig a small hole in the soil near the edge of the large pot, and plant the strawberry plant, ensuring the crown (where the leaves emerge) is above the soil level. Repeat this process, spacing the strawberry plants about 6-8 inches apart around the circumference of the pot.
3. Continue Adding Soil and Planting: Add another layer of potting soil, raising the soil level by a few inches. Plant another row of strawberries, staggering them between the plants in the first row. Continue this process, adding soil and planting strawberries, until you reach the top of the large pot.
4. Plant the Top: Plant a few strawberry plants on the top surface of the soil, around the watering column.
Final Touches and Watering
Almost there! Just a few more steps to ensure your strawberry tower thrives.
1. Water Thoroughly: Water the entire strawberry tower thoroughly, pouring water into the watering column and directly onto the soil. This will help settle the soil and hydrate the plants.
2. Add Mulch (Optional): Add a layer of mulch, such as straw or wood chips, around the base of the strawberry plants. This will help retain moisture, suppress weeds, and keep the strawberries clean.
3. Sunlight: Place your strawberry tower in a location that receives at least 6-8 hours of sunlight per day. Strawberries need plenty of sunlight to produce a bountiful harvest.
4. Fertilize Regularly: Feed your strawberry plants with a balanced fertilizer every 2-3 weeks, following the instructions on the fertilizer package. This will provide them with the nutrients they need to grow and produce fruit.
Maintaining Your Strawberry Tower
A little TLC will go a long way in keeping your strawberry tower healthy and productive.
* Watering: Water your strawberry tower regularly, especially during hot, dry weather. Check the soil moisture by sticking your finger into the soil. If the top inch feels dry, it’s time to water. Water deeply, ensuring the water reaches the roots.
* Fertilizing: Continue fertilizing your strawberry plants every 2-3 weeks throughout the growing season.
* Pruning: Remove any dead or yellowing leaves from your strawberry plants. This will help prevent disease and encourage new growth.
* Pest Control: Keep an eye out for pests, such as aphids, slugs, and snails. If you notice any pests, take action to control them. You can use organic pest control methods, such as insecticidal soap or diatomaceous earth.
* Harvesting: Harvest your strawberries when they are fully ripe and red. Gently pluck them from the plant, being careful not to damage the surrounding fruit.
* Winter Care: In colder climates, protect your strawberry tower from freezing temperatures by covering it with a layer of straw or burlap. You can also move it to a sheltered location, such as a garage or shed.
Troubleshooting Tips
Even with the best planning, sometimes things don’t go exactly as expected. Here are a few common issues and how to address them:
* Yellowing Leaves: This could be a sign of overwatering, underwatering, or nutrient deficiency. Check the soil moisture and adjust your watering schedule accordingly. Fertilize your plants with a balanced fertilizer.
* Lack of Fruit: This could be due to insufficient sunlight, poor pollination, or nutrient deficiency. Ensure your strawberry tower is in a sunny location. You can also hand-pollinate the flowers by gently brushing them with a small paintbrush. Fertilize your plants with a fertilizer that is high in phosphorus.
* Pests: Inspect your plants regularly for pests. Treat any infestations promptly with organic pest control methods.
* Root Rot: This is caused by overwatering and poor drainage. Ensure your strawberry tower has good drainage. Avoid overwatering.
Enjoy Your Bountiful Harvest!
With a little effort and care, your DIY vertical strawberry tower will provide you with a delicious and abundant harvest of fresh, juicy strawberries all June long (and beyond!). Enjoy the fruits (literally!) of your labor! I hope you found this guide helpful. Happy gardening!

Conclusion
So, there you have it! Growing daily vegetables at home isn’t just a charming idea; it’s a practical, rewarding, and surprisingly accessible endeavor. We’ve explored the simple yet effective methods that can transform even the smallest spaces into thriving miniature gardens, providing you with fresh, flavorful produce right at your fingertips.
Why is this a must-try? Because it empowers you to take control of your food source, ensuring you know exactly what goes into your meals. No more wondering about pesticides or long-distance transportation – just pure, homegrown goodness. Beyond the health benefits, gardening is a fantastic stress reliever, a connection to nature, and a source of immense satisfaction as you watch your tiny seeds sprout and flourish into edible delights.
Think about the possibilities! Imagine adding freshly picked basil to your pasta sauce, snipping chives for your morning eggs, or enjoying a crisp, homegrown salad bursting with flavor. The taste difference between store-bought and homegrown vegetables is truly remarkable.
But the benefits extend beyond the culinary. Growing your own vegetables is an environmentally conscious choice. It reduces your carbon footprint by minimizing transportation needs and packaging waste. It also promotes biodiversity in your local area, attracting beneficial insects and pollinators to your garden.
Ready to take it a step further? Consider these variations:
* Vertical Gardening: If space is truly limited, explore vertical gardening options. Hanging planters, wall-mounted containers, and stacked planters can maximize your growing area.
* Hydroponics: For a more advanced approach, delve into hydroponics, a method of growing plants without soil, using nutrient-rich water solutions.
* Companion Planting: Research companion planting techniques to maximize yields and deter pests naturally. For example, planting basil near tomatoes can improve their flavor and repel insects.
* Succession Planting: Extend your harvest season by practicing succession planting. Sow seeds every few weeks to ensure a continuous supply of fresh vegetables.
* Container Gardening: Experiment with different types of containers, from terracotta pots to repurposed buckets, to find what works best for your space and aesthetic.
Ultimately, the best way to learn is by doing. Don’t be afraid to experiment, make mistakes, and learn from your experiences. Every gardener, no matter how experienced, started somewhere. Embrace the journey, enjoy the process, and savor the fruits (and vegetables!) of your labor.
We wholeheartedly encourage you to embark on this rewarding journey of growing daily vegetables at home. Start small, be patient, and most importantly, have fun! We’re confident that you’ll be amazed by what you can achieve.
And now, we want to hear from you! Share your experiences, tips, and photos of your homegrown vegetable gardens in the comments below. Let’s create a community of passionate gardeners, inspiring each other to cultivate a healthier, more sustainable lifestyle. What are you waiting for? Get your hands dirty and start growing today! Let’s see your amazing grow daily vegetables at home journey!
Frequently Asked Questions (FAQ)
What are the easiest vegetables to grow for beginners?
Great question! For beginners, some of the easiest and most rewarding vegetables to grow include:
* Lettuce: Lettuce is quick to mature and can be harvested leaf by leaf, providing a continuous supply.
* Radishes: Radishes are incredibly fast-growing, often ready to harvest in just a few weeks.
* Spinach: Similar to lettuce, spinach is relatively easy to grow and can be harvested multiple times.
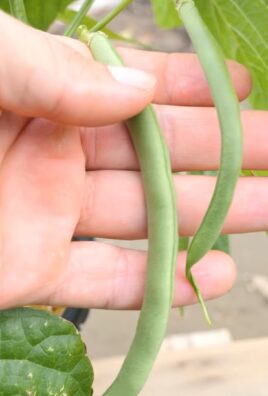
* Green Beans: Green beans are prolific producers and require minimal maintenance.
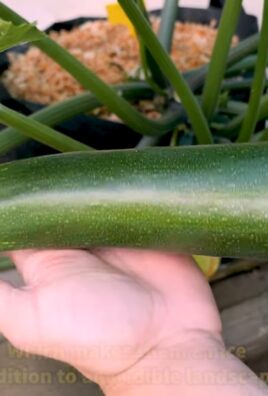
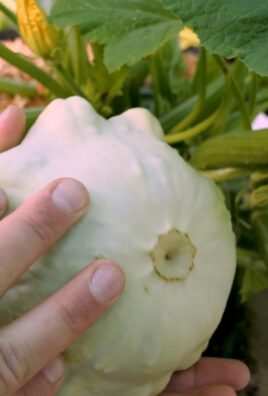
* Zucchini: Zucchini plants are vigorous growers and yield a large harvest. Be prepared for an abundance!
* Tomatoes: While tomatoes require a bit more attention, they are a popular choice and offer a delicious reward. Start with cherry tomatoes for an easier experience.
* Peppers: Bell peppers and chili peppers are relatively easy to grow in containers or garden beds.
* Cucumbers: Cucumbers are fast-growing and can be trained to climb a trellis, saving space.
These vegetables are generally tolerant of beginner mistakes and provide a good starting point for your gardening journey.
How much sunlight do my vegetables need?
Most vegetables require at least 6-8 hours of direct sunlight per day to thrive. However, some leafy greens like lettuce and spinach can tolerate partial shade, especially during the hottest part of the day. Observe your garden throughout the day to determine how much sunlight it receives and choose vegetables accordingly. If you’re growing in containers, you can easily move them to follow the sun.
What kind of soil should I use?
Well-draining soil that is rich in organic matter is essential for healthy vegetable growth. You can improve your soil by adding compost, aged manure, or other organic amendments. A soil test can help you determine the pH level and nutrient content of your soil, allowing you to make necessary adjustments. For container gardening, use a high-quality potting mix specifically formulated for vegetables.
How often should I water my vegetables?
The watering frequency depends on several factors, including the type of vegetable, the weather, and the soil type. Generally, vegetables need consistent moisture, but avoid overwatering, which can lead to root rot. Water deeply and less frequently, allowing the soil to dry slightly between waterings. Check the soil moisture by sticking your finger about an inch into the soil. If it feels dry, it’s time to water.
How do I deal with pests and diseases?
Prevention is key when it comes to pests and diseases. Choose disease-resistant varieties, practice crop rotation, and keep your garden clean and free of debris. Regularly inspect your plants for signs of pests or diseases. If you spot any problems, address them promptly using organic pest control methods such as insecticidal soap, neem oil, or handpicking. Encourage beneficial insects like ladybugs and lacewings to help control pests naturally.
Can I grow vegetables in containers?
Absolutely! Container gardening is a great option for those with limited space or poor soil. Choose containers that are large enough to accommodate the mature size of the vegetable you’re growing. Ensure that the containers have drainage holes to prevent waterlogging. Use a high-quality potting mix and fertilize regularly.
What are some common mistakes to avoid?
Some common mistakes to avoid include:
* Overwatering or underwatering: Monitor soil moisture carefully and adjust watering accordingly.
* Planting too closely together: Give your vegetables enough space to grow and thrive.
* Neglecting to fertilize: Vegetables need nutrients to grow, so fertilize regularly with a balanced fertilizer.
* Ignoring pests and diseases: Regularly inspect your plants and address any problems promptly.
* Not providing enough sunlight: Ensure that your vegetables receive at least 6-8 hours of direct sunlight per day.
* Giving up too easily: Gardening takes time and patience. Don’t be discouraged by setbacks. Learn from your mistakes and keep trying.
How do I harvest my vegetables?
Harvest your vegetables when they are ripe and at their peak flavor. The timing of harvest will vary depending on the type of vegetable. Refer to seed packets or online resources for specific harvesting instructions. Regular harvesting encourages continued production.
How can I extend my growing season?
There are several ways to extend your growing season, including:
* Starting seeds indoors: Start seeds indoors several weeks before the last expected frost to get a head start on the growing season.
* Using cold frames or row covers: Cold frames and row covers can protect plants from frost and extend the growing season in the spring and fall.
* Choosing cold-hardy varieties: Select vegetables that are tolerant of cold temperatures.
* Succession planting: Sow seeds every few weeks to ensure a continuous supply of fresh vegetables.
What are the benefits of growing my own vegetables?
The benefits of growing your own vegetables are numerous, including:
* Fresh, flavorful produce: Homegrown vegetables taste better than store-bought vegetables.
* Healthier food: You control what goes into your food, avoiding pesticides and other harmful chemicals.
* Cost savings: Growing your own vegetables can save you money on groceries.
* Environmental benefits: Gardening reduces your carbon footprint and promotes biodiversity.
* Stress relief: Gardening is a relaxing and rewarding activity.
* Connection to nature: Gardening connects you to the natural world.
* Sense of accomplishment: Watching your plants grow and produce food is incredibly satisfying.
We hope these FAQs have answered some of your questions about growing daily vegetables at home. Happy gardening!
Leave a Comment