
Growing Mint Without Watering? Sounds like a gardener’s dream, right? I know I’ve certainly had my fair share of wilting mint plants despite my best efforts with the watering can. But what if I told you there’s a way to enjoy the refreshing taste and aroma of homegrown mint without the constant worry of keeping it hydrated?
Mint, with its vibrant history stretching back to ancient Egypt and Rome, has always been prized for its medicinal and culinary uses. From flavoring teas and desserts to adding a zing to savory dishes, mint is a versatile herb that deserves a place in every garden. But let’s be honest, sometimes life gets in the way, and remembering to water our plants can fall by the wayside. That’s where this DIY trick comes in!
This article is your guide to a simple yet effective method for growing mint without watering as frequently. Imagine the freedom of knowing your mint plant is thriving, even when you’re busy or on vacation. We’ll explore a clever self-watering technique that not only saves you time and effort but also helps conserve water. Get ready to unlock the secrets to a flourishing mint garden with minimal fuss!
DIY: Growing Mint Without (Much) Watering!
Hey there, fellow plant enthusiasts! Are you tired of constantly watering your mint, only to find it wilting anyway? Or maybe you’re just forgetful like me and need a low-maintenance solution? Well, I’ve got a fantastic DIY hack for you: growing mint in a self-watering container! This method drastically reduces the amount of watering you need to do, keeping your mint happy and thriving. Let’s dive in!
What You’ll Need
Before we get started, gather these supplies. Don’t worry, most of them are pretty common household items!
* Two plastic pots (one slightly smaller than the other – think a 6-inch pot inside an 8-inch pot). Make sure the larger pot doesn’t have drainage holes.
* Mint plant (either from a nursery or propagated from cuttings).
* Potting mix (a good quality, well-draining mix is best).
* Wicking material (cotton rope, strips of old t-shirt, or even shoelaces work great!).
* Water.
* Scissors or a knife.
* Optional: Pebbles or gravel for the bottom of the outer pot.
Choosing Your Pots
The key to this self-watering system is the difference in size between the two pots. The smaller pot will sit inside the larger one, creating a reservoir of water at the bottom.
* Inner Pot: This pot needs drainage holes. It’s where your mint will actually grow.
* Outer Pot: This pot should be watertight and slightly larger than the inner pot. It will hold the water reservoir.
Preparing the Wicking System
The wicking system is what draws water from the reservoir up into the soil, keeping your mint consistently moist.
* Choosing Your Wick: I’ve found that cotton rope works best, but old t-shirts cut into strips are a great eco-friendly option. Shoelaces can also work in a pinch!
* Preparing the Wick: Cut two or three pieces of your wicking material, each long enough to reach from the bottom of the inner pot, up through the soil, and down into the bottom of the outer pot when the inner pot is placed inside. A good rule of thumb is to make them at least twice the height of the outer pot.
Planting Your Mint
Now for the fun part – getting your mint settled into its new home!
1. Prepare the Inner Pot: Thread one end of each wick through a drainage hole in the bottom of the inner pot. Pull enough of the wick through so that it extends a few inches out of the bottom of the pot. These ends will sit in the water reservoir.
2. Add Potting Mix: Fill the inner pot about one-third of the way with potting mix.
3. Plant Your Mint: Gently remove your mint plant from its original container. Loosen the roots a bit to encourage them to spread. Place the mint plant in the center of the inner pot.
4. Fill with Soil: Add more potting mix around the mint plant, filling the pot to about an inch below the rim. Gently pat down the soil.
5. Water Thoroughly (Initially): Water the soil in the inner pot thoroughly from the top. This helps to settle the soil and get the wicking process started.
Assembling the Self-Watering Container
This is where the magic happens!
1. Add Pebbles (Optional): If you want to improve drainage and prevent the inner pot from sitting directly in the water, add a layer of pebbles or gravel to the bottom of the outer pot. This is totally optional, but I find it helps.
2. Place the Inner Pot: Carefully place the inner pot inside the outer pot. Make sure the wicks are hanging down into the bottom of the outer pot.
3. Add Water to the Reservoir: Pour water into the outer pot, filling it to just below the bottom of the inner pot. You don’t want the soil in the inner pot to be submerged in water, just the wicks.
Maintaining Your Self-Watering Mint
The beauty of this system is its low maintenance!
1. Check the Water Level: Check the water level in the outer pot every few days, especially during hot weather. You can usually tell by lifting the inner pot slightly (carefully!) or by sticking your finger down into the outer pot.
2. Refill the Reservoir: When the water level gets low, refill the outer pot with water.
3. Fertilize Occasionally: Mint is a heavy feeder, so fertilize it every few weeks with a diluted liquid fertilizer.
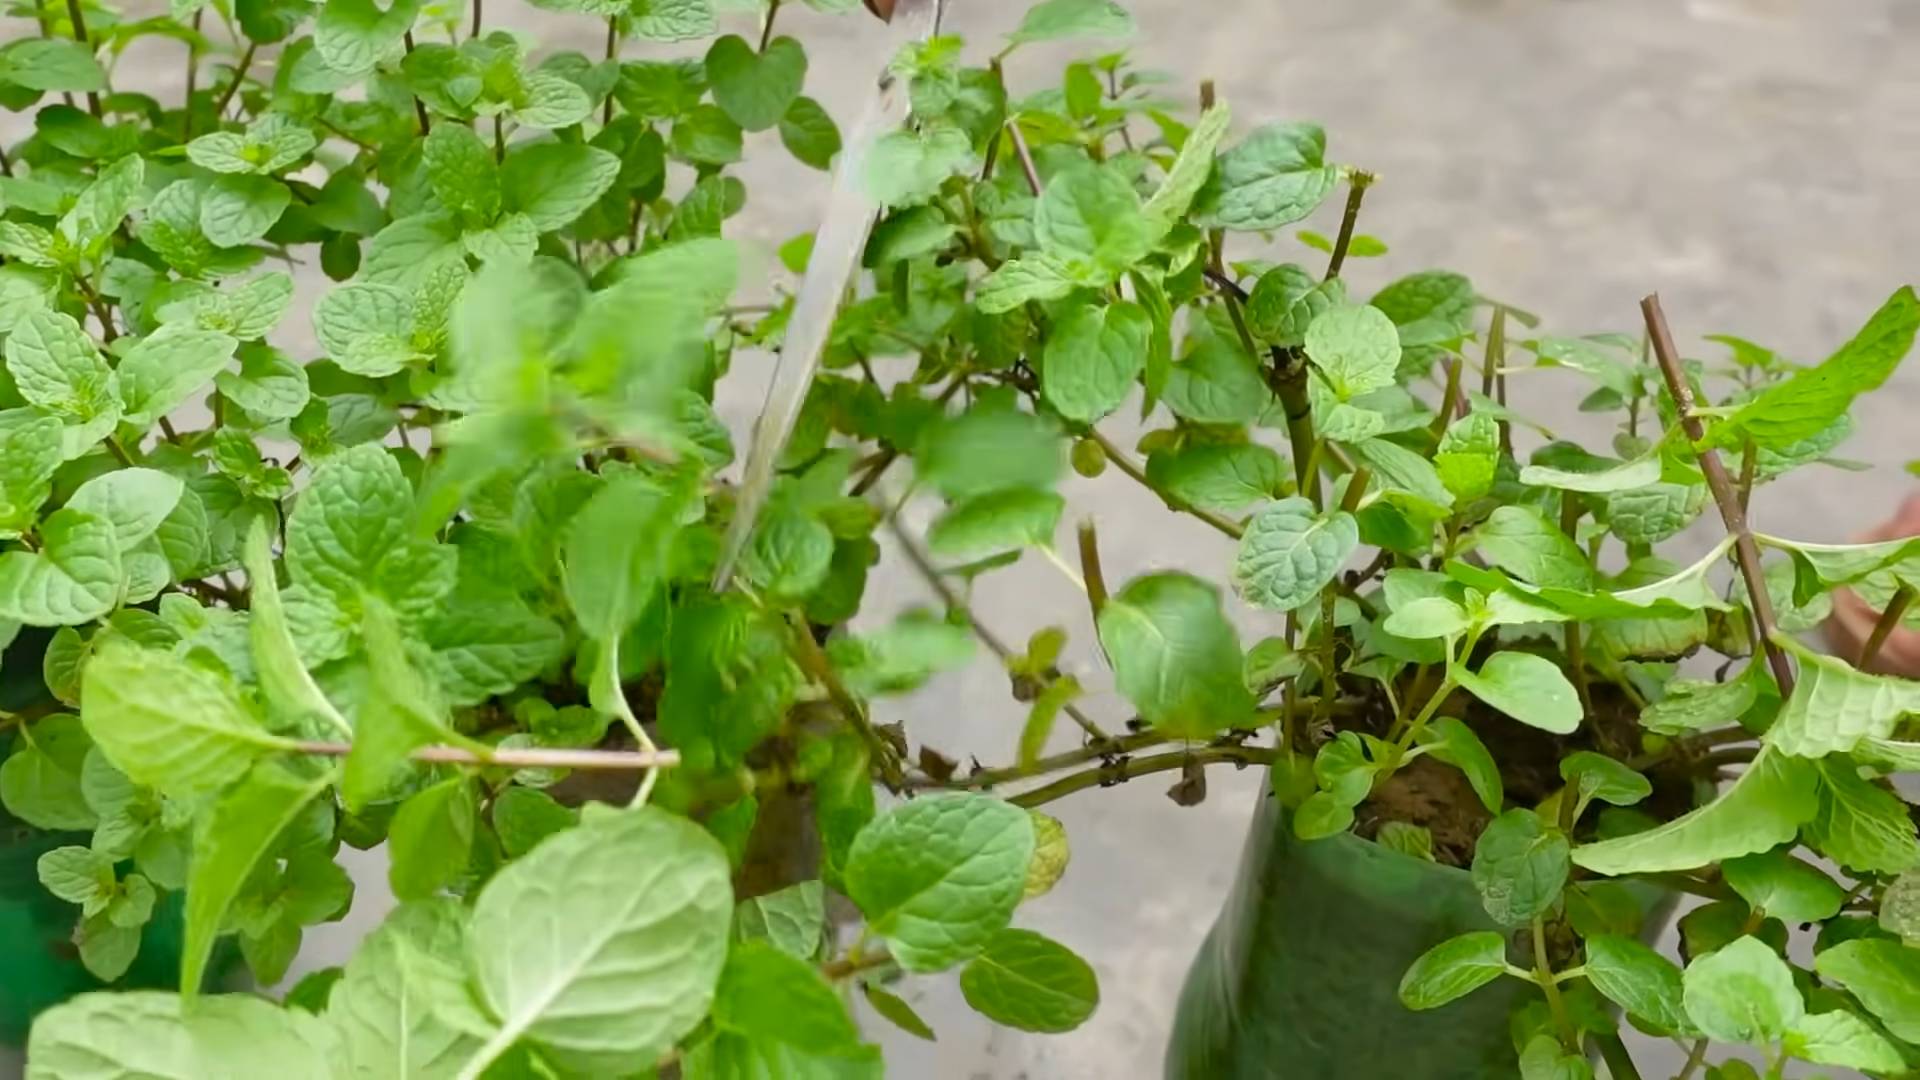
4. Prune Regularly: Pruning your mint encourages bushier growth and prevents it from flowering (which can make the leaves taste bitter). Just pinch off the top leaves regularly.
5. Sunlight: Mint thrives in partial shade to full sun. Make sure your self-watering container is placed in a location that gets plenty of light.
6. Winter Care: If you live in a cold climate, you’ll need to bring your self-watering mint container indoors during the winter. Place it near a sunny window and continue to water it as needed.
Troubleshooting
Even with a self-watering system, you might encounter a few issues. Here’s how to troubleshoot them:
* Wilting Leaves: If your mint leaves are wilting, even though the reservoir is full, the wicks might not be working properly. Try gently pulling the inner pot out and re-positioning the wicks to ensure they’re making good contact with the water. You might also need to water the soil from the top again to re-saturate it.
* Yellowing Leaves: Yellowing leaves can indicate overwatering or nutrient deficiency. Make sure you’re not overfilling the reservoir and that you’re fertilizing your mint regularly.
* Pests: Mint can be susceptible to pests like aphids and spider mites. Inspect your plant regularly and treat any infestations with insecticidal soap or neem oil.
Propagating Your Mint
Mint is incredibly easy to propagate, so you can easily create more plants from your existing one!
1. Take Cuttings: Cut a stem of mint about 4-6 inches long, just below a leaf node (the point where a leaf grows from the stem).
2. Remove Lower Leaves: Remove the leaves from the bottom inch or two of the stem.
3. Root in Water: Place the cutting in a glass of water, making sure the leaf nodes are submerged.
4. Wait for Roots: Place the glass in a bright location, but out of direct sunlight. Change the water every few days. Within a week or two, you should see roots starting to grow.
5. Plant in Soil: Once the roots are about an inch long, you can plant the cutting in a pot of soil. Keep the soil moist until the plant is established.
Why This Works: The Science Behind the Hack
So, how does this self-watering system actually work? It’s all about capillary action! The wicking material acts like a sponge, drawing water up from the reservoir and into the soil. The soil then absorbs the water, keeping the roots of your mint plant consistently moist. This eliminates the need for frequent watering and helps to prevent overwatering, which can be a common problem with mint.
Beyond the Basics: Customizing Your Self-Watering System
Once you’ve mastered the basic self-watering container, you can start experimenting with different variations.
* Larger Containers: If you want to grow a lot of mint, you can use larger pots to create a larger self-watering system. Just make sure to use more wicking material to ensure adequate water distribution.
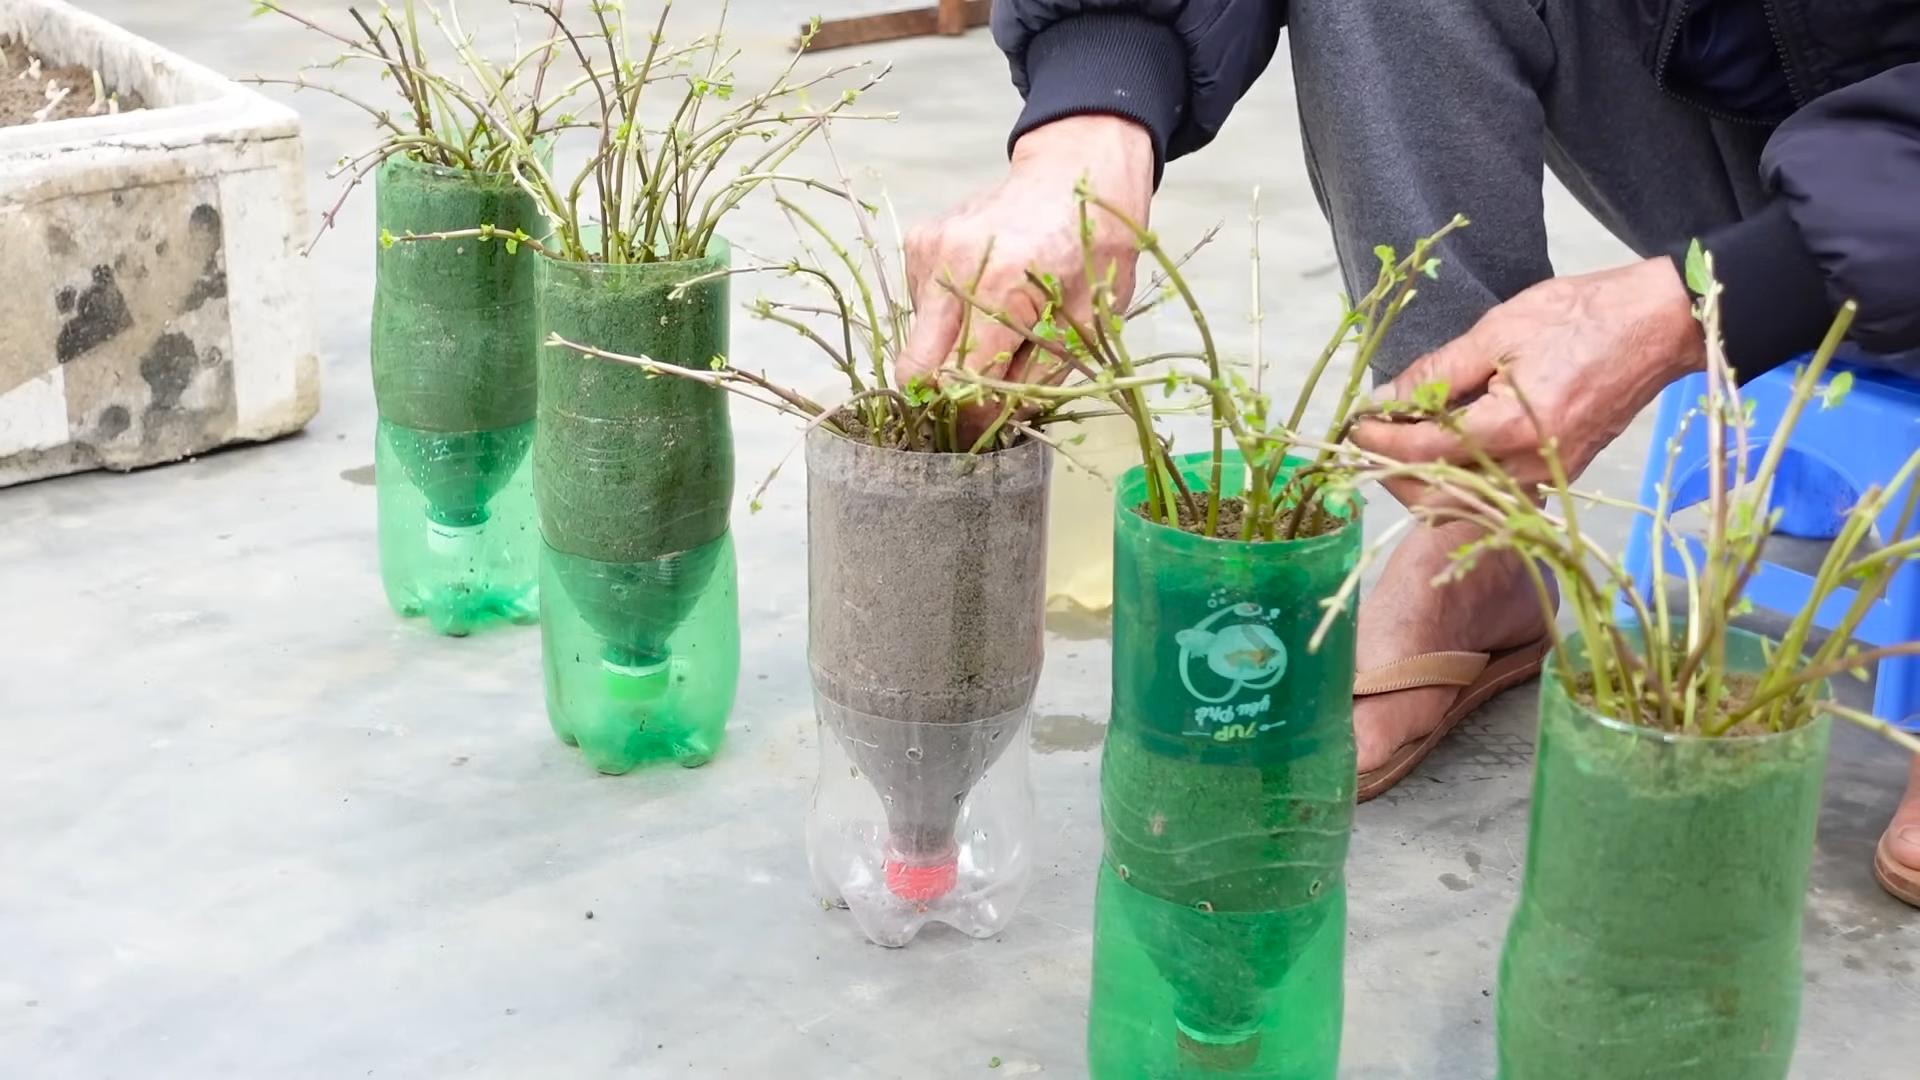
* Decorative Containers: You don’t have to use plain plastic pots. You can use decorative ceramic pots or even repurpose old buckets or containers. Just make sure the outer pot is watertight.
* Multiple Wicks: For larger containers, you might want to use multiple wicks to ensure that the soil is evenly moistened.
* Adding Nutrients to the Reservoir: You can add diluted liquid fertilizer to the water in the reservoir to provide your mint with a constant supply of nutrients. Just be careful not to over-fertilize, as this can damage the plant.
Enjoy Your Thriving Mint!
With this simple DIY self-watering system, you can enjoy fresh, flavorful mint without the hassle of constant watering. It’s a great way to grow mint indoors or outdoors, and it’s perfect for busy gardeners who want a low-maintenance solution. Happy growing! I hope you found this guide helpful and that your mint thrives! Let me know in the comments if you have any questions or tips of your own!
Conclusion
So, there you have it! Growing mint without watering might sound like an impossible feat, but with this simple DIY trick, you can enjoy a thriving mint plant with minimal effort. This method isn’t just about convenience; it’s about creating a self-sustaining ecosystem for your mint, reducing water waste, and ultimately, enjoying fresher, more flavorful mint for all your culinary and beverage needs.
Why is this a must-try? Because it addresses the common challenges of mint cultivation – overwatering, underwatering, and the constant need for monitoring. This DIY approach simplifies the process, making it accessible to even the most novice gardeners. Imagine the satisfaction of harvesting vibrant, aromatic mint leaves knowing you’ve nurtured them with a sustainable and efficient method.
Beyond the basic technique, there’s room for experimentation. Consider using different types of containers. Terracotta pots, while beautiful, might dry out faster, requiring a slightly larger water reservoir. Plastic pots retain moisture better, but ensure adequate drainage to prevent root rot. You can also explore different types of soil mixes. A blend of potting soil, compost, and perlite provides excellent drainage and nutrient retention.
For those looking to take it a step further, try incorporating slow-release fertilizer into the soil mix. This will provide a steady stream of nutrients to your mint plant, further reducing the need for intervention. Another variation involves using a wicking system, where a cotton rope or strip of fabric draws water from the reservoir to the soil. This is particularly useful in drier climates or for those who tend to forget to refill the reservoir.
Don’t be afraid to experiment with different locations as well. While mint thrives in partial shade, it can tolerate more sunlight with adequate moisture. Observe your plant closely and adjust its location accordingly. If the leaves start to yellow or brown, it might be getting too much sun. If the growth is stunted, it might need more light.
The beauty of this DIY trick is its adaptability. It can be tailored to suit your specific environment and preferences. Whether you’re a seasoned gardener or just starting out, this method offers a simple and effective way to grow mint without the constant worry of watering.
We wholeheartedly encourage you to try this DIY trick and experience the joy of effortlessly growing your own mint. Once you’ve given it a go, we’d love to hear about your experience! Share your tips, variations, and successes in the comments below. Let’s build a community of mint enthusiasts who are passionate about sustainable and efficient gardening. Your insights could help others discover the ease and rewards of growing mint without watering. So, get your hands dirty, experiment, and share your journey with us! Let’s unlock the secrets to effortlessly growing mint together!
Frequently Asked Questions (FAQ)
What type of container is best for this method of growing mint?
The best type of container depends on your environment and personal preference. Plastic pots retain moisture well, which can be beneficial in drier climates or if you tend to forget to refill the water reservoir. However, ensure they have adequate drainage holes to prevent root rot. Terracotta pots are more breathable but may dry out faster, requiring a larger water reservoir or more frequent refills. Ultimately, the key is to choose a container that suits your watering habits and the climate you live in. Consider the size of the container as well; a larger container will hold more soil and water, providing a more stable environment for your mint plant.
How often do I need to refill the water reservoir?
The frequency of refilling the water reservoir depends on several factors, including the size of the reservoir, the type of container, the climate, and the size of your mint plant. In general, check the water level every few days, especially during hot or dry weather. Refill the reservoir when the water level is noticeably low, but before it completely dries out. Over time, you’ll develop a sense of how quickly your plant consumes water and can adjust your refilling schedule accordingly. A good practice is to check the soil moisture level occasionally as well. If the soil feels dry to the touch, even with water in the reservoir, it might indicate that the wicking action is not working effectively, and you may need to adjust the setup.
What type of soil should I use for growing mint without watering?
A well-draining soil mix is crucial for this method. A blend of potting soil, compost, and perlite is ideal. Potting soil provides a good base, compost adds nutrients and improves water retention, and perlite enhances drainage and aeration. Avoid using heavy clay soils, as they can become waterlogged and lead to root rot. You can also add a small amount of slow-release fertilizer to the soil mix to provide a steady supply of nutrients to your mint plant. Experiment with different ratios of these ingredients to find what works best for your specific environment and plant.
Can I use this method for other herbs besides mint?
Yes, this method can be adapted for other herbs that prefer consistently moist soil, such as basil, parsley, and chives. However, it’s important to consider the specific needs of each herb. Some herbs, like rosemary and thyme, prefer drier conditions and may not thrive in a constantly moist environment. Research the specific watering requirements of each herb before applying this method. You may need to adjust the soil mix or the size of the water reservoir to suit the needs of different herbs.
What if my mint plant starts to turn yellow or brown?
Yellowing or browning leaves can indicate several issues. Overwatering is a common cause, even with this method. Ensure that the drainage is adequate and that the soil is not waterlogged. Underwatering can also cause yellowing, so check the water reservoir and refill it as needed. Nutrient deficiencies can also lead to yellowing. Consider adding a diluted liquid fertilizer to the water reservoir or applying a slow-release fertilizer to the soil. Pests and diseases can also cause leaf discoloration. Inspect your plant for any signs of pests or diseases and treat accordingly. Finally, too much direct sunlight can scorch the leaves, causing them to turn brown. Move your plant to a location with partial shade if it’s getting too much sun.
How do I harvest mint leaves without damaging the plant?
The best way to harvest mint leaves is to pinch or cut off the stems just above a leaf node (the point where leaves grow from the stem). This encourages the plant to branch out and produce more leaves. Avoid removing more than one-third of the plant at a time, as this can stress the plant and slow down its growth. Regular harvesting will actually encourage your mint plant to grow bushier and produce more leaves.
Can I grow mint indoors using this method?
Yes, this method is well-suited for growing mint indoors. Place your plant near a sunny window or under a grow light. Ensure that the temperature is consistent and that the humidity is not too low. Indoor environments tend to be drier than outdoor environments, so you may need to monitor the water reservoir more frequently. Also, be mindful of air circulation. Good air circulation helps prevent fungal diseases.
How do I prevent my mint from becoming invasive?
Mint is known for its invasive nature, so it’s important to contain it. Growing mint in a container, as described in this method, is an excellent way to prevent it from spreading. If you choose to plant mint in the ground, consider using a barrier, such as a plastic or metal edging, to prevent the roots from spreading. Regularly prune your mint plant to keep it under control.
What are some common pests and diseases that affect mint?
Common pests that affect mint include aphids, spider mites, and whiteflies. These pests can be controlled with insecticidal soap or neem oil. Common diseases that affect mint include powdery mildew and rust. These diseases can be prevented by ensuring good air circulation and avoiding overwatering. If your plant develops a disease, remove the affected leaves and treat with a fungicide.
Is it possible to grow mint from seed using this method?
While it’s possible to grow mint from seed, it’s generally easier and faster to propagate mint from cuttings. To propagate from cuttings, simply take a stem cutting from an existing mint plant and place it in water until roots develop. Once the roots are a few inches long, you can transplant the cutting into a pot using the method described above. Growing mint from seed can be a bit more challenging, as the seeds can be slow to germinate and the seedlings can be delicate.
Leave a Comment