
Grow Bag Summer Squash: Imagine biting into a juicy, sun-ripened summer squash, bursting with flavor, that you grew yourself, right in your own backyard (or even on your balcony!). Sounds dreamy, doesn’t it? For centuries, cultivating squash has been a cornerstone of many cultures, providing sustenance and a connection to the earth. From the ancient civilizations of the Americas to modern-day gardens, the humble squash has proven its versatility and resilience.
But let’s face it, not everyone has acres of land to dedicate to a sprawling vegetable garden. That’s where the magic of grow bags comes in! I’m here to tell you that you don’t need a huge plot to enjoy the taste of homegrown goodness. This DIY guide will unlock the secrets to successfully growing summer squash in grow bags, even if you’re a complete beginner. We’ll cover everything from choosing the right grow bag and soil to nurturing your plants for a bountiful harvest.
Why is this DIY trick so essential? Because it empowers you to take control of your food source, enjoy fresh, organic produce, and experience the immense satisfaction of nurturing a plant from seed to table. Plus, grow bag summer squash is a fantastic space-saving solution for urban gardeners or anyone with limited outdoor space. So, grab your gardening gloves, and let’s get started on this exciting journey to homegrown summer squash bliss!
Grow Bag Summer Squash: A Bountiful Harvest in Small Spaces
Hey there, fellow gardening enthusiasts! I’m so excited to share my tried-and-true method for growing summer squash in grow bags. If you’re short on space, dealing with poor soil, or just want a convenient way to cultivate these delicious veggies, grow bags are your answer. I’ve had incredible success with this method, and I’m confident you will too. Let’s dive in!
Why Grow Squash in Grow Bags?
Before we get started, let’s quickly touch on why grow bags are fantastic for summer squash:
* Excellent Drainage: Grow bags allow excess water to drain freely, preventing root rot, a common problem with squash.
* Improved Aeration: The breathable fabric of grow bags promotes healthy root development by allowing air to circulate.
* Portability: You can easily move your squash plants to chase the sun or protect them from unexpected frost.
* Space-Saving: Perfect for balconies, patios, or small gardens.
* Warmer Soil: Grow bags tend to warm up faster than in-ground soil, giving your squash a head start in the spring.
Materials You’ll Need
Alright, let’s gather our supplies. Here’s what you’ll need to get started:
* Grow Bags: I recommend 15-20 gallon grow bags for summer squash. This provides ample space for the roots to develop.
* Potting Mix: A high-quality potting mix is crucial. Avoid using garden soil, as it can compact and hinder drainage. I like a mix of peat moss, perlite, and compost.
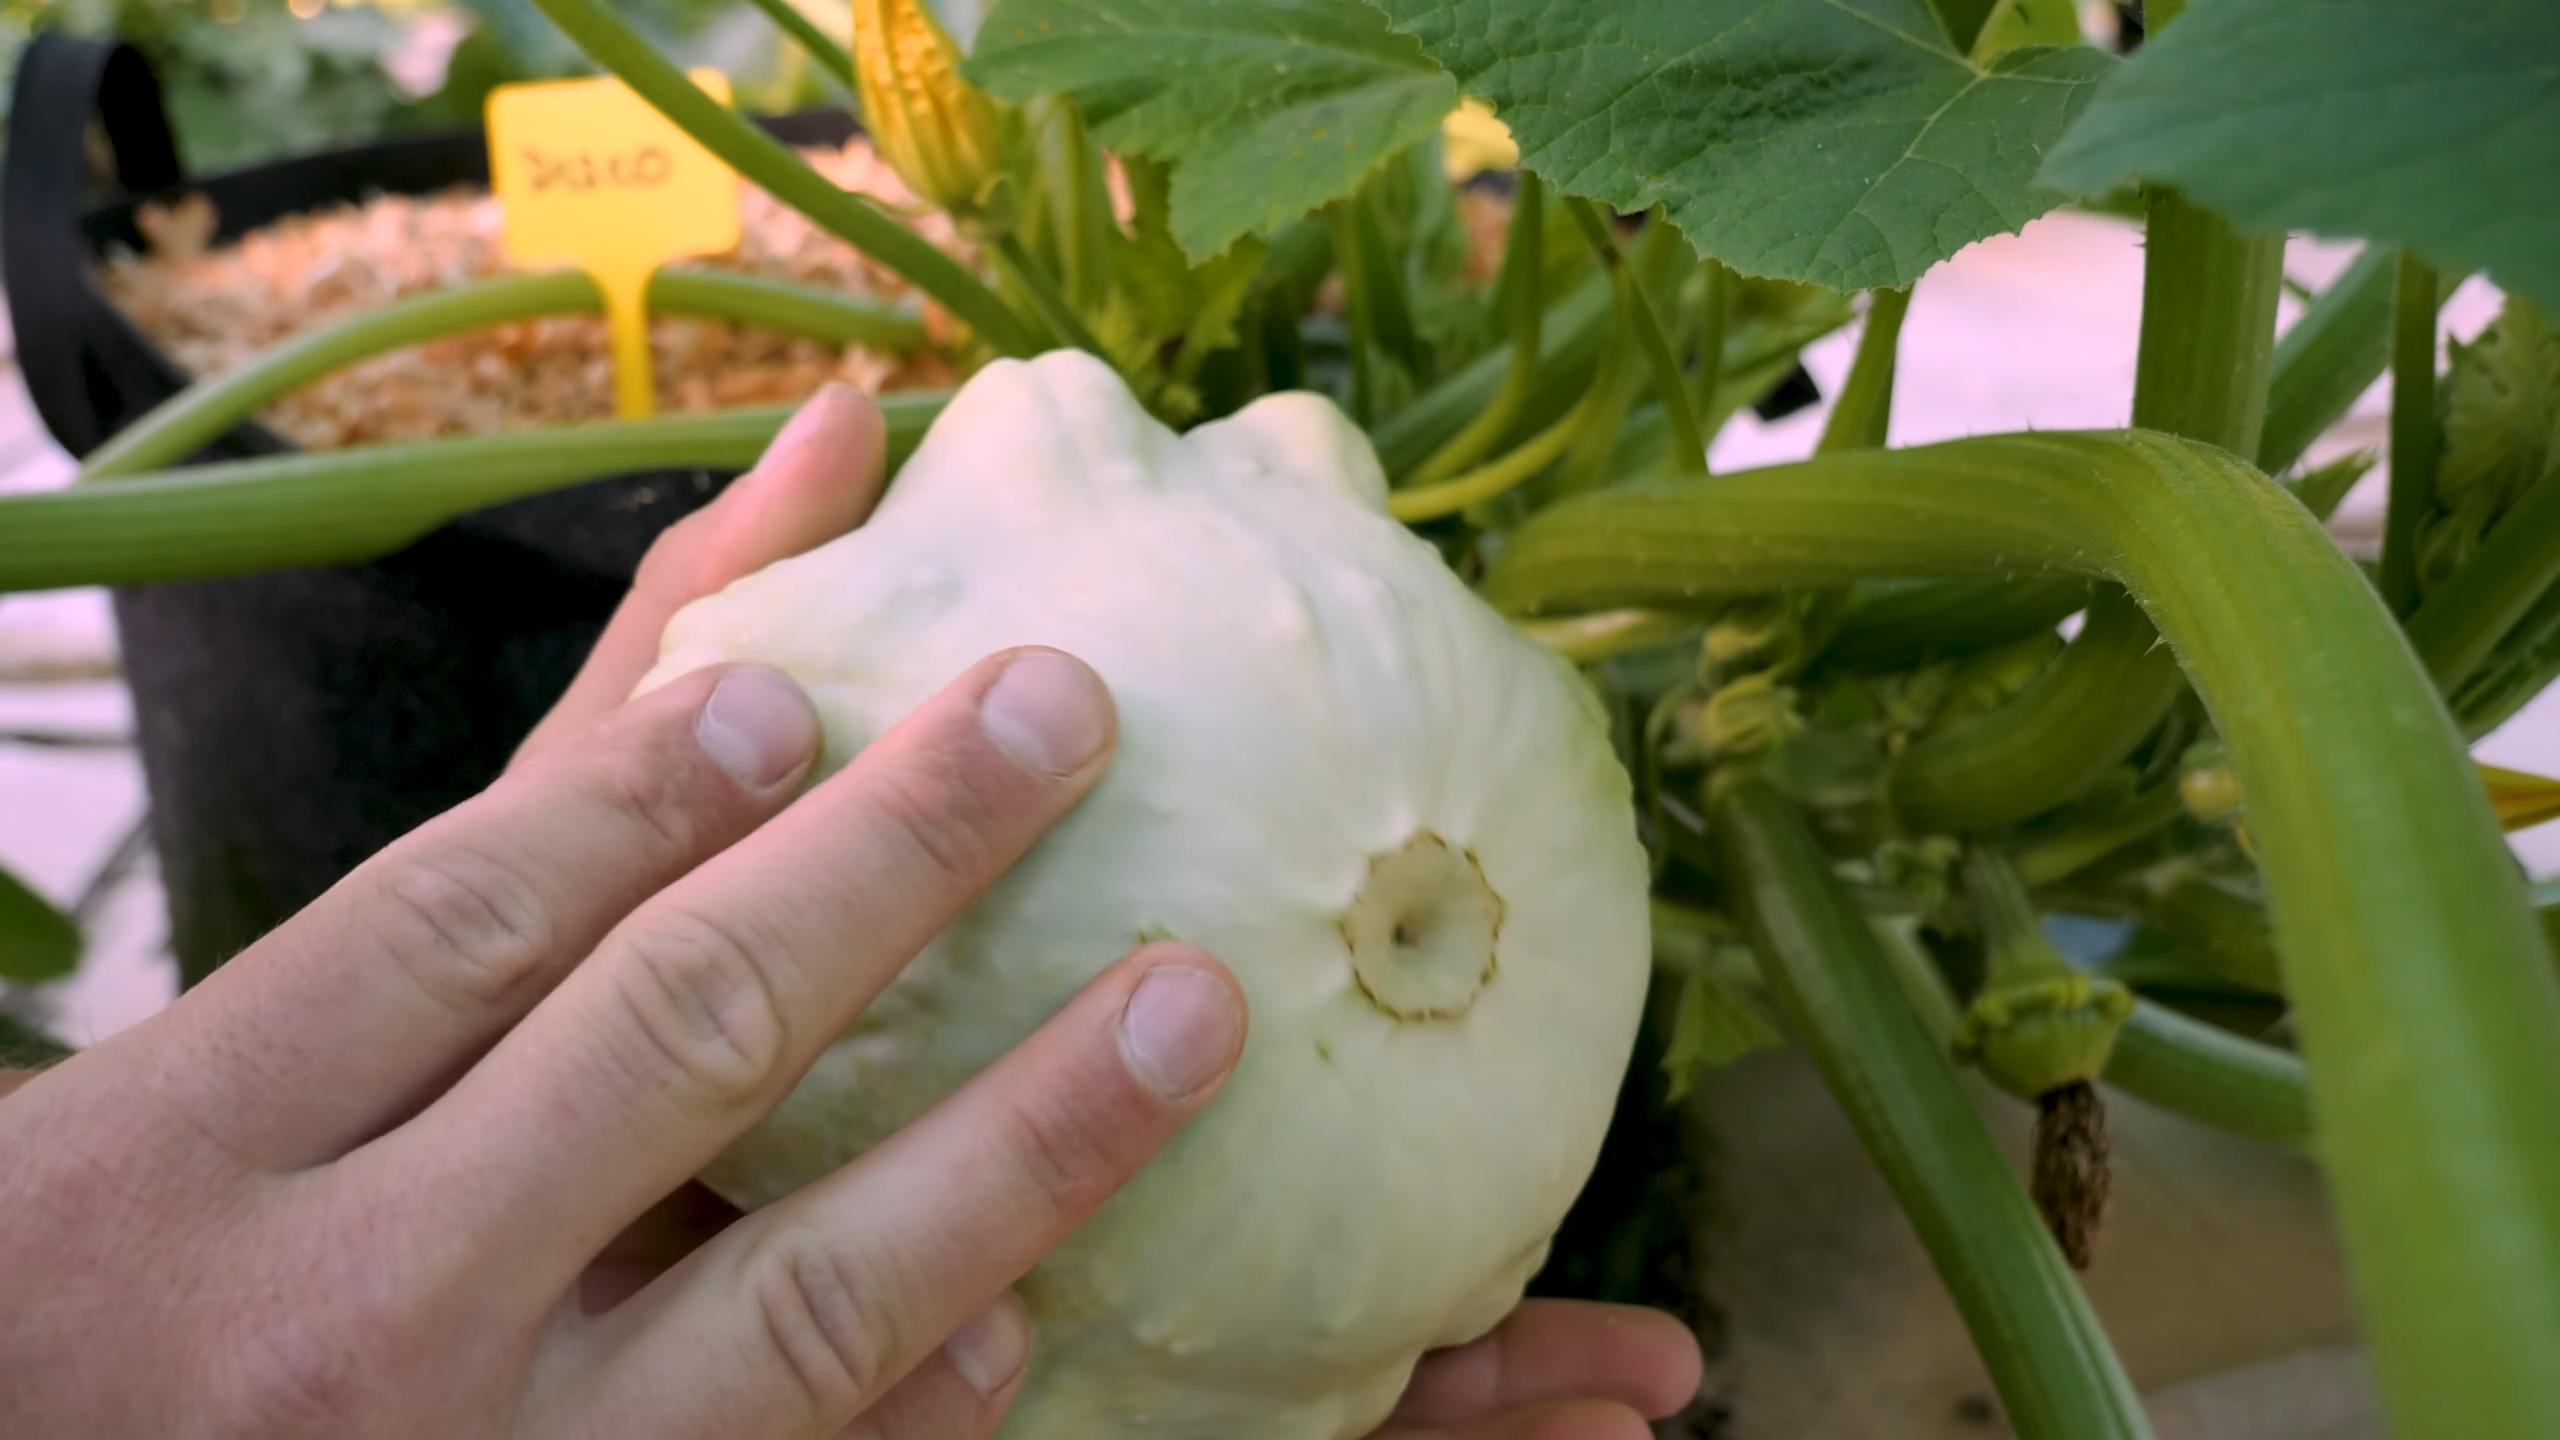
* Summer Squash Seeds or Seedlings: Choose your favorite variety! Zucchini, yellow squash, and pattypan squash all thrive in grow bags.
* Slow-Release Fertilizer: This will provide your plants with a steady supply of nutrients throughout the growing season.
* Watering Can or Hose: For regular watering.
* Trowel or Shovel: For filling the grow bags.
* Optional:
* Tomato Cage or Stakes: To support the plants as they grow. Some bush varieties can get quite large.
* Mulch: To help retain moisture and suppress weeds.
* Gardening Gloves: To keep your hands clean.
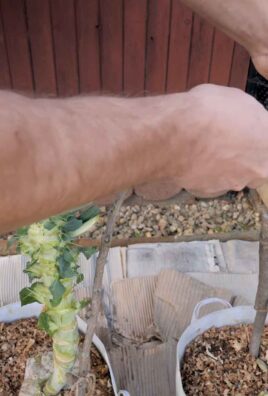
Step-by-Step Guide: Planting Your Summer Squash
Now for the fun part! Let’s get those squash plants growing.
1. Preparing the Grow Bags
* Choose a Location: Select a sunny spot that receives at least 6-8 hours of direct sunlight per day. This is crucial for squash production.
* Position the Grow Bags: Place the empty grow bags in your chosen location *before* filling them. Once they’re full, they’ll be heavy and difficult to move.
* Fill the Grow Bags: Gradually fill the grow bags with your potting mix, leaving about 2-3 inches of space at the top. Gently pat down the soil to remove any air pockets.
* Water Thoroughly: Water the potting mix until it’s evenly moist but not soggy. This will help settle the soil and prepare it for planting.
2. Planting the Seeds or Seedlings
* From Seed:
1. Make a Hole: Create a small hole in the center of the grow bag, about 1 inch deep.
2. Sow the Seeds: Place 2-3 seeds in the hole. This increases the chances of at least one seed germinating.
3. Cover the Seeds: Gently cover the seeds with potting mix and water lightly.
4. Keep Moist: Keep the soil consistently moist until the seeds germinate, which usually takes 7-10 days.
5. Thin Seedlings: Once the seedlings emerge and have a few true leaves, thin them to one strong plant per grow bag. Snip off the weaker seedlings at the soil line to avoid disturbing the roots of the remaining plant.
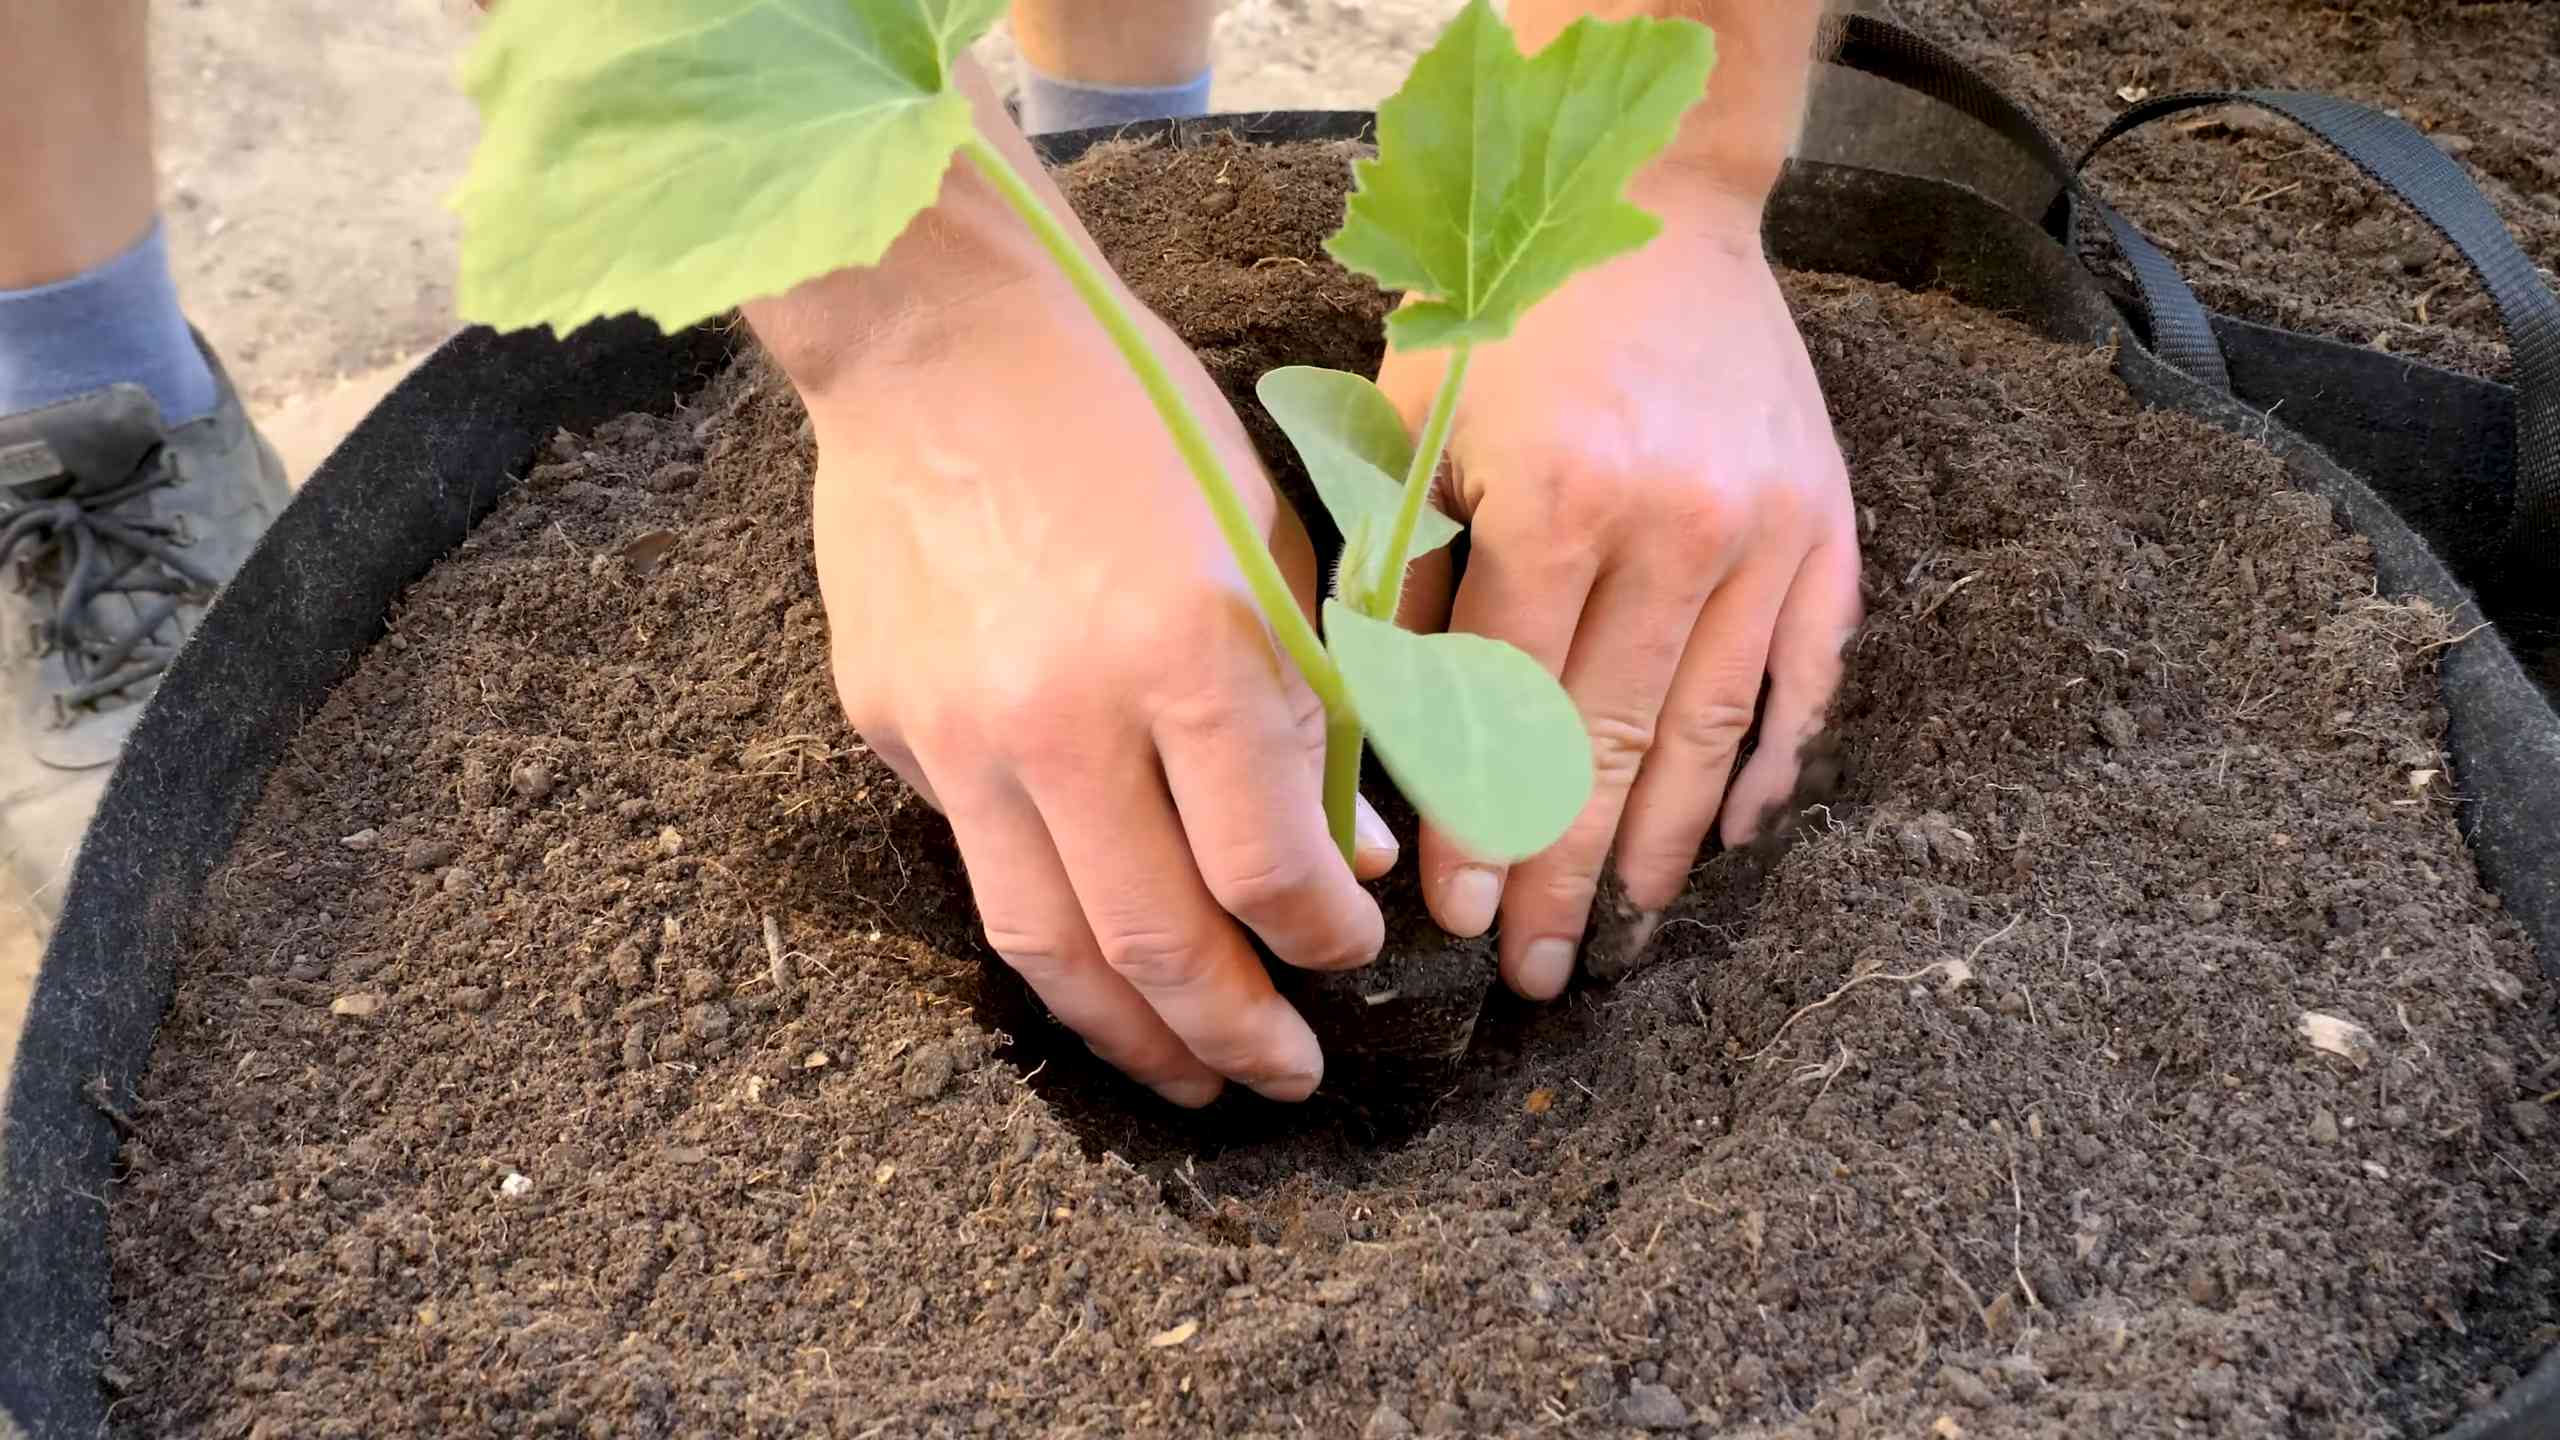
* From Seedlings:
1. Dig a Hole: Dig a hole in the center of the grow bag that’s slightly larger than the root ball of the seedling.
2. Remove the Seedling: Gently remove the seedling from its container, being careful not to damage the roots. If the roots are tightly bound, gently loosen them with your fingers.
3. Place the Seedling: Place the seedling in the hole, ensuring that the top of the root ball is level with the surrounding soil.
4. Fill the Hole: Fill the hole with potting mix and gently pat it down.
5. Water Thoroughly: Water the seedling thoroughly to help it establish its roots.
3. Fertilizing Your Squash Plants
* Slow-Release Fertilizer: Incorporate a slow-release fertilizer into the potting mix at planting time. Follow the instructions on the fertilizer package for the correct amount. This will provide a steady supply of nutrients for several weeks.
* Liquid Fertilizer: After a few weeks, supplement with a liquid fertilizer every 2-3 weeks. Choose a fertilizer that’s high in phosphorus and potassium, which are essential for fruit production. I like to use a balanced fertilizer diluted to half strength.
Caring for Your Summer Squash Plants
Once your squash plants are established, it’s important to provide them with the care they need to thrive.
1. Watering
* Regular Watering: Summer squash needs consistent moisture, especially during hot weather. Water deeply whenever the top inch of soil feels dry to the touch.
* Watering Technique: Water at the base of the plant to avoid wetting the foliage, which can lead to fungal diseases.
* Avoid Overwatering: While squash needs plenty of water, avoid overwatering, which can lead to root rot. The grow bags will help with drainage, but it’s still important to monitor the soil moisture.
2. Sunlight
* Full Sun: As mentioned earlier, summer squash needs at least 6-8 hours of direct sunlight per day. If your plants aren’t getting enough sun, they may produce fewer fruits.
3. Support
* Tomato Cages or Stakes: As your squash plants grow, they may need support to prevent the stems from breaking under the weight of the fruits. Tomato cages or stakes are a great option. Insert the support structure early in the plant’s life to avoid damaging the roots later on.
4. Mulching
* Apply Mulch: Apply a layer of mulch around the base of the plants to help retain moisture, suppress weeds, and regulate soil temperature. Straw, wood chips, or shredded leaves are all good options.
5. Pest and Disease Control
* Monitor Regularly: Keep an eye out for common squash pests, such as squash bugs, squash vine borers, and aphids. Check the undersides of the leaves regularly for signs of infestation.
* Handpick Pests: If you find any pests, handpick them off the plants and dispose of them.
* Insecticidal Soap: For larger infestations, you can use insecticidal soap or neem oil. Follow the instructions on the product label carefully.
* Prevent Fungal Diseases: To prevent fungal diseases, avoid wetting the foliage when watering and ensure good air circulation around the plants. If you notice any signs of fungal disease, such as powdery mildew, treat the plants with a fungicide.
6. Pollination
* Hand Pollination (If Needed): Summer squash plants have separate male and female flowers. The female flowers have a small fruit at the base, while the male flowers do not. Bees and other pollinators typically transfer pollen from the male flowers to the female flowers. However, if you’re not seeing many bees in your garden, you may need to hand-pollinate the flowers.
1. Identify Male and Female Flowers: Locate a newly opened male flower and a newly opened female flower.
2. Collect Pollen: Gently remove the male flower and peel back the petals to expose the pollen-covered stamen.
3. Transfer Pollen: Gently rub the stamen of the male flower onto the stigma of the female flower.
4. Repeat: Repeat this process with several female flowers to ensure good pollination.
5. Best Time: The best time to hand-pollinate is in the morning, when the flowers are fully open.
Harvesting Your Summer Squash
* Harvest Regularly: Summer squash is best harvested when it’s young and tender. The ideal size depends on the variety, but generally, you should harvest zucchini when it’s about 6-8 inches long and yellow squash when it’s about 4-6 inches long.
* Use a Knife: Use a sharp knife to cut the squash from the plant, leaving a short stem attached.
* Check Daily: Check your plants daily
Conclusion
So, there you have it! Growing summer squash in grow bags isn’t just a trend; it’s a game-changer for gardeners of all levels, especially those with limited space or challenging soil conditions. We’ve walked through the simple steps, highlighted the benefits, and armed you with the knowledge to cultivate a bountiful harvest of delicious summer squash right on your patio, balcony, or even a sunny corner of your driveway.
Why is this DIY trick a must-try? Because it offers a level of control and convenience that traditional in-ground gardening often lacks. You can tailor the soil composition to perfectly suit your summer squash’s needs, ensuring optimal drainage and nutrient availability. The portability of grow bags also allows you to chase the sun, maximizing light exposure and promoting vigorous growth. Plus, it’s a fantastic way to avoid common soilborne pests and diseases that can plague in-ground gardens.
But the beauty of this method lies in its adaptability. Feel free to experiment with different varieties of summer squash. Zucchini, yellow squash, pattypan – they all thrive in grow bags. Consider companion planting to further enhance your garden’s health and productivity. Marigolds, for instance, are excellent at deterring pests, while basil can improve the flavor of your squash. You can also try different sizes of grow bags to see what works best for your specific variety and growing conditions. Some gardeners even add a trellis to their grow bags to support vining varieties and maximize vertical space.
Don’t be afraid to get creative with your soil mix, too. While the recommended blend of potting mix, compost, and perlite is a great starting point, you can adjust the ratios based on your local climate and the specific needs of your summer squash. For example, if you live in a particularly hot and dry climate, you might want to add more compost to help retain moisture.
Ultimately, the key to success with grow bag summer squash is observation and responsiveness. Pay close attention to your plants, monitor their growth, and adjust your watering and fertilizing schedule as needed. With a little bit of care and attention, you’ll be rewarded with a steady supply of fresh, homegrown summer squash throughout the season.
We are confident that you’ll find this method rewarding and productive. Now it’s your turn! Grab some grow bags, gather your supplies, and embark on your own summer squash growing adventure. We encourage you to share your experiences with us. Post pictures of your grow bags, tell us about your favorite varieties, and let us know what tips and tricks you’ve discovered along the way. Your insights could help other gardeners achieve even greater success with their grow bag summer squash. Happy gardening!
Frequently Asked Questions (FAQ)
What size grow bag is best for summer squash?
The ideal size grow bag for summer squash is typically between 10 and 20 gallons. A 10-gallon bag is generally sufficient for bush varieties like zucchini or yellow squash, while larger vining varieties may benefit from a 20-gallon bag to accommodate their extensive root systems. The larger the bag, the more soil volume you have, which translates to better water retention and nutrient availability for your plants. However, consider the weight of the filled bag when choosing a size, especially if you plan to move it around.
What kind of soil should I use in my grow bag?
A well-draining and nutrient-rich soil mix is crucial for successful summer squash cultivation in grow bags. A good starting point is a blend of equal parts high-quality potting mix, compost, and perlite. The potting mix provides a good base for root growth, the compost adds essential nutrients and improves water retention, and the perlite enhances drainage and aeration. Avoid using garden soil directly in your grow bags, as it can become compacted and inhibit root growth. You can also amend your soil mix with slow-release fertilizer to provide a steady supply of nutrients throughout the growing season.
How often should I water my summer squash in grow bags?
Watering frequency depends on several factors, including the weather, the size of your grow bag, and the stage of growth of your plants. Generally, you should water your summer squash whenever the top inch of soil feels dry to the touch. During hot and dry weather, you may need to water daily, or even twice a day. Grow bags tend to dry out faster than in-ground gardens, so it’s important to monitor the moisture levels regularly. Water deeply, ensuring that the entire root zone is thoroughly moistened. Avoid overwatering, as this can lead to root rot.
How much sun do summer squash need in grow bags?
Summer squash thrives in full sun, requiring at least 6-8 hours of direct sunlight per day. Choose a location for your grow bags that receives ample sunlight throughout the day. If you live in a particularly hot climate, you may want to provide some afternoon shade to prevent the plants from overheating. The portability of grow bags allows you to easily move them to optimize sun exposure as needed.
Do I need to fertilize my summer squash in grow bags?
Yes, regular fertilization is essential for healthy growth and abundant fruit production. Summer squash are heavy feeders and require a steady supply of nutrients. Start by incorporating a slow-release fertilizer into your soil mix at planting time. Then, supplement with a liquid fertilizer every 2-3 weeks throughout the growing season. Choose a fertilizer that is specifically formulated for vegetables or one that is high in phosphorus and potassium, which are essential for fruit development. Follow the instructions on the fertilizer label carefully to avoid over-fertilizing, which can damage your plants.
How do I prevent pests and diseases in my grow bag summer squash?
While grow bags can help reduce the risk of soilborne pests and diseases, it’s still important to take preventative measures. Inspect your plants regularly for signs of pests or diseases. Common pests that affect summer squash include squash bugs, squash vine borers, and aphids. You can control these pests with insecticidal soap, neem oil, or by handpicking them off the plants. To prevent diseases, ensure good air circulation around your plants, avoid overhead watering, and remove any infected leaves promptly. Companion planting with marigolds or basil can also help deter pests and diseases.
Can I grow other vegetables in grow bags alongside summer squash?
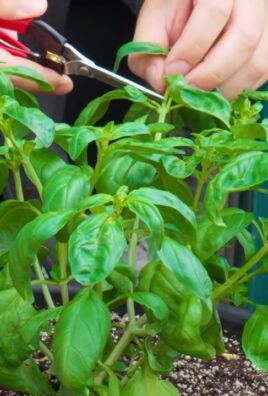
Yes, companion planting can be beneficial for summer squash grown in grow bags. Good companions for summer squash include marigolds, basil, nasturtiums, and beans. Marigolds deter pests, basil improves flavor and repels insects, nasturtiums attract aphids away from the squash, and beans fix nitrogen in the soil, which benefits the squash. Avoid planting summer squash near members of the cabbage family, such as broccoli or cauliflower, as they can compete for nutrients.
How do I harvest summer squash from my grow bags?
Harvest summer squash when the fruits are young and tender, typically when they are about 6-8 inches long. Use a sharp knife or pruning shears to cut the squash from the vine, leaving a short stem attached. Regular harvesting encourages the plant to produce more fruit. Overripe summer squash can become tough and seedy, so it’s best to harvest them frequently.
What do I do with my grow bags at the end of the season?
At the end of the growing season, you can remove the spent plants from your grow bags and compost them. The soil can be amended with fresh compost and used again next year, or you can empty the bags and store them for future use. Grow bags are durable and can last for several seasons with proper care. Be sure to clean the bags thoroughly before storing them to prevent the spread of diseases.
Leave a Comment