
Vinegar and Vaseline Uses: Who knew these two humble household staples could be your secret weapons for a thriving home and garden? I’m always on the lookout for clever DIY solutions, and I’ve stumbled upon some truly amazing vinegar and Vaseline uses that I just had to share with you.
For generations, vinegar has been a go-to cleaner and natural remedy, its acidic properties celebrated across cultures. Vaseline, a petroleum jelly, has been a trusted skin protectant for over a century. But their potential extends far beyond the bathroom cabinet!
Are you tired of battling stubborn stains, dealing with pesky garden pests, or struggling to keep your tools in tip-top shape? I know I am! That’s why I’ve compiled a list of ingenious vinegar and Vaseline uses that will simplify your life and save you money. From revitalizing your plants to protecting your garden tools from rust, these simple tricks will transform the way you approach home and garden maintenance. Get ready to unlock the surprising power of these everyday essentials!
DIY Drain Cleaning Powerhouse: Baking Soda and Vinegar!
Hey everyone! Clogged drains are the bane of my existence. Seriously, nothing is more frustrating than standing in ankle-deep water while showering or watching the sink slowly drain after washing dishes. I’ve tried countless commercial drain cleaners, and honestly, they’re often expensive, harsh, and not always effective. Plus, I’m always a little wary of pouring those chemicals down my pipes.
That’s when I discovered the magic of baking soda and vinegar! It’s a natural, affordable, and surprisingly powerful way to unclog drains. I’m going to walk you through exactly how I use this dynamic duo to keep my drains flowing freely.
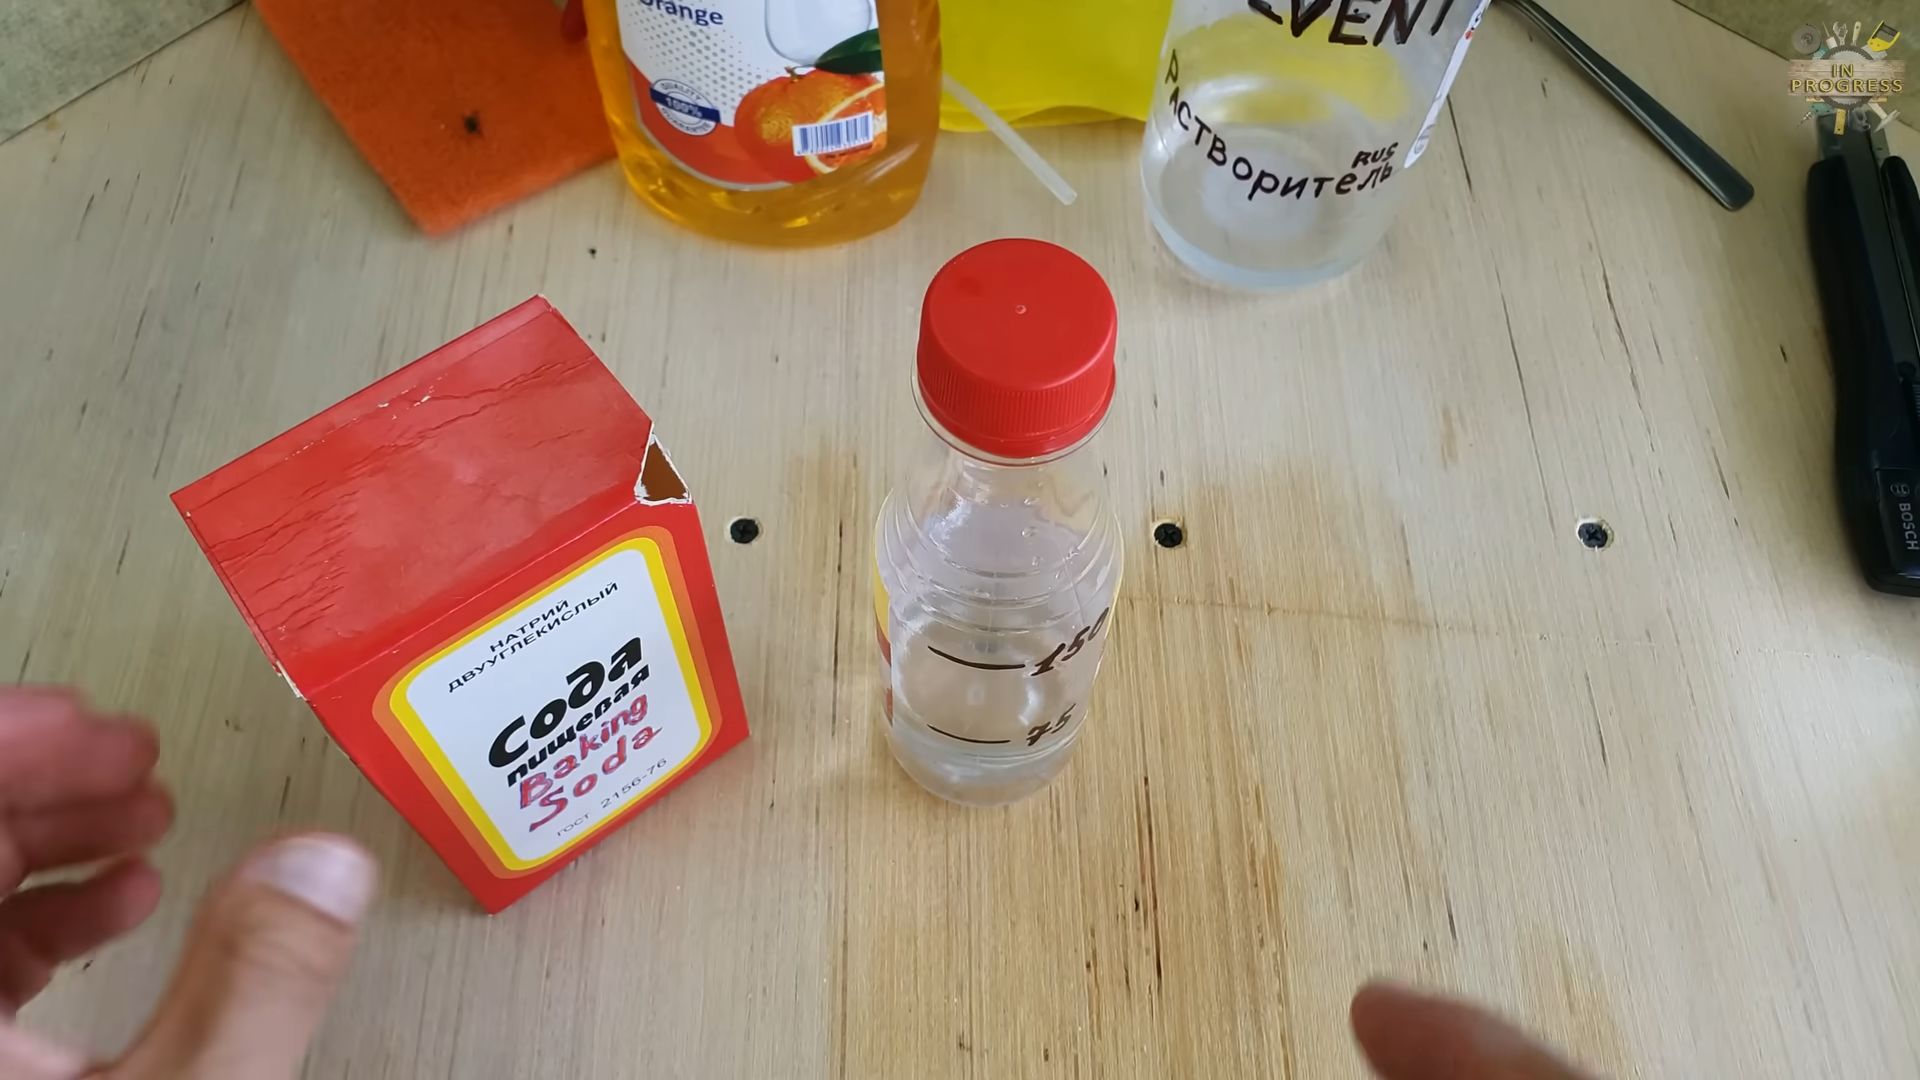
What You’ll Need
Before we get started, gather these simple supplies:
* 1 cup of baking soda
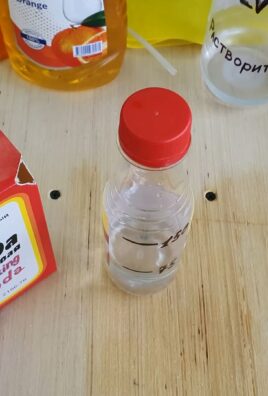
* 1 cup of white vinegar
* Boiling water (a kettle or pot will do)
* A plunger (optional, but helpful for stubborn clogs)
* A spatula or old spoon (to help push baking soda down the drain)
* A timer or your phone
Why This Works: The Science Behind the Fizz
The magic lies in the chemical reaction between baking soda (a base) and vinegar (an acid). When they mix, they create carbon dioxide gas. This fizzing action helps to loosen and break down the gunk and grime that’s clogging your drain. The boiling water then helps to flush everything away. It’s a simple, effective, and eco-friendly solution!
Step-by-Step Drain Unclogging Guide
Okay, let’s get down to business! Here’s how I tackle a clogged drain using baking soda and vinegar:
1. Clear the Area: First things first, remove any standing water from the sink or tub. You want the baking soda and vinegar to directly target the clog, not just sit on top of water. I usually use a cup or small container to scoop out the water.
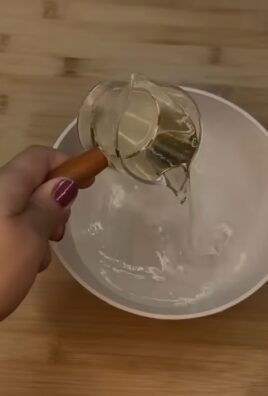
2. Pour in the Baking Soda: This is where the spatula or old spoon comes in handy. Slowly pour one cup of baking soda down the drain. Try to get as much of it down the drain as possible, rather than letting it sit around the edges. The spatula can help you push it down.
3. Add the Vinegar: Now for the fun part! Carefully pour one cup of white vinegar down the drain, right after the baking soda. You’ll immediately see and hear the fizzing action. Don’t be alarmed; this is exactly what we want!
4. Let it Fizz: Let the baking soda and vinegar mixture work its magic for about 30 minutes. This gives the fizzing action time to break down the clog. I usually set a timer on my phone so I don’t forget. During this time, avoid running any water down the drain.
5. Flush with Boiling Water: After 30 minutes, carefully pour a pot or kettle of boiling water down the drain. The hot water helps to flush away the loosened debris. Be careful not to splash yourself with the boiling water.
6. Check the Drain: Turn on the faucet and see if the drain is flowing freely. If the water drains quickly and without any gurgling or bubbling, you’re good to go!
7. Repeat if Necessary: If the drain is still slow or clogged, repeat steps 2-5. Sometimes, a particularly stubborn clog requires a second treatment.
8. Plunger Power (Optional): If the baking soda and vinegar treatment doesn’t completely clear the clog, you can try using a plunger. Make sure there’s enough water in the sink or tub to cover the cup of the plunger. Create a tight seal around the drain opening and plunge vigorously for several minutes.
9. Final Flush: After plunging, flush the drain with hot water again to remove any remaining debris.
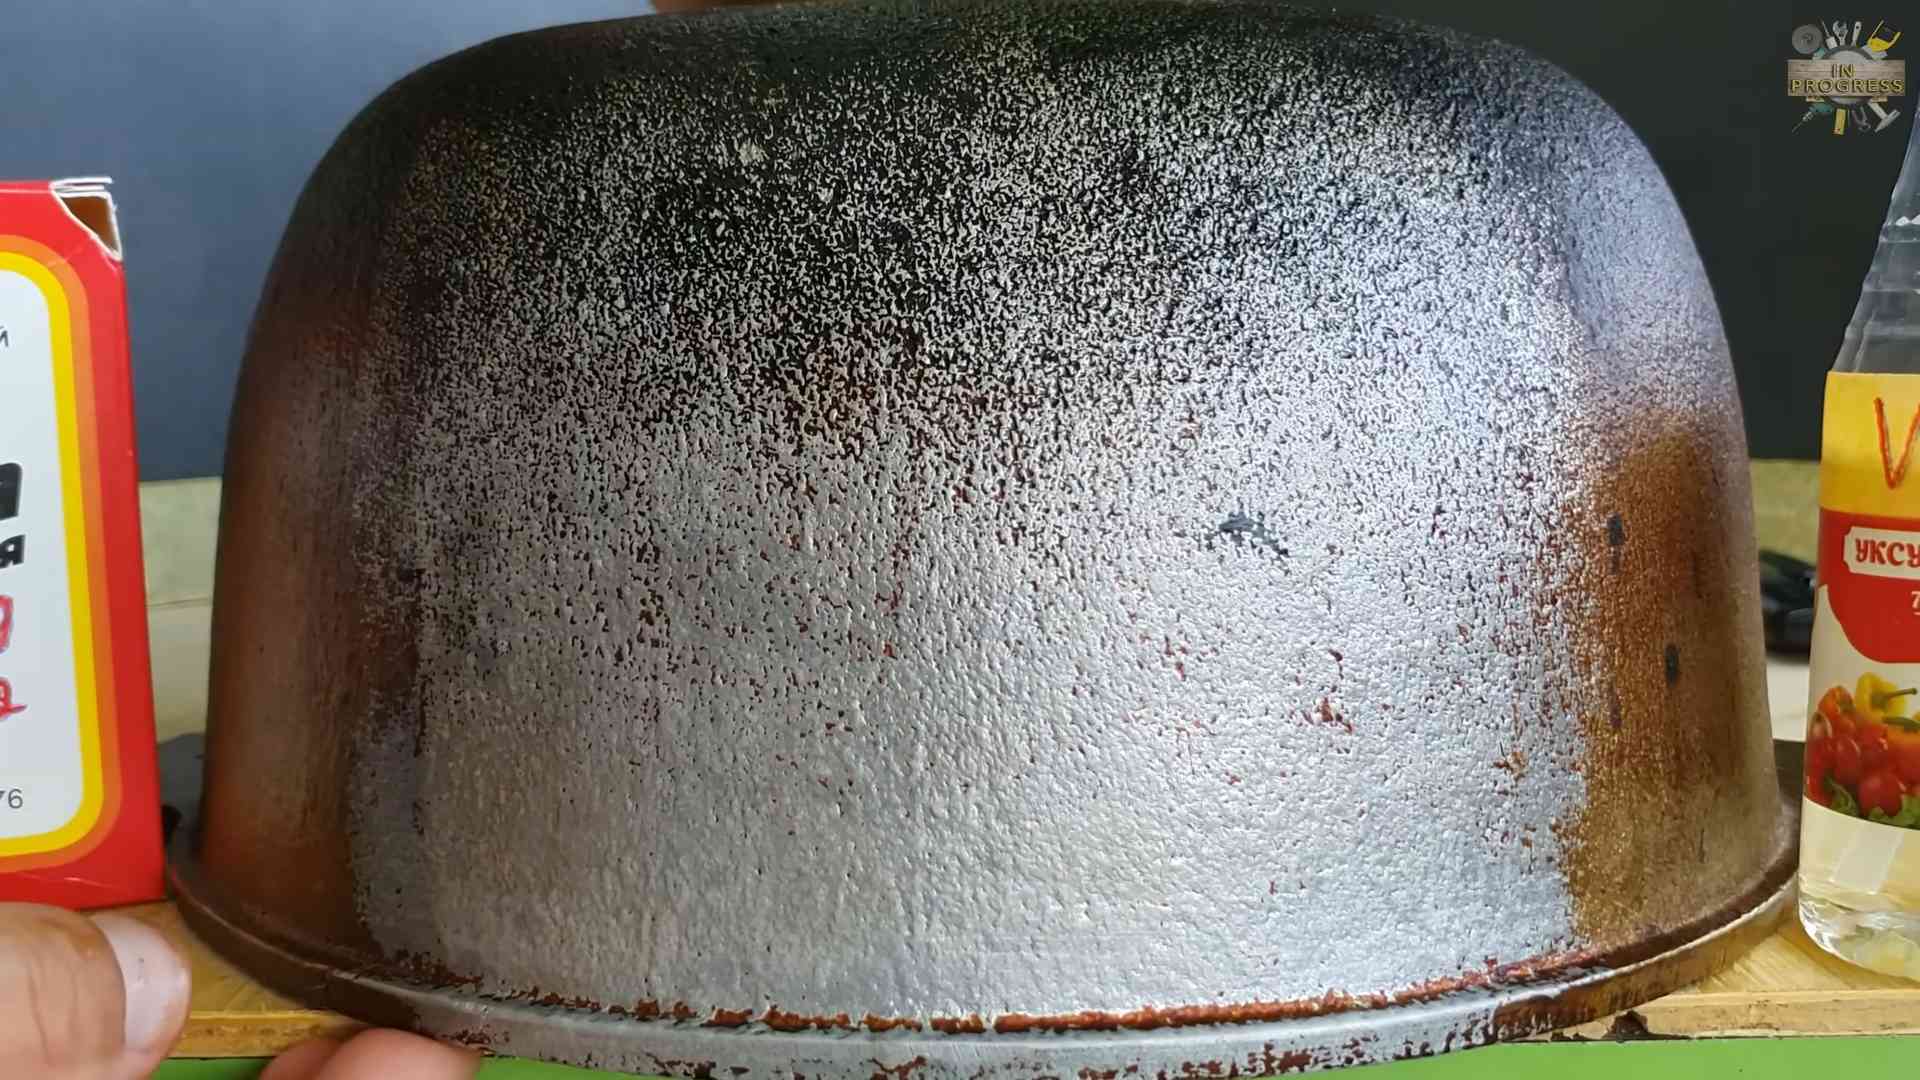
Tackling Different Types of Clogs
The baking soda and vinegar method works well for most common drain clogs, but here are a few tips for specific situations:
* Hair Clogs: Hair is a common culprit for clogged drains, especially in bathroom sinks and showers. If you suspect a hair clog, try using a bent wire hanger or a drain snake to pull out any visible hair before using the baking soda and vinegar.
* Grease Clogs: Grease can solidify in your pipes and create a stubborn clog. Avoid pouring grease down the drain in the first place. For existing grease clogs, the boiling water is especially important to help melt and flush away the grease. You might need to repeat the baking soda and vinegar treatment several times.
* Kitchen Sink Clogs: Food particles can also contribute to kitchen sink clogs. Make sure to scrape plates thoroughly before washing them. A garbage disposal can help, but it’s not a substitute for proper food disposal.
Preventative Maintenance: Keeping Drains Clear
The best way to deal with clogged drains is to prevent them from happening in the first place. Here are a few things I do to keep my drains clear:
* Strainers: Use strainers in your sink and shower drains to catch hair, food particles, and other debris. Clean the strainers regularly to prevent buildup.
* Avoid Grease: Never pour grease down the drain. Instead, let it cool and solidify, then scrape it into the trash.
* Regular Flushing: Once a week, pour a pot of boiling water down each drain to help flush away any buildup.
* Baking Soda and Vinegar Maintenance: Once a month, I’ll do a preventative baking soda and vinegar treatment to keep my drains flowing smoothly. It’s a quick and easy way to avoid future clogs.
Safety First!
While baking soda and vinegar are generally safe, it’s always a good idea to take a few precautions:
* Eye Protection: Wear safety glasses or goggles to protect your eyes from splashes.
* Ventilation: Make sure the area is well-ventilated, especially when using boiling water.
* Avoid Mixing with Other Cleaners: Never mix baking soda and vinegar with other drain cleaners, especially those containing bleach. This can create dangerous fumes.
* Supervise Children and Pets: Keep children and pets away from the area while you’re working on the drain.
Troubleshooting: What to Do If It Doesn’t Work
Sometimes, even the baking soda and vinegar method isn’t enough to clear a particularly stubborn clog. If you’ve tried the steps above and your drain is still clogged, here are a few other options:
* Drain Snake: A drain snake is a flexible tool that you can insert into the drain to break up or pull out clogs. You can find drain snakes at most hardware stores.
* Wet/Dry Vacuum: A wet/dry vacuum can sometimes be used to suck out clogs. Make sure to use the wet setting and be careful not to damage your pipes.
* Call a Plumber: If you’ve tried everything else and your drain is still clogged, it’s time to call a professional plumber. They have the tools and expertise to handle more complex plumbing problems.
Cost-Effective and Eco-Friendly
One of the things I love most about using baking soda and vinegar to unclog drains is that it’s so affordable. Baking soda and vinegar are both inexpensive and readily available. Plus, it’s a much more environmentally friendly option than using harsh chemical drain cleaners. You’re avoiding putting those chemicals into the water system, which is a win for everyone!
My Personal Experience
I’ve been using the baking soda and vinegar method for years, and it’s saved me a lot of money and hassle. I used to dread dealing with clogged drains, but now it’s just a quick and easy task. I especially appreciate that it’s a natural and safe alternative to chemical drain cleaners. I have pets and kids, so I feel much better about using baking soda and vinegar in my home.
I hope this guide has been helpful! Give the baking soda and vinegar method a try the next time you have a clogged drain. You might be surprised at how effective it is. And remember, prevention is key! By following the tips above, you can keep your drains clear and avoid future clogs. Happy unclogging!
Conclusion
So, there you have it! This simple yet surprisingly effective DIY trick using vinegar and Vaseline offers a multitude of benefits, from softening stubborn calluses to restoring shine to dull leather goods. It’s a testament to the power of repurposing everyday household items and discovering innovative solutions for common problems.
Why is this a must-try? Because it’s economical, readily accessible, and delivers noticeable results. Forget expensive creams and specialized cleaning products loaded with harsh chemicals. This vinegar and Vaseline combination provides a gentle, natural alternative that’s kind to your skin and your wallet. The beauty of this method lies in its simplicity. You’re not dealing with complicated formulas or lengthy procedures. Just two ingredients, a few minutes of your time, and you’re on your way to smoother skin, revitalized leather, and a host of other potential applications.
But don’t stop there! Feel free to experiment and adapt this basic formula to suit your specific needs. For example, if you’re using it on your feet, consider adding a few drops of essential oil like lavender or tea tree for their soothing and antiseptic properties. If you’re tackling tough stains on leather, a slightly higher concentration of vinegar might be necessary, but always test a small, inconspicuous area first. Remember, the key is to find the right balance that works best for you.
This vinegar and Vaseline uses hack is more than just a quick fix; it’s a gateway to a more resourceful and sustainable approach to everyday living. It encourages us to look beyond the labels and explore the potential hidden within the items we already have.
We wholeheartedly encourage you to give this DIY trick a try. Whether you’re battling dry skin, trying to revive an old leather jacket, or simply looking for a natural cleaning solution, this combination of vinegar and Vaseline might just be the answer you’ve been searching for.
And most importantly, we want to hear about your experience! Share your results, variations, and any other creative applications you discover in the comments below. Let’s build a community of resourceful individuals who are passionate about finding simple, effective solutions to everyday challenges. Your insights could inspire others and help us all unlock even more potential from this amazing DIY trick. So go ahead, give it a try, and let us know what you think!
Frequently Asked Questions (FAQ)
What exactly does the vinegar do in this mixture?
Vinegar, particularly white vinegar, is a mild acid. This acidity helps to break down dead skin cells, making it an excellent exfoliant. It also possesses cleaning properties, helping to remove dirt, grime, and even some stains. In the context of leather, it can help to lift away embedded dirt and restore some of its natural shine. However, it’s crucial to use it in moderation and dilute it properly, as excessive acidity can damage certain materials.
Why is Vaseline used in combination with vinegar?
Vaseline, or petroleum jelly, acts as an occlusive moisturizer. This means it creates a barrier on the skin’s surface, preventing moisture loss. When used in conjunction with vinegar, which can be drying, Vaseline helps to lock in hydration and protect the skin from irritation. It also softens the skin, making it easier for the vinegar to exfoliate dead cells. In the case of leather, Vaseline helps to condition and protect the material after the vinegar has cleaned it. It adds a layer of moisture and helps to prevent cracking.
Is this vinegar and Vaseline mixture safe for all skin types?
While generally safe, it’s always best to perform a patch test before applying this mixture to a large area of your skin, especially if you have sensitive skin. Apply a small amount to an inconspicuous area, such as the inside of your wrist, and wait 24 hours to see if any irritation occurs. If you experience redness, itching, or burning, discontinue use immediately. People with eczema, psoriasis, or other skin conditions should consult with a dermatologist before trying this DIY trick.
Can I use any type of vinegar?
White vinegar is generally recommended for cleaning and exfoliating purposes due to its clear color and consistent acidity. Apple cider vinegar can also be used, but it may have a slightly different scent and could potentially stain lighter-colored materials. Avoid using colored vinegars, such as balsamic vinegar, as they are likely to stain.
What is the ideal ratio of vinegar to Vaseline?
The ideal ratio depends on the intended use and your skin’s sensitivity. A good starting point is a 1:1 ratio (equal parts vinegar and Vaseline). For more sensitive skin, you can dilute the vinegar further by using a 1:2 ratio (one part vinegar to two parts Vaseline). For tougher stains or calluses, you might try a slightly stronger concentration, but always test a small area first.
How often can I use this vinegar and Vaseline treatment?
For exfoliating skin, using this treatment 1-2 times per week is generally sufficient. Overuse can lead to dryness and irritation. For leather cleaning, use it sparingly and only when necessary. Regular conditioning with a dedicated leather conditioner is still recommended.
Can I use this mixture on my face?
While some people have reported success using this mixture on their face to treat acne or blackheads, it’s generally not recommended due to the potential for irritation. The skin on your face is much more delicate than the skin on your feet or body. There are many other skincare products specifically formulated for facial use that are likely to be more effective and less irritating. If you are still considering using it on your face, proceed with extreme caution and perform a thorough patch test.
How should I store the leftover mixture?
Store any leftover mixture in an airtight container in a cool, dark place. This will help to prevent the vinegar from evaporating and the Vaseline from becoming contaminated. The mixture should be stable for several weeks, but it’s always best to discard it if you notice any changes in color, odor, or consistency.
What are some other potential uses for this vinegar and Vaseline combination?
Beyond softening calluses and cleaning leather, this mixture can also be used to:
* Remove sticky residue from labels or tape.
* Shine chrome fixtures.
* Loosen stuck zippers.
* Protect metal surfaces from rust.
* Moisturize dry elbows and knees.
The possibilities are endless!
What if I don’t have Vaseline? Can I use another type of moisturizer?
While Vaseline is the preferred choice due to its occlusive properties, you can substitute it with another thick, petroleum-based moisturizer. Lanolin or a heavy cream can also work, but they may not provide the same level of protection and hydration. Avoid using water-based lotions, as they will not create the same barrier effect.

Leave a Comment