
DIY Home Repair Projects can seem daunting, I know! But trust me, tackling those little fixes around the house yourself can be incredibly rewarding – and save you a ton of money. Have you ever stared at a wobbly shelf or a dripping faucet and thought, “There has to be a better way than calling a professional?” You’re absolutely right!
For centuries, people have relied on their own ingenuity to maintain and improve their homes. From the early days of building shelters to the modern era of home improvement, the spirit of DIY has been a constant. Think about it – our ancestors didn’t have YouTube tutorials, but they figured it out! This tradition of self-reliance is something we can all tap into.
In today’s world, with rising costs and busy schedules, mastering a few DIY Home Repair Projects is more valuable than ever. Not only will you save money on contractor fees, but you’ll also gain a sense of accomplishment and a deeper connection to your living space. Plus, you’ll be equipped to handle unexpected emergencies without waiting for someone else to come to the rescue. So, let’s dive in and discover some easy and effective DIY home repair tricks that will empower you to take control of your home!
Unlocking the Power of Vinegar and Vaseline: Surprising DIY Hacks You Need to Know
Hey there, fellow DIY enthusiasts! I’m so excited to share some amazing hacks using two incredibly common household items: vinegar and Vaseline. You probably have them sitting in your pantry and bathroom right now, but did you know they can be combined and used separately for so much more than just cooking and moisturizing? Get ready to be amazed!
Vinegar: Your All-Natural Cleaning and Beauty Secret Weapon
Vinegar, especially white distilled vinegar, is a powerhouse. Its acidity makes it a fantastic cleaner, deodorizer, and even a beauty aid. Let’s dive into some specific ways you can use it:
Cleaning with Vinegar: Sparkling Clean Without the Harsh Chemicals
* All-Purpose Cleaner: Ditch those expensive, chemical-laden cleaners! A simple solution of equal parts white vinegar and water in a spray bottle works wonders on countertops, sinks, and even floors (test on an inconspicuous area first, especially with natural stone).
* Microwave Magic: Tired of scrubbing splattered food from your microwave? I know I am! Heat a cup of water with a few tablespoons of vinegar in the microwave for a few minutes until it steams up. Then, simply wipe away the grime. It’s like magic!
* Coffee Maker Detox: Keep your coffee tasting fresh by running a cycle with equal parts vinegar and water through your coffee maker. Follow with a cycle of plain water to rinse.
* Shower Head Savior: Mineral buildup on your shower head can reduce water pressure. Soak your shower head in a bag filled with vinegar overnight to dissolve the deposits. You’ll be amazed at the difference!
* Laundry Booster: Add a cup of vinegar to your washing machine’s rinse cycle to soften clothes, remove odors, and brighten colors. It’s a natural fabric softener!
* Window Wonder: For streak-free windows, mix equal parts vinegar and water in a spray bottle. Wipe with a microfiber cloth for a sparkling finish.
* Toilet Bowl Cleaner: Pour a cup of vinegar into your toilet bowl and let it sit for a few hours, or even overnight. Scrub and flush for a clean and fresh toilet.
Beauty Benefits of Vinegar: Shine and Radiance Naturally
* Hair Rinse for Shine: After shampooing, rinse your hair with a diluted vinegar solution (1-2 tablespoons of vinegar in a cup of water). This helps remove buildup, balance pH, and leave your hair shiny and smooth.
* Foot Soak for Softness: Soak your feet in a warm water bath with a cup of vinegar to soften calluses and soothe tired feet.
* Acne Treatment (Use with Caution!): Diluted vinegar can be used as a spot treatment for acne due to its antibacterial properties. However, be very careful and test on a small area first, as it can be irritating. I recommend diluting it significantly with water.
* Sunburn Relief: Apply a cool compress soaked in diluted vinegar to soothe sunburned skin. The acidity can help relieve inflammation.
Vaseline: The Ultimate Multi-Purpose Moisturizer and Beyond
Vaseline, or petroleum jelly, is a classic for a reason. It’s an occlusive moisturizer, meaning it creates a barrier on the skin to prevent moisture loss. But its uses extend far beyond just dry skin!
Skincare Secrets with Vaseline: Hydration and Protection
* Intense Moisturizer: Apply Vaseline to dry areas like elbows, knees, and heels, especially after showering, to lock in moisture.
* Lip Balm Substitute: Chapped lips? Vaseline is your best friend! Apply a thin layer to keep them hydrated and protected.
* Cuticle Care: Massage Vaseline into your cuticles to keep them soft and prevent hangnails.
* Makeup Remover: Gently massage Vaseline onto your face to dissolve makeup, including stubborn mascara. Wipe away with a soft cloth.
* Night Cream Booster: Apply your regular night cream and then seal it in with a thin layer of Vaseline for extra hydration. This is called “slugging.”
* Eyelash Growth (Anecdotal): Some people swear that applying a thin layer of Vaseline to their eyelashes before bed promotes growth. While there’s no scientific evidence, it can help condition and protect them.
* Preventing Chafing: Apply Vaseline to areas prone to chafing, like thighs or underarms, to create a barrier and reduce friction.
Beyond Skincare: Unexpected Uses for Vaseline
* DIY Lip Scrub: Mix Vaseline with sugar or salt to create a simple and effective lip scrub. Gently massage onto your lips to exfoliate and remove dead skin.
* Stuck Zipper Savior: Apply a small amount of Vaseline to a stuck zipper to help it glide smoothly.
* Shoe Polish: Buff a small amount of Vaseline onto leather shoes to restore shine and protect them from the elements.
* Protecting Skin During Hair Dyeing: Apply Vaseline along your hairline to prevent hair dye from staining your skin.
* Easing Earring Insertion: If you have trouble inserting earrings, apply a tiny bit of Vaseline to the post to help it slide in easily.
* Candle Hack: Place a dab of Vaseline on the rim of your candle jars to prevent wax from dripping down the sides.
* Door Hinge Lubricant: Apply a small amount of Vaseline to squeaky door hinges to silence them.
The Power Couple: Combining Vinegar and Vaseline (Use with Caution!)
While vinegar and Vaseline are fantastic on their own, there’s one particular combination that’s gained popularity, but it’s crucial to approach it with caution:
Vinegar and Vaseline for Cracked Heels (Proceed with Care!)
This hack involves soaking your feet in a vinegar solution and then applying Vaseline to lock in moisture. Here’s how to do it safely:
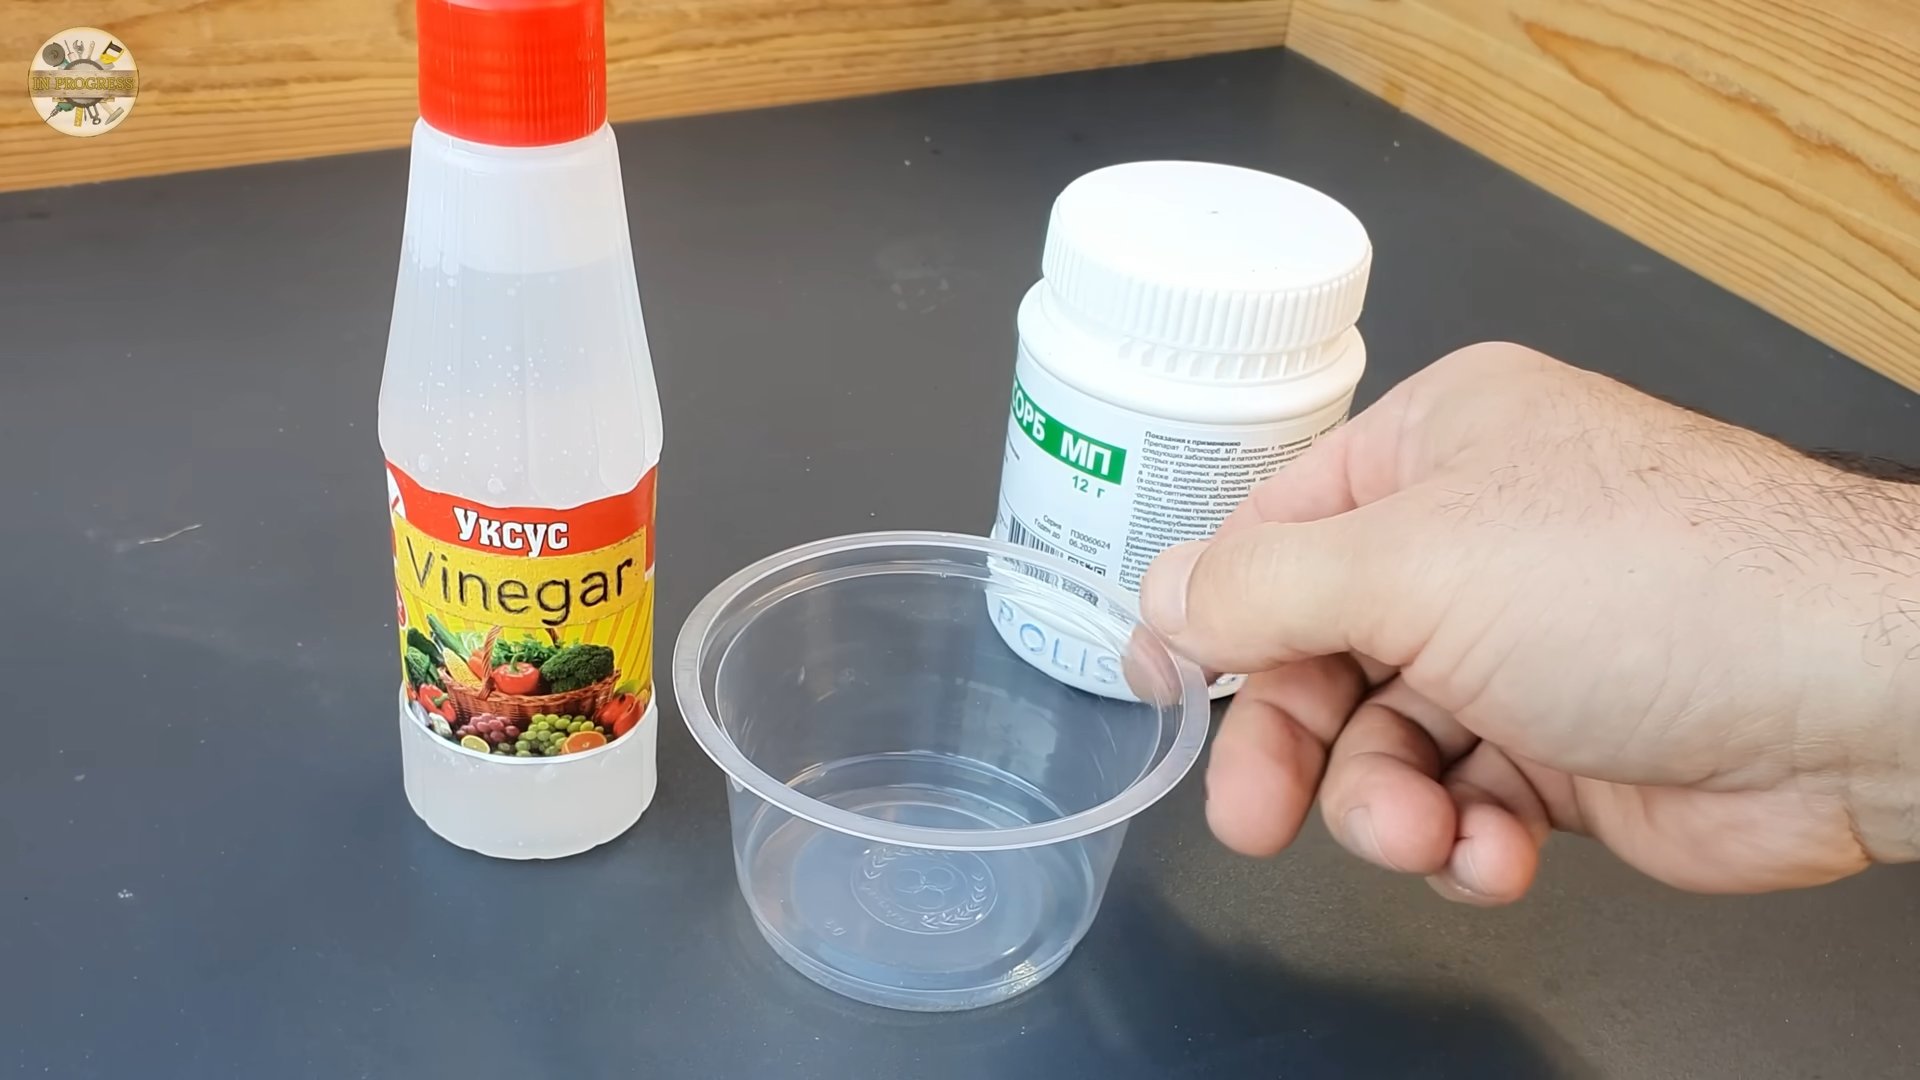
1. Prepare the Vinegar Soak: Fill a basin with warm water and add 1/2 cup of white vinegar.
2. Soak Your Feet: Soak your feet in the vinegar solution for 15-20 minutes. This helps to soften the dead skin and calluses.
3. Pat Dry: Gently pat your feet dry with a clean towel.
4. Apply Vaseline: Generously apply Vaseline to your heels and any other dry areas on your feet.
5. Cover Your Feet: Put on a pair of clean cotton socks to help the Vaseline absorb overnight.
6. Repeat Regularly: Repeat this process several times a week for best results.
Important Considerations:
* Dilution is Key: Always dilute the vinegar properly. Using undiluted vinegar can irritate or even burn your skin.
* Sensitive Skin: If you have sensitive skin, eczema, or any other skin conditions, consult with a dermatologist before trying this hack.
* Open Wounds: Do not use vinegar on open wounds or broken skin.
* Monitor for Irritation: If you experience any redness, itching, or burning, discontinue use immediately.
DIY Recipes Using Vinegar and Vaseline
Here are a couple of simple DIY recipes that incorporate both vinegar and Vaseline:
DIY Exfoliating Foot Scrub
This scrub combines the exfoliating power of sugar with the moisturizing benefits of Vaseline and the softening properties of vinegar.
Ingredients:
* 2 tablespoons Vaseline
* 2 tablespoons granulated sugar
* 1 teaspoon white vinegar
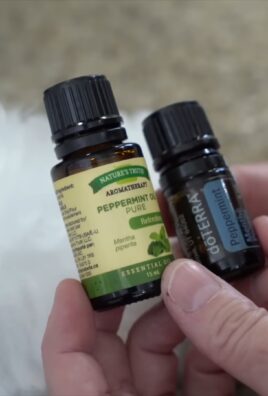
* A few drops of your favorite essential oil (optional)
Instructions:
1. In a small bowl, combine the Vaseline, sugar, and vinegar.
2. Add a few drops of essential oil if desired for fragrance.
3. Mix well until you have a thick paste.
4. Apply the scrub to your feet, focusing on dry and rough areas.
5. Massage gently in circular motions for a few minutes.
6. Rinse with warm water and pat dry.
7. Apply a moisturizer to your feet.
DIY Cuticle Cream
This cream helps to keep your cuticles soft and healthy.
Ingredients:
* 1 tablespoon Vaseline
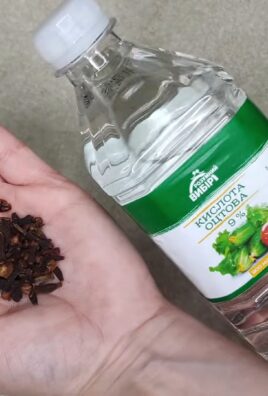
* 1/2 teaspoon apple cider vinegar
* 1/4 teaspoon honey
Instructions:
1. In a small bowl, combine the Vaseline, apple cider vinegar, and honey.
2. Mix well until smooth.
3. Apply a small amount to your cuticles and massage gently.
4. Leave on for a few minutes, then wipe off any excess.
Final Thoughts
I hope you’re as excited as I am about all the amazing things you can do with vinegar and Vaseline! Remember to always use caution and common sense when trying new DIY hacks, and always test on a small area first, especially if you have sensitive skin. Happy experimenting!
Conclusion
So, there you have it! Mastering these simple DIY home repair projects isn’t just about saving money; it’s about empowering yourself to take control of your living space and fostering a deeper connection with your home. From patching up drywall imperfections to silencing that incessantly dripping faucet, these skills are invaluable for any homeowner or renter.
Why is this a must-try? Because it’s more than just a quick fix. It’s about building confidence, learning new skills, and understanding how your home functions. Imagine the satisfaction of knowing you tackled that wobbly shelf or that running toilet all by yourself! Plus, think of the money you’ll save on expensive handyman services. That extra cash can go towards something you truly enjoy, like a weekend getaway or a new piece of furniture to showcase your newly repaired walls.
But don’t stop there! These are just starting points. Feel free to experiment and adapt these techniques to your specific needs and style. For example, when patching drywall, consider using textured paint to blend the repair seamlessly into the existing wall. Or, if you’re feeling adventurous, try creating a decorative patch using stencils or even incorporating a small piece of artwork. When tackling plumbing repairs, always remember to shut off the water supply first! Safety is paramount. You could also explore different types of faucet aerators to improve water efficiency and save even more money on your water bill.
We encourage you to dive in and try these DIY home repair projects. Don’t be afraid to make mistakes – that’s how we learn! Start with a small, manageable project and gradually work your way up to more complex tasks. The internet is full of resources, so don’t hesitate to consult online tutorials or forums for guidance.
And most importantly, share your experience! We want to hear about your successes, your challenges, and any creative variations you come up with. Post photos of your completed projects on social media using #DIYHomeRepair or leave a comment below. Let’s build a community of DIY enthusiasts who are passionate about taking care of their homes and sharing their knowledge with others. Remember, every successful DIY project, no matter how small, is a step towards a more self-sufficient and fulfilling life. So, grab your tools, roll up your sleeves, and get ready to transform your home, one repair at a time! Embrace the power of DIY and discover the satisfaction of creating a space that truly reflects your skills and personality.
Frequently Asked Questions (FAQ)
What are the most essential tools for basic DIY home repair projects?
A well-stocked toolbox is your best friend when it comes to DIY home repair. Some essential tools include:
* A good quality hammer: For driving nails and general demolition.
* A set of screwdrivers (Phillips head and flathead): In various sizes to accommodate different screws.
* An adjustable wrench: For tightening and loosening nuts and bolts.
* Pliers: For gripping, bending, and cutting wires.
* A utility knife: For cutting various materials.
* A measuring tape: For accurate measurements.
* A level: To ensure things are straight and even.
* Safety glasses: To protect your eyes from debris.
* Work gloves: To protect your hands.
* A stud finder: To locate studs behind drywall for secure mounting.
Investing in quality tools will make your DIY projects easier and more enjoyable.
I’m a complete beginner. Where should I start with DIY home repair?
Start with small, manageable projects that don’t require specialized skills or tools. Some good beginner-friendly projects include:
* Patching small holes in drywall: This is a great way to learn basic drywall repair techniques.
* Replacing a light bulb or light fixture: Simple electrical tasks that can save you money.
* Tightening loose screws on furniture: A quick and easy fix that can improve the stability of your furniture.
* Caulking around windows and bathtubs: This can help prevent drafts and water damage.
* Unclogging a drain: A common household problem that you can often solve yourself.
As you gain confidence and experience, you can gradually tackle more complex projects.
How can I find reliable information and tutorials for DIY home repair?
The internet is a treasure trove of information for DIY enthusiasts. Some reliable sources include:
* YouTube: Many channels offer step-by-step video tutorials on various DIY projects.
* Home improvement websites: Websites like This Old House, Family Handyman, and DIY Network offer articles, videos, and forums dedicated to DIY home repair.
* Online forums: Online forums like Reddit’s r/HomeImprovement can provide valuable advice and support from other DIYers.
* Local hardware stores: Many hardware stores offer workshops and classes on basic home repair skills.
* Books and magazines: Libraries and bookstores offer a wide selection of books and magazines on DIY home repair.
Always cross-reference information from multiple sources to ensure accuracy and safety.
What safety precautions should I take when doing DIY home repair?
Safety should always be your top priority when doing DIY home repair. Some important safety precautions include:
* Wear safety glasses to protect your eyes from debris.
* Wear work gloves to protect your hands.
* Turn off the power before working on electrical projects.
* Shut off the water supply before working on plumbing projects.
* Use the right tools for the job.
* Read and follow the manufacturer’s instructions for all tools and materials.
* Work in a well-ventilated area when using paints, solvents, or other chemicals.
* Be aware of your surroundings and avoid distractions.
* If you’re unsure about something, don’t hesitate to ask for help from a professional.
How do I know when to call a professional for a home repair?
While DIY home repair can be empowering and cost-effective, there are times when it’s best to call a professional. Consider hiring a professional for:
* Complex electrical work: Electrical work can be dangerous and requires specialized knowledge and skills.
* Major plumbing repairs: Major plumbing repairs can cause significant water damage if not done correctly.
* Structural repairs: Structural repairs can affect the safety and stability of your home.
* Projects that require permits: Some home repair projects require permits from your local government.
* Projects that you’re not comfortable doing yourself: If you’re unsure about something, it’s always best to err on the side of caution and call a professional.
It’s important to know your limitations and to prioritize safety above all else.
Leave a Comment