
Starting Strawberries From Seed might seem daunting, but trust me, it’s a rewarding journey that unlocks a world of delicious possibilities right in your own backyard! For centuries, strawberries have been cherished, not just for their sweet, juicy flavor, but also for their vibrant color and nutritional benefits. From ancient Roman gardens to medieval monastery plots, these little red gems have held a special place in our hearts and diets.
But why bother with seeds when you can buy starter plants? Well, imagine the satisfaction of nurturing a strawberry plant from its very first sprout! Plus, growing from seed allows you to explore unique and heirloom varieties that you might not find at your local garden center. I know, I know, the thought of tiny seeds and delicate seedlings can be intimidating. That’s why I’ve put together this easy-to-follow guide, packed with simple DIY tricks and hacks to make starting strawberries from seed a breeze.
Think of it: fresh, organic strawberries, bursting with flavor, grown with your own two hands. No more worrying about pesticides or questionable growing practices. Just pure, homegrown goodness. So, grab your seed packets, and let’s embark on this exciting gardening adventure together! I promise, with a little patience and these helpful tips, you’ll be enjoying a bountiful strawberry harvest in no time!
DIY: Transforming Old T-Shirts into Stylish Reusable Shopping Bags
Hey there, fellow DIY enthusiasts! Are you drowning in old t-shirts that you can’t bear to throw away but never wear? Well, I’ve got the perfect solution for you! We’re going to transform those forgotten fabrics into super useful and stylish reusable shopping bags. Not only will you be decluttering your closet, but you’ll also be contributing to a more sustainable lifestyle. Plus, you’ll have a unique bag that’s way cooler than anything you can buy in a store. Let’s get started!
What You’ll Need
Before we dive in, let’s gather our supplies. This project is pretty simple, so you probably already have most of these items lying around:
* An old t-shirt (preferably cotton or a cotton blend). The larger the shirt, the larger the bag!
* Sharp scissors or a rotary cutter.
* A ruler or measuring tape.
* A fabric marker or chalk.
* Sewing machine (optional, but recommended for durability).
* Thread that matches your t-shirt.
* Pins (optional, but helpful for keeping fabric in place).
* Iron and ironing board (optional, but recommended for a neater finish).
* A sturdy bowl or plate (for tracing a rounded neckline, if desired).
Preparing Your T-Shirt
Okay, first things first, we need to prep our t-shirt. This step is crucial for ensuring a clean and professional-looking finished product.
1. Wash and Iron: Start by washing your t-shirt. This will pre-shrink the fabric and remove any dirt or stains. Once it’s dry, give it a good ironing. This will make it much easier to work with and ensure accurate cuts.
2. Lay it Flat: Lay your t-shirt flat on a clean, even surface. Make sure the front and back are aligned. Smooth out any wrinkles or creases.
3. Decide on Bag Depth: Think about how deep you want your bag to be. A good starting point is around 14-16 inches from the bottom hem of the shirt. Use your ruler or measuring tape to measure this distance from the hem upwards.
4. Mark the Cut Line: Using your fabric marker or chalk, draw a straight line across the t-shirt at the point you measured. This is where you’ll be cutting off the neckline and sleeves.
Creating the Bag Body
Now comes the fun part – actually shaping our bag! This is where we’ll be removing the neckline and sleeves to create the opening and armholes.
1. Cut off the Neckline: Carefully cut along the line you marked in the previous step. You can cut straight across for a simple rectangular opening, or you can create a more rounded neckline.
* Rounded Neckline (Optional): If you want a rounded neckline, place your bowl or plate upside down on the t-shirt, with the edge aligned with your marked line. Trace around the bowl or plate with your fabric marker. Then, carefully cut along the traced line.
2. Cut off the Sleeves: Next, we’ll remove the sleeves. Cut along the seam where the sleeves are attached to the body of the t-shirt. Try to cut as close to the seam as possible for a clean finish.
3. Shape the Armholes (Optional): You can leave the armholes as they are, or you can shape them slightly for a more polished look. If you want to shape them, use your scissors to round off the corners of the armholes. Be careful not to cut too much, as this will affect the size of your bag’s opening.
Reinforcing the Bottom Seam
This is a super important step! The bottom seam of your t-shirt is going to be bearing the weight of everything you put in your bag, so we need to make sure it’s strong and secure.
1. Turn the Bag Inside Out: Turn your t-shirt inside out so that the seams are visible.
2. Sew Along the Bottom Seam: Using your sewing machine, sew a straight stitch along the bottom seam of the t-shirt. Sew about 1/4 inch from the existing seam. This will reinforce the seam and prevent it from ripping.
3. Backstitch for Security: At the beginning and end of your stitch, backstitch a few times to secure the thread. This will prevent the seam from unraveling.
4. Optional: Double Stitch: For extra reinforcement, you can sew a second line of stitching along the bottom seam, about 1/4 inch from the first line.
Creating the Handles
Now, let’s create the handles for our bag. There are a few different ways to do this, depending on your preference and the amount of fabric you have left.
1. Option 1: Using the Existing Sleeves: This is the easiest option, especially if you want to minimize waste.
* Cut the Sleeves Open: Cut each sleeve open along the seam.
* Fold and Iron: Fold the long edges of each sleeve inwards towards the center, about 1/2 inch. Iron the folds to create a neat crease.
* Fold Again: Fold the sleeves in half lengthwise, with the folded edges meeting in the middle. Iron again.
* Sew the Handles: Sew along the open edges of each sleeve to create a sturdy handle.
* Attach the Handles: Pin the handles to the top of your bag, on either side of the opening. Make sure the handles are evenly spaced and securely attached.
* Sew the Handles to the Bag: Sew the handles to the bag using a strong stitch. Reinforce the stitching by sewing back and forth a few times.
2. Option 2: Cutting New Handles from the Remaining Fabric: If you don’t want to use the sleeves, or if they’re not long enough, you can cut new handles from the remaining fabric.
* Cut Strips of Fabric: Cut two strips of fabric from the remaining t-shirt material. Each strip should be about 3-4 inches wide and 20-24 inches long (or longer, depending on how long you want your handles to be).
* Fold and Iron: Fold the long edges of each strip inwards towards the center, about 1/2 inch. Iron the folds to create a neat crease.
* Fold Again: Fold the strips in half lengthwise, with the folded edges meeting in the middle. Iron again.
* Sew the Handles: Sew along the open edges of each strip to create a sturdy handle.
* Attach the Handles: Pin the handles to the top of your bag, on either side of the opening. Make sure the handles are evenly spaced and securely attached.
* Sew the Handles to the Bag: Sew the handles to the bag using a strong stitch. Reinforce the stitching by sewing back and forth a few times.
3. Option 3: Using Store-Bought Straps: If you don’t want to make your own handles, you can also use store-bought straps.
* Purchase Straps: Buy two straps of your desired length and width from a fabric store or online retailer.
* Attach the Straps: Pin the straps to the top of your bag, on either side of the opening. Make sure the straps are evenly spaced and securely attached.
* Sew the Straps to the Bag: Sew the straps to the bag using a strong stitch. Reinforce the stitching by sewing back and forth a few times.
Finishing Touches
Almost there! Now, let’s add some finishing touches to make our bag look extra special.
1. Reinforce the Top Edge (Optional): To prevent the top edge of the bag from stretching or fraying, you can reinforce it by folding it over about 1/2 inch and sewing it in place. This will also give the bag a more polished look.
2. Add Pockets (Optional): If you want to add pockets to your bag, you can use scraps of fabric from the t-shirt or other materials. Cut out the desired shape and size for your pocket, fold over the edges, and sew it onto the bag.
3. Embellish Your Bag (Optional): Get creative and personalize your bag with embellishments! You can add fabric paint, embroidery, patches, buttons, or anything else you like.
4. Turn the Bag Right Side Out: Finally, turn your bag right side out.
Final Inspection
Before you start using your new bag, give it a thorough inspection to make sure everything is secure. Check the seams, handles, and any embellishments to make sure they’re firmly attached. Trim any loose threads.
And that’s it! You’ve successfully transformed an old t-shirt into a stylish and reusable shopping bag. Now you can head to the grocery store, farmers market, or anywhere else with your eco
Conclusion
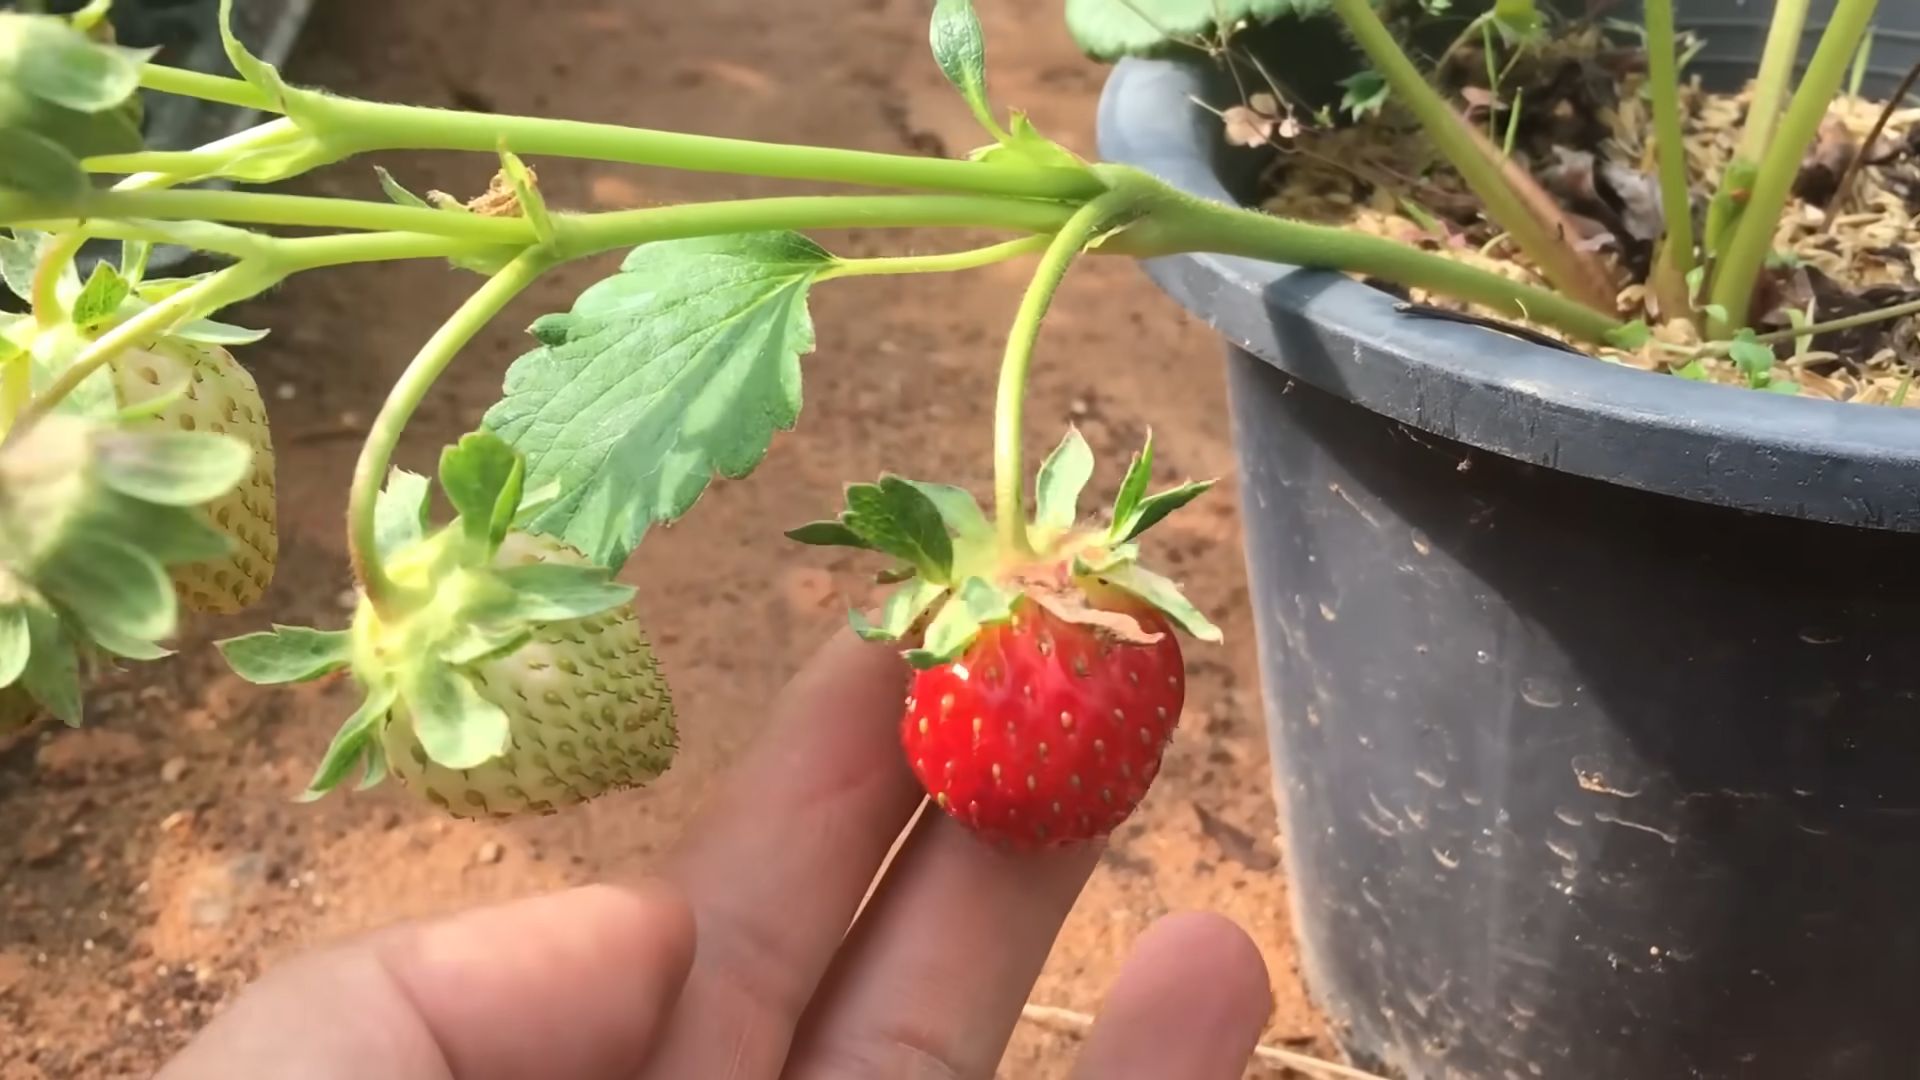
So, there you have it! Starting strawberries from seed might seem like a daunting task at first, but with a little patience and the right approach, you can cultivate your own thriving strawberry patch from the tiniest of beginnings. This DIY trick isn’t just about saving money; it’s about experiencing the full cycle of growth, from seed to delicious, sun-ripened fruit. It’s about connecting with nature and gaining a deeper appreciation for the food we eat.
Why is this a must-try? Because you gain control! You get to choose the exact varieties you want to grow, even those rare or heirloom types that you might not find at your local nursery. Imagine the satisfaction of harvesting a basket full of ‘Alpine’ strawberries, bursting with intense flavor, or the unique sweetness of ‘White Pine’ berries, all grown from seeds you nurtured yourself. Plus, starting from seed allows you to ensure your plants are disease-free from the very beginning, giving them the best possible start in life.
But the benefits don’t stop there. This method encourages self-sufficiency and reduces your reliance on commercially grown produce. You’ll be contributing to a more sustainable food system, one strawberry plant at a time. And let’s be honest, there’s something incredibly rewarding about sharing your homegrown strawberries with friends and family, knowing that you played a part in bringing that joy to their table.
Looking for variations? Consider experimenting with different seed starting mediums. While a standard seed starting mix works well, you could also try using coconut coir or peat moss. Each medium has its own unique properties, and you might find that one works better for you than another. You can also explore different methods of stratification. Some gardeners prefer to stratify their strawberry seeds in the refrigerator, while others opt for a more natural approach by leaving them outdoors over winter.
Another fun variation is to try growing your strawberries in different types of containers. Hanging baskets, raised beds, and even vertical planters can all be used to create a beautiful and productive strawberry garden. Just be sure to choose a container that is large enough to accommodate the plant’s root system and provide adequate drainage.
And don’t forget about companion planting! Strawberries thrive when planted alongside certain other plants, such as basil, thyme, and marigolds. These companion plants can help to deter pests, attract beneficial insects, and even improve the flavor of your strawberries.
Ultimately, the best way to learn is by doing. So, gather your supplies, follow the steps outlined in this guide, and get ready to embark on your own strawberry-growing adventure. We are confident that you will find this **starting strawberries from seed** method to be both rewarding and delicious.
We encourage you to try this DIY trick and share your experience with us! Let us know what varieties you’re growing, what challenges you’ve faced, and what successes you’ve achieved. Share your photos and tips on social media using [Your Hashtag Here]. We can’t wait to see your strawberry gardens flourish! Happy growing!
Frequently Asked Questions (FAQ)
1. What are the best strawberry varieties to start from seed?
The best strawberry varieties to start from seed depend on your climate and personal preferences. Generally, alpine strawberries (like ‘Alexandria’ or ‘Mignonette’) are known for being relatively easy to grow from seed and produce small, intensely flavored berries. Day-neutral varieties (like ‘Albion’ or ‘Seascape’) are also good choices, as they produce fruit throughout the growing season. Heirloom varieties, while sometimes more challenging, offer unique flavors and characteristics. Research varieties that are well-suited to your region and consider starting with a mix to see which ones thrive in your garden.
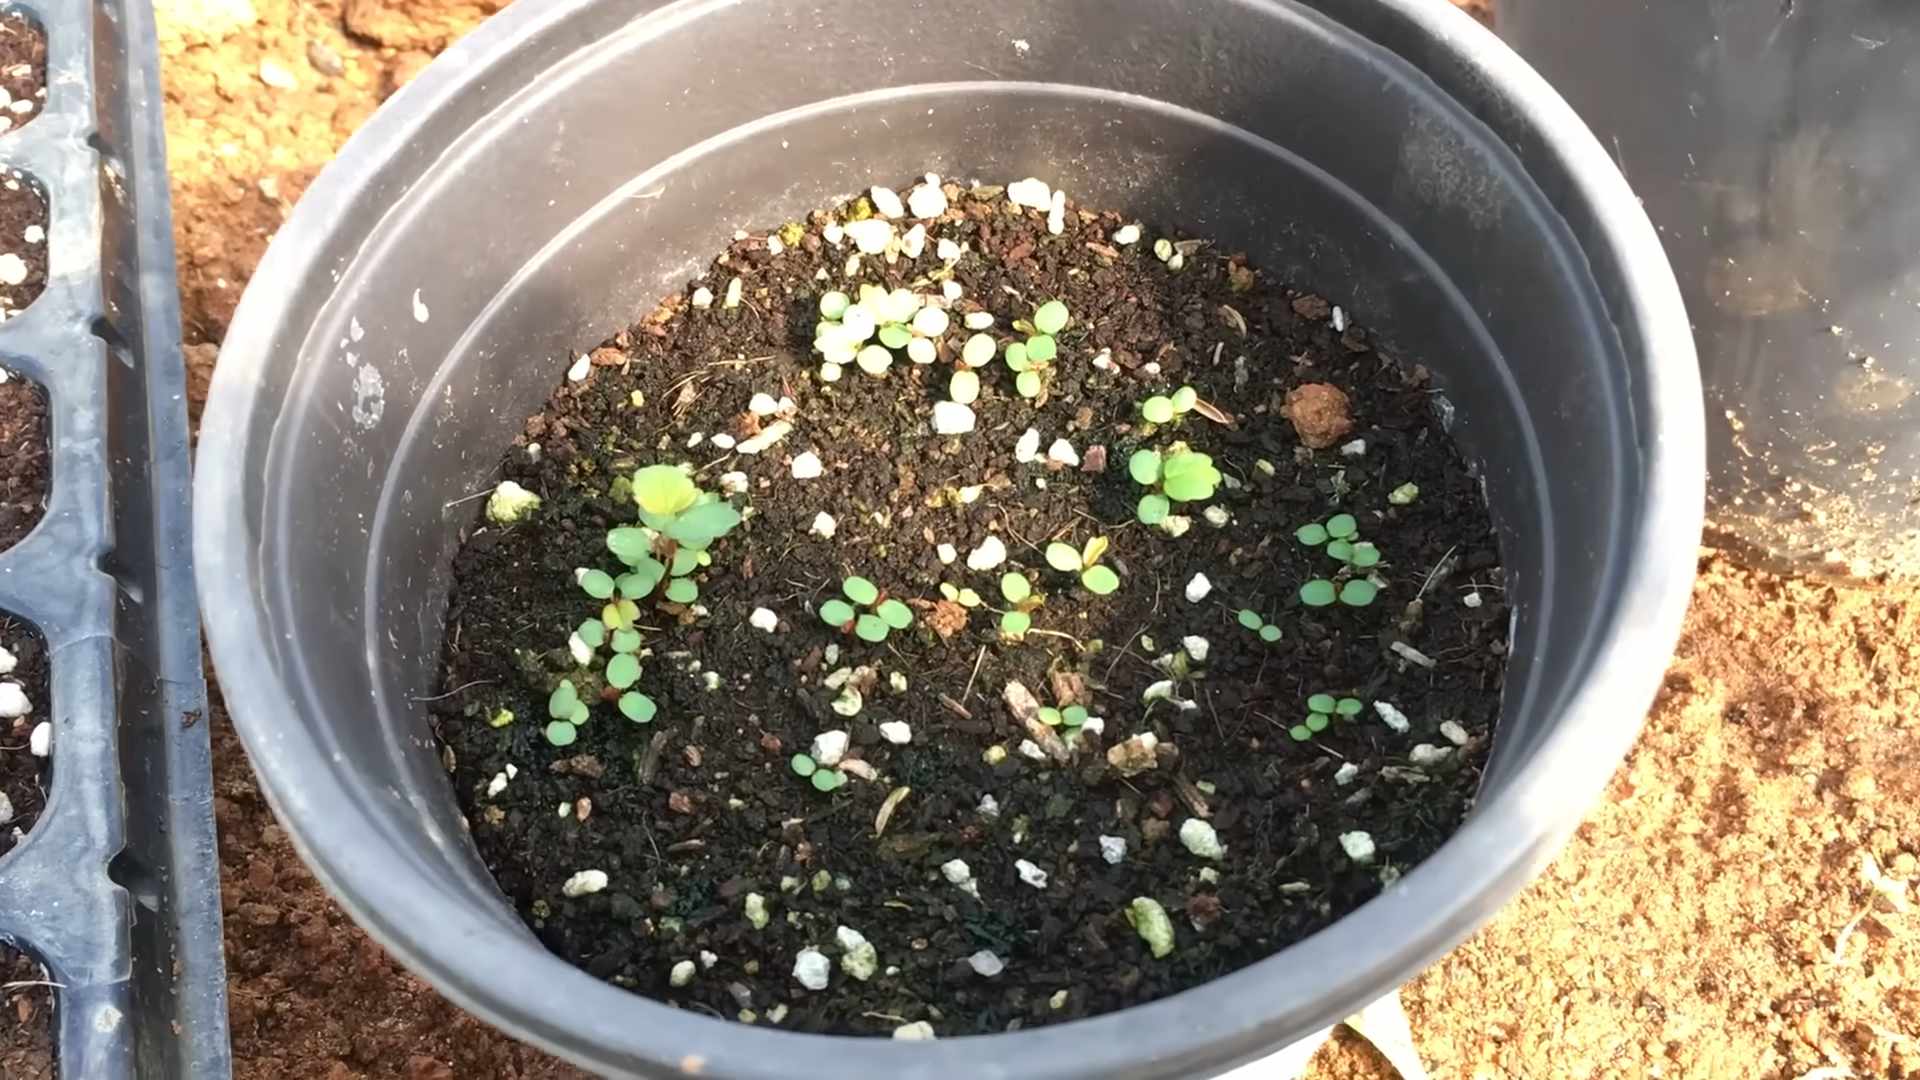
2. How long does it take for strawberry seeds to germinate?
Strawberry seed germination can be a bit unpredictable. Typically, it takes anywhere from 2 to 6 weeks for strawberry seeds to germinate after stratification. However, some seeds may take longer, so patience is key. Maintaining consistent moisture and warmth is crucial during this period. If you haven’t seen any signs of germination after 6 weeks, don’t give up hope! Continue to monitor the seeds and provide the right conditions, as some varieties may simply take longer to sprout.
3. What is stratification and why is it necessary for strawberry seeds?
Stratification is the process of exposing seeds to a period of cold, moist conditions to break their dormancy and encourage germination. Strawberry seeds often require stratification because they have a natural dormancy mechanism that prevents them from sprouting until the conditions are right. This mechanism ensures that the seeds don’t germinate during a warm spell in winter, only to be killed by a subsequent frost. By stratifying the seeds, you are mimicking the natural winter conditions that they would experience in the wild, signaling to them that it is time to germinate.
4. What kind of soil should I use for starting strawberry seeds?
A fine-textured, well-draining seed starting mix is ideal for starting strawberry seeds. Avoid using garden soil, as it can be too heavy and may contain pathogens that can harm the delicate seedlings. Look for a seed starting mix that is specifically formulated for starting seeds, or you can make your own by combining equal parts peat moss (or coconut coir), perlite, and vermiculite. The mix should be moist but not soggy, and it should be free of any large clumps or debris.
5. How often should I water my strawberry seedlings?
Strawberry seedlings need consistent moisture to thrive, but overwatering can lead to fungal diseases and root rot. Water the seedlings when the top of the soil feels dry to the touch. Use a gentle watering can or spray bottle to avoid disturbing the delicate roots. Be sure to water in the morning so that the foliage has time to dry before nightfall. As the seedlings grow larger, you may need to water them more frequently, especially during hot or dry weather.
6. When should I transplant my strawberry seedlings into larger pots or the garden?
Transplant your strawberry seedlings when they have developed at least 2-3 sets of true leaves and are large enough to handle without damaging them. This typically occurs about 6-8 weeks after germination. Before transplanting, harden off the seedlings by gradually exposing them to outdoor conditions for a week or two. This will help them to acclimate to the sun, wind, and temperature changes. When transplanting, choose a sunny location with well-drained soil. Space the plants about 12-18 inches apart to allow for adequate growth.
7. What are some common problems when starting strawberries from seed and how can I fix them?
Some common problems include poor germination, damping off, and slow growth. Poor germination can be caused by using old or improperly stored seeds, insufficient stratification, or inconsistent moisture levels. Damping off is a fungal disease that can kill seedlings, and it is often caused by overwatering or poor ventilation. Slow growth can be caused by insufficient light, nutrient deficiencies, or competition from weeds. To fix these problems, use fresh, high-quality seeds, ensure proper stratification, provide consistent moisture but avoid overwatering, provide adequate light, fertilize with a balanced fertilizer, and keep the area free of weeds.
8. Can I grow strawberries from seed indoors year-round?
Yes, you can grow strawberries from seed indoors year-round, provided you have the right conditions. You will need a sunny window or grow lights to provide adequate light, and you will need to maintain a consistent temperature and humidity level. You will also need to pollinate the flowers manually, as there will be no bees or other pollinators indoors. With proper care, you can enjoy fresh strawberries from your indoor garden all year long.
9. How do I prevent pests and diseases from affecting my strawberry seedlings?
Prevention is key when it comes to pests and diseases. Start by using a sterile seed starting mix and providing good ventilation to prevent damping off. Inspect your seedlings regularly for signs of pests or diseases, and take action immediately if you notice any problems. You can use organic pest control methods, such as insecticidal soap or neem oil, to control pests. To prevent fungal diseases, avoid overwatering and ensure good air circulation. You can also use a fungicide if necessary, but be sure to choose one that is safe for use on edible plants.
10. How long does it take for strawberry plants grown from seed to produce fruit?
Strawberry plants grown from seed typically take longer to produce fruit than those grown from runners or bare-root plants. You can generally expect to harvest your first strawberries about one year after planting the seedlings. However, some varieties may take longer, so be patient. Once the plants start producing fruit, they will continue to do so for several years with proper care.
Leave a Comment