
Grow blueberries in containers and unlock a world of fresh, juicy goodness right on your patio! Imagine stepping outside and plucking sun-ripened blueberries for your morning smoothie or a delightful afternoon snack. Sounds dreamy, right? Well, it’s more achievable than you think, even if you don’t have acres of land. For centuries, cultivating plants in containers has been a way for people to bring nature closer, from the hanging gardens of Babylon to the ornate potted citrus trees of Renaissance Italy.
But why should you consider growing blueberries in containers? Well, maybe you’re short on space, have poor soil, or simply want the flexibility to move your plants around to chase the sun. Whatever your reason, this DIY guide is your ticket to blueberry bliss. I’m going to share some simple yet effective tricks and hacks that will help you successfully grow blueberries in containers, ensuring a bountiful harvest year after year. Forget those expensive supermarket berries – with a little know-how, you can enjoy the unparalleled taste of homegrown blueberries, bursting with flavor and packed with antioxidants. Let’s get started!
Grow Your Own Onions: An Easy DIY Planting Guide
Hey there, fellow garden enthusiasts! I’m so excited to share my super simple method for planting onions. Forget complicated techniques; this guide is all about getting those little onion sets in the ground with minimal fuss and maximum results. I’ve been using this method for years, and I always get a fantastic harvest. Let’s get started!
What You’ll Need
Before we dive in, let’s gather our supplies. Having everything ready beforehand will make the whole process smooth and enjoyable.
* Onion Sets: These are small, immature onion bulbs. You can find them at most garden centers in the spring. Choose varieties that are suited to your climate. I personally love using yellow onions for their versatility, but red and white onions are great choices too!
* Gardening Gloves: Protect your hands from dirt and potential irritants. Trust me, you’ll thank me later!
* Trowel or Garden Knife: For making small holes in the soil. A trowel is my go-to, but a garden knife works just as well.
* Well-Draining Soil: Onions need soil that drains well to prevent rotting. Amend your soil with compost or other organic matter if needed.
* Compost or Aged Manure: To enrich the soil and provide nutrients for your onions.
* Watering Can or Hose: For watering your newly planted onions.
* Optional:
* Measuring Tape or Ruler: To ensure proper spacing between onion sets.
* Mulch (Straw, Wood Chips, or Dried Leaves): To help retain moisture and suppress weeds.
* Fertilizer (Balanced or High in Phosphorus): To give your onions an extra boost. I usually use a slow-release granular fertilizer.
Preparing the Soil: The Foundation for Success
The key to happy onions is happy soil! Taking the time to prepare your soil properly will pay off big time when it comes to harvest.
1. Choose a Sunny Spot: Onions need at least 6-8 hours of sunlight per day. Pick a location in your garden that gets plenty of sunshine.
2. Clear the Area: Remove any weeds, rocks, or debris from the planting area. Weeds compete with your onions for nutrients and water, so it’s important to get rid of them.
3. Loosen the Soil: Use a garden fork or tiller to loosen the soil to a depth of at least 12 inches. This will allow the onion roots to penetrate easily.
4. Amend the Soil: Mix in plenty of compost or aged manure to enrich the soil. Onions are heavy feeders, so they need a nutrient-rich environment. I usually add a generous layer of compost, about 2-3 inches thick.
5. Level the Soil: Rake the soil smooth to create a level planting surface. This will ensure that your onions are planted at the same depth.
Planting Your Onion Sets: Getting Them in the Ground
Now for the fun part – planting those little onion sets! This is where you’ll start to see your garden come to life.
1. Spacing: Space your onion sets about 4-6 inches apart in rows that are 12-18 inches apart. Proper spacing is crucial for allowing the onions to grow to their full size. If you’re using a measuring tape, great! If not, just eyeball it – I usually do!
2. Making the Holes: Use your trowel or garden knife to create small holes that are about 1-2 inches deep. The holes should be just deep enough to cover the onion set, leaving the tip exposed.
3. Planting the Sets: Place each onion set in a hole, root end down. Make sure the pointy end is facing up.
4. Covering the Sets: Gently cover the onion sets with soil, leaving the very tip of the bulb exposed. Don’t pack the soil down too tightly.
5. Watering: Water the newly planted onion sets thoroughly. This will help settle the soil and encourage root growth.
Mulching (Optional but Recommended): A Gardener’s Best Friend
Mulching is a fantastic way to improve your garden’s health and make your life easier. I highly recommend it for onions!
1. Choose Your Mulch: Select a mulch material such as straw, wood chips, or dried leaves. I personally prefer straw because it’s readily available and breaks down easily.
2. Apply the Mulch: Spread a 2-3 inch layer of mulch around your onion plants, being careful not to cover the bulbs themselves.
3. Benefits of Mulch: Mulch helps retain moisture in the soil, suppress weeds, and regulate soil temperature. It’s a win-win-win!
Caring for Your Onions: Keeping Them Happy and Healthy
Once your onions are planted, it’s important to provide them with the care they need to thrive.
1. Watering: Water your onions regularly, especially during dry periods. Onions need consistent moisture to grow properly. Aim for about 1 inch of water per week. Check the soil moisture by sticking your finger into the soil. If it feels dry, it’s time to water.
2. Weeding: Keep the area around your onions free of weeds. Weeds compete with your onions for nutrients and water. Hand-pull weeds regularly or use a hoe to cultivate the soil.
3. Fertilizing: Fertilize your onions every 2-3 weeks with a balanced fertilizer or one that is high in phosphorus. This will help promote bulb development. Follow the instructions on the fertilizer package. I like to use a liquid fertilizer diluted in water for easy application.
4. Pest and Disease Control: Keep an eye out for pests and diseases. Common onion pests include onion maggots and thrips. Common diseases include onion rot and downy mildew. If you notice any problems, take action immediately. There are many organic and chemical control options available. I prefer to use organic methods whenever possible.
5. Bolting: Sometimes, onions will “bolt,” which means they send up a flower stalk. This usually happens when the onions are stressed by temperature fluctuations. If your onions bolt, remove the flower stalk as soon as you see it. Bolting will reduce the size of the onion bulb.
Harvesting Your Onions: The Sweet Reward
After all your hard work, it’s time to reap the rewards! Harvesting your own onions is incredibly satisfying.
1. When to Harvest: Onions are typically ready to harvest when the tops start to fall over and turn yellow or brown. This usually happens about 90-120 days after planting.
2. Loosening the Soil: Before harvesting, loosen the soil around the onions with a garden fork. This will make it easier to pull them out of the ground.
3. Pulling the Onions: Gently pull the onions out of the ground, being careful not to damage them.
4. Curing the Onions: After harvesting, cure the onions by laying them out in a warm, dry, well-ventilated place for 1-2 weeks. This will help them dry out and prevent rotting. You can cure them on a screen, in a shed, or even in your garage.
5. Storing the Onions: Once the onions are cured, store them in a cool, dry, dark place. You can store them in mesh bags, crates, or even old pantyhose. Properly cured and stored onions can last for several months.
Troubleshooting: Common Onion Growing Problems
Even with the best care, sometimes things can go wrong. Here are a few common problems you might encounter and how to deal with them:
* Yellowing Leaves: This can be caused by a variety of factors, including lack of water, nutrient deficiencies, or pests and diseases. Make sure your onions are getting enough water and fertilizer. Check for pests and diseases and take action if necessary.
* Small Bulbs: This can be caused by overcrowding, lack of nutrients, or bolting. Make sure your onions are properly spaced and fertilized. Remove any flower stalks as soon as you see them.
* Rotting Onions: This is usually caused by overwatering or poor drainage. Make sure your soil drains well and avoid overwatering.
* Pest Infestations: Keep an eye out for pests such as onion maggots and thrips. Use organic or chemical control methods as needed.
Enjoy Your Homegrown Onions!
And there you have it! A simple, straightforward guide to planting and growing your own onions. I hope this helps you have a bountiful harvest. There’s nothing quite like the taste of homegrown onions, and I know you’ll enjoy them in all your favorite dishes. Happy gardening!
Conclusion
So, there you have it! Growing blueberries in containers isn’t just a gardening trend; it’s a game-changer for anyone craving fresh, juicy blueberries, regardless of their space limitations. We’ve walked through the essential steps, from selecting the right blueberry variety and container size to mastering the acidic soil mix and providing optimal sunlight and watering. This DIY approach puts you in complete control of your blueberry bounty, ensuring you get the sweetest, most flavorful berries possible.
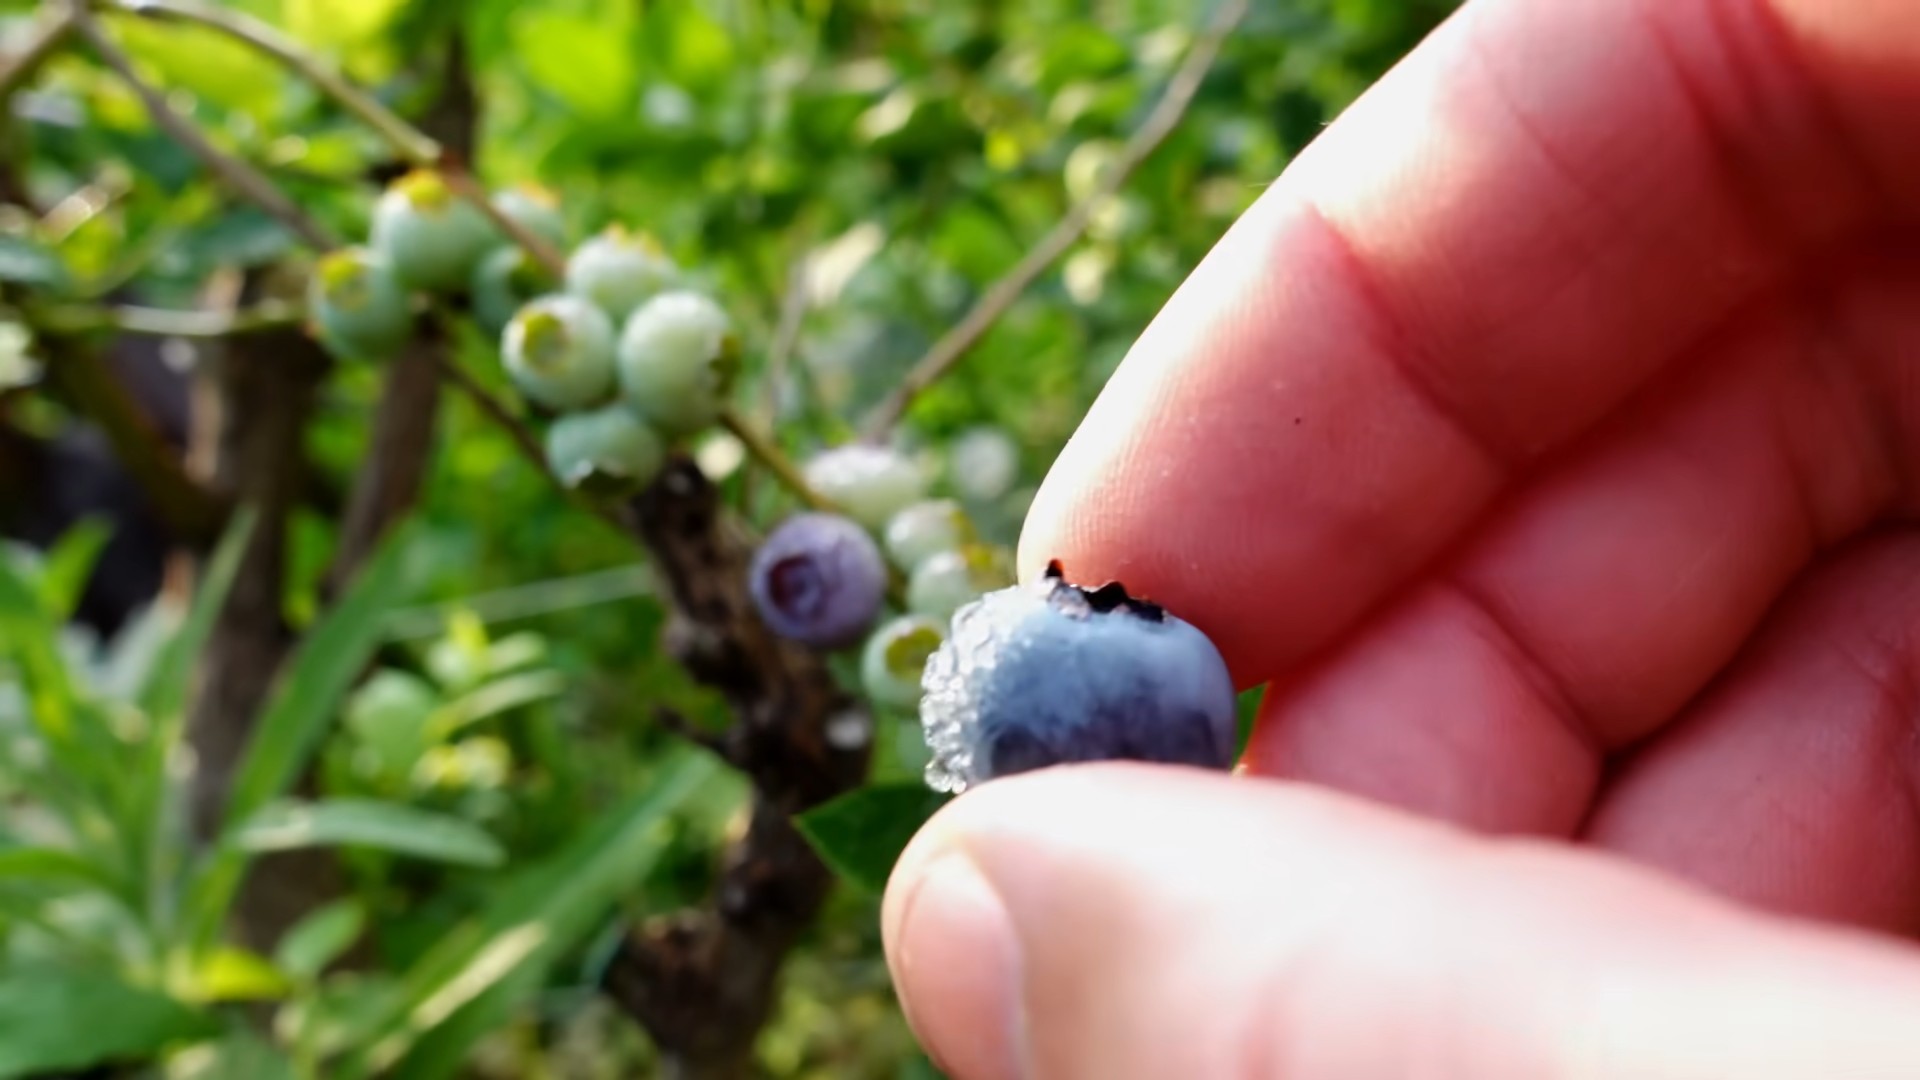
Why is this a must-try? Because it democratizes blueberry cultivation. No longer are these antioxidant-rich gems reserved for those with sprawling acres and naturally acidic soil. Container gardening brings the joy of harvesting your own fruit right to your doorstep, balcony, or patio. Imagine stepping outside and plucking sun-ripened blueberries straight from the bush – a truly rewarding experience!
But the beauty of this method lies in its adaptability. Feel free to experiment with different blueberry varieties to find your personal favorite. Consider adding companion plants like marigolds or basil to your containers to deter pests and attract pollinators. You can even create a tiered container garden for a visually stunning and space-efficient blueberry haven.
Don’t be afraid to get creative with your container choices, too. While plastic pots are practical, terracotta or even repurposed wooden crates can add a touch of rustic charm to your garden. Just ensure proper drainage is always a priority.
We’ve covered the basics, but the real magic happens when you put these tips into practice. Embrace the learning process, observe your blueberry plants closely, and adjust your care routine as needed. Remember, gardening is a journey, not a destination.
Ready to embark on your blueberry-growing adventure? We wholeheartedly encourage you to give this DIY trick a try. The satisfaction of harvesting your own homegrown blueberries is unparalleled. And the best part? You’ll be enjoying the fruits (literally!) of your labor for years to come.
Once you’ve started your container blueberry garden, we’d love to hear about your experiences! Share your successes, challenges, and any variations you’ve tried in the comments below. Let’s build a community of container blueberry enthusiasts and learn from each other. Happy growing!
Frequently Asked Questions (FAQ)
What is the best type of blueberry to grow in a container?
The best blueberry varieties for container growing are generally the smaller, more compact types. Look for “half-high” or “dwarf” varieties like ‘Top Hat,’ ‘Sunshine Blue,’ ‘Peach Sorbet,’ or ‘Jelly Bean.’ These varieties are specifically bred for smaller spaces and tend to thrive in pots. They also offer a good balance of flavor and productivity. Remember to check the chill hour requirements of the variety you choose to ensure it’s suitable for your local climate. Southern Highbush varieties are also a good choice for warmer climates.
How big of a container do I need for blueberries?
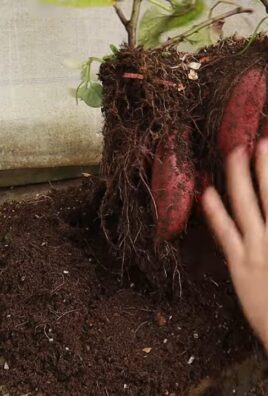
A general rule of thumb is to start with a container that is at least 18-24 inches in diameter and depth. This provides ample space for the blueberry plant’s root system to develop. As the plant grows, you may need to repot it into a larger container. A mature blueberry bush in a container may eventually require a pot that is 24-30 inches in diameter. Ensure the container has adequate drainage holes to prevent waterlogging.
What kind of soil is best for container blueberries?
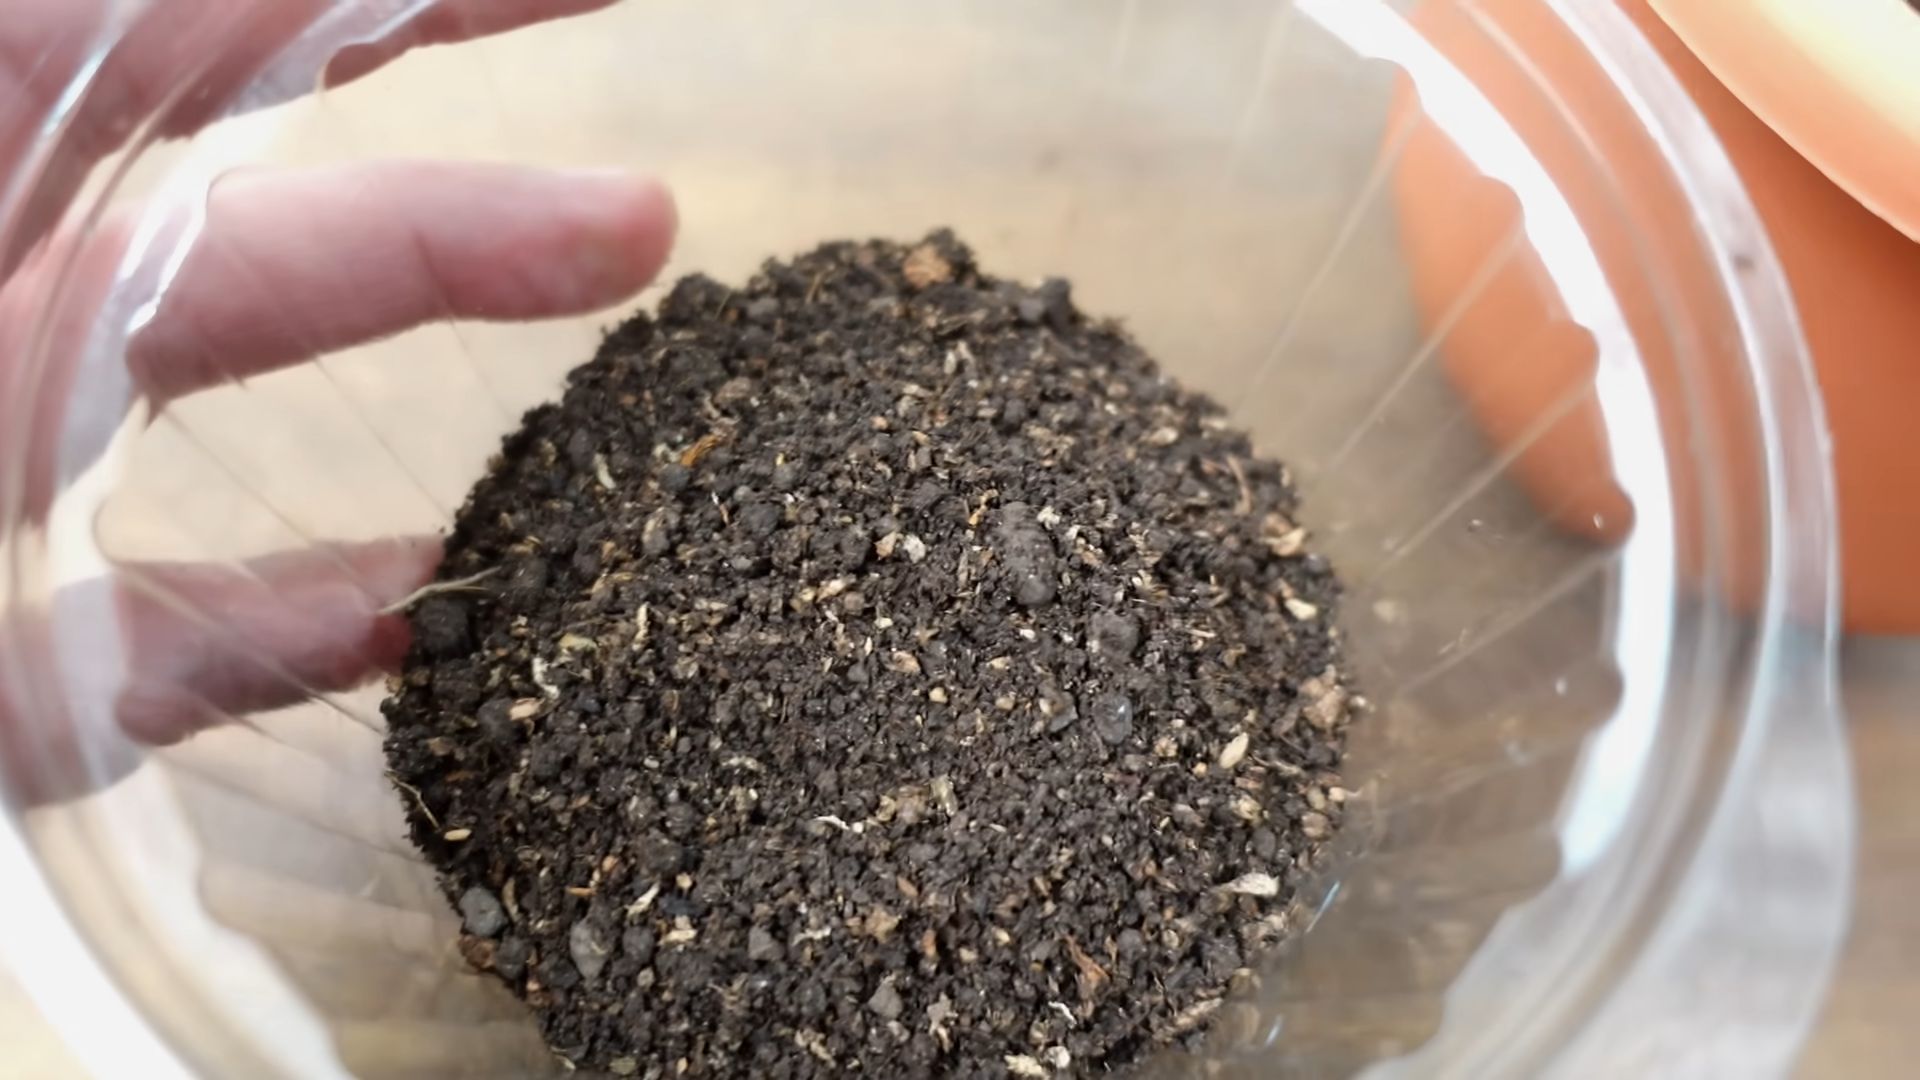
Blueberries require acidic soil with a pH between 4.5 and 5.5. This is crucial for their health and fruit production. You can create your own acidic soil mix by combining equal parts peat moss, pine bark fines, and perlite or coarse sand. Alternatively, you can purchase a pre-made acidic potting mix specifically formulated for acid-loving plants like azaleas and rhododendrons. Avoid using garden soil, as it is often too heavy and doesn’t provide adequate drainage. Regularly test the soil pH and amend as needed with sulfur to maintain the desired acidity.
How often should I water my container blueberries?
Blueberries need consistent moisture, especially during the growing season. Water deeply whenever the top inch of soil feels dry to the touch. Avoid overwatering, as this can lead to root rot. The frequency of watering will depend on factors such as the weather, the size of the container, and the maturity of the plant. During hot, dry periods, you may need to water daily. In cooler weather, you can reduce the watering frequency. Always check the soil moisture before watering to avoid overwatering.
How much sunlight do container blueberries need?
Blueberries thrive in full sun, which means they need at least 6-8 hours of direct sunlight per day. Insufficient sunlight can result in poor fruit production and leggy growth. Place your container blueberries in a location that receives ample sunlight throughout the day. If you live in a particularly hot climate, you may need to provide some afternoon shade to prevent the plants from getting scorched.
Do I need to fertilize my container blueberries?
Yes, blueberries benefit from regular fertilization, especially when grown in containers. Use an acid-loving fertilizer specifically formulated for blueberries, azaleas, or rhododendrons. Follow the instructions on the fertilizer package carefully. Fertilize in early spring before new growth begins and again after the first flush of fruit. Avoid over-fertilizing, as this can damage the plants. Organic options like compost tea or fish emulsion can also be used.
How do I protect my container blueberries from pests and diseases?
Monitor your blueberry plants regularly for signs of pests or diseases. Common pests include aphids, spider mites, and blueberry maggots. Diseases can include fungal infections like powdery mildew and root rot. Treat any infestations or infections promptly with appropriate organic or chemical controls. Good air circulation and proper watering practices can help prevent many diseases. Netting can be used to protect the berries from
So, there you have it! Growing blueberries in containers isn’t just a gardening trend; it’s a game-changer for anyone craving fresh, juicy blueberries, regardless of their space limitations. We’ve walked through the essential steps, from selecting the right blueberry variety and container size to mastering the acidic soil mix and providing optimal sunlight and watering. This DIY approach puts you in complete control of your blueberry bounty, ensuring you get the sweetest, most flavorful berries possible.
Why is this a must-try? Because it democratizes blueberry cultivation. No longer are these antioxidant-rich gems reserved for those with sprawling acres and naturally acidic soil. Container gardening brings the joy of harvesting your own fruit right to your doorstep, balcony, or patio. Imagine stepping outside and plucking sun-ripened blueberries straight from the bush – a truly rewarding experience!
But the beauty of this method lies in its adaptability. Feel free to experiment with different blueberry varieties to find your personal favorite. Consider adding companion plants like marigolds or basil to your containers to deter pests and attract pollinators. You can even create a tiered container garden for a visually stunning and space-efficient blueberry haven.
Don’t be afraid to get creative with your container choices, too. While plastic pots are practical, terracotta or even repurposed wooden crates can add a touch of rustic charm to your garden. Just ensure proper drainage is always a priority.
We’ve covered the basics, but the real magic happens when you put these tips into practice. Embrace the learning process, observe your blueberry plants closely, and adjust your care routine as needed. Remember, gardening is a journey, not a destination.
Ready to embark on your blueberry-growing adventure? We wholeheartedly encourage you to give this DIY trick a try. The satisfaction of harvesting your own homegrown blueberries is unparalleled. And the best part? You’ll be enjoying the fruits (literally!) of your labor for years to come.
Once you’ve started your container blueberry garden, we’d love to hear about your experiences! Share your successes, challenges, and any variations you’ve tried in the comments below. Let’s build a community of container blueberry enthusiasts and learn from each other. Happy growing!
Frequently Asked Questions (FAQ)
What is the best type of blueberry to grow in a container?
The best blueberry varieties for container growing are generally the smaller, more compact types. Look for “half-high” or “dwarf” varieties like ‘Top Hat,’ ‘Sunshine Blue,’ ‘Peach Sorbet,’ or ‘Jelly Bean.’ These varieties are specifically bred for smaller spaces and tend to thrive in pots. They also offer a good balance of flavor and productivity. Remember to check the chill hour requirements of the variety you choose to ensure it’s suitable for your local climate. Southern Highbush varieties are also a good choice for warmer climates.
How big of a container do I need for blueberries?
A general rule of thumb is to start with a container that is at least 18-24 inches in diameter and depth. This provides ample space for the blueberry plant’s root system to develop. As the plant grows, you may need to repot it into a larger container. A mature blueberry bush in a container may eventually require a pot that is 24-30 inches in diameter. Ensure the container has adequate drainage holes to prevent waterlogging.
What kind of soil is best for container blueberries?
Blueberries require acidic soil with a pH between 4.5 and 5.5. This is crucial for their health and fruit production. You can create your own acidic soil mix by combining equal parts peat moss, pine bark fines, and perlite or coarse sand. Alternatively, you can purchase a pre-made acidic potting mix specifically formulated for acid-loving plants like azaleas and rhododendrons. Avoid using garden soil, as it is often too heavy and doesn’t provide adequate drainage. Regularly test the soil pH and amend as needed with sulfur to maintain the desired acidity.
How often should I water my container blueberries?
Blueberries need consistent moisture, especially during the growing season. Water deeply whenever the top inch of soil feels dry to the touch. Avoid overwatering, as this can lead to root rot. The frequency of watering will depend on factors such as the weather, the size of the container, and the maturity of the plant. During hot, dry periods, you may need to water daily. In cooler weather, you can reduce the watering frequency. Always check the soil moisture before watering to avoid overwatering.
How much sunlight do container blueberries need?
Blueberries thrive in full sun, which means they need at least 6-8 hours of direct sunlight per day. Insufficient sunlight can result in poor fruit production and leggy growth. Place your container blueberries in a location that receives ample sunlight throughout the day. If you live in a particularly hot climate, you may need to provide some afternoon shade to prevent the plants from getting scorched.
Do I need to fertilize my container blueberries?
Yes, blueberries benefit from regular fertilization, especially when grown in containers. Use an acid-loving fertilizer specifically formulated for blueberries, azaleas, or rhododendrons. Follow the instructions on the fertilizer package carefully. Fertilize in early spring before new growth begins and again after the first flush of fruit. Avoid over-fertilizing, as this can damage the plants. Organic options like compost tea or fish emulsion can also be used.
How do I protect my container blueberries from pests and diseases?
Monitor your blueberry plants regularly for signs of pests or diseases. Common pests include aphids, spider mites, and blueberry maggots. Diseases can include fungal infections like powdery mildew and root rot. Treat any infestations or infections promptly with appropriate organic or chemical controls. Good air circulation and proper watering practices can help prevent many diseases. Netting can be used to protect the berries from birds.
How do I prune my container blueberries?
Pruning is essential for maintaining the health and productivity of your blueberry plants. Prune in late winter or early spring before new growth begins. Remove any dead, damaged, or crossing branches. Thin out the center of the plant to improve air circulation and sunlight penetration. For young plants, focus on shaping the plant and removing any weak or spindly growth. For mature plants, remove some of the older canes to encourage new growth.
Can I overwinter my container blueberries outdoors?
In many climates, container blueberries can be overwintered outdoors. However, you may need to provide some protection from extreme cold. Wrap the container with burlap or bubble wrap to insulate the roots. Move the container to a sheltered location, such as against a wall or under an overhang. Water sparingly during the winter months, only when the soil is dry. In very cold climates, you may need to move the container to an unheated garage or shed to protect it from freezing temperatures.
How long does it take for container blueberries to produce fruit?
Most blueberry plants will start producing fruit within 1-3 years of planting. However, it may take several years for the plant to reach its full production potential. Be patient and provide proper care, and you will be rewarded with a bountiful harvest of delicious blueberries. Remember that proper soil pH, adequate sunlight, and consistent watering are crucial for fruit production.

Leave a Comment