
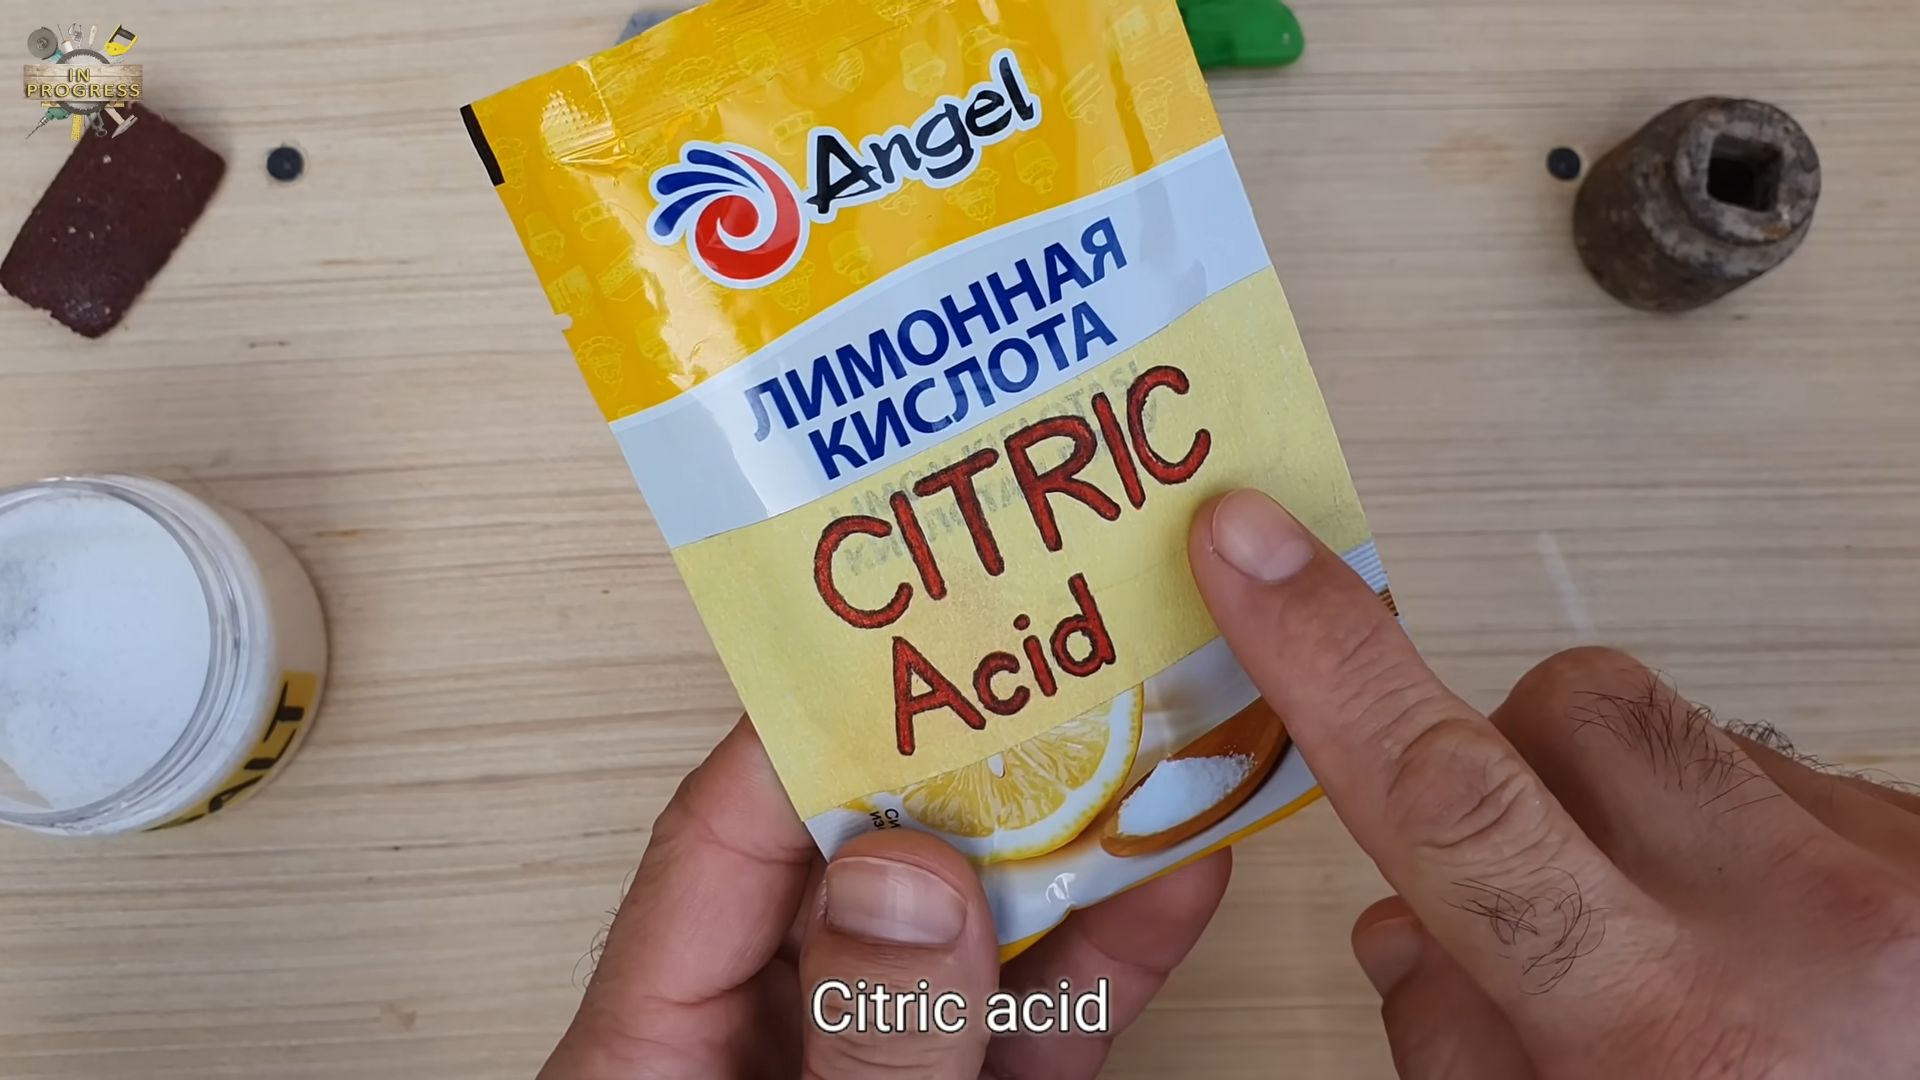
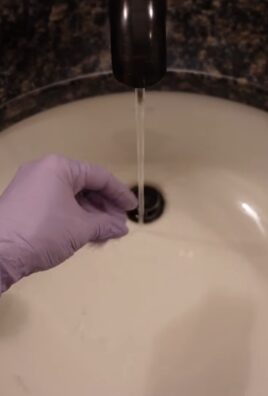
Salt and hydrogen peroxide reaction – sounds like a science experiment, right? Well, it is, but it’s also your secret weapon for a thriving garden! Forget expensive, store-bought solutions; I’m about to share a simple, yet incredibly effective, DIY trick that will have your plants thanking you.
For centuries, gardeners have sought natural ways to boost plant health and combat common problems. While the exact origins of using salt and hydrogen peroxide in this way are a bit murky, the individual components have long been recognized for their beneficial properties. Salt, in small doses, can provide essential minerals, while hydrogen peroxide acts as a powerful oxygenator and disinfectant.
Why do you need this DIY trick? Because let’s face it, gardening can be tough! From fungal infections to stubborn pests, our precious plants face a constant barrage of challenges. This salt and hydrogen peroxide reaction creates a powerful, yet gentle, solution that can tackle these issues head-on, promoting healthy growth and vibrant blooms. Plus, it’s a fantastic way to save money and reduce your reliance on harsh chemicals. So, are you ready to unlock the potential of this simple solution and give your garden the boost it deserves? Let’s dive in!
Growing Carrots: From Seed to Table – A DIY Guide
Okay, so you want to grow your own carrots? Awesome! There’s nothing quite like pulling a vibrant, crunchy carrot straight from the earth that you nurtured yourself. It’s surprisingly easy, even if you don’t have a huge garden. I’m going to walk you through everything you need to know to get a fantastic homegrown carrot harvest.
Choosing Your Carrot Variety
First things first, let’s talk carrots! There are so many different types, and the best one for you will depend on your space and preferences.
* **Nantes:** These are classic, cylindrical carrots, known for their sweet flavor and smooth texture. They’re a great all-around choice.
* **Danvers:** These are longer and more tapered than Nantes, also with a good flavor. They’re a bit more tolerant of heavier soils.
* **Chantenay:** These are shorter and thicker, perfect for growing in shallow or rocky soil. They have a strong, slightly spicy flavor.
* **Round/Parisian:** These are tiny, round carrots, ideal for containers or small gardens. They mature quickly and are super cute!
* **Heirloom Varieties:** Don’t be afraid to explore heirloom options like ‘Purple Haze’ or ‘Yellowstone’ for unique colors and flavors.
Consider your soil type and the amount of space you have when making your choice. I personally love Nantes for their sweetness, but I’ve also had great success with Chantenay in my raised beds.
Preparing the Soil: The Key to Success
Carrots need loose, well-drained soil to grow properly. Rocks and clumps will cause them to fork and become misshapen. This is probably the most important step, so don’t skimp on it!
* **Clear the Area:** Remove any rocks, weeds, or debris from the planting area.
* **Loosen the Soil:** Use a garden fork or tiller to loosen the soil to a depth of at least 12 inches. The deeper, the better, especially for longer varieties.
* **Amend the Soil:** Incorporate plenty of compost or well-rotted manure to improve drainage and fertility. Carrots love organic matter! Avoid adding fresh manure, as it can cause forking.
* **Remove Clumps:** Break up any large clumps of soil with a rake. You want a fine, crumbly texture.
* **Consider Raised Beds:** If your soil is heavy clay, consider growing carrots in raised beds or containers filled with a good quality potting mix. This will give them the drainage they need.
I usually spend a good hour or two just preparing the soil. It’s worth the effort, trust me!
Planting Your Carrot Seeds
Carrot seeds are tiny, so planting them can be a bit fiddly. But with a little patience, you’ll get the hang of it.
1. **Timing is Everything:** Carrots are a cool-season crop, so plant them in early spring or late summer for a fall harvest. Check your seed packet for specific planting times for your region. I usually aim for about 2-3 weeks before the last expected frost in spring.
2. **Create Shallow Furrows:** Use a hoe or your finger to create shallow furrows about 1/4 to 1/2 inch deep and 1-2 inches apart.
3. **Sow the Seeds:** Sprinkle the carrot seeds thinly along the furrows. They’re tiny, so it’s easy to over-sow. Try to space them about 1/2 inch apart.
4. **Cover the Seeds:** Gently cover the seeds with a thin layer of soil or fine sand.
5. **Water Gently:** Water the area gently with a watering can or hose with a gentle spray nozzle. You don’t want to wash the seeds away.
6. **Keep the Soil Moist:** Keep the soil consistently moist until the seeds germinate. This may require watering daily, especially in warm weather.
Tip: Mixing the tiny carrot seeds with sand before sowing can help you spread them more evenly.
Thinning Your Carrot Seedlings
This is a crucial step that many beginners overlook. If you don’t thin your carrot seedlings, they’ll be overcrowded and won’t have enough room to develop properly.
1. **Wait Until They’re a Few Inches Tall:** Once your carrot seedlings are a few inches tall (about 2-3 inches), it’s time to thin them.
2. **Thin to 1-2 Inches Apart:** Carefully pull out the weaker seedlings, leaving the strongest ones spaced about 1-2 inches apart.
3. **Thin Again Later:** When the remaining carrots are a bit larger, thin them again to 3-4 inches apart. This will give them plenty of room to grow to their full size.
4. **Water After Thinning:** Water the area after thinning to help settle the soil around the remaining seedlings.
I know it feels wasteful to pull out perfectly good seedlings, but it’s essential for getting a good harvest.
Watering and Weeding
Consistent watering and regular weeding are essential for healthy carrot growth.
* **Water Regularly:** Carrots need consistent moisture to develop properly. Water deeply whenever the top inch of soil feels dry. Avoid overhead watering, as this can promote fungal diseases. Soaker hoses or drip irrigation are ideal.
* **Weed Carefully:** Weeds compete with carrots for nutrients and water, so it’s important to keep the area weed-free. Be careful when weeding, as you don’t want to disturb the carrot roots. Hand-weeding is best.
* **Mulch:** Applying a layer of mulch around your carrot plants can help retain moisture, suppress weeds, and regulate soil temperature. Straw, hay, or shredded leaves are good options.
I usually check my carrots every day to see if they need watering. And I try to weed at least once a week to keep the weeds under control.
Dealing with Pests and Diseases
Carrots are generally pretty easy to grow, but they can be susceptible to a few pests and diseases.
* **Carrot Rust Flies:** These flies lay their eggs near the base of carrot plants, and the larvae burrow into the roots, causing damage. Cover your carrots with row covers to prevent the flies from laying their eggs.
* **Nematodes:** These microscopic worms can damage carrot roots. Improve soil health by adding plenty of organic matter. Crop rotation can also help.
* **Leaf Blight:** This fungal disease can cause spots on the leaves. Improve air circulation by spacing your plants properly. Remove and destroy any infected leaves.
* **Aster Yellows:** This disease is spread by leafhoppers and can cause distorted growth and hairy roots. Control leafhoppers with insecticidal soap.
I’ve had a few run-ins with carrot rust flies in the past, but row covers have been a lifesaver!
Harvesting Your Carrots
The moment you’ve been waiting for! Harvesting your own homegrown carrots is so rewarding.
1. **Check the Maturity Time:** Check your seed packet for the expected maturity time for your carrot variety.
2. **Look for Shoulder Exposure:** You can usually tell when carrots are ready to harvest when their shoulders (the top part of the carrot) start to peek out of the soil.
3. **Loosen the Soil:** Before pulling the carrots, loosen the soil around them with a garden fork. This will make it easier to pull them out without breaking them.
4. **Grasp the Greens:** Grasp the carrot greens firmly near the base and gently pull the carrot straight up.
5. **Wash and Enjoy:** Wash the carrots thoroughly and enjoy them fresh from the garden!
Tip: If the soil is very dry, water the area a few hours before harvesting to make it easier to pull the carrots.
Storing Your Carrot Harvest
If you have a bumper crop of carrots, you’ll want to know how to store them properly.
* **Remove the Greens:** Cut off the carrot greens, leaving about an inch of stem. This will prevent the greens from drawing moisture from the carrots.
* **Wash and Dry:** Wash the carrots thoroughly and allow them to dry completely.
* **Store in a Cool, Dark Place:** Store the carrots in a cool, dark, and humid place, such as a root cellar or refrigerator.
* **Layer in Sand or Sawdust:** You can layer the carrots in a container filled with damp sand or sawdust to help keep them moist.
* **Store in Plastic Bags:** Alternatively, you can store the carrots in plastic bags in the refrigerator. Make sure to poke a few holes in the bags to allow for air circulation.
I usually store my carrots in the refrigerator in plastic bags. They’ll keep for several weeks this way.
Troubleshooting Common Carrot Problems
Even with the best planning, things can sometimes go wrong. Here are a few common carrot problems and how to fix them:
* **Forked Carrots:** This is usually caused by rocks or compacted soil. Make sure to prepare the soil thoroughly before planting.
* **Small Carrots:** This can be caused by overcrowding, poor soil fertility, or lack of water. Thin your
Conclusion
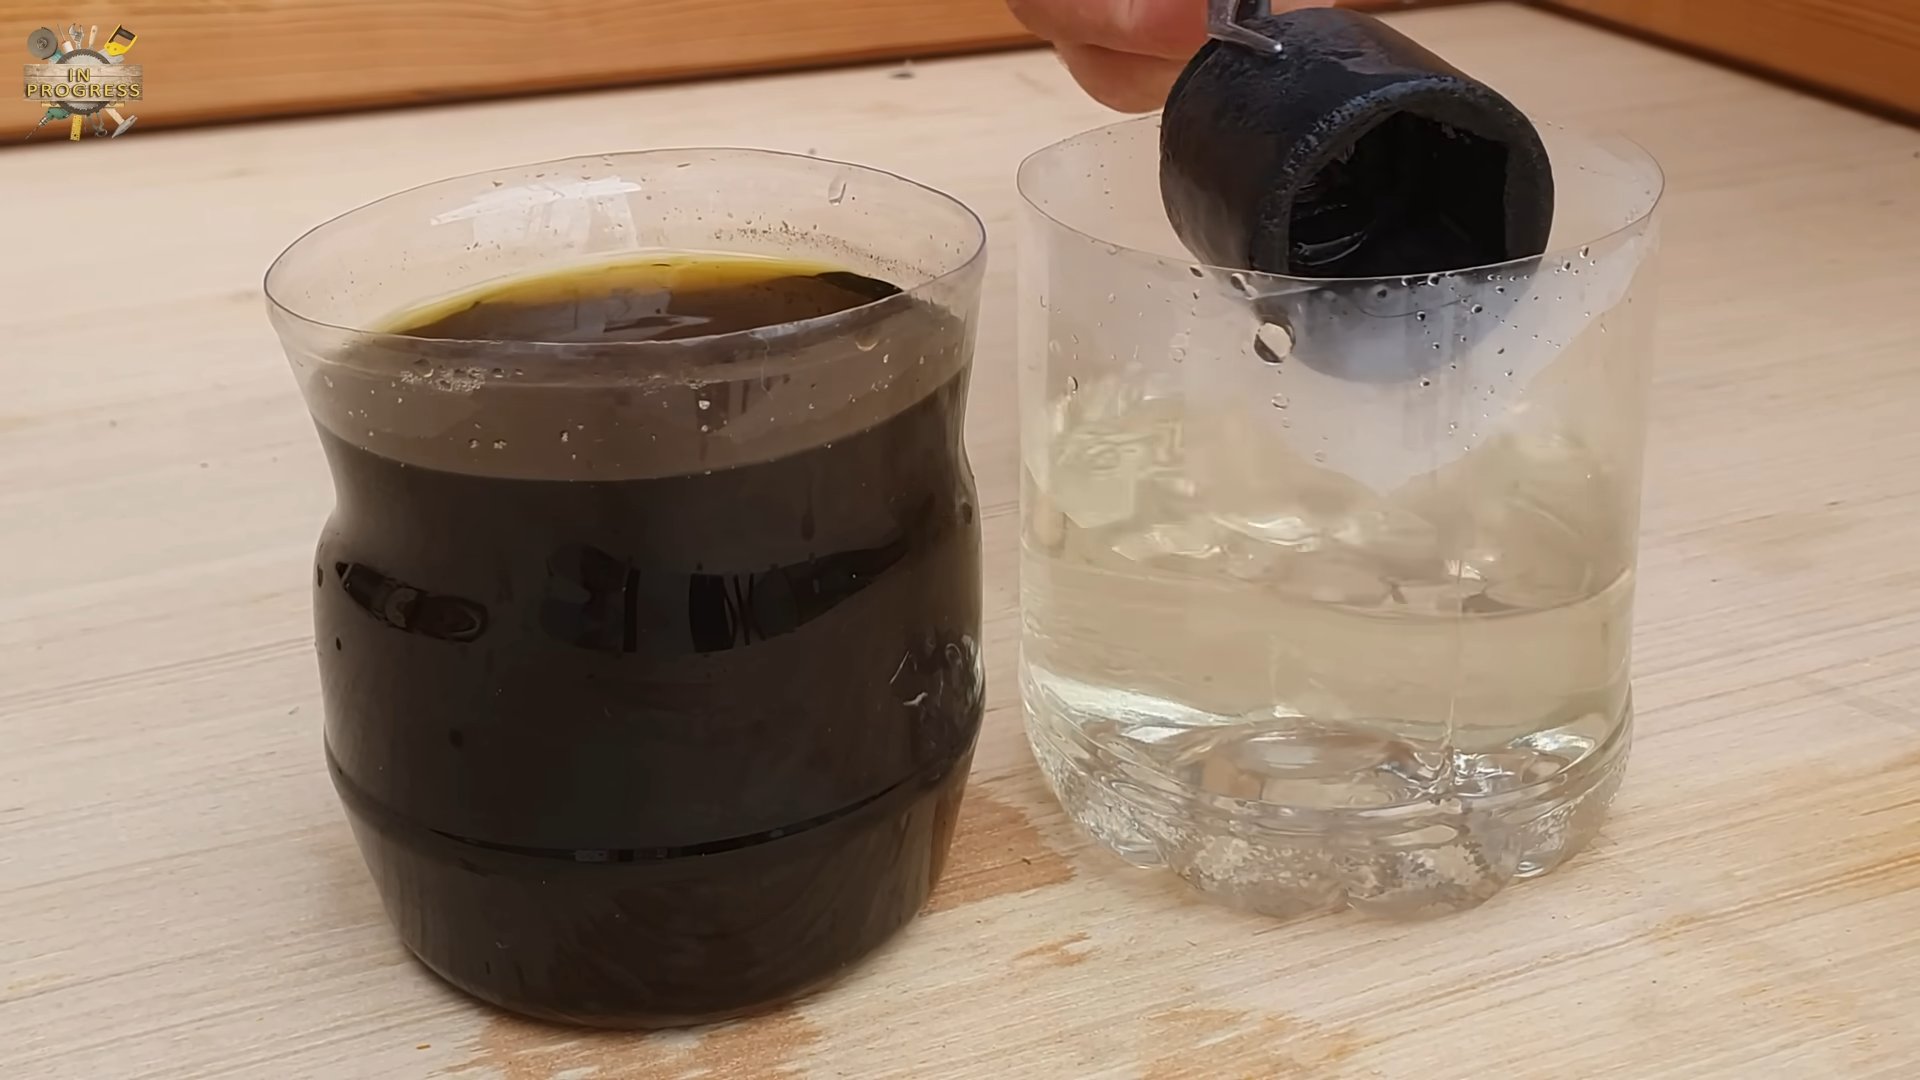
So, there you have it! This simple yet surprisingly effective DIY trick using salt and hydrogen peroxide is a game-changer for anyone looking for a natural and affordable cleaning solution. Forget harsh chemicals and expensive store-bought products; this method harnesses the power of readily available ingredients to tackle a multitude of cleaning challenges.
Why is this a must-try? Because it’s safe, effective, and incredibly versatile. The combination of salt’s abrasive properties and hydrogen peroxide’s oxidizing power creates a dynamic duo that can lift stains, disinfect surfaces, and even brighten dull items. It’s a win-win for your home and your wallet.
But the beauty of this DIY trick lies in its adaptability. Feel free to experiment with variations to suit your specific needs. For tougher stains, create a thicker paste and let it sit for a longer period before scrubbing. If you’re dealing with delicate surfaces, dilute the hydrogen peroxide with water to minimize any potential damage. Consider adding a few drops of your favorite essential oil, like lemon or tea tree, for an extra boost of cleaning power and a pleasant scent. For example, adding a few drops of lemon essential oil can enhance the cleaning power and leave a refreshing fragrance.
Remember to always test the solution in an inconspicuous area first, especially on colored or delicate materials. This will ensure that the mixture doesn’t cause any discoloration or damage.
We’ve covered a wide range of applications, from cleaning grout and removing rust to brightening laundry and even tackling stubborn stains on cookware. But the possibilities don’t end there. We encourage you to explore other potential uses for this powerful combination.
Ultimately, the success of this DIY trick hinges on your willingness to give it a try. So, gather your salt and hydrogen peroxide, put on your cleaning gloves, and prepare to be amazed by the results. We are confident that you will find this method to be a valuable addition to your cleaning arsenal.
Don’t just take our word for it, though. We want to hear about your experiences! Did you use this trick to clean something we haven’t mentioned? Did you discover a new and innovative way to utilize the power of salt and hydrogen peroxide? Share your stories, tips, and tricks in the comments below. Let’s create a community of DIY enthusiasts who are passionate about finding natural and effective cleaning solutions. Your feedback will not only help others but also contribute to the collective knowledge of this amazing cleaning hack.
We believe that this simple DIY trick using salt and hydrogen peroxide can truly transform your cleaning routine. It’s time to ditch the harsh chemicals and embrace a more natural, affordable, and effective way to keep your home sparkling clean. So, go ahead, give it a try, and let us know what you think! We can’t wait to hear from you.
Frequently Asked Questions
Is it safe to mix salt and hydrogen peroxide?
Yes, it is generally safe to mix salt and hydrogen peroxide for cleaning purposes. The reaction between the two is minimal and doesn’t produce any harmful fumes or byproducts. However, it’s always a good idea to exercise caution and avoid direct contact with your eyes or skin. Wear gloves when handling the mixture, especially if you have sensitive skin. Also, ensure proper ventilation when using it in enclosed spaces. While the mixture is generally safe, it’s crucial to store hydrogen peroxide properly, away from direct sunlight and heat, to maintain its effectiveness and prevent degradation.
What type of salt should I use?
You can use regular table salt, sea salt, or even Epsom salt for this DIY cleaning trick. Table salt is the most readily available and affordable option, and it works perfectly well for most cleaning tasks. Sea salt has a slightly coarser texture, which can provide extra scrubbing power for tougher stains. Epsom salt, known for its therapeutic properties, can also be used, although it might be slightly more expensive. The key is to choose a salt that is finely ground enough to dissolve easily in the hydrogen peroxide and won’t scratch delicate surfaces. Avoid using rock salt or other large-grained salts, as they may not dissolve properly and could potentially damage the items you’re cleaning.
What concentration of hydrogen peroxide is best?
The standard 3% hydrogen peroxide solution, which is commonly available in drugstores and supermarkets, is ideal for most cleaning applications. This concentration is strong enough to disinfect and remove stains without being overly harsh or damaging to surfaces. Higher concentrations of hydrogen peroxide, such as 6% or 10%, are available but should be used with extreme caution, as they can cause skin irritation and bleaching. If you choose to use a higher concentration, dilute it with water to achieve a 3% solution before mixing it with salt. Always wear gloves and eye protection when handling higher concentrations of hydrogen peroxide.
Can I use this mixture on all surfaces?
While the salt and hydrogen peroxide mixture is generally safe for many surfaces, it’s essential to test it in an inconspicuous area first, especially on colored or delicate materials. Avoid using it on surfaces that are known to be sensitive to abrasives or bleaching agents, such as polished wood, marble, or certain types of fabrics. The salt can be abrasive, so use a gentle scrubbing motion to avoid scratching surfaces. For delicate surfaces, dilute the hydrogen peroxide with water to minimize any potential damage. Always rinse the cleaned area thoroughly with water after applying the mixture to remove any residue.
How long should I let the mixture sit on a stain?
The amount of time you should let the salt and hydrogen peroxide mixture sit on a stain depends on the severity of the stain and the type of surface you’re cleaning. For light stains, a few minutes may be sufficient. For tougher stains, you may need to let it sit for 15-30 minutes, or even longer. Monitor the area closely and check for any signs of discoloration or damage. If you’re cleaning a vertical surface, you may need to apply the mixture more frequently to prevent it from running down. After letting the mixture sit, scrub the area gently with a soft cloth or brush and rinse thoroughly with water.
Can I use this mixture to clean grout?
Yes, the salt and hydrogen peroxide mixture is an excellent choice for cleaning grout. The abrasive properties of the salt help to scrub away dirt and grime, while the hydrogen peroxide disinfects and brightens the grout lines. To clean grout, make a paste of salt and hydrogen peroxide and apply it to the grout lines. Let it sit for 10-15 minutes, then scrub with a grout brush or old toothbrush. Rinse thoroughly with water. For heavily soiled grout, you may need to repeat the process or use a stronger concentration of hydrogen peroxide.
How should I store the leftover mixture?
It’s best to use the salt and hydrogen peroxide mixture immediately after preparing it, as the hydrogen peroxide can gradually decompose over time, reducing its effectiveness. If you have leftover mixture, store it in a dark, airtight container in a cool, dry place. Avoid storing it in direct sunlight or near heat sources, as this can accelerate the decomposition process. Label the container clearly to prevent accidental ingestion. While the mixture is generally safe, it’s always a good idea to keep it out of reach of children and pets. It’s important to note that the mixture may lose its effectiveness over time, so it’s best to prepare a fresh batch each time you need it.
Leave a Comment