
Grow chili peppers at home and unlock a world of fiery flavors right in your own backyard! Imagine plucking fresh, vibrant chili peppers, ready to spice up your favorite dishes whenever you desire. Forget those bland, store-bought peppers – with a little know-how, you can cultivate a thriving chili pepper garden, bursting with flavor and heat.
Chili peppers have a rich history, dating back thousands of years to South America, where they were not only a culinary staple but also held medicinal and even spiritual significance. From the ancient Aztecs to modern-day foodies, the allure of the chili pepper has endured.
But why should you learn to grow chili peppers at home? Well, for starters, it’s incredibly rewarding! There’s nothing quite like nurturing a plant from seed to harvest. Plus, you’ll have complete control over the growing process, ensuring your peppers are free from harmful pesticides and bursting with natural goodness. And let’s be honest, who doesn’t want to impress their friends and family with their green thumb and a homemade hot sauce crafted from their very own chili peppers? This DIY guide will provide you with easy-to-follow tricks and hacks to make growing chili peppers at home a breeze, even if you’re a complete beginner. Get ready to turn up the heat!
Growing Chili Peppers at Home: A Spicy DIY Adventure!
Hey there, fellow spice enthusiasts! Ever dreamt of harvesting your own fiery chili peppers right from your backyard (or even your windowsill)? Well, dream no more! Growing chili peppers at home is surprisingly easy and incredibly rewarding. I’m going to walk you through everything you need to know, from choosing the right seeds to harvesting your bounty. Get ready to add some serious heat to your cooking!
Choosing Your Chili Pepper Variety
Before we dive into the nitty-gritty, let’s talk about choosing the right chili pepper for you. The world of chili peppers is vast and varied, ranging from mild and sweet to face-meltingly hot. Consider your spice tolerance and what you plan to use the peppers for.
* Mild Peppers: If you’re just starting out, or prefer a gentle kick, consider varieties like Poblano, Anaheim, or even Shishito peppers. These are great for stuffing, roasting, or adding a subtle flavor to your dishes.
* Medium Heat Peppers: For a bit more of a zing, try Jalapeños, Serrano peppers, or Cayenne peppers. These are versatile and can be used in salsas, sauces, and stir-fries.
* Hot Peppers: If you’re a seasoned spice lover, you might want to venture into the realm of Habaneros, Scotch Bonnets, or even Ghost Peppers. Be warned, these pack a serious punch! Handle with care and always wash your hands after handling them.
* Super-Hot Peppers: For the truly adventurous (and those who know what they’re getting into!), there are the Carolina Reapers, Trinidad Moruga Scorpions, and other super-hot varieties. These are not for the faint of heart!
Once you’ve decided on your preferred heat level, you can find seeds online, at your local garden center, or even save seeds from peppers you’ve purchased (just make sure they’re from organic sources to avoid hybrids).
Starting Your Chili Pepper Seeds
Chili peppers need a long growing season, so it’s best to start your seeds indoors about 6-8 weeks before the last expected frost. This gives them a head start and ensures they’ll have enough time to mature and produce peppers.
1. Gather Your Supplies: You’ll need:
* Chili pepper seeds
* Seed starting trays or small pots
* Seed starting mix (a light, well-draining soil mix specifically designed for seedlings)
* A spray bottle filled with water
* A heat mat (optional, but recommended for faster germination)
* A grow light (optional, but helps prevent leggy seedlings)
2. Prepare Your Seed Starting Trays: Fill your seed starting trays or pots with the seed starting mix. Gently tap the trays to settle the soil.
3. Sow the Seeds: Make a small indentation (about ¼ inch deep) in the soil of each cell or pot. Place 1-2 seeds in each indentation and cover lightly with soil.
4. Water Gently: Use the spray bottle to gently moisten the soil. Avoid overwatering, as this can lead to damping off (a fungal disease that can kill seedlings).
5. Provide Warmth and Light: Place the seed starting trays on a heat mat (if using) and under a grow light (if using). If you don’t have a heat mat, find a warm spot in your house, such as on top of the refrigerator. If you don’t have a grow light, place the trays near a sunny window, but be sure to rotate them regularly to prevent the seedlings from leaning towards the light.
6. Maintain Moisture: Keep the soil consistently moist, but not soggy. Check the soil daily and water as needed with the spray bottle.
7. Be Patient: Chili pepper seeds can take anywhere from 1-3 weeks to germinate, depending on the variety and the temperature. Don’t give up if you don’t see sprouts right away!
Transplanting Your Chili Pepper Seedlings
Once your seedlings have developed their first set of true leaves (the leaves that look like miniature versions of the adult plant’s leaves), it’s time to transplant them into larger pots.
1. Prepare Your Pots: Choose pots that are at least 4 inches in diameter. Fill them with a good quality potting mix.
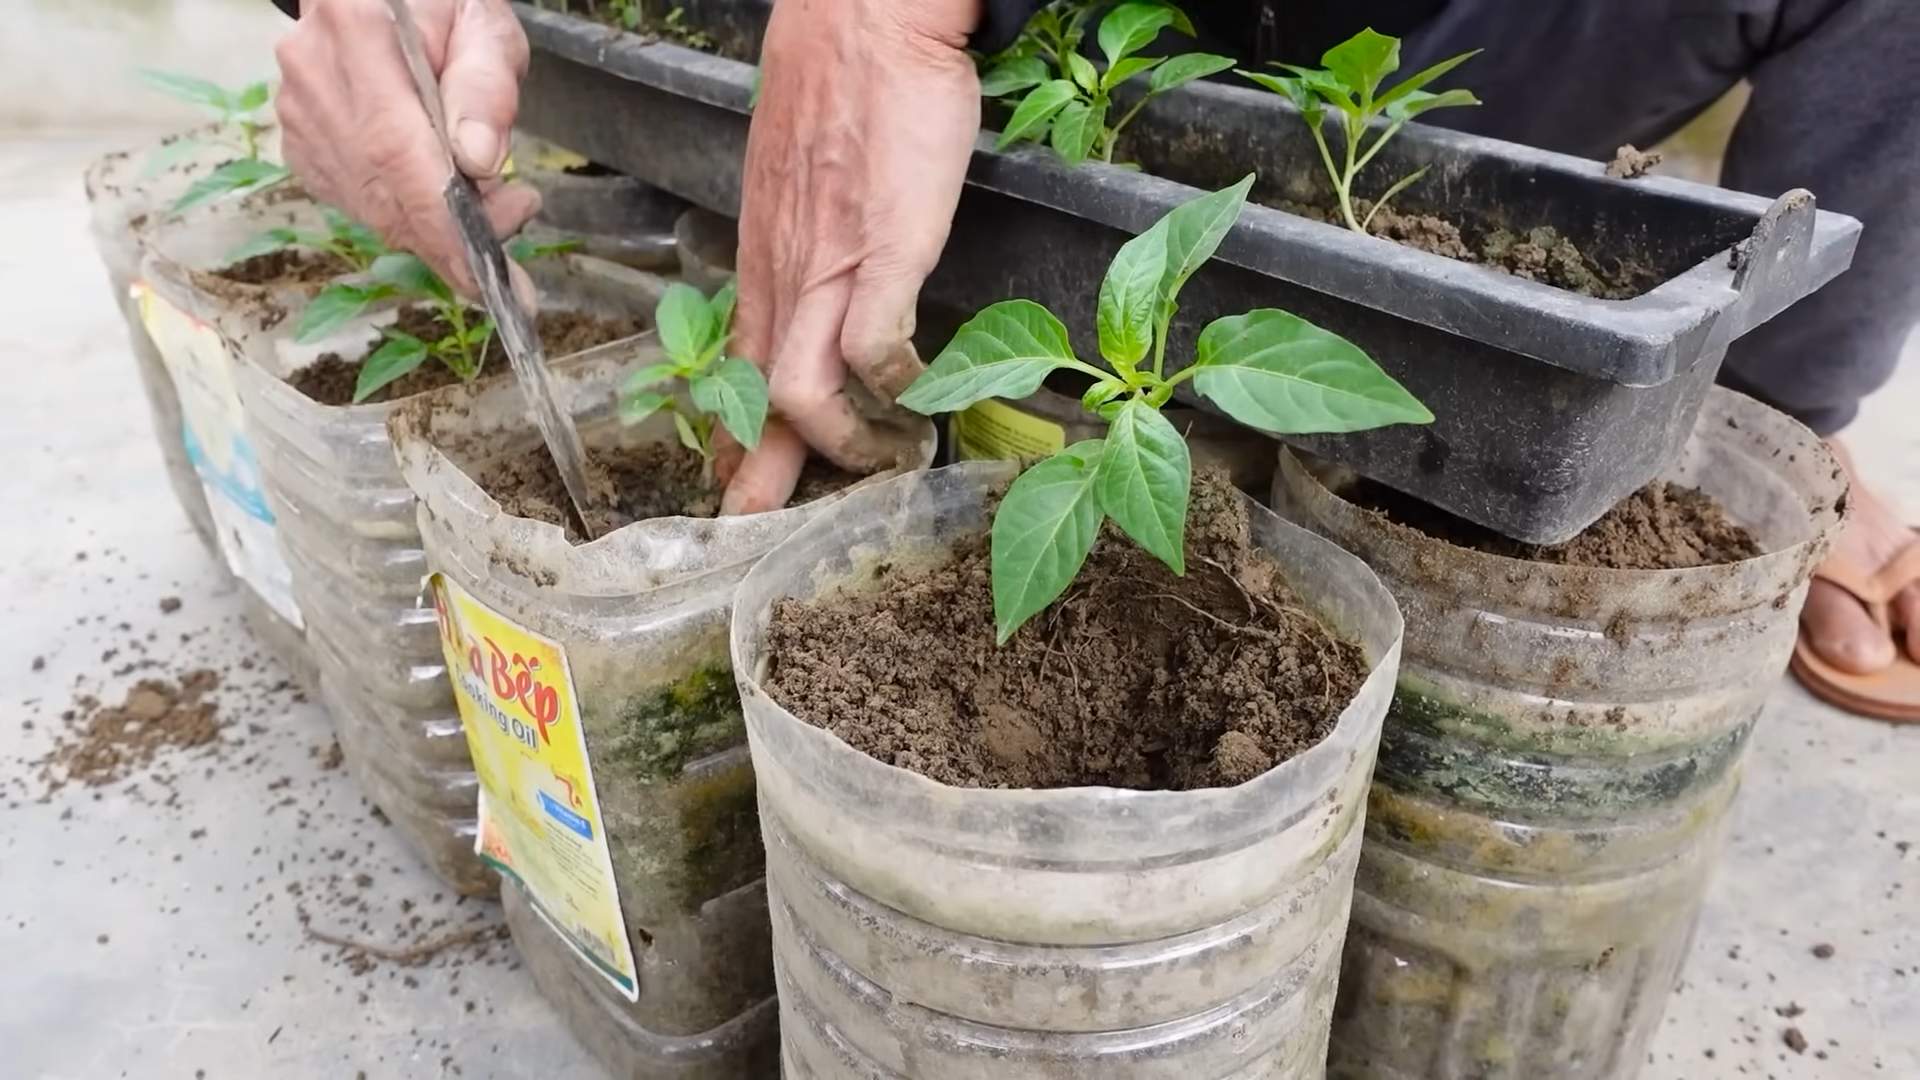
2. Gently Remove the Seedlings: Carefully remove the seedlings from the seed starting trays or pots. Be gentle to avoid damaging the roots. You can use a small spoon or fork to help loosen the soil around the seedlings.
3. Transplant the Seedlings: Make a hole in the center of each pot that is large enough to accommodate the seedling’s root ball. Place the seedling in the hole and gently backfill with potting mix.
4. Water Thoroughly: Water the transplanted seedlings thoroughly.
5. Provide Light and Warmth: Place the transplanted seedlings under a grow light or near a sunny window. Continue to provide warmth and maintain consistent moisture.
Hardening Off Your Chili Pepper Seedlings
Before you can plant your chili pepper seedlings outdoors, you need to “harden them off.” This process gradually acclimates the seedlings to the outdoor environment, preventing them from being shocked by the sun, wind, and temperature changes.
1. Start Slowly: Begin by placing the seedlings outdoors in a sheltered location (such as a porch or patio) for just a few hours each day.
2. Gradually Increase Exposure: Over the course of a week or two, gradually increase the amount of time the seedlings spend outdoors each day.
3. Protect from Extreme Conditions: If the weather is particularly hot, windy, or rainy, bring the seedlings back indoors.
4. Monitor for Stress: Watch for signs of stress, such as wilting or leaf burn. If you see these signs, reduce the amount of time the seedlings spend outdoors.
Planting Your Chili Pepper Plants Outdoors
Once your chili pepper seedlings are hardened off and the danger of frost has passed, it’s time to plant them in their final growing location.
1. Choose a Sunny Location: Chili peppers need at least 6-8 hours of sunlight per day. Choose a location that receives plenty of sun.
2. Prepare the Soil: Chili peppers prefer well-drained soil that is rich in organic matter. Amend the soil with compost or other organic matter before planting.
3. Space the Plants Properly: Space the plants about 18-24 inches apart, depending on the variety.
4. Dig the Holes: Dig holes that are large enough to accommodate the root balls of the plants.
5. Plant the Plants: Gently remove the plants from their pots and place them in the holes. Backfill with soil and water thoroughly.
6. Mulch Around the Plants: Apply a layer of mulch around the plants to help retain moisture, suppress weeds, and regulate soil temperature.
Caring for Your Chili Pepper Plants
Once your chili pepper plants are in the ground, it’s important to provide them with proper care to ensure a bountiful harvest.
* Watering: Water your chili pepper plants regularly, especially during hot, dry weather. Aim to keep the soil consistently moist, but not soggy.
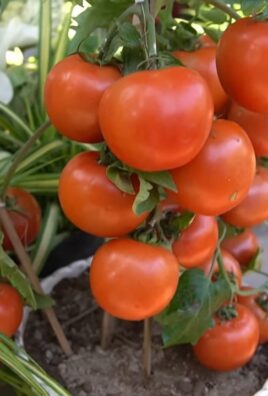
* Fertilizing: Fertilize your chili pepper plants every 2-3 weeks with a balanced fertilizer. You can also use a fertilizer specifically formulated for peppers and tomatoes.
* Pruning: Pruning is not essential for chili peppers, but it can help to improve air circulation and encourage bushier growth. You can prune away any dead or damaged leaves or branches.
* Pest and Disease Control: Keep an eye out for pests and diseases, such as aphids, whiteflies, and fungal infections. Treat any problems promptly with appropriate organic or chemical controls.
* Support: Taller chili pepper varieties may need to be staked or caged to prevent them from falling over.
Harvesting Your Chili Peppers
The time it takes for chili peppers to mature and ripen varies depending on the variety. Generally, you can expect to harvest your peppers about 60-90 days after transplanting.
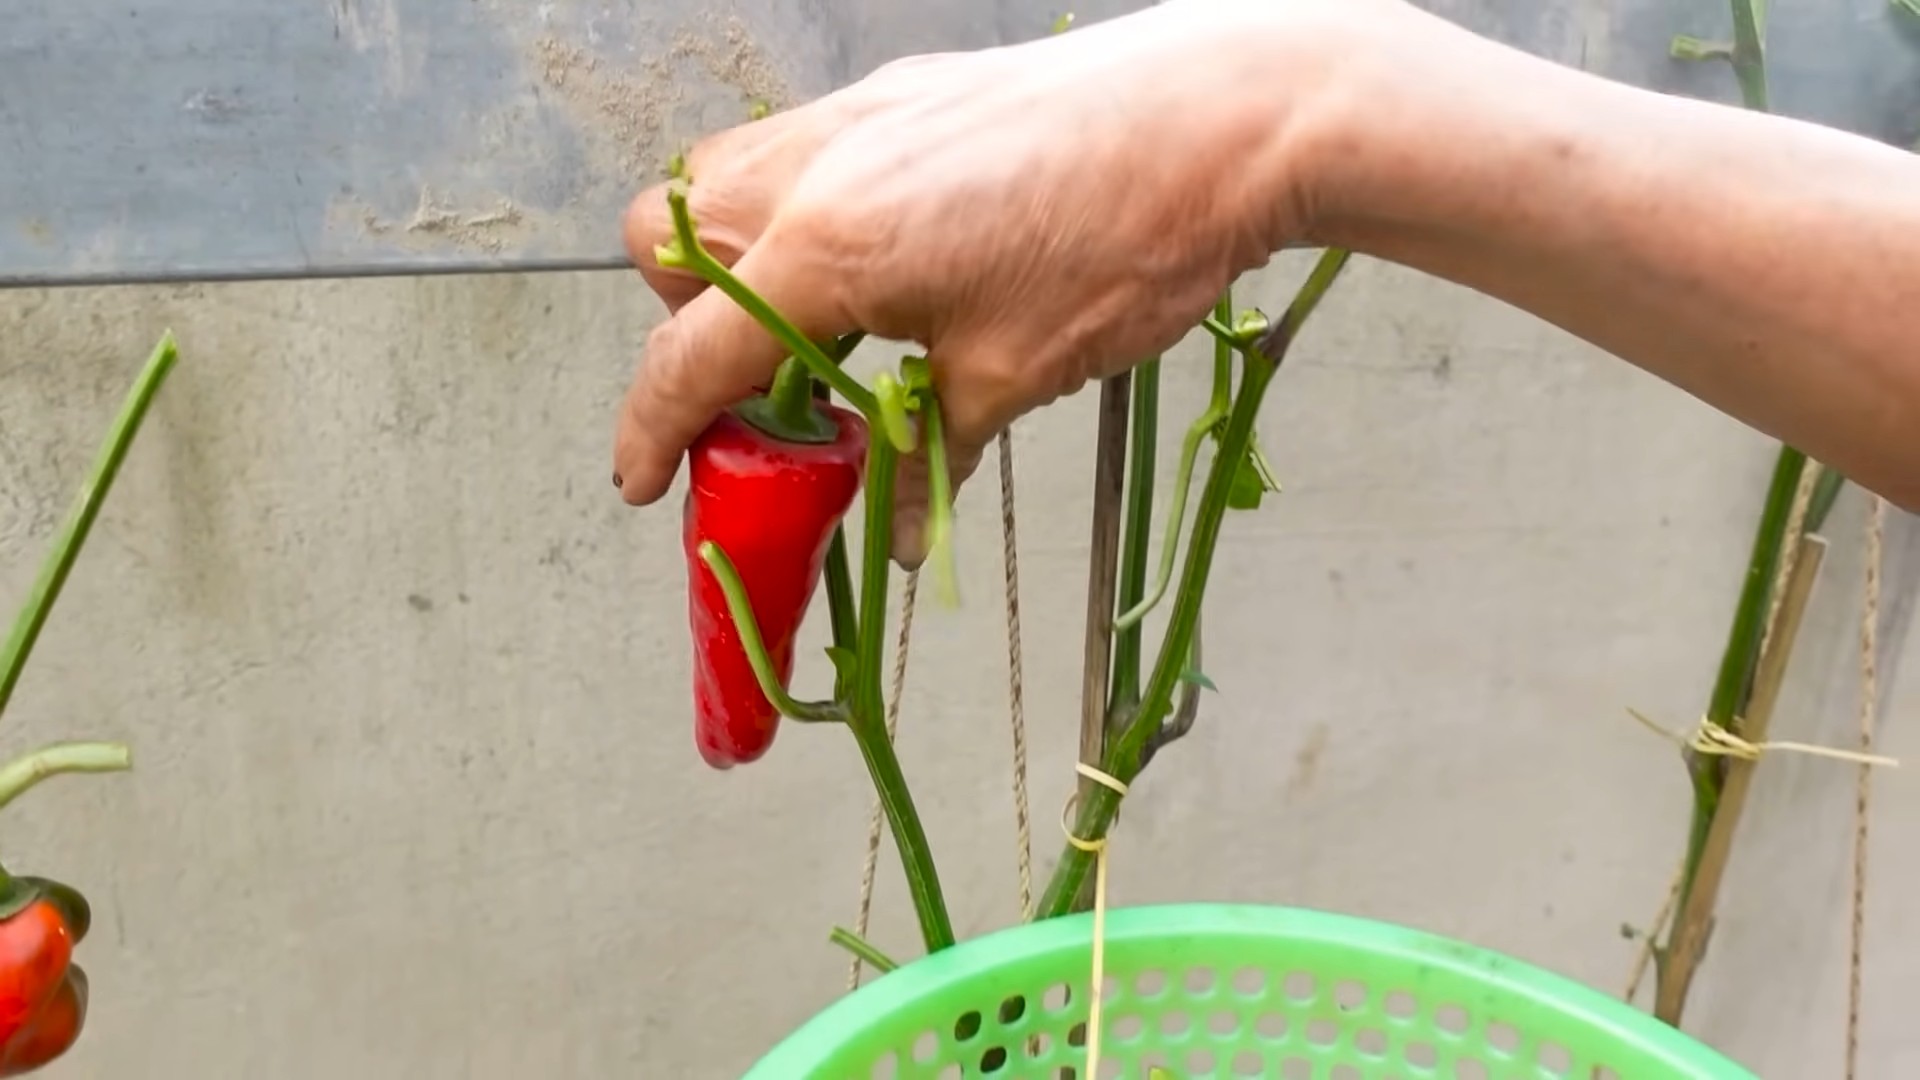
* Check for Ripeness: Chili peppers are typically ready to harvest when they have reached their mature color and size. The color will depend on the variety, but common colors include red, green, yellow, and orange.
* Harvest Carefully: Use pruning shears or scissors to cut the peppers from the plant. Be careful not to damage the plant.
* Handle with Care: Wear gloves when handling hot peppers, as the capsaicin (the compound that makes them hot) can irritate your skin.
* Enjoy Your Harvest: Use your freshly harvested chili peppers in your favorite recipes, or dry them for later use.
Drying Chili Peppers
Drying chili peppers is a great way to preserve them and enjoy their flavor year-round.
1. Stringing: The simplest method is to string the peppers together using a needle and thread. Hang the string of peppers in a warm
Conclusion
So, there you have it! Growing chili peppers at home is not only achievable, but it’s also incredibly rewarding. Forget those bland, store-bought peppers that lack the fiery punch you crave. With a little patience and these simple steps, you can cultivate a vibrant garden brimming with fresh, flavorful chilies, ready to spice up your culinary creations.
This DIY trick for growing chili peppers at home is a must-try for several reasons. First, you gain complete control over the growing process, ensuring your peppers are free from harmful pesticides and chemicals. Second, you can select the exact varieties you want, from mild jalapeños to scorching habaneros, tailoring your harvest to your specific taste preferences. Third, it’s a fantastic way to connect with nature and experience the satisfaction of nurturing something from seed to fruit. And finally, let’s be honest, there’s a certain bragging right that comes with saying, “I grew these myself!”
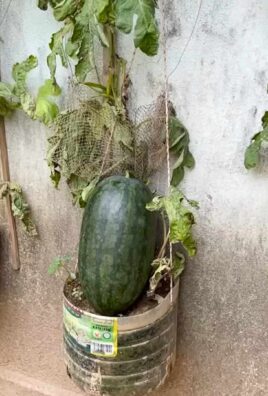
But the fun doesn’t stop there! Feel free to experiment with different growing mediums. While we’ve recommended a standard potting mix, you can also try incorporating compost, perlite, or even coco coir for improved drainage and nutrient retention. Consider companion planting with herbs like basil or marigolds, which can help deter pests and attract beneficial insects. And don’t be afraid to get creative with your containers! Upcycled buckets, old tires, or even repurposed plastic bottles can all make excellent homes for your chili pepper plants.
For those looking to maximize their yield, consider investing in a grow light, especially if you live in an area with limited sunlight. You can also try pinching off the early flower buds to encourage bushier growth and a larger overall harvest later in the season. And remember to regularly fertilize your plants with a balanced fertilizer to provide them with the nutrients they need to thrive.
We’re confident that you’ll find this DIY trick for growing chili peppers at home to be a fun, fulfilling, and ultimately delicious experience. So, grab your seeds, gather your supplies, and get ready to embark on your chili-growing adventure!
We’re eager to hear about your experiences! Share your photos, tips, and stories in the comments below. Let’s build a community of chili-loving gardeners and learn from each other’s successes (and even failures!). Happy growing!
Frequently Asked Questions (FAQ)
What are the best chili pepper varieties to grow at home?
The “best” variety really depends on your personal preference for heat and flavor. For beginners, jalapeños are a great choice – they’re relatively easy to grow and offer a mild to medium heat. If you’re looking for something with a bit more kick, consider serranos or cayenne peppers. For the truly adventurous, habaneros, scotch bonnets, or ghost peppers will provide an intense fiery experience. Research the Scoville Heat Units (SHU) of different varieties to get an idea of their heat level before you start. Also, consider your local climate. Some varieties thrive better in warmer climates than others. Local nurseries can offer advice on varieties that are well-suited to your region.
How much sunlight do chili pepper plants need?
Chili pepper plants are sun-loving creatures and require at least 6-8 hours of direct sunlight per day to thrive. If you’re growing them indoors, supplement with a grow light if necessary. Insufficient sunlight can lead to leggy growth, reduced flowering, and smaller, less flavorful peppers. If you’re moving plants outdoors after starting them indoors, gradually acclimate them to the sun over a period of a week or two to prevent sunburn.
What kind of soil is best for growing chili peppers?
Chili peppers prefer well-draining soil that is rich in organic matter. A good quality potting mix is a great starting point. You can amend it with compost, perlite, or vermiculite to improve drainage and aeration. Avoid heavy clay soils, as they can become waterlogged and lead to root rot. The ideal pH for chili pepper plants is between 6.0 and 7.0. You can test your soil pH with a simple soil testing kit available at most garden centers.
How often should I water my chili pepper plants?
Water your chili pepper plants regularly, especially during hot, dry weather. The soil should be kept consistently moist, but not waterlogged. Allow the top inch of soil to dry out between waterings. Overwatering can lead to root rot, while underwatering can stress the plants and reduce their yield. Check the soil moisture regularly by sticking your finger into the soil. If it feels dry to the touch, it’s time to water.
When should I fertilize my chili pepper plants?
Start fertilizing your chili pepper plants about two weeks after transplanting them into their final containers or garden bed. Use a balanced fertilizer with equal parts nitrogen, phosphorus, and potassium (e.g., 10-10-10). As the plants begin to flower and produce fruit, switch to a fertilizer that is higher in phosphorus and potassium to promote fruit development. Fertilize every 2-3 weeks during the growing season. Avoid over-fertilizing, as this can lead to excessive foliage growth at the expense of fruit production.
How do I deal with pests and diseases on my chili pepper plants?
Regularly inspect your plants for signs of pests and diseases. Common pests include aphids, spider mites, and whiteflies. You can control these pests with insecticidal soap, neem oil, or by introducing beneficial insects like ladybugs. Diseases such as powdery mildew and fungal leaf spots can be prevented by ensuring good air circulation and avoiding overhead watering. If you notice any signs of disease, remove the affected leaves immediately and treat the plants with a fungicide if necessary.
How long does it take for chili peppers to mature?
The time it takes for chili peppers to mature depends on the variety. Some varieties, like jalapeños, can be ready to harvest in as little as 60-70 days, while others, like habaneros, may take 90-120 days or longer. The peppers are typically ready to harvest when they have reached their mature size and color. You can also test the ripeness by gently squeezing the pepper. If it feels firm and slightly yields to pressure, it’s likely ready to pick.
Can I grow chili peppers indoors year-round?
Yes, you can grow chili peppers indoors year-round, provided you have adequate light and warmth. Use a grow light to supplement natural sunlight, and maintain a consistent temperature between 70-80°F during the day and 60-70°F at night. You may also need to hand-pollinate the flowers to ensure fruit production, as there will be no wind or insects to do it for you.
How do I save seeds from my chili peppers?
To save seeds from your chili peppers, allow the peppers to fully ripen on the plant. Once they are fully ripe, carefully cut them open and remove the seeds. Spread the seeds out on a paper towel and allow them to dry completely for several days. Once the seeds are dry, store them in an airtight container in a cool, dark place. They should remain viable for several years.
Leave a Comment