
Vinegar soaked cloves benefits are more profound and versatile than you might imagine! Have you ever wondered how to unlock the full potential of these humble kitchen staples? For centuries, cloves have been treasured not just for their warm, aromatic spice in culinary traditions around the globe, but also for their potent medicinal properties. From ancient Ayurvedic practices to traditional Chinese medicine, cloves have been used to alleviate pain, aid digestion, and even boost immunity.
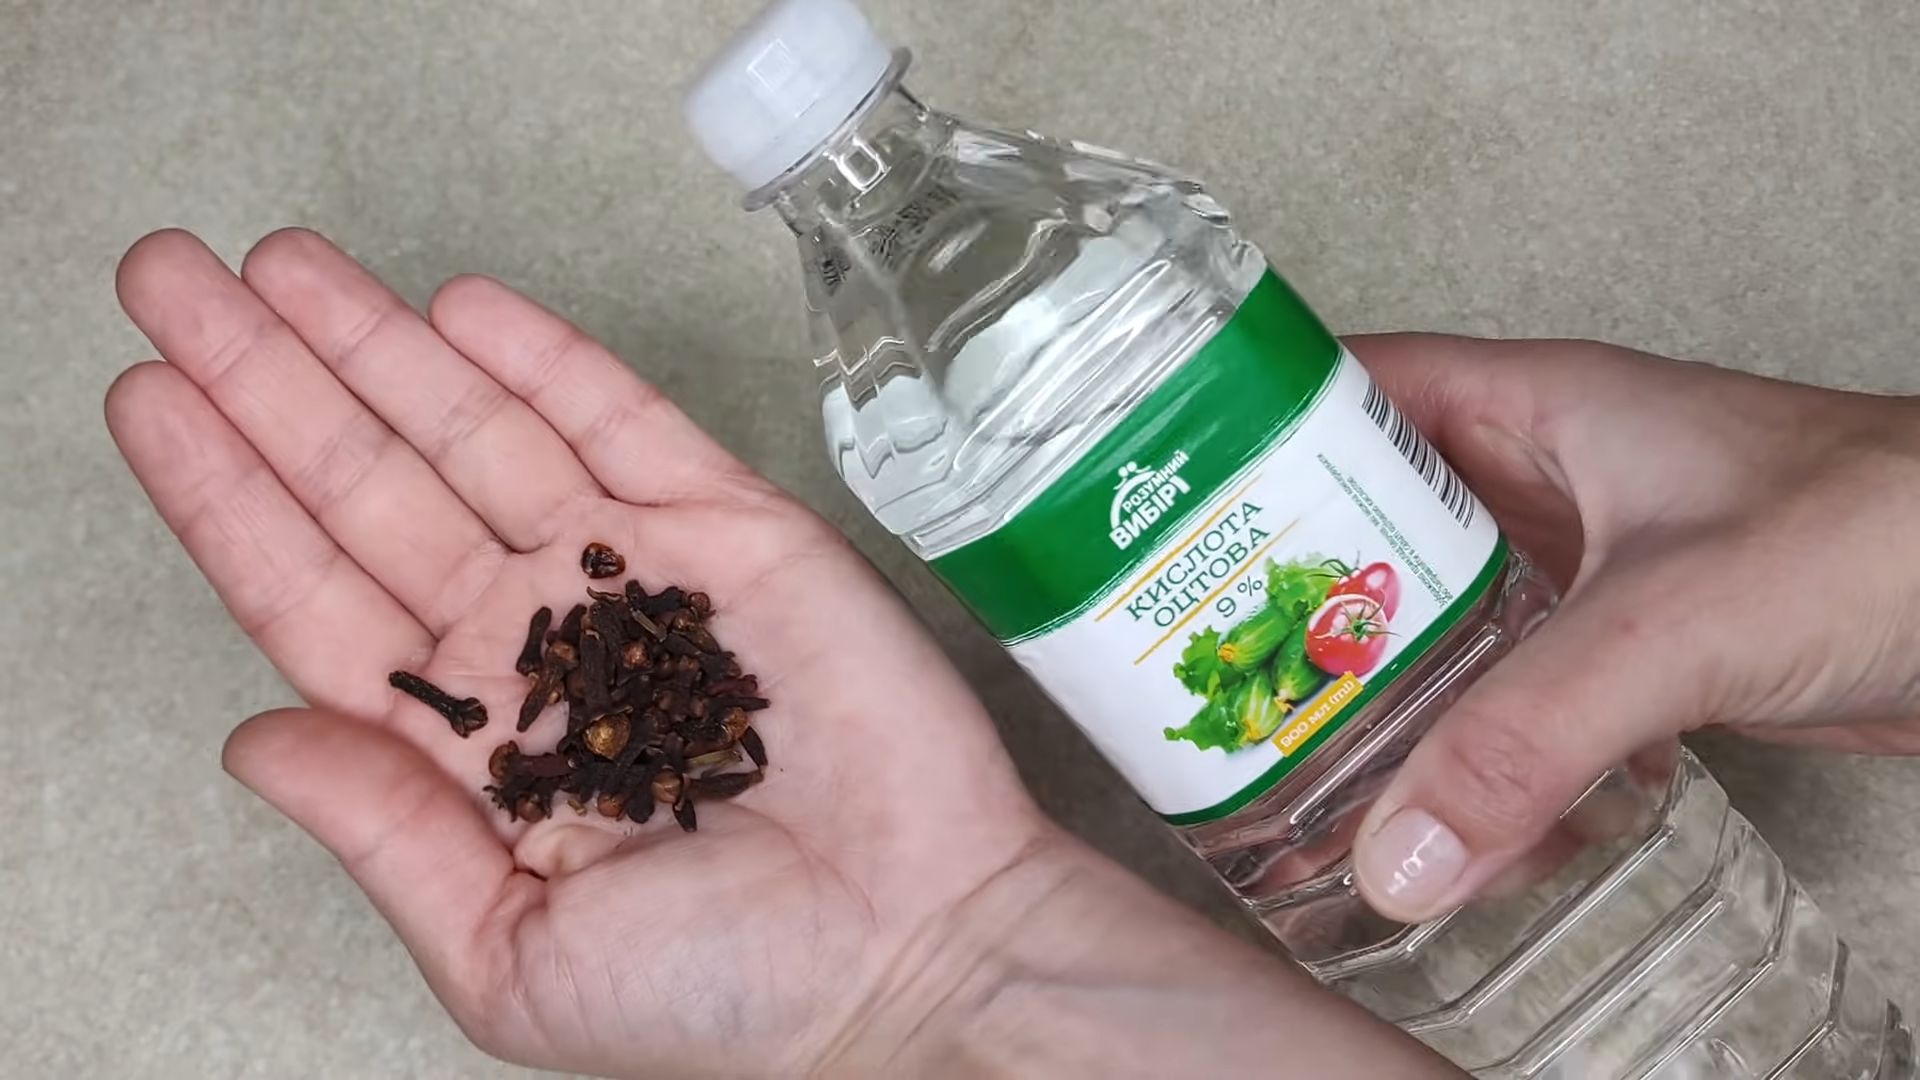
But what happens when you combine the power of cloves with the age-old preserving and healing properties of vinegar? That’s where the magic truly begins! In this DIY guide, I’m going to show you how to create your own vinegar-soaked cloves concoction and reveal the incredible benefits it can bring to your health and home.
In today’s fast-paced world, we’re constantly searching for natural and effective solutions to everyday problems. Whether you’re battling a pesky toothache, seeking a natural cleaning agent, or simply looking to enhance your overall well-being, vinegar soaked cloves benefits offer a simple, affordable, and surprisingly powerful solution. So, let’s dive in and discover the secrets of this amazing DIY remedy!
Growing Chili Peppers at Home: A Spicy DIY Adventure!
Okay, chili pepper enthusiasts, gather ’round! I’m going to walk you through everything you need to know to grow your own fiery friends right at home. Whether you’ve got a sprawling garden or just a sunny windowsill, you can absolutely cultivate these flavorful gems. Let’s get started!
Choosing Your Chili Pepper Variety
First things first, what kind of heat are you craving? The world of chili peppers is vast and varied, from the mild and fruity bell peppers (yes, they’re technically chilies!) to the scorching hot ghost peppers. Here’s a quick rundown to get you thinking:
* Bell Peppers: Sweet, mild, and perfect for stuffing.
* Jalapeños: A classic medium heat, great for salsas and pickling.
* Serranos: A bit hotter than jalapeños, with a bright, fresh flavor.
* Cayenne Peppers: Used in many hot sauces and dried chili flakes.
* Habaneros: Seriously hot, with a fruity, almost floral aroma.
* Scotch Bonnets: Similar to habaneros in heat and flavor, often used in Caribbean cuisine.
* Ghost Peppers (Bhut Jolokia): Prepare for intense heat!
* Carolina Reapers: One of the hottest peppers in the world – handle with extreme care!
Once you’ve decided on your desired heat level and flavor profile, you can source your seeds. You can find them at most garden centers, online retailers, or even save seeds from peppers you’ve bought at the store (though the latter might not always produce true-to-type plants).
Starting Your Chili Pepper Seeds
Chili peppers need a long growing season, so it’s best to start your seeds indoors about 6-8 weeks before the last expected frost in your area.
1. Gather Your Supplies:
* Chili pepper seeds
* Seed starting trays or small pots
* Seed starting mix (a light, sterile potting mix)
* Spray bottle
* Heat mat (optional, but helpful)
* Grow light (optional, but recommended)
* Clear plastic dome or plastic wrap
2. Sow the Seeds:
* Moisten the seed starting mix with water. It should be damp but not soggy.
* Fill your seed starting trays or pots with the moistened mix.
* Make a small indentation (about 1/4 inch deep) in the center of each cell or pot.
* Place 1-2 seeds in each indentation.
* Gently cover the seeds with the seed starting mix.
* Lightly mist the surface with water.
3. Create a Humid Environment:
* Cover the seed starting trays or pots with a clear plastic dome or plastic wrap to create a humid environment. This helps the seeds germinate.
4. Provide Warmth and Light:
* Place the seed starting trays or pots on a heat mat (if using) to maintain a soil temperature of around 75-85°F (24-29°C).
* Place the trays or pots under a grow light (if using) or in a bright, sunny location. If using a grow light, keep it a few inches above the seedlings.
5. Maintain Moisture:
* Check the soil moisture daily and mist with water as needed to keep the soil consistently moist but not waterlogged.
6. Wait for Germination:
* Chili pepper seeds can take anywhere from 7 to 21 days (or even longer) to germinate, depending on the variety and conditions. Be patient!
7. Remove the Cover:
* Once the seedlings emerge, remove the plastic dome or plastic wrap to allow for better air circulation.
Caring for Your Chili Pepper Seedlings
Once your seedlings have sprouted, it’s important to provide them with the right care to ensure they grow into strong, healthy plants.
1. Provide Adequate Light:
* Continue to provide your seedlings with plenty of light, either from a grow light or a sunny window. If using a window, rotate the seedlings regularly to prevent them from leaning towards the light.
2. Water Regularly:
* Water your seedlings when the top inch of soil feels dry to the touch. Avoid overwatering, as this can lead to root rot.
3. Fertilize Sparingly:
* Once your seedlings have developed their first set of true leaves (the leaves that look like miniature versions of the adult leaves), you can start fertilizing them with a diluted liquid fertilizer. Use a balanced fertilizer (e.g., 10-10-10) diluted to half strength. Fertilize every 2-3 weeks.
4. Harden Off the Seedlings:
* About a week or two before you plan to transplant your seedlings outdoors, you’ll need to “harden them off.” This process gradually acclimates the seedlings to outdoor conditions, preventing them from getting shocked when you transplant them.
* Start by placing the seedlings outdoors in a sheltered location for a few hours each day, gradually increasing the amount of time they spend outdoors.
* Protect the seedlings from direct sunlight and strong winds during the hardening-off process.
Transplanting Your Chili Pepper Plants Outdoors
Once the danger of frost has passed and your seedlings have been hardened off, it’s time to transplant them into their permanent home in the garden or in containers.
1. Choose a Sunny Location:
* Chili peppers need at least 6-8 hours of sunlight per day to thrive. Choose a location in your garden that receives plenty of sun.
2. Prepare the Soil:
* Chili peppers prefer well-drained soil that is rich in organic matter. Amend your soil with compost or other organic matter before planting.
3. Dig the Planting Holes:
* Dig planting holes that are slightly larger than the root balls of your seedlings. Space the holes about 18-24 inches apart, depending on the variety of chili pepper you are growing.
4. Transplant the Seedlings:
* Gently remove the seedlings from their pots or trays.
* Loosen the roots slightly before planting.
* Place the seedlings in the planting holes and backfill with soil.
* Water the seedlings thoroughly after planting.
5. Mulch Around the Plants:
* Apply a layer of mulch around the plants to help retain moisture, suppress weeds, and regulate soil temperature.
Caring for Your Chili Pepper Plants Outdoors
Once your chili pepper plants are in the ground, it’s important to provide them with the right care to ensure they produce a bountiful harvest.
1. Water Regularly:
* Water your chili pepper plants regularly, especially during hot, dry weather. Aim to keep the soil consistently moist but not waterlogged.
2. Fertilize Regularly:
* Fertilize your chili pepper plants every 2-3 weeks with a balanced fertilizer or a fertilizer specifically formulated for peppers and tomatoes.
3. Provide Support:
* As your chili pepper plants grow, they may need support to prevent them from falling over. You can use stakes, cages, or trellises to provide support.
4. Pinch Off Flowers (Optional):
* If you want to encourage your plants to produce more peppers, you can pinch off the first few flowers that appear. This will encourage the plants to focus their energy on vegetative growth, resulting in a larger, more productive plant.
5. Watch Out for Pests and Diseases:
* Keep an eye out for common chili pepper pests and diseases, such as aphids, spider mites, and blossom end rot. Take action to control pests and diseases as soon as you notice them.
Harvesting Your Chili Peppers
The moment you’ve been waiting for! Harvesting your homegrown chilies is super rewarding.
1. Know When to Harvest:
* The time it takes for chili peppers to mature varies depending on the variety. Generally, chili peppers are ready to harvest when they have reached their mature size and color.
2. Use Pruning Shears or Scissors:
* Use pruning shears or scissors to cut the peppers from the plant. This will prevent you from damaging the plant.
3. Handle with Care (Especially Hot Peppers!):
* If you are harvesting hot peppers, wear gloves to protect your skin from the capsaicin, the compound that makes chili peppers hot. Avoid touching your eyes or face while handling hot peppers.
4. Enjoy Your Harvest!
* Use your freshly harvested chili peppers in your favorite recipes, or dry them for later use.
Troubleshooting Common Chili Pepper Problems
Even with the best care, you might encounter some problems along the way.
Conclusion
So, there you have it! This simple, yet surprisingly effective, DIY trick of using vinegar soaked cloves is more than just a home remedy; it’s a testament to the power of natural ingredients and their ability to address everyday concerns. We’ve explored the potential benefits, from freshening your breath and supporting oral hygiene to potentially offering a gentle boost to your overall well-being. It’s a cost-effective, readily available solution that puts you in control of what you’re putting into your body.
But why is this DIY trick a must-try? Because it’s accessible, customizable, and potentially offers a range of benefits without the harsh chemicals often found in commercial products. It’s a return to simpler times, a nod to the wisdom of using nature’s bounty to enhance our lives. Plus, it’s incredibly easy to prepare!
Looking for variations? Absolutely! Consider experimenting with different types of vinegar. Apple cider vinegar, with its own set of health benefits, could be a fantastic alternative to white vinegar. You could also infuse the vinegar with other herbs and spices, such as cinnamon sticks or star anise, for added flavor and potential benefits. For a sweeter touch, a tiny drop of honey can be added after the cloves have soaked. Remember to always start with small amounts and adjust to your personal preference.
Another variation involves the soaking time. While we recommend a minimum of 24 hours, you can experiment with longer soaking periods, up to a week, to potentially extract more of the beneficial compounds from the cloves. Just be sure to store the mixture in a cool, dark place during the soaking process.
This DIY trick using **vinegar soaked cloves** is not a replacement for professional medical advice, but it can be a valuable addition to your wellness routine. It’s a proactive step you can take to support your health naturally.
We wholeheartedly encourage you to give this DIY trick a try. It’s a simple, affordable, and potentially rewarding experiment. Once you’ve tried it, we’d love to hear about your experience! Share your thoughts, variations, and any benefits you’ve noticed in the comments below. Your feedback will not only help us improve this guide but also inspire others to embrace the power of natural remedies. Let’s build a community of informed and empowered individuals who are taking control of their health, one clove at a time! Don’t hesitate to share this article with your friends and family who might benefit from this simple yet effective remedy. Let’s spread the word about the amazing potential of vinegar soaked cloves!
Frequently Asked Questions (FAQ)
What exactly are the benefits of using vinegar soaked cloves?
The potential benefits of vinegar soaked cloves are multifaceted. Cloves are known for their antiseptic, anti-inflammatory, and analgesic properties. When soaked in vinegar, these properties are extracted, potentially offering relief from minor oral discomfort, freshening breath, and contributing to overall oral hygiene. Some people also believe that the mixture can aid digestion and boost the immune system, although more research is needed to confirm these benefits definitively. The vinegar itself, especially apple cider vinegar, can also contribute its own set of health benefits, such as aiding in digestion and regulating blood sugar levels. However, it’s crucial to remember that these are potential benefits, and individual results may vary. This is not a substitute for professional medical advice.
What type of vinegar is best to use for this DIY trick?
While white vinegar is a common and readily available option, apple cider vinegar (ACV) is often preferred due to its own inherent health benefits. ACV contains acetic acid, which has antimicrobial properties, and it also contains enzymes and probiotics that can be beneficial for gut health. However, the choice ultimately depends on your personal preference and availability. If you’re using ACV, opt for the raw, unfiltered variety, which contains “the mother,” a colony of beneficial bacteria. Other vinegars, such as red wine vinegar or balsamic vinegar, can also be used, but they may impart a stronger flavor that might not be as palatable for everyone.
How long should I soak the cloves in vinegar?
We recommend soaking the cloves for a minimum of 24 hours to allow the vinegar to extract the beneficial compounds from the cloves. However, you can soak them for longer, up to a week, for a more potent infusion. The longer the soaking time, the stronger the flavor and potential benefits. Be sure to store the mixture in a cool, dark place during the soaking process to prevent spoilage.
How do I use the vinegar soaked cloves?
There are several ways to use vinegar soaked cloves. You can use the vinegar as a mouthwash by swishing a small amount (about a tablespoon) in your mouth for 30 seconds to a minute, then spitting it out. Be sure not to swallow the vinegar. You can also chew on a clove or two after soaking them in vinegar. This can help freshen your breath and provide localized relief from minor oral discomfort. Some people also dilute the vinegar with water and drink it as a tonic, but this should be done with caution and in moderation, as vinegar can be acidic and may irritate the stomach lining.
Are there any side effects or precautions I should be aware of?
While vinegar soaked cloves are generally safe for most people, there are some potential side effects and precautions to be aware of. Vinegar is acidic and can erode tooth enamel if used excessively. Therefore, it’s important to use it in moderation and rinse your mouth with water after using it as a mouthwash. Cloves contain eugenol, which can be irritating to the skin and mucous membranes in some people. If you experience any irritation, discontinue use. Pregnant or breastfeeding women should consult with their doctor before using vinegar soaked cloves. People with bleeding disorders or those taking blood-thinning medications should also exercise caution, as cloves can have anti-coagulant properties. As always, if you have any underlying health conditions or concerns, consult with your doctor before trying this DIY trick.
Can I reuse the cloves after soaking them in vinegar?
While the cloves will still retain some flavor and potential benefits after the initial soaking, they will gradually lose their potency. You can reuse them once or twice, but it’s best to use fresh cloves for each batch to ensure maximum effectiveness.
How should I store the vinegar soaked cloves?
Store the vinegar soaked cloves in an airtight container in a cool, dark place, such as a pantry or refrigerator. This will help preserve the flavor and potency of the mixture. The mixture should last for several weeks when stored properly.
Can I add other ingredients to the vinegar soaked cloves?
Yes, you can definitely experiment with adding other ingredients to the vinegar soaked cloves to enhance their flavor and potential benefits. Some popular additions include cinnamon sticks, star anise, ginger, and lemon peel. These ingredients can add a pleasant aroma and flavor to the mixture, as well as provide additional health benefits. For example, cinnamon has anti-inflammatory properties, while ginger can aid digestion.
Is this a substitute for professional dental care?
No, this DIY trick is not a substitute for professional dental care. It’s important to maintain regular dental checkups and cleanings to ensure optimal oral health. Vinegar soaked cloves can be a helpful addition to your oral hygiene routine, but they should not replace brushing, flossing, and professional dental care.
How often can I use this DIY trick?
You can use vinegar soaked cloves as a mouthwash or chew on a clove or two daily, but it’s important to use it in moderation. Excessive use can lead to tooth enamel erosion or irritation of the mucous membranes. If you experience any discomfort, reduce the frequency of use or discontinue use altogether. Listen to your body and adjust accordingly.


Leave a Comment