
DIY Home Repair Projects can feel daunting, right? I get it! That leaky faucet, that wobbly shelf, that paint peeling in the corner – they all stare at you, whispering (or maybe shouting!) about the money you’ll have to shell out to a professional. But what if I told you that tackling these issues yourself can be incredibly empowering, save you a ton of cash, and even be…fun?
For centuries, humans have been fixing and improving their homes. From ancient civilizations using mud and straw to build shelters to the Victorian era’s intricate woodwork, the desire to create and maintain a comfortable living space is deeply ingrained in our history. It’s a testament to our resourcefulness and our connection to the spaces we inhabit.
In today’s world, where budgets are often stretched thin, mastering a few DIY Home Repair Projects is more valuable than ever. Not only will you avoid expensive contractor fees, but you’ll also gain a sense of accomplishment and a deeper understanding of how your home works. Plus, you’ll be equipped to handle minor emergencies before they turn into major disasters. So, let’s dive in and explore some easy-to-follow DIY tricks and hacks that will transform you from a homeowner into a home improvement hero!
DIY Lime Cleaning Power: From Kitchen to Bathroom, Conquer Grime Naturally!
Hey there, fellow DIY enthusiasts! Are you tired of harsh chemicals and their lingering smells when tackling stubborn limescale and hard water stains? Well, I’ve got a fantastic, eco-friendly solution for you: the humble lime! Yes, that bright, citrusy fruit is a powerhouse cleaner, and I’m going to show you how to harness its natural acidity to banish grime from your home. Get ready to ditch the expensive cleaners and embrace the zesty power of lime!
What Makes Lime Such a Great Cleaner?
Before we dive into the how-to, let’s understand why limes are so effective. Limes contain citric acid, a natural acid that breaks down mineral deposits like calcium and lime scale. It’s also a natural disinfectant, helping to kill bacteria and leave surfaces sparkling clean. Plus, the fresh, citrusy scent is a welcome bonus!
Tools and Materials You’ll Need
* Limes (obviously!) – The number you need will depend on the size of the cleaning job.
* Spray bottle (an empty one, of course!)
* Microfiber cloths (these are great for streak-free cleaning)
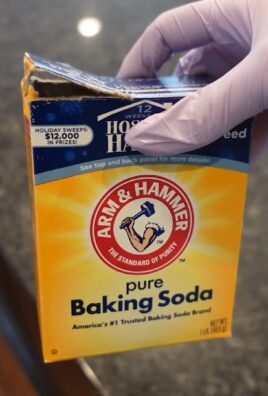
* Baking soda (for extra scrubbing power)
* White vinegar (another cleaning superstar, use with caution!)
* Old toothbrush (for those hard-to-reach spots)
* Gloves (optional, but recommended if you have sensitive skin)
* Knife or citrus juicer
* Bowl or container for mixing
Cleaning Your Kitchen with Lime
The kitchen is a prime target for limescale buildup, especially around faucets, sinks, and appliances. Here’s how to use lime to tackle those problem areas:
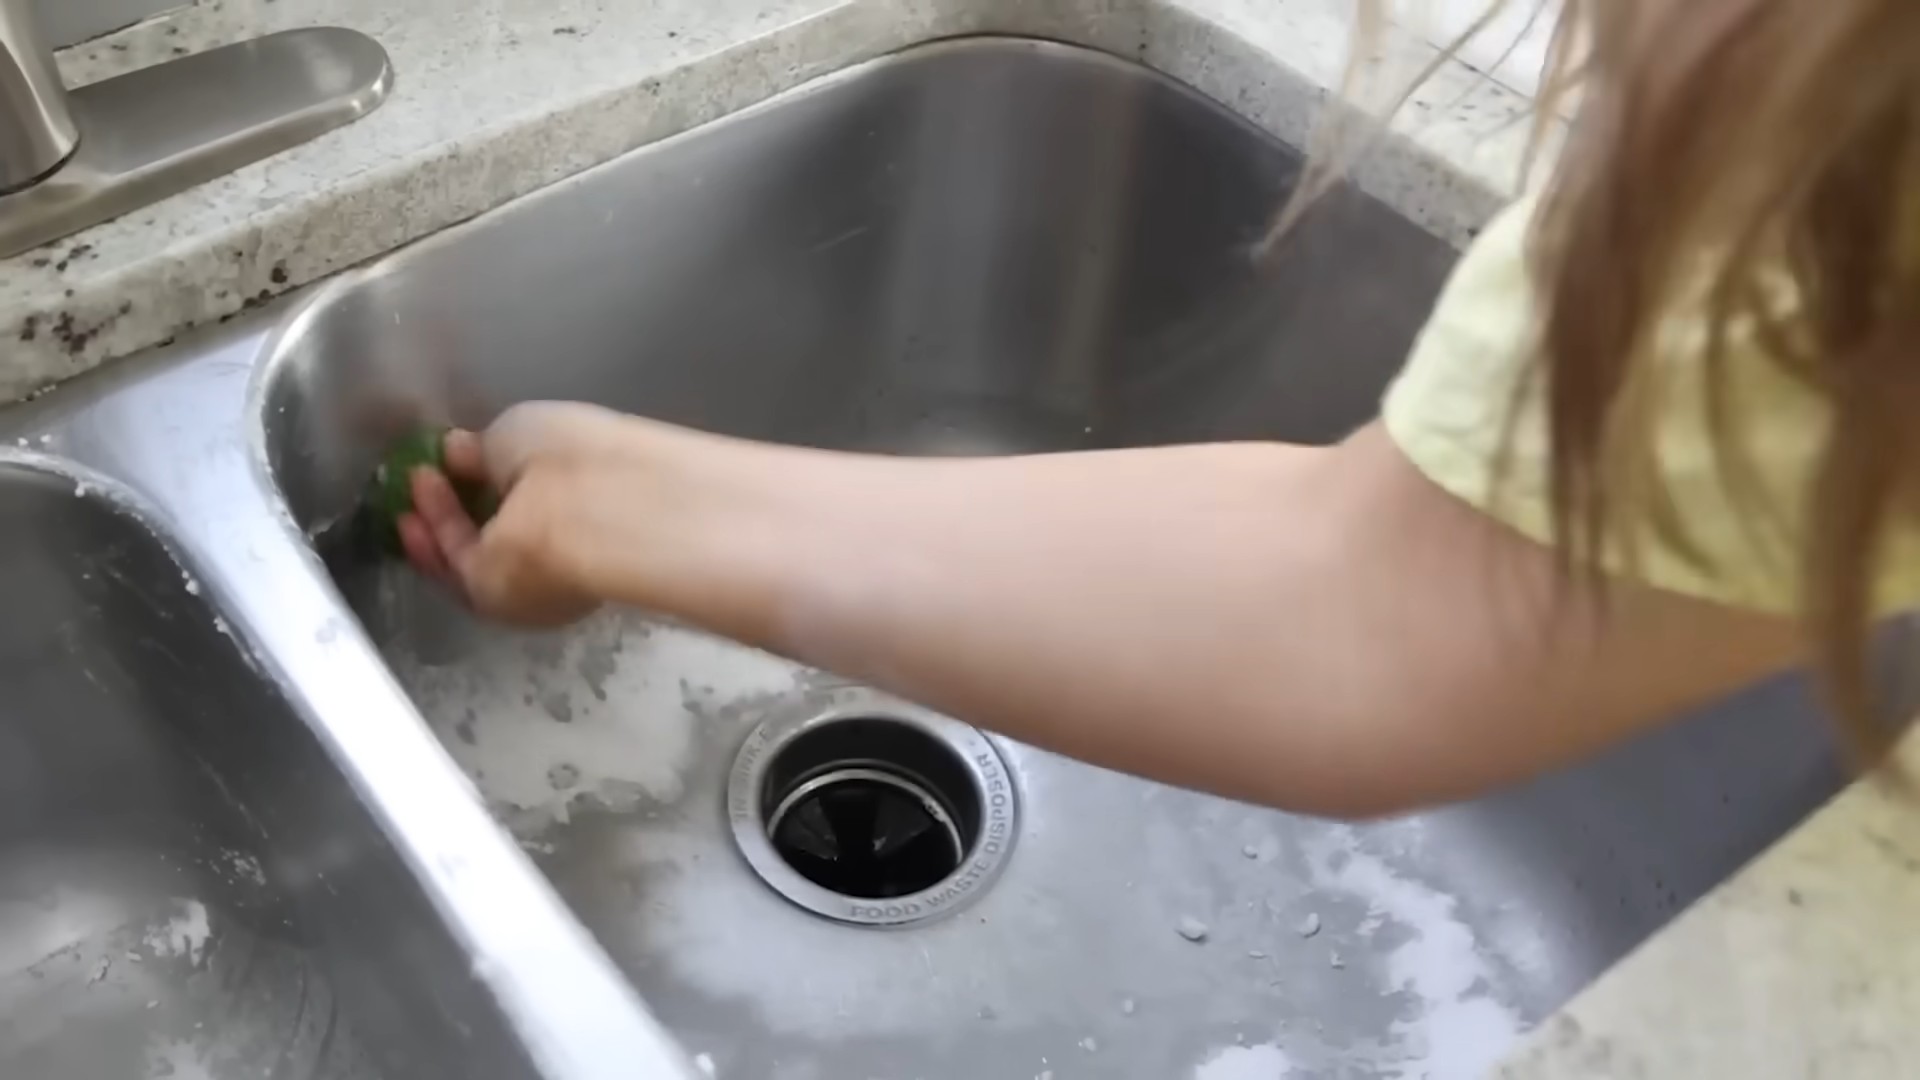
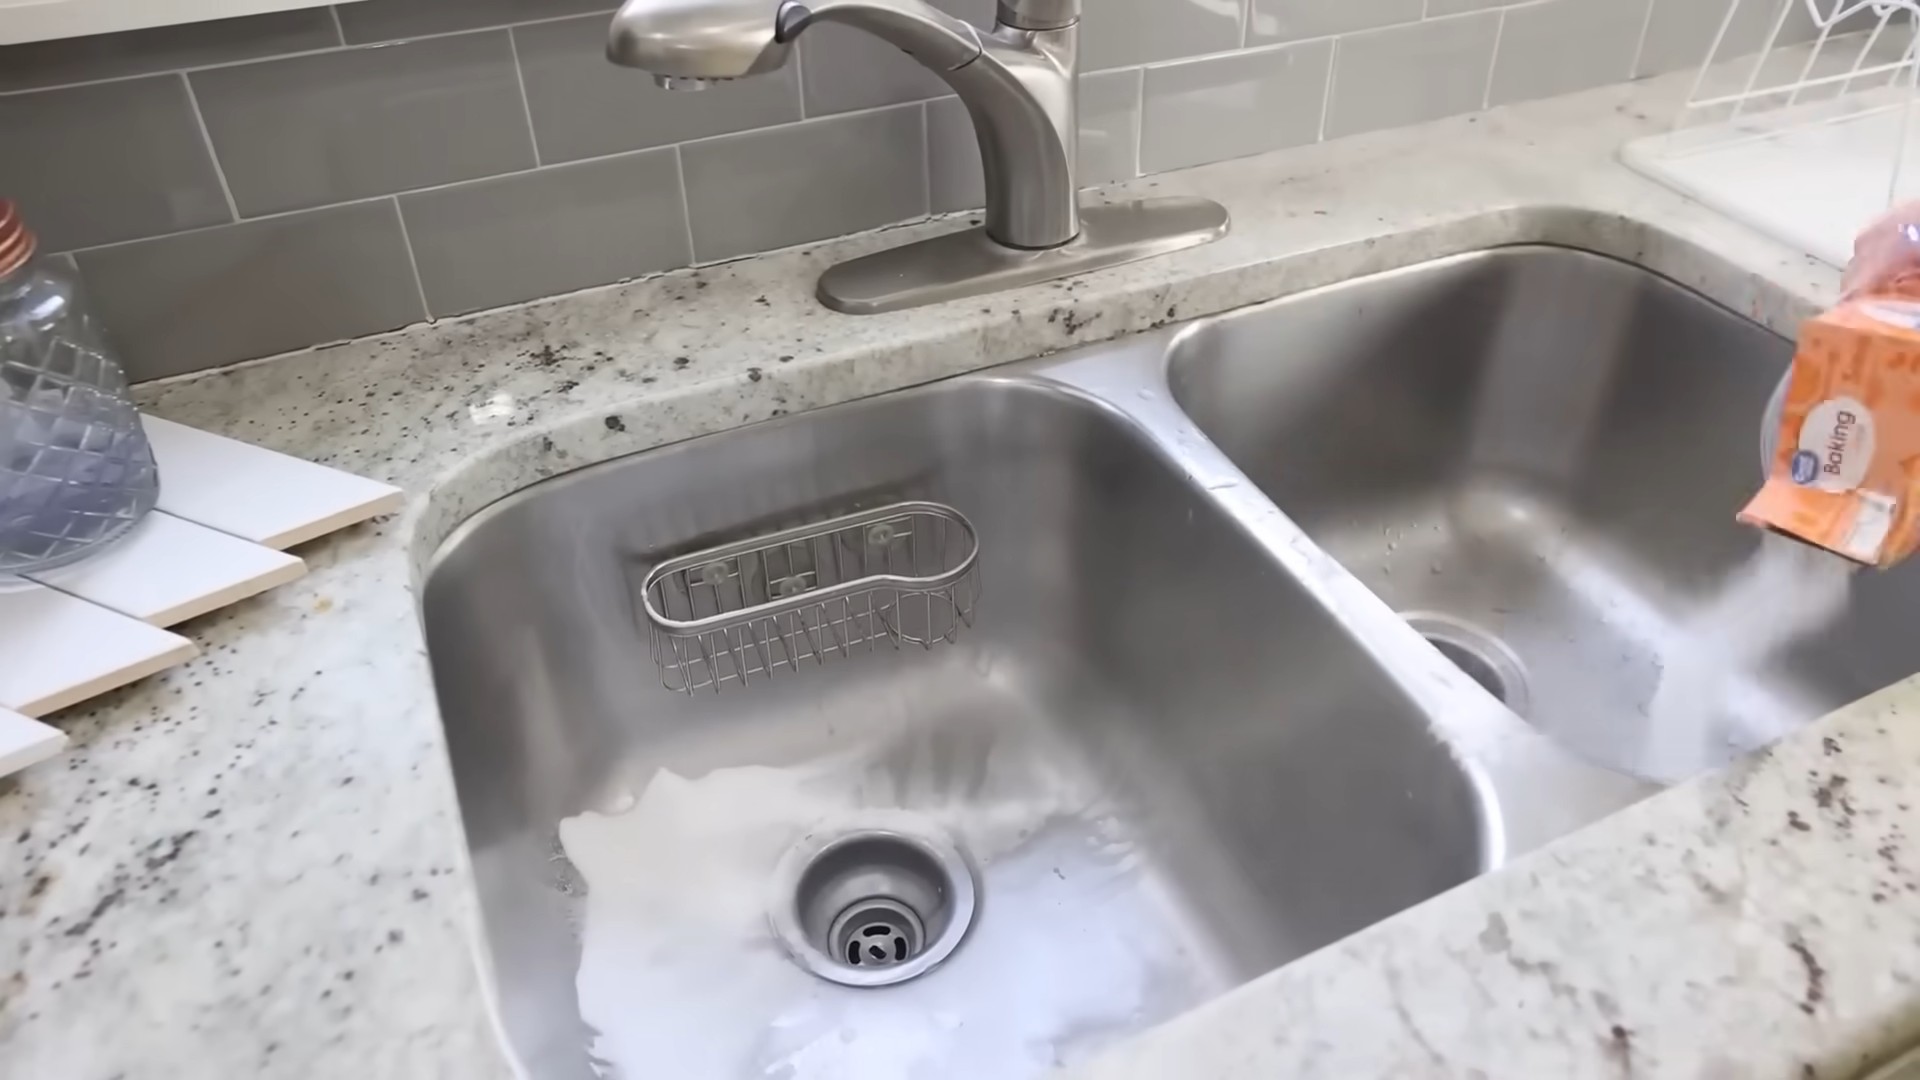
Cleaning Faucets and Sinks
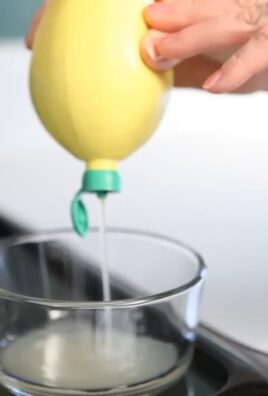
1. Prepare the Lime Juice: Cut a lime in half and squeeze the juice into a bowl. You can use a citrus juicer for this, or simply squeeze it by hand. Remove any seeds that might fall into the juice.
2. Apply the Lime Juice: Dip a microfiber cloth into the lime juice and thoroughly wipe down the faucet and sink. Pay special attention to areas with visible limescale buildup.
3. Let it Sit: Allow the lime juice to sit on the surface for about 15-20 minutes. This gives the citric acid time to break down the mineral deposits. For really stubborn buildup, you can even soak a paper towel in lime juice and wrap it around the faucet.
4. Scrub (If Necessary): If the limescale is particularly stubborn, use an old toothbrush to gently scrub the affected areas. You can also sprinkle a little baking soda onto the toothbrush for extra scrubbing power. Remember to be gentle to avoid scratching the surface.
5. Rinse Thoroughly: Rinse the faucet and sink thoroughly with clean water. Make sure to remove all traces of lime juice and baking soda.
6. Dry and Polish: Dry the faucet and sink with a clean microfiber cloth. This will help prevent water spots and leave your fixtures sparkling.
Cleaning Your Kettle
Kettles are notorious for limescale buildup. Here’s how to descale yours with lime:
1. Prepare the Lime Solution: Fill your kettle with water, leaving a few inches of space at the top. Add the juice of 2-3 limes, depending on the size of your kettle and the severity of the limescale. You can also add the squeezed lime halves to the kettle for extra cleaning power.
2. Boil the Solution: Bring the lime and water solution to a boil. Once it boils, let it simmer for about 5-10 minutes.
3. Let it Sit: Turn off the kettle and let the solution sit for at least an hour, or even overnight for really stubborn limescale.
4. Empty and Rinse: Empty the kettle and rinse it thoroughly with clean water. You may need to scrub the inside of the kettle with a sponge or brush to remove any remaining limescale.
5. Boil with Fresh Water: Fill the kettle with fresh water and boil it again. Discard the water to remove any lingering lime taste. Repeat this process if necessary.
Cleaning Your Microwave
Microwaves can get pretty grimy, and lime can help with that too!
1. Prepare the Lime Solution: Fill a microwave-safe bowl with about 1 cup of water. Add the juice of one lime and the squeezed lime half to the water.
2. Microwave the Solution: Microwave the solution on high for 3-5 minutes, or until the water boils and the microwave is filled with steam.
3. Let it Sit: Leave the bowl in the microwave for about 5-10 minutes. The steam will help loosen the grime and make it easier to wipe away.
4. Wipe Clean: Carefully remove the bowl from the microwave (it will be hot!). Use a damp cloth or sponge to wipe down the inside of the microwave. The grime should come off easily.
5. Dry: Dry the inside of the microwave with a clean cloth.
Cleaning Your Bathroom with Lime
The bathroom is another area where limescale and hard water stains can be a real problem. Here’s how to use lime to clean your bathroom:
Cleaning Shower Heads
Shower heads can get clogged with limescale, reducing water pressure. Here’s how to clean them with lime:
1. Prepare the Lime Solution: In a plastic bag (a zip-top bag works well), combine equal parts lime juice and white vinegar. The vinegar will boost the cleaning power of the lime.
2. Submerge the Shower Head: Place the bag over the shower head, ensuring that the shower head is completely submerged in the lime and vinegar solution. Secure the bag with a rubber band or twist tie.
3. Let it Soak: Let the shower head soak in the solution for at least an hour, or even overnight for really stubborn buildup.
4. Remove and Rinse: Remove the bag and rinse the shower head thoroughly with clean water. Use an old toothbrush to scrub away any remaining limescale.
5. Test the Water Pressure: Turn on the shower and check the water pressure. It should be significantly improved.
Cleaning Toilet Bowls
Lime can also help to remove stains and mineral deposits from your toilet bowl.
1. Pour in Lime Juice: Pour about 1 cup of lime juice into the toilet bowl.
2. Let it Sit: Let the lime juice sit in the toilet bowl for at least an hour, or even overnight for best results.
3. Scrub: Use a toilet brush to scrub the toilet bowl, paying special attention to any stains or mineral deposits.
4. Flush: Flush the toilet to rinse away the lime juice and any loosened grime.
Cleaning Shower Doors and Tiles
Hard water stains on shower doors and tiles can be a real eyesore. Here’s how to tackle them with lime:
1. Prepare the Lime Spray: In a spray bottle, combine equal parts lime juice and water.
2. Spray the Surface: Spray the lime solution onto the shower doors and tiles, focusing on areas with hard water stains.
3. Let it Sit: Let the solution sit for about 10-15 minutes.
4. Scrub: Use a sponge or microfiber cloth to scrub the shower doors and tiles. For stubborn stains, you can sprinkle a little baking soda onto the sponge for extra scrubbing power.
5. Rinse: Rinse the shower doors and tiles thoroughly with clean water.
6. Dry: Dry the shower doors and tiles with a clean microfiber cloth to prevent water spots.
Important Considerations and Safety Tips
* Test on a Small Area First: Before cleaning an entire surface with lime juice, test it on a small, inconspicuous area to make sure it doesn’t damage or discolor the material. This is especially important for delicate surfaces like marble or granite.
* Avoid Using on Certain Materials: Avoid using lime juice on natural stone surfaces like marble or granite, as the acidity can etch and damage them.
* Wear Gloves: While lime juice is a natural cleaner, it can still irritate sensitive skin. It’s a good idea to wear gloves when cleaning with lime, especially if you’re going to be using it for an extended period of time.
* Ventilation: When cleaning with lime juice, especially in enclosed spaces like the bathroom, make sure to have adequate ventilation.
* Don’t Mix with Bleach: Never mix lime juice with bleach, as this can create harmful fumes.
* Rinse Thoroughly: Always rinse surfaces thoroughly with clean water after cleaning with lime juice to remove any residue.
Why I Love This Hack
I absolutely love using lime as a cleaning agent because it’s natural, effective, and smells amazing! It’s a great way to reduce your reliance on harsh chemicals and create a healthier home environment. Plus, it’s a budget-friendly option that’s readily available at most grocery stores. So,
Conclusion
So, there you have it! Mastering these simple DIY home repair projects isn’t just about saving money; it’s about empowering yourself to take control of your living space and fostering a deeper connection with your home. From patching up drywall imperfections to silencing that incessantly dripping faucet, these are skills that will serve you well for years to come.
Why is this a must-try? Because it’s accessible, practical, and incredibly rewarding. Imagine the satisfaction of fixing that wobbly table leg yourself, instead of shelling out for a brand new one. Think of the pride you’ll feel when you successfully caulk around your bathtub, preventing water damage and keeping your bathroom looking fresh. These small victories add up, boosting your confidence and transforming you into a true home improvement hero.
But don’t stop there! These are just starting points. Feel free to experiment and adapt these techniques to suit your specific needs and preferences. For example, when patching drywall, consider using tinted primer to better match the existing wall color. Or, if you’re tackling a leaky faucet, explore different types of faucet cartridges to find the most durable and efficient option. The possibilities are endless!
And remember, safety always comes first. Always wear appropriate safety gear, such as gloves and eye protection, and be sure to turn off the power or water supply before working on electrical or plumbing projects. If you’re ever unsure about a particular task, don’t hesitate to consult a professional.
We wholeheartedly encourage you to embrace these DIY home repair projects and discover the joy of fixing things yourself. It’s a journey of learning, growth, and ultimately, a more comfortable and personalized home.
Now, go forth and conquer those home repair challenges! And most importantly, we want to hear about your experiences. Share your successes, your struggles, and your creative variations in the comments below. Let’s build a community of DIY enthusiasts, supporting each other and inspiring others to take on their own home improvement adventures. Your insights could be invaluable to someone just starting out. Let us know which of these **DIY home repair projects** you tried first!
Frequently Asked Questions (FAQs)
What are the most essential tools for basic DIY home repair projects?
A well-stocked toolbox is your best friend when tackling DIY home repair projects. Some absolute essentials include:
* A good quality hammer: Choose one with a comfortable grip and a balanced weight.
* Screwdriver set (Phillips head and flathead): Opt for a set with various sizes to handle different screws.
* Adjustable wrench: Indispensable for plumbing repairs and tightening nuts and bolts.
* Pliers (slip-joint and needle-nose): Useful for gripping, bending, and cutting wires.
* Utility knife: For scoring drywall, cutting caulk, and various other tasks.
* Measuring tape: Essential for accurate measurements.
* Level: Ensures that your projects are straight and even.
* Safety glasses: Protect your eyes from debris.
* Work gloves: Protect your hands from cuts and abrasions.
* Stud finder: Helps locate studs behind drywall for secure mounting.
Consider adding a power drill/driver to your arsenal as you become more comfortable with DIY projects.
How do I know when a DIY project is beyond my skill level and I should call a professional?
Knowing your limitations is crucial for safety and preventing costly mistakes. Here are some signs that a project might be best left to a professional:
* Any electrical work involving wiring, circuit breakers, or electrical panels: Electrical work can be dangerous and requires specialized knowledge.
* Major plumbing repairs, such as replacing pipes or working on the main water line: Improper plumbing can lead to leaks, water damage, and even health hazards.
* Structural repairs, such as repairing load-bearing walls or foundations: These repairs require expertise in structural engineering and can compromise the safety of your home.
* Projects involving hazardous materials, such as asbestos or lead paint: These materials require specialized handling and disposal procedures.
* If you feel uncomfortable or overwhelmed by the project: Trust your instincts. If you’re not confident in your ability to complete the project safely and correctly, it’s best to call a professional.
What are some common mistakes to avoid when starting DIY home repair projects?
Many beginners make similar mistakes. Avoiding these can save you time, money, and frustration:
* Not properly preparing the work area: Clear the area of obstacles, cover furniture, and protect flooring.
* Not reading instructions carefully: Always read and understand the instructions before starting a project.
* Using the wrong tools or materials: Using the wrong tools can damage your project or even cause injury.
* Rushing the job: Take your time and pay attention to detail.
* Not wearing safety gear: Always wear appropriate safety gear, such as gloves and eye protection.
* Ignoring building codes: Make sure your projects comply with local building codes.
* Not asking for help when needed: Don’t be afraid to ask for help from a friend, family member, or professional.
How can I find reliable information and tutorials for DIY home repair projects?
The internet is a treasure trove of information for DIY enthusiasts. Here are some reliable sources:
* Reputable home improvement websites and blogs: Look for websites with experienced contributors and clear, concise instructions.
* YouTube channels: Many experienced DIYers share their knowledge and skills on YouTube. Look for channels with high-quality videos and positive reviews.
* Home improvement books and magazines: These resources offer in-depth information and step-by-step instructions.
* Local hardware stores and home improvement centers: Many stores offer workshops and classes on DIY home repair projects.
* Online forums and communities: Connect with other DIYers and ask questions.
Always cross-reference information from multiple sources to ensure accuracy.
How can I save money on DIY home repair projects?
Saving money is a big motivator for DIY. Here’s how to maximize your savings:
* Shop around for the best prices on tools and materials: Compare prices at different stores and online retailers.
* Buy used tools: Consider buying used tools at garage sales, flea markets, or online marketplaces.
* Reuse and repurpose materials: Get creative and find ways to reuse or repurpose old materials.
* Plan your projects carefully: Avoid making unnecessary purchases by planning your projects in advance and creating a detailed materials list.
* Do your research: Thorough research can prevent costly mistakes and ensure that you’re using the most efficient and cost-effective methods.
* Take advantage of sales and discounts: Sign up for email lists and follow your favorite stores on social media to stay informed about sales and discounts.
What are some easy DIY projects to increase my home’s value?
While major renovations require professional help, some smaller DIY projects can significantly boost your home’s appeal and value:
* Fresh coat of paint: A fresh coat of paint can instantly brighten up a room and make it look more appealing.
* Landscaping: Improving your curb appeal with landscaping can make a big difference in your home’s value.
* Updating hardware: Replacing old doorknobs, cabinet pulls, and light fixtures can give your home a more modern look.
* Adding crown molding or baseboards: These architectural details can add character and value to your home.
* Improving energy efficiency: Installing energy-efficient windows, doors, and appliances can save you money on your utility bills and increase your home’s value.

Leave a Comment