
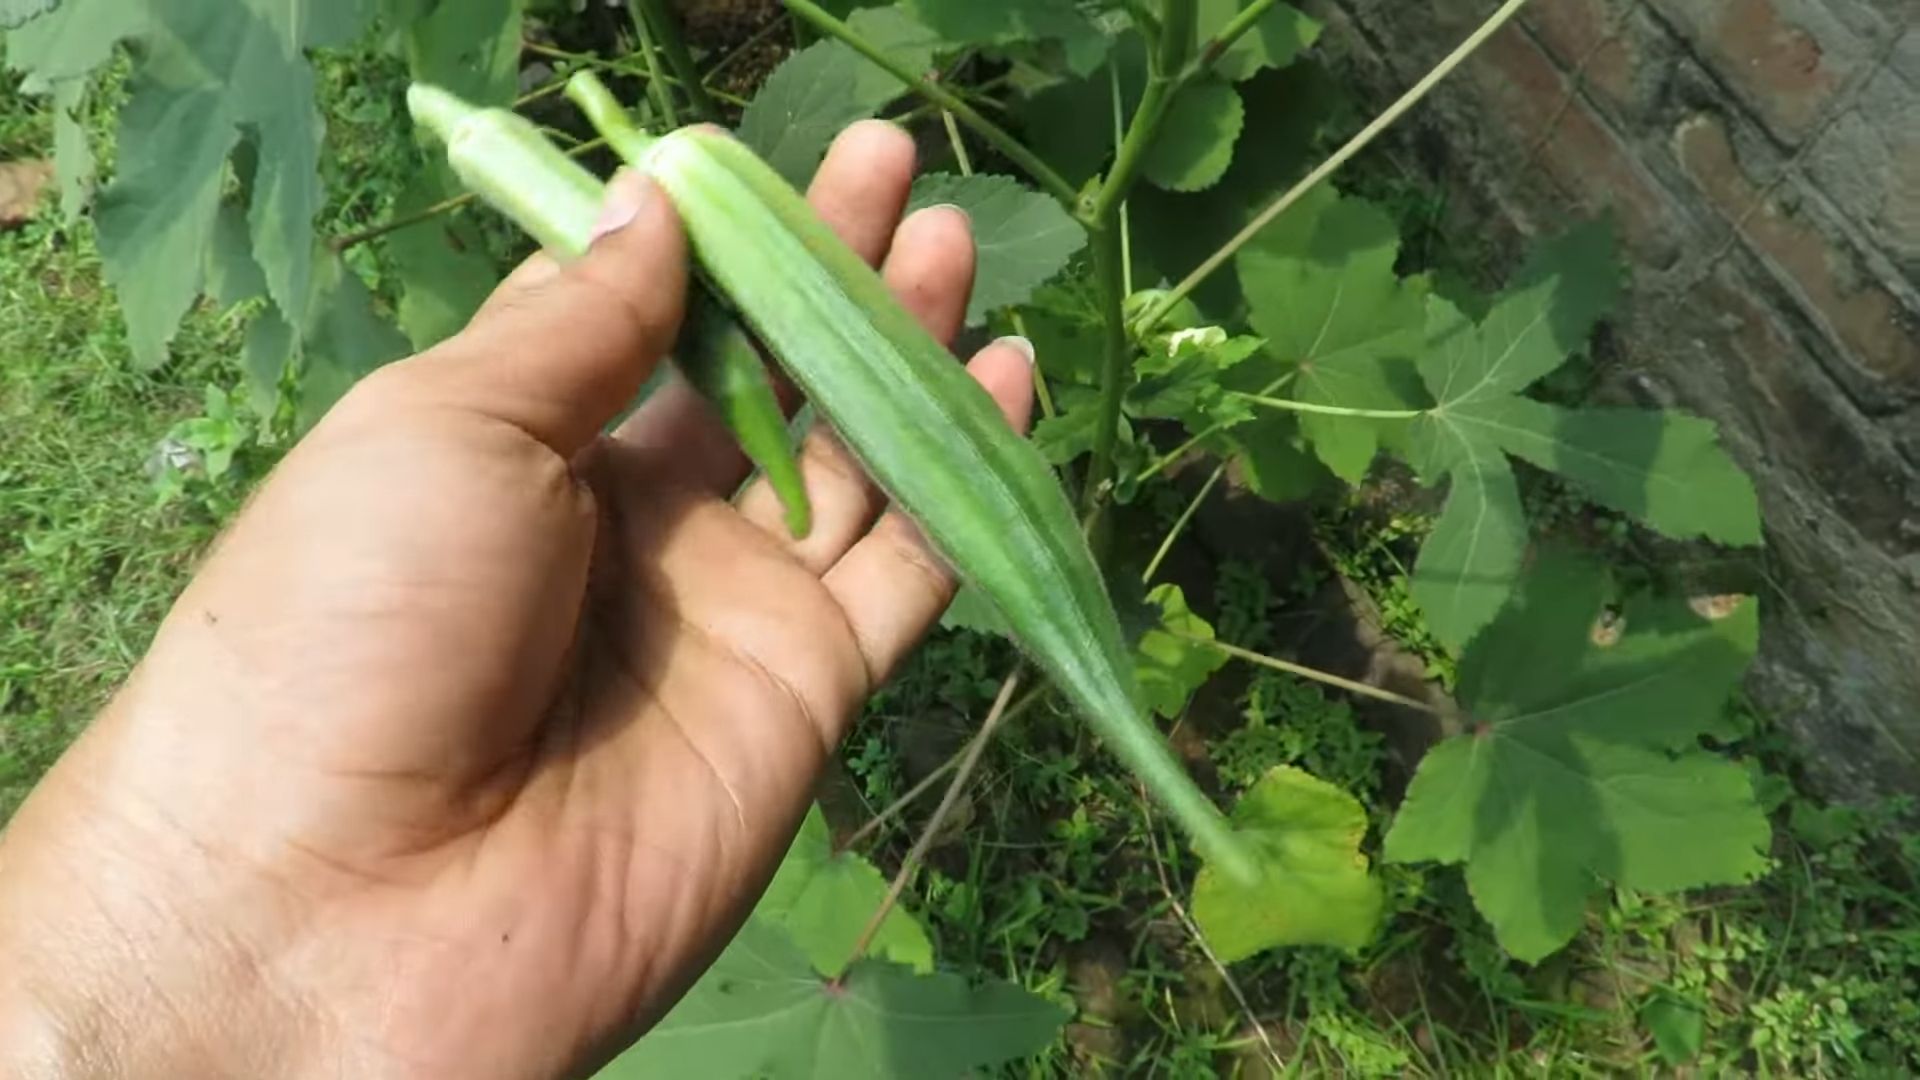
Harvesting Okra: Your Guide to a Bountiful Okra Harvest
Harvesting okra might seem straightforward, but there’s a surprising amount to learn to ensure you get the most delicious and tender pods from your garden. I’ve always loved the unique taste of okra, and growing my own has been a rewarding experience. This article is all about sharing my tips and tricks for successfully harvesting okra, transforming you from a novice gardener to an okra expert!
For centuries, okra has held a significant place in various cultures, particularly in the Southern United States and across Africa. It’s a staple ingredient in many beloved dishes, and its versatility in the kitchen is undeniable. But what good is a bountiful okra plant if you don’t know how to harvest it properly? Improper harvesting can lead to tough, stringy pods, ruining the culinary potential of your hard work.
Why Master Harvesting Okra?
Knowing the right techniques for harvesting okra is crucial for several reasons. First, it ensures you get the best flavor and texture. Harvesting at the optimal time prevents the pods from becoming tough and woody. Second, proper harvesting encourages the plant to produce more pods, leading to a larger overall yield. Finally, it’s simply more satisfying to know you’re maximizing the potential of your homegrown okra. This guide will walk you through the process, from identifying mature pods to the best harvesting tools and techniques. Get ready to unlock the secrets to a truly bountiful okra harvest!
So, let’s dive in and learn everything you need to know about harvesting okra, ensuring your garden produces the most delicious and abundant crop possible. You’ll be amazed at the difference a little knowledge can make!
My Sparkling Sink Makeover: A DIY Deep Clean
Let’s face it, the kitchen sink is a germ hotspot. But don’t despair! With a little elbow grease and the right approach, you can achieve a sparkling, sanitary sink that will make you proud. This guide will walk you through my foolproof method for a deep clean, leaving your sink gleaming.
Phase 1: Preparation and Pre-Cleaning
- Gather your supplies: You’ll need rubber gloves, a scrub brush (I prefer a stiff-bristled one), baking soda, white vinegar, dish soap, a spray bottle, a microfiber cloth, and a sponge. Optional: a pumice cleaning stone for stubborn stains, and a toothbrush for hard-to-reach areas.
- Clear the sink: Remove all dishes, sponges, and anything else from the sink basin and drain. This gives you a clean workspace.
- Pre-rinse: Give the sink a quick rinse with hot water to remove loose food particles and debris. This makes the cleaning process much more efficient.
Phase 2: Tackling the Drain
The drain is often overlooked, but it’s a breeding ground for bacteria. Let’s give it some special attention.
1. Boiling Water: Start by pouring a kettle full of boiling water down the drain. This helps to loosen up grease and grime. Let it sit for a few minutes.
2. Baking Soda and Vinegar: Next, pour about ½ cup of baking soda down the drain, followed by 1 cup of white vinegar. The fizzing action helps to break down clogs and remove odors. Let it sit for at least 30 minutes, or even longer if you have a particularly stubborn drain.
3. Flush with Hot Water: After the fizzing subsides, flush the drain with more boiling water. Repeat this process if necessary.
4. Optional: Baking Soda Paste: For really stubborn clogs, create a paste of baking soda and water. Apply this paste to the drain opening and let it sit for 30 minutes before flushing with hot water.
Phase 3: Deep Cleaning the Sink Basin
Now for the main event – cleaning the sink itself!
1. Baking Soda Paste Application: Sprinkle a generous amount of baking soda onto the wet sink surface. I usually use about ½ cup for a standard double sink.
2. Scrub-a-dub-dub: Using your scrub brush, gently scrub the baking soda into the sink, paying close attention to any stains or discoloration. For really stubborn stains, you can add a little dish soap to the baking soda to create a paste.
3. Vinegar Power: Once you’ve scrubbed the entire sink, spray the surface with white vinegar. The vinegar will react with the baking soda, creating a fizzing action that helps to lift dirt and grime.
4. Scrub Again: After a few minutes, scrub the sink again with your brush. You’ll notice that the dirt and grime are much easier to remove now.
5. Pumice Stone (Optional): If you have any particularly stubborn stains, like mineral deposits or rust, gently rub them with a pumice cleaning stone. Be careful not to scrub too hard, as you could scratch the sink surface.
6. Rinse Thoroughly: Rinse the sink thoroughly with hot water to remove all traces of baking soda and vinegar.
Phase 4: Finishing Touches
Almost there! Let’s give your sink that final shine.
1. Microfiber Magic: Use a clean microfiber cloth to wipe down the entire sink surface. Microfiber cloths are excellent at picking up dirt and leaving a streak-free shine.
2. Toothbrush Detailing: Use an old toothbrush to clean hard-to-reach areas, such as the corners and crevices of the sink.
3. Final Rinse: Give the sink one last rinse to ensure all cleaning residue is gone.
4. Dry Completely: Dry the sink completely with a clean towel to prevent water spots.
Phase 5: Maintaining Your Sparkling Sink
To keep your sink sparkling, follow these simple tips:
- Wipe down after each use: This prevents food particles and grime from building up.
- Regular cleaning: Repeat the deep cleaning process at least once a week, or more often if needed.
- Address spills immediately: Don’t let spills sit, as they can stain the sink surface.
- Avoid harsh chemicals: Harsh chemicals can damage the sink’s finish. Stick to natural cleaning agents like baking soda and vinegar.
Remember: Always test any cleaning product on a small, inconspicuous area of your sink first to ensure it doesn’t damage the finish. With a little effort and these simple steps, you can enjoy a sparkling clean kitchen sink every day!
Conclusion
So there you have it – a complete guide to harvesting okra, a surprisingly simple yet rewarding process that unlocks the potential of this versatile vegetable. This DIY approach to harvesting your own okra isn’t just about saving money; it’s about connecting with your food source, understanding the growth cycle of your plants, and ultimately, enjoying the freshest, most flavorful okra you’ve ever tasted. The satisfaction of picking your own okra, knowing exactly how it was grown and harvested, is unparalleled. It’s a truly enriching experience that elevates the simple act of cooking into something far more meaningful.
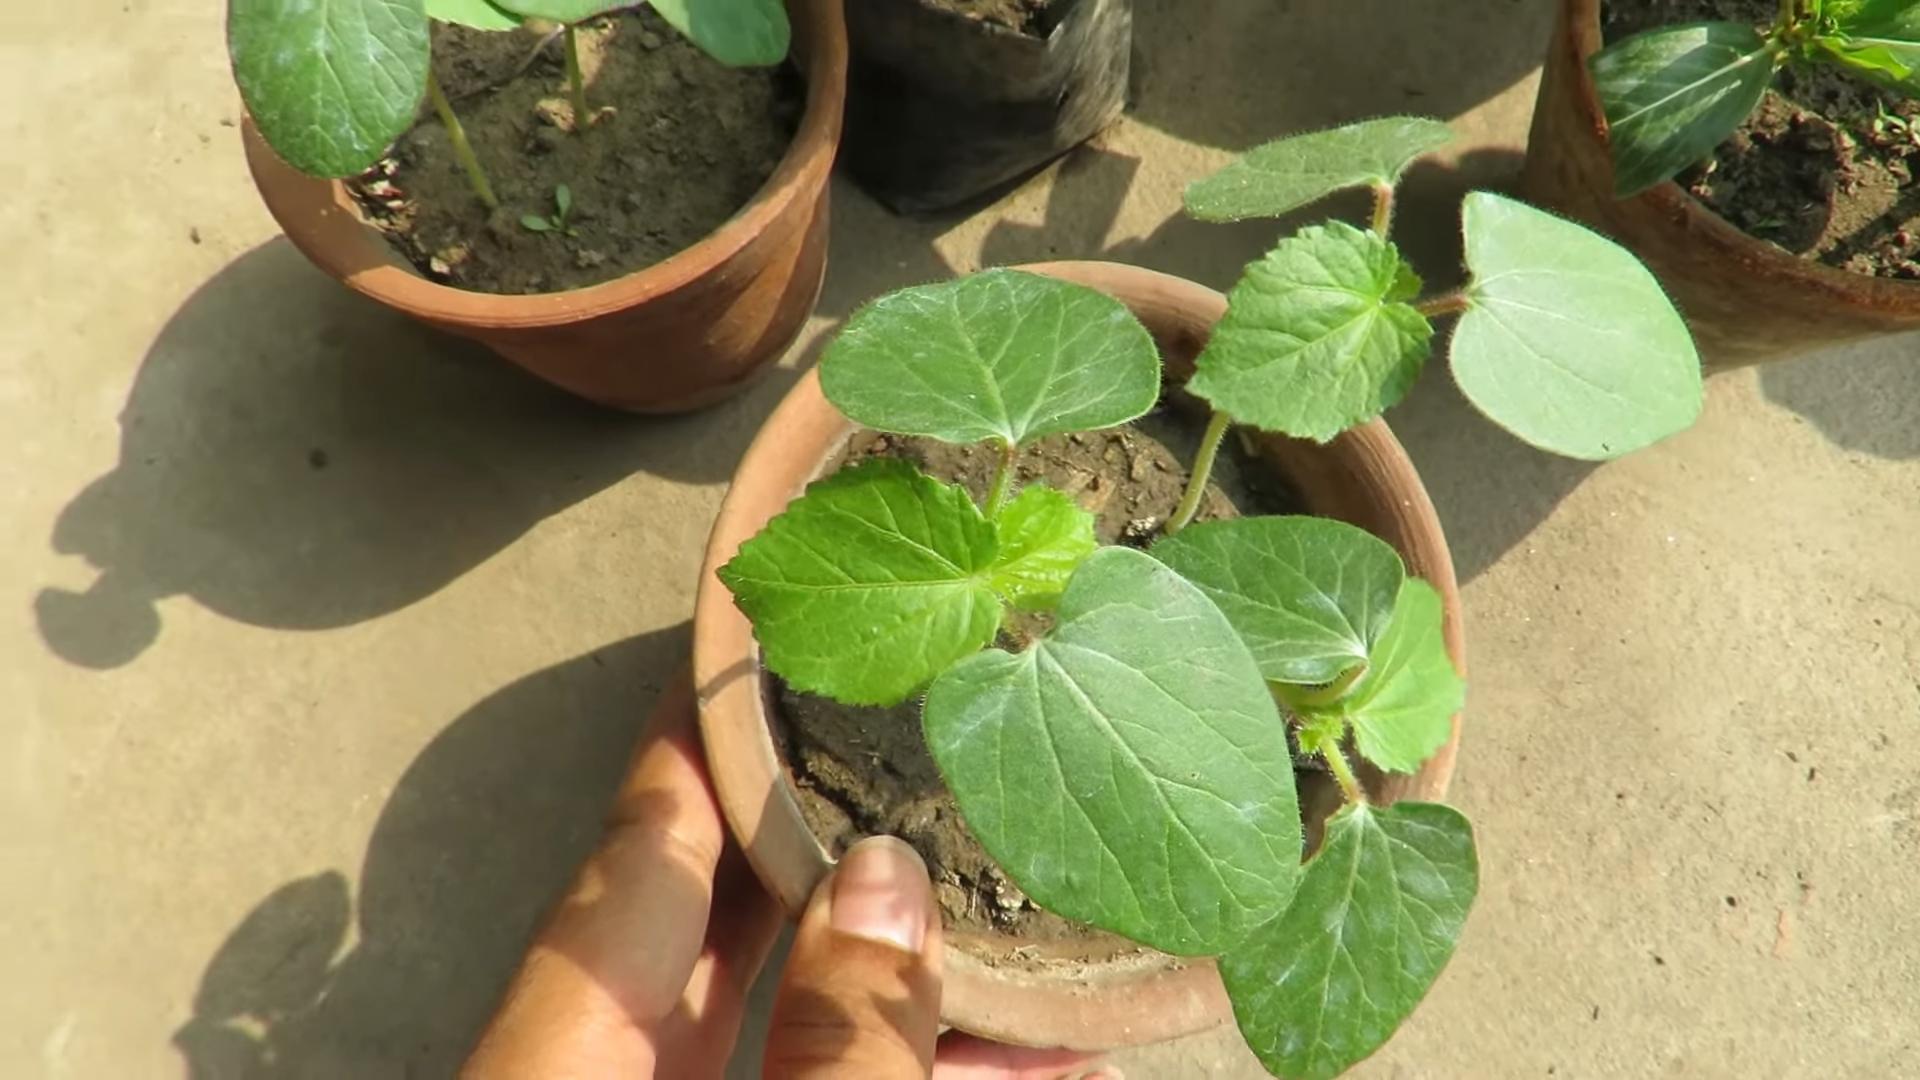
Beyond the basic harvesting techniques outlined above, there’s a world of possibilities to explore. Experiment with different harvesting times to see how it affects the texture and flavor of your okra. Some prefer to harvest younger pods for a more tender texture, while others prefer to let them mature slightly for a more robust flavor. Don’t be afraid to try both! You can also consider preserving your harvest. Freezing okra is a great way to extend its shelf life, allowing you to enjoy the fruits of your labor throughout the year. Pickling is another fantastic option, transforming your fresh okra into a tangy and delicious treat.
Remember, the key to successful okra harvesting is consistency. Regular harvesting encourages the plant to produce more pods, leading to a bountiful harvest. Don’t let the pods get too large, as they can become tough and stringy. Aim for a regular harvesting schedule, perhaps every other day or every few days, depending on the growth rate of your plants. This consistent approach will ensure a continuous supply of fresh, delicious okra throughout the growing season. And don’t forget the importance of proper handling after harvesting. Gentle washing and prompt storage will help maintain the quality and freshness of your okra.
We encourage you to embark on this rewarding journey of harvesting your own okra. It’s a simple yet deeply satisfying process that will connect you to your food in a new and meaningful way. Share your experiences with us! Tell us about your harvesting techniques, your favorite okra recipes, and any tips you’ve discovered along the way. Let’s build a community of okra enthusiasts, sharing knowledge and celebrating the joy of homegrown goodness. Your success story could inspire others to embark on their own okra-growing adventures. Let’s make harvesting okra a shared experience, one delicious pod at a time!
Frequently Asked Questions
Q: How often should I harvest okra?
The frequency of okra harvesting depends on the variety and growing conditions, but generally, you should aim to harvest every 2-3 days. Harvesting frequently encourages the plant to produce more pods. If you let the pods get too large, they become tough and stringy.
Q: What is the best time of day to harvest okra?
The best time to harvest okra is in the morning after the dew has dried. This allows the pods to be less likely to be damaged during harvesting and handling. Harvesting in the morning also helps to prevent the spread of diseases.
Q: How do I know when my okra is ready to harvest?
Okra pods are ready for harvest when they are 2-3 inches long and tender. The pods should be firm and smooth, without any blemishes or signs of damage. Avoid harvesting pods that are too large, as they will be tough and stringy.
Q: What should I do with my harvested okra?
Harvested okra should be washed gently and stored in the refrigerator in a plastic bag. It is best used within a few days of harvesting. You can also freeze or pickle okra to extend its shelf life. There are countless delicious ways to prepare okra, from frying and grilling to adding it to stews and curries.
Q: Can I harvest okra in the rain?
While you can technically harvest okra in the rain, it’s generally best to wait until the rain stops and the plants have dried somewhat. Wet okra is more prone to damage and spoilage. Plus, working in the rain can be unpleasant!
Q: My okra plants aren’t producing many pods. What could be wrong?
Several factors can affect okra production. Insufficient sunlight, inadequate watering, nutrient deficiencies, or pest infestations can all reduce yields. Ensure your plants receive at least six hours of sunlight daily, water regularly, and fertilize as needed. Monitor for pests and diseases and take appropriate action if necessary. Consider consulting a local gardening expert for personalized advice.
Q: What are some creative ways to use harvested okra?
Okra is incredibly versatile! Beyond the classic fried okra, you can use it in gumbo, stews, curries, stir-fries, and even pickles. You can also roast it, grill it, or add it to salads. Experiment with different recipes and discover your favorite ways to enjoy this delicious vegetable. The possibilities are endless!
Q: How can I prevent okra from becoming slimy?
The slimy texture of okra is due to its mucilage content. To minimize sliminess, you can quickly sauté the okra in hot oil, which helps to break down the mucilage. Adding an acidic ingredient, such as lemon juice or vinegar, during cooking can also help reduce sliminess. Some people also find that blanching the okra before cooking helps.


Leave a Comment