
Clean Oven Naturally
I’ve always loved the smell of freshly baked bread, but let’s be honest, the aftermath of that deliciousness – a stubbornly dirty oven – isn’t quite as appealing. That’s why I’m so excited to share some amazing Clean Oven Naturally tricks and DIY solutions with you today! For years, I struggled with harsh chemical cleaners, only to find myself battling lingering fumes and worrying about the impact on my family’s health. But then I discovered the power of natural cleaning methods, and my life (and my oven!) has been transformed.
The history of oven cleaning is surprisingly fascinating! Early ovens, often wood-fired, required far more robust cleaning methods than our modern appliances. But even with modern technology, the problem of baked-on grease and grime remains. For centuries, people have relied on resourceful methods using readily available ingredients to tackle this challenge. This tradition of resourceful cleaning continues today, and I’m here to help you tap into it.
Why Choose Natural Oven Cleaning?
You might be wondering why bother with Clean Oven Naturally methods when commercial cleaners are readily available. The answer is simple: health and the environment! Harsh chemicals can irritate your lungs and skin, and their residues can linger long after you’ve finished cleaning. Plus, these chemicals often end up in our water systems, impacting the environment. Natural cleaning methods, on the other hand, are gentle, effective, and eco-friendly. They allow you to achieve a sparkling clean oven without compromising your health or the planet.
In this article, I’ll guide you through several easy-to-follow DIY recipes using common household ingredients. Get ready to discover how simple it is to achieve a sparkling clean oven using only natural products! You’ll be amazed at the results, and you’ll feel good knowing you’re doing your part to protect your family and the environment. Let’s get started on your journey to a naturally clean and sparkling oven!

Building a Custom Bookshelf from Reclaimed Wood
I love the look of reclaimed wood, and I’ve always wanted a unique bookshelf. So, I decided to build my own! This project took a bit of time, but the result is a beautiful, sturdy bookshelf that perfectly fits my space and style. Here’s how I did it:
Phase 1: Sourcing and Preparing the Wood
- Find your wood: This is the fun part! I scoured local salvage yards and even checked Craigslist for reclaimed wood. Look for planks that are relatively straight and free of major cracks or rot. Aim for a variety of widths and lengths to add character. I ended up with a mix of old barn wood and flooring planks.
- Clean the wood: Once you have your wood, give it a good cleaning. I used a wire brush to remove loose debris and dirt. For stubborn grime, a pressure washer can be helpful (but be gentle!).
- Assess and cut: Lay out your planks and visualize your bookshelf design. Measure carefully and cut the wood to your desired lengths using a circular saw or hand saw. Remember to account for the thickness of the wood when calculating the overall dimensions of your shelves.
- Sanding is key: This step is crucial for a smooth finish. Start with coarser sandpaper (around 80 grit) to remove any rough edges or splinters. Gradually move to finer grits (120, then 220) for a super smooth surface. Wear a dust mask to protect your lungs!
Phase 2: Assembling the Bookshelf
- Decide on your design: Before you start assembling, sketch out your design. Will it be a simple, straight bookshelf, or something more elaborate? I opted for a slightly asymmetrical design with varying shelf heights.
- Prepare the supports: I used sturdy 4×4 posts for the vertical supports. Cut these to the desired height of your bookshelf. Make sure they are perfectly plumb (vertical) using a level.
- Attach the shelves: I used wood screws and wood glue to attach the shelves to the supports. Pre-drill pilot holes to prevent the wood from splitting. Use clamps to hold everything in place while the glue dries. This is important for a strong and stable bookshelf.
- Check for stability: Once the glue is dry, check the stability of your bookshelf. Gently rock it back and forth to ensure all the joints are secure. If anything feels loose, add more screws or glue.
- Consider bracing: For extra stability, especially if you plan on filling the shelves with heavy books, consider adding bracing to the back of the bookshelf. This can be done using additional wood pieces or metal brackets.
Phase 3: Finishing Touches
- Fill any gaps: Use wood filler to fill any gaps or imperfections in the wood. Let it dry completely and then sand it smooth.
- Choose your finish: This is a matter of personal preference. I chose a natural, matte finish to highlight the beauty of the reclaimed wood. You can use a stain, paint, or a clear sealant. Follow the manufacturer’s instructions carefully.
- Apply the finish: Apply several thin coats of your chosen finish, allowing each coat to dry completely before applying the next. Sand lightly between coats for a smoother finish. Don’t rush this step!
- Let it cure: Allow the finish to cure completely before placing any books on the shelves. This can take several days, depending on the type of finish you used.
- Add any extra details: Once the finish is dry, you can add any extra details you like. I added some simple metal shelf supports for a touch of industrial style.
Phase 4: Troubleshooting and Tips
- Dealing with warped wood: Reclaimed wood can sometimes be warped. If you encounter this, you may need to use clamps or weights to flatten the wood before attaching it to the supports. You might also need to adjust your design to accommodate the warp.
- Using different types of wood: Mixing different types of reclaimed wood can add visual interest. Just be aware that different woods may have different densities and may require different treatment.
- Safety first: Always wear safety glasses and a dust mask when working with wood. Use appropriate safety equipment for any power tools you are using.
- Take your time: This project requires patience. Don’t rush the process. Take your time to measure accurately, sand thoroughly, and apply the finish properly. The result will be worth it!
- Embrace imperfections: The beauty of reclaimed wood is its imperfections. Don’t try to make everything perfect. Embrace the knots, cracks, and variations in color. These are what give the bookshelf its unique character.
- Consider adding extra features: Think about adding things like hidden compartments, drawers, or even lighting to enhance your bookshelf’s functionality and aesthetic appeal. This can add a significant level of customization to your project.
- Plan for weight distribution: When designing your bookshelf, consider the weight of the books you plan to store. Ensure that the shelves and supports are strong enough to handle the load. You might need to adjust the spacing of the shelves or add extra supports depending on the weight.
- Pre-treating the wood: Before assembling, consider pre-treating the wood with a wood preservative or insect repellent, especially if you are using wood that has been exposed to the elements. This will help protect your bookshelf from damage and extend its lifespan.
And there you have it! My custom reclaimed wood bookshelf. It’s a rewarding project that adds a unique touch to my home. I hope this guide inspires you to create your own masterpiece!
Conclusion
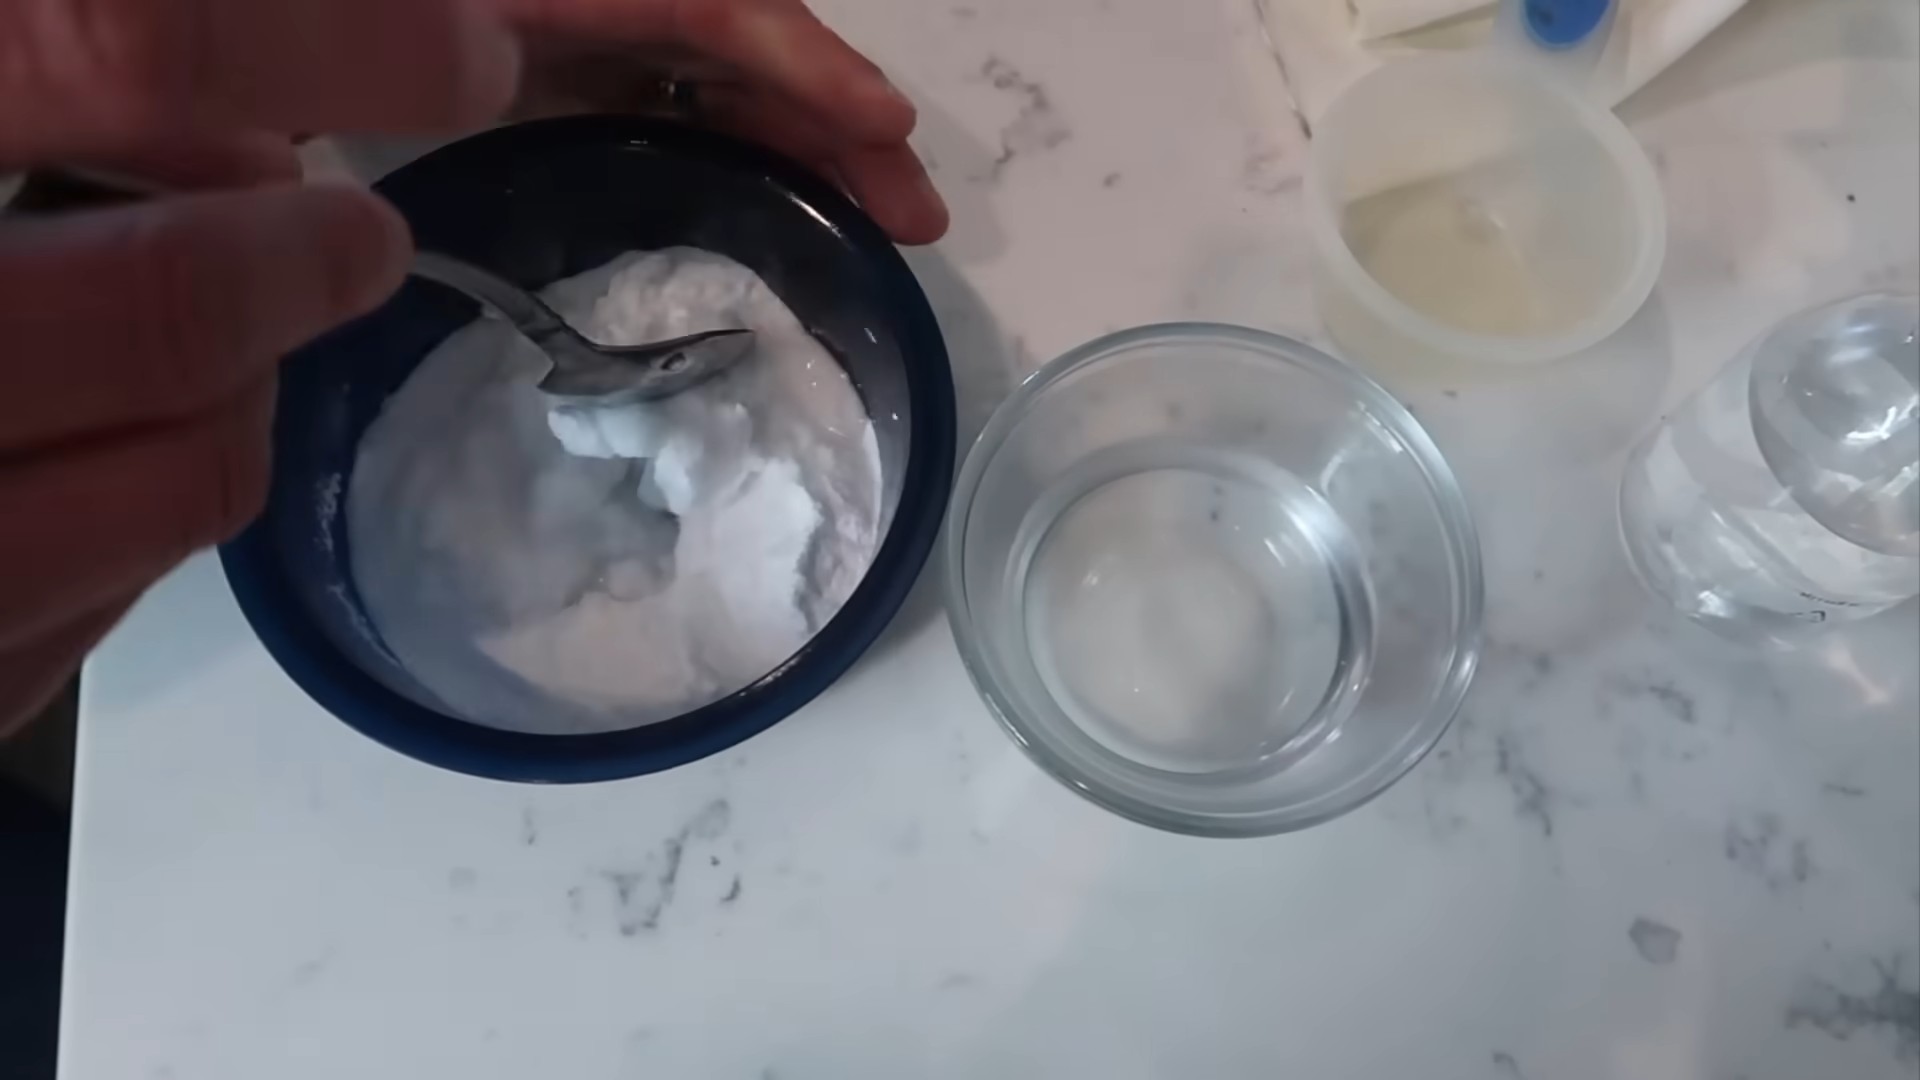
So there you have it – a sparkling clean oven achieved naturally, without harsh chemicals or expensive cleaning products! This DIY oven cleaning method is a must-try for several reasons. First, it’s incredibly effective. The combination of baking soda’s abrasive power and vinegar’s acidity cuts through baked-on grease and grime like magic, leaving your oven looking practically brand new. Second, it’s incredibly safe. Unlike commercial oven cleaners, this method uses all-natural ingredients, eliminating the risk of harmful fumes and chemical exposure, making it a perfect choice for families with children or pets. Third, it’s incredibly budget-friendly. You likely already have baking soda and vinegar in your pantry, making this a truly cost-effective solution to a common household chore. Finally, it’s environmentally friendly. By choosing this natural approach, you’re reducing your reliance on harsh chemicals and contributing to a healthier planet. This Clean Oven Naturally method is a game-changer for anyone who wants a sparkling clean oven without the hassle and harmful chemicals.
You can easily adapt this method to suit your needs. For particularly stubborn stains, let the baking soda paste sit overnight or even longer. For a more fragrant clean, add a few drops of essential oil, like lemon or tea tree oil, to the paste. Experiment with different ratios of baking soda and vinegar to find what works best for your oven and the level of grime you’re tackling. If you have a self-cleaning oven, you can still use this method as a pre-treatment to loosen stubborn baked-on food before running the self-cleaning cycle. This will significantly reduce the amount of time and energy your self-cleaning cycle needs to run, saving you money and energy in the long run. Remember to always exercise caution when working with hot surfaces and allow the oven to cool completely before handling any components.
Don’t just take our word for it – try this Clean Oven Naturally method yourself! We’re confident you’ll be amazed by the results. Share your experience with us – post your before-and-after photos on social media and tag us! Let’s create a community of naturally clean oven enthusiasts! We’d love to hear your tips and tricks, too. Perhaps you’ve discovered a variation that works even better for you. Share your success stories and help others achieve a sparkling clean oven naturally. Let’s make cleaning a little less daunting and a lot more eco-friendly!
Frequently Asked Questions
How often should I clean my oven using this method?
The frequency of cleaning depends on how often you use your oven. For light to moderate use, cleaning every 2-3 months might suffice. For heavy use, monthly cleaning is recommended. Regular cleaning prevents grease and grime buildup, making future cleanings easier.
What if I have a stainless steel oven?
This method is safe for stainless steel ovens. However, always test a small, inconspicuous area first to ensure the baking soda and vinegar don’t damage the finish. Gently wipe the area after cleaning to avoid any potential residue.
Can I use this method on all types of oven surfaces?
While this method is generally safe for most oven surfaces, it’s crucial to check your oven’s manufacturer’s instructions before proceeding. Some specialized oven coatings might not be compatible with this cleaning method. Always prioritize the safety and longevity of your appliance.
What should I do if some stains remain after cleaning?
For persistent stains, you can repeat the process, allowing the baking soda paste to sit for a longer period. You can also try gently scrubbing with a non-abrasive sponge or brush. For extremely stubborn stains, consider using a specialized oven cleaner as a last resort, but always follow the manufacturer’s instructions carefully.
Is this method safe for self-cleaning ovens?
Yes, this method can be used as a pre-treatment for self-cleaning ovens. It helps loosen baked-on food, making the self-cleaning cycle more efficient and reducing the amount of time and energy required. However, always ensure the oven is completely cool before applying the paste and allow it to dry completely before running the self-cleaning cycle.
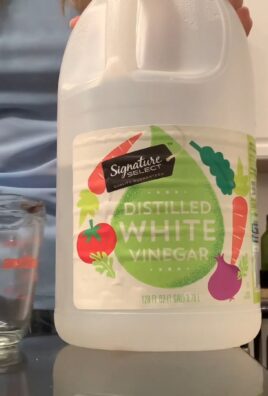
What if I don’t have white vinegar?
While white vinegar is preferred for its colorlessness and effectiveness, you can try using apple cider vinegar as a substitute. However, be aware that apple cider vinegar may leave a slight residue or discoloration.
Can I use this method on the oven racks?
Yes! You can soak your oven racks in a solution of warm water and vinegar before applying the baking soda paste. This will help loosen any stuck-on food particles. Remember to rinse and dry the racks thoroughly afterward.
Are there any safety precautions I should take?
Always allow the oven to cool completely before starting the cleaning process. Wear gloves to protect your hands from the baking soda paste and vinegar. Ensure proper ventilation while cleaning to avoid inhaling any fumes. Never mix baking soda and vinegar in a closed container, as this can create a fizzing reaction that could cause a mess.
What are the benefits of using this method over commercial oven cleaners?
This Clean Oven Naturally method offers several advantages over commercial oven cleaners. It’s safer for your family and pets, as it avoids harsh chemicals. It’s more environmentally friendly, reducing your carbon footprint. It’s also more budget-friendly, as you likely already have the necessary ingredients at home. Finally, it’s just as effective, if not more so, at removing baked-on grease and grime.
Where can I find more tips and tricks for natural cleaning?
Numerous online resources and books offer guidance on natural cleaning methods. Searching for “natural cleaning solutions” or “eco-friendly cleaning tips” will yield a wealth of information. You can also explore various blogs and websites dedicated to sustainable living and green cleaning practices. Remember to always prioritize safety and effectiveness when choosing a cleaning method.


Leave a Comment