
Easy Indoor Malabar Spinach: Your Guide to Year-Round Greens
I’ve always loved the taste of Malabar spinach, but finding fresh, high-quality leaves in the supermarket can be a challenge, especially during colder months. That’s why I decided to take matters into my own hands and explore the world of easy indoor Malabar spinach cultivation. This article is your passport to a bountiful harvest of this nutritious green, regardless of the season or your gardening experience. Forget expensive grocery store trips and enjoy the satisfaction of growing your own delicious and healthy greens right in your home!
While Malabar spinach (Basella alba) is native to tropical regions of Asia and Africa, its versatility and adaptability make it a surprisingly easy plant to grow indoors, even for beginners. Historically, it’s been a staple in many cultures, prized not only for its unique taste – a blend of spinach and asparagus – but also for its nutritional value. It’s packed with vitamins and minerals, making it a fantastic addition to any healthy diet.
Growing your own easy indoor Malabar spinach offers several key advantages. Firstly, you’ll have a consistent supply of fresh, flavorful leaves throughout the year, eliminating reliance on potentially less-than-ideal supermarket produce. Secondly, you’ll gain a deeper appreciation for the process of growing your own food, a rewarding experience in itself. Finally, you’ll be reducing your carbon footprint by sourcing your greens locally – your own kitchen, in fact!
In this article, I’ll share my tried-and-true tips and tricks for successfully cultivating easy indoor Malabar spinach. From seed starting to harvesting and everything in between, I’ll guide you through each step, ensuring you’ll soon be enjoying the fruits (or rather, leaves!) of your labor. Let’s get started on your journey to year-round, homegrown goodness!
Growing Carrots at Home: A Complete Guide
I’ve always loved the sweet crunch of a freshly picked carrot, and nothing beats the satisfaction of growing your own. This guide will walk you through the entire process, from seed to harvest, so you can enjoy homegrown carrots all season long. Let’s get started!
Choosing Your Carrot Seeds and Location
- Select your carrot seeds: There’s a huge variety! Consider Nantes carrots for their classic shape and sweetness, or Chantenay for their shorter, wider roots, perfect for smaller gardens. I prefer Nantes for their ease of growing. Choose seeds from a reputable supplier for the best germination rates.
- Find the perfect spot: Carrots need at least six hours of sunlight daily. Choose a sunny location in your garden. Also, ensure the soil is loose and well-drained. Carrots hate rocks and compacted soil, as this will cause them to grow crooked or stunted.
- Prepare your soil: This is crucial! Carrots need loose, sandy loam soil. If your soil is heavy clay, amend it with plenty of compost or well-rotted manure to improve drainage and aeration. Work the soil to a depth of at least 12 inches. Remove any rocks or debris that could interfere with root growth. A fine tilth is essential for straight carrots.
Sowing Your Carrot Seeds
- Prepare the seedbed: Create shallow furrows about ½ inch deep and 1 inch apart. You can use a hoe or a hand rake to achieve this. Make sure the furrows are straight for even growth.
- Sow the seeds: Carrot seeds are tiny! It’s best to mix them with a little bit of sand before sowing to help distribute them evenly. Sow the seeds thinly along the furrows, spacing them about ½ inch apart. Don’t overcrowd them.
- Cover the seeds: Gently cover the seeds with soil, ensuring they are lightly covered. Don’t bury them too deep, or they won’t germinate.
- Water gently: Use a gentle spray of water to avoid disturbing the seeds. Keep the soil moist but not soggy throughout the germination period.
Carrot Seed Germination and Thinning
- Germination: Carrot seeds can take anywhere from 1-3 weeks to germinate, depending on the temperature and soil conditions. Keep the soil consistently moist during this period.
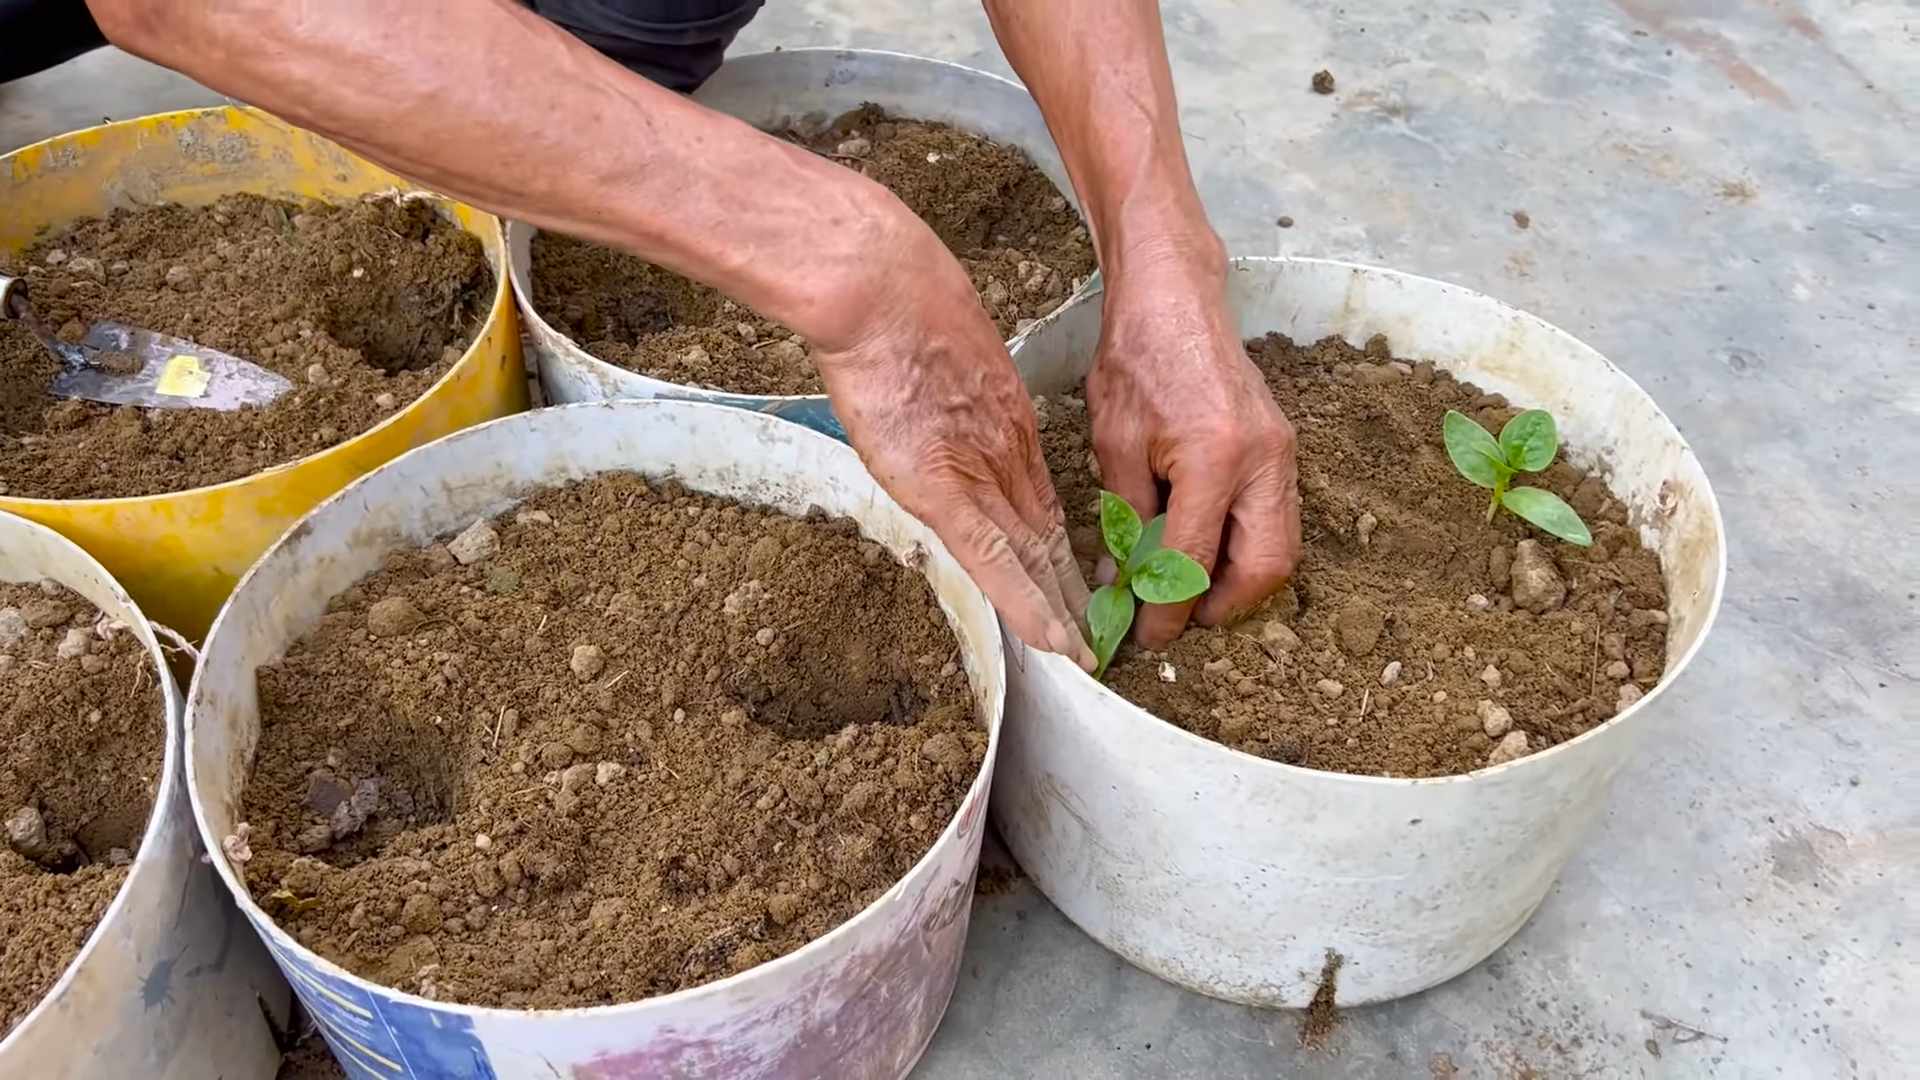
- Thinning: Once the seedlings have developed their first true leaves (not the cotyledons, the first tiny leaves), it’s time to thin them. This is important to give each carrot enough space to grow to its full potential. Gently pull out the weaker seedlings, leaving about 2-3 inches between each plant. You can even use these thinned seedlings for a quick snack!
- Weed control: Regularly weed around your carrot plants to prevent competition for water and nutrients. Keep the area free of weeds, especially during the early stages of growth.
Carrot Care and Maintenance
- Watering: Consistent watering is key to growing healthy carrots. Aim for about 1 inch of water per week, either through rainfall or supplemental watering. Water deeply and less frequently rather than shallowly and often. This encourages deep root growth.
- Fertilizing: Carrots are not heavy feeders, but a light application of balanced fertilizer can be beneficial. Use a slow-release fertilizer or side-dress with compost tea. Avoid using fertilizers high in nitrogen, as this can encourage leafy growth at the expense of root development.
- Pest and disease control: Keep an eye out for common carrot pests like carrot root flies and aphids. Use organic pest control methods if necessary, such as insecticidal soap or neem oil. Good soil drainage helps prevent fungal diseases.
- Select your carrot seeds: There’s a huge variety! Consider Nantes carrots for their classic shape and sweetness, or Chantenay for their shorter, wider roots, perfect for smaller gardens. I prefer Nantes for their ease of growing. Choose seeds from a reputable supplier for the best germination rates.
- Find the perfect spot: Carrots need at least six hours of sunlight daily. Choose a sunny location in your garden. Also, ensure the soil is loose and well-drained. Carrots hate rocks and compacted soil, as this will cause them to grow crooked or stunted.
- Prepare your soil: This is crucial! Carrots need loose, sandy loam soil. If your soil is heavy clay, amend it with plenty of compost or well-rotted manure to improve drainage and aeration. Work the soil to a depth of at least 12 inches. Remove any rocks or debris that could interfere with root growth. A fine tilth is essential for straight carrots.
- Prepare the seedbed: Create shallow furrows about ½ inch deep and 1 inch apart. You can use a hoe or a hand rake to achieve this. Make sure the furrows are straight for even growth.
- Sow the seeds: Carrot seeds are tiny! It’s best to mix them with a little bit of sand before sowing to help distribute them evenly. Sow the seeds thinly along the furrows, spacing them about ½ inch apart. Don’t overcrowd them.
- Cover the seeds: Gently cover the seeds with soil, ensuring they are lightly covered. Don’t bury them too deep, or they won’t germinate.
- Water gently: Use a gentle spray of water to avoid disturbing the seeds. Keep the soil moist but not soggy throughout the germination period.
- Germination: Carrot seeds can take anywhere from 1-3 weeks to germinate, depending on the temperature and soil conditions. Keep the soil consistently moist during this period.
- Thinning: Once the seedlings have developed their first true leaves (not the cotyledons, the first tiny leaves), it’s time to thin them. This is important to give each carrot enough space to grow to its full potential. Gently pull out the weaker seedlings, leaving about 2-3 inches between each plant. You can even use these thinned seedlings for a quick snack!
- Weed control: Regularly weed around your carrot plants to prevent competition for water and nutrients. Keep the area free of weeds, especially during the early stages of growth.
- Watering: Consistent watering is key to growing healthy carrots. Aim for about 1 inch of water per week, either through rainfall or supplemental watering. Water deeply and less frequently rather than shallowly and often. This encourages deep root growth.
- Fertilizing: Carrots are not heavy feeders, but a light application of balanced fertilizer can be beneficial. Use a slow-release fertilizer or side-dress with compost tea. Avoid using fertilizers high in nitrogen, as this can encourage leafy growth at the expense of root development.
- Pest and disease control: Keep an eye out for common carrot pests like carrot root flies and aphids. Use organic pest control methods if necessary, such as insecticidal soap or neem oil. Good soil drainage helps prevent fungal diseases.
- Harvest time: Carrots are typically ready for harvest in 70-80 days, depending on the variety. You can start harvesting smaller carrots earlier if you need them. Check the size of the carrots by gently digging around a few to see how they are developing.
- Harvesting: Use a garden fork or trowel to carefully loosen the soil around the carrots. Gently lift them out, being careful not to damage the roots. If the carrots are too difficult to pull out, you can use a garden fork to loosen the soil further.
- Cleaning: Brush off any excess soil from the carrots. You can wash them thoroughly later, but a quick brush-off is sufficient for immediate use.
- Storage: Store your harvested carrots in a cool, dark, and humid place. They will keep for several weeks if stored properly. You can also store them in the refrigerator for a longer period.
I’ve always loved the sweet crunch of a freshly picked carrot, and nothing beats the satisfaction of growing your own. This guide will walk you through the entire process, from seed to harvest, so you can enjoy homegrown carrots all season long. Let’s get started!
Choosing Your Carrot Seeds and Location
Sowing Your Carrot Seeds
Carrot Seed Germination and Thinning
Carrot Care and Maintenance
Harvesting Your Homegrown Carrots
Troubleshooting Common Carrot Growing Problems
Forked Carrots:
This usually indicates rocky or compacted soil. Make sure to prepare your soil thoroughly before planting.
Small Carrots:
This could be due to overcrowding, poor soil conditions, or insufficient watering. Ensure proper spacing, soil preparation, and consistent watering.
Carrots with Hollow Centers:
This can be caused by inconsistent watering, particularly during periods of rapid growth. Maintain consistent moisture levels throughout the growing season.
Pest Infestations:
Monitor your plants regularly for pests. Use organic pest control methods as needed to protect your crop.
Growing your own carrots is a rewarding experience. With a little patience and attention to detail, you’ll be enjoying delicious, homegrown carrots in no time. Happy gardening!
Conclusion
So there you have it – a simple, effective, and rewarding method for growing your own Malabar spinach indoors! This easy indoor Malabar spinach guide proves that cultivating this nutritious leafy green is achievable even without a sprawling garden. The process is remarkably straightforward, requiring minimal space and effort, making it perfect for apartment dwellers, balcony gardeners, or anyone who wants fresh, flavorful greens readily available year-round. The satisfaction of harvesting your own homegrown Malabar spinach, knowing exactly where it came from and how it was grown, is unparalleled. Beyond the taste and convenience, you’ll also be contributing to a more sustainable lifestyle by reducing your reliance on commercially produced greens. This DIY approach offers a fantastic opportunity to connect with nature, even within the confines of your home. It’s a truly rewarding experience that will leave you feeling empowered and connected to your food source.
Don’t limit yourself to the recipe provided. Experiment with different containers – terracotta pots, repurposed plastic containers, or even hanging baskets can all work wonderfully. Consider varying the growing medium; a well-draining soil mix enriched with compost will always yield the best results. You can also experiment with different lighting setups. While a sunny windowsill is ideal, grow lights can provide supplemental light, especially during shorter winter days. For a truly unique flavor profile, try adding a pinch of organic fertilizer to your soil mix every few weeks. Remember, the key is to maintain consistent moisture levels and provide adequate light. With a little patience and care, you’ll be enjoying a bountiful harvest of delicious, nutrient-rich Malabar spinach in no time.
We strongly encourage you to try this easy indoor Malabar spinach method and share your experience with us! Post your photos on social media using #EasyIndoorMalabarSpinach and tag us – we’d love to see your thriving plants and hear about your culinary creations featuring this versatile green. Whether you’re a seasoned gardener or a complete beginner, this project is accessible to everyone. Embrace the challenge, enjoy the process, and savor the delicious rewards of your homegrown harvest. You might be surprised at how easy and rewarding it is to grow your own food, even in a small space. So, what are you waiting for? Get started today and experience the joy of homegrown Malabar spinach!
Frequently Asked Questions
What type of light is best for indoor Malabar spinach?
Malabar spinach thrives in bright, indirect sunlight. A south-facing windowsill is ideal, but you can also use grow lights to supplement natural light, especially during winter months. Aim for at least 6-8 hours of light per day for optimal growth. Avoid direct, intense sunlight, which can scorch the leaves.
How often should I water my indoor Malabar spinach?
Water your Malabar spinach when the top inch of soil feels dry to the touch. Avoid overwatering, which can lead to root rot. Check the soil moisture regularly, especially during hot and dry periods. The frequency of watering will depend on factors like the size of your container, the type of soil, and the ambient temperature and humidity.
What kind of soil is best for growing Malabar spinach indoors?
A well-draining potting mix is best for indoor Malabar spinach. You can purchase a pre-mixed potting mix from a garden center, or create your own by combining equal parts potting soil, perlite, and compost. The compost adds essential nutrients, while the perlite improves drainage and aeration.
How often should I fertilize my indoor Malabar spinach?
While not strictly necessary, fertilizing your Malabar spinach every few weeks with a balanced liquid fertilizer can promote vigorous growth and improve the yield. Use a diluted solution according to the manufacturer’s instructions to avoid burning the roots. Organic fertilizers are a great option, as they are gentle on the plants and improve soil health.
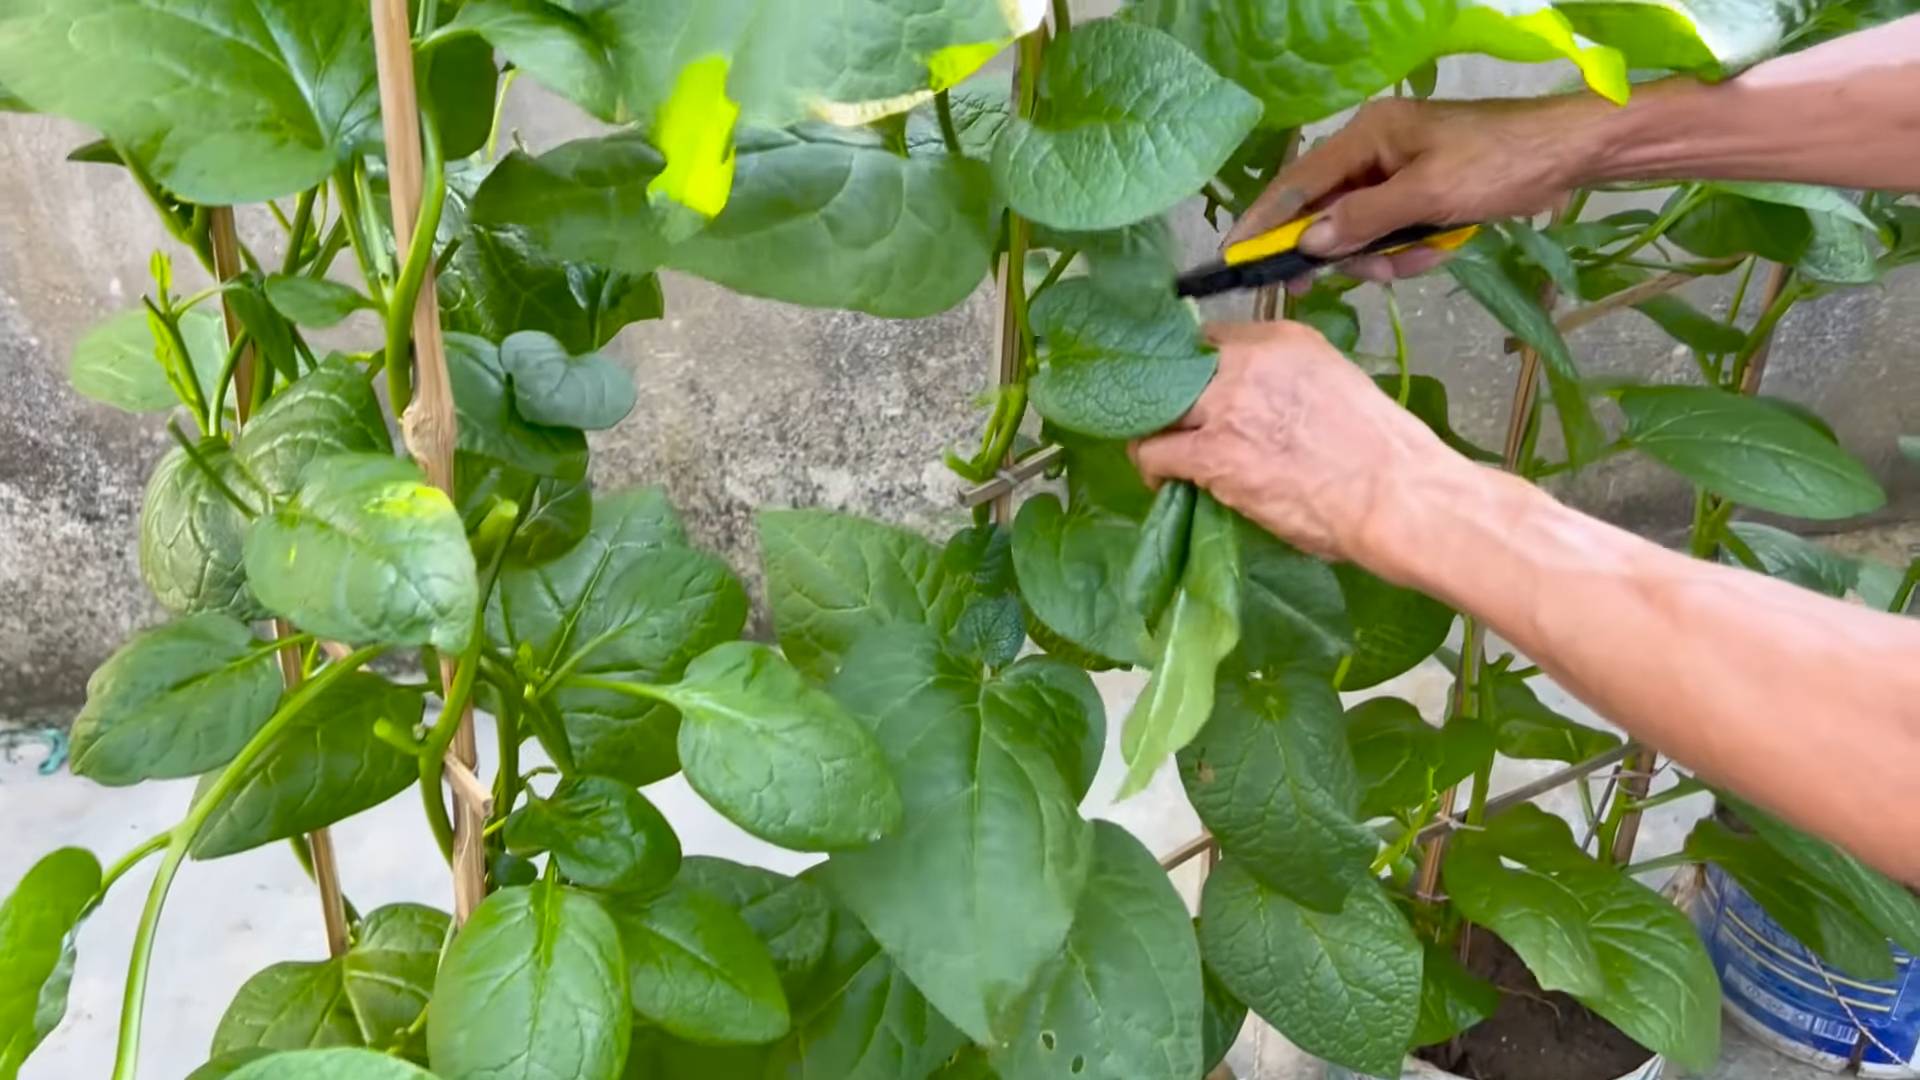
Can I propagate Malabar spinach from cuttings?
Yes, Malabar spinach is easily propagated from stem cuttings. Simply take a 4-6 inch cutting from a healthy stem, remove the lower leaves, and plant it in moist potting mix. Keep the soil moist and provide bright, indirect light. Roots should develop within a few weeks.
What are some common problems when growing Malabar spinach indoors?
Common problems include overwatering (leading to root rot), insufficient light (resulting in leggy growth), and pest infestations (such as aphids or spider mites). Regularly inspect your plants for signs of pests or diseases, and address any issues promptly. Ensure proper drainage and avoid overwatering to prevent root rot. Supplemental lighting can help prevent leggy growth.
When can I harvest my indoor Malabar spinach?
You can begin harvesting your Malabar spinach when the plants have several sets of leaves. Harvest by pinching off individual leaves or cutting stems back to encourage bushier growth. Regular harvesting will promote continuous growth and a higher yield.
What are some ways to use harvested Malabar spinach?
Malabar spinach is incredibly versatile! You can use it in stir-fries, soups, curries, salads, or as a spinach substitute in any recipe. Its slightly tangy flavor pairs well with many dishes. Try it sautéed with garlic and ginger, added to a smoothie, or incorporated into your favorite pasta sauce.


Leave a Comment