
Grow onions at home, even if you think you don’t have a green thumb! Have you ever dreamed of snipping fresh, flavorful onions right from your own backyard, adding that perfect zing to your dishes? Well, dream no more! This isn’t just about saving a trip to the grocery store; it’s about connecting with nature and experiencing the satisfaction of nurturing your own food.
Onions have a rich history, dating back thousands of years. Ancient Egyptians revered them, even using them in burial rituals, believing their concentric layers symbolized eternal life. From humble beginnings to culinary staples, onions have nourished civilizations for centuries.
But why should *you* learn to grow onions at home? Let’s face it, store-bought onions can sometimes lack that vibrant, fresh taste. Plus, knowing exactly where your food comes from and how it’s grown gives you peace of mind. In this article, I’m going to share some simple, effective DIY tricks and hacks that will empower you to cultivate a thriving onion patch, no matter your experience level. Get ready to unlock the secrets to a bountiful harvest and enjoy the delicious rewards of your own homegrown onions!
Growing Onions at Home: A Beginner’s Guide
Hey there, fellow gardening enthusiasts! Ever dreamt of snipping fresh onion greens right from your own backyard? Or maybe you’re tired of those bland, store-bought onions and crave the pungent, flavorful punch of homegrown goodness? Well, you’re in the right place! Growing onions at home is surprisingly easy, even if you don’t have a sprawling garden. I’m going to walk you through everything you need to know, from choosing the right type of onion to harvesting your bounty. Let’s get started!
Choosing Your Onions: Seeds, Sets, or Transplants?
Before we get our hands dirty, let’s talk about the different ways you can start your onion journey. You have three main options: seeds, sets, and transplants. Each has its pros and cons, so let’s break them down:
* Seeds: Starting from seed is the most economical option, and it gives you the widest variety to choose from. However, it requires the most time and effort. You’ll need to start your seeds indoors about 8-10 weeks before the last expected frost.
* Sets: Onion sets are small, immature onion bulbs that have already started growing. They’re a great option for beginners because they’re easy to plant and get a head start on the growing season. You’ll find a good selection at most garden centers.
* Transplants: These are young onion plants that have already been started for you. They’re a good compromise between seeds and sets, offering a decent variety and a quicker start than seeds.
For this guide, I’m going to focus on using onion sets, as they’re the easiest and most reliable option for beginners. But don’t worry, I’ll sprinkle in some tips for starting from seed as well!
Preparing Your Garden Bed: Location, Location, Location!
Onions are sun-loving plants, so you’ll need to choose a spot in your garden that gets at least 6-8 hours of direct sunlight each day. They also need well-drained soil that’s rich in organic matter.
Here’s what you need to do to prepare your garden bed:
* Choose a Sunny Spot: As I mentioned, sunlight is key! Make sure your chosen location gets plenty of it.
* Test Your Soil: A soil test will tell you the pH level and nutrient content of your soil. Onions prefer a slightly acidic soil with a pH between 6.0 and 7.0. You can buy a soil testing kit at most garden centers or send a sample to your local agricultural extension office.
* Amend Your Soil: Based on your soil test results, you may need to amend your soil. If your soil is too acidic, add lime to raise the pH. If it’s too alkaline, add sulfur to lower the pH. To improve drainage and add organic matter, mix in plenty of compost, well-rotted manure, or other organic amendments.
* Loosen the Soil: Use a garden fork or tiller to loosen the soil to a depth of at least 12 inches. This will allow the onion roots to penetrate easily and access nutrients.
* Remove Rocks and Debris: Clear the area of any rocks, weeds, or other debris that could hinder growth.
* Create Raised Beds (Optional): If your soil is poorly drained, consider creating raised beds. This will improve drainage and prevent your onions from rotting.
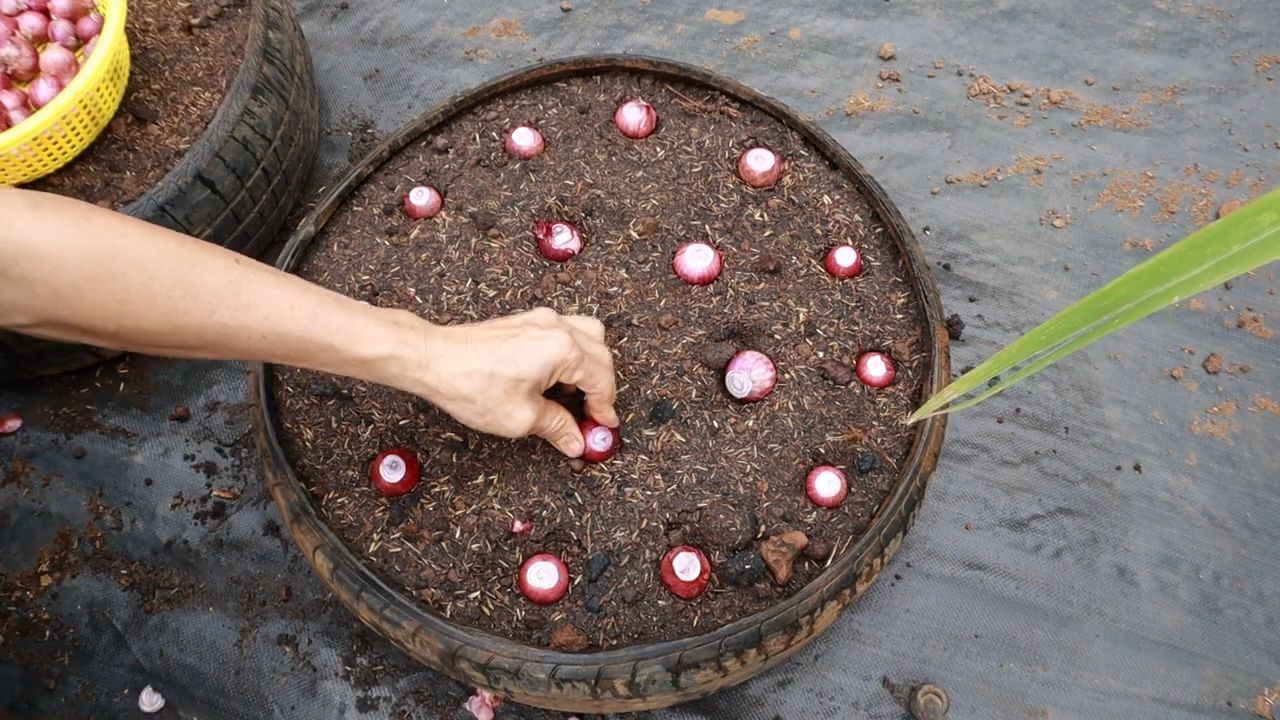
Planting Your Onion Sets: Getting Started
Now for the fun part – planting! Here’s how to plant your onion sets:
1. Choose the Right Time: Plant your onion sets in early spring, as soon as the ground can be worked. In most areas, this is about 2-4 weeks before the last expected frost.
2. Prepare the Sets: Before planting, soak your onion sets in water for about 30 minutes. This will help them rehydrate and get a good start.
3. Space Them Properly: Plant your onion sets about 4-6 inches apart in rows that are 12-18 inches apart. This will give them enough room to grow and mature.
4. Planting Depth: Make a small hole in the soil and place the onion set in the hole, pointy side up. Cover the set with about 1 inch of soil. You want the very top of the set to be just barely visible above the soil surface.
5. Water Thoroughly: After planting, water the onion sets thoroughly to settle the soil and encourage root growth.
Starting from Seed (A Quick Note): If you’re starting from seed, sow your seeds indoors about 8-10 weeks before the last expected frost. Use a seed-starting mix and keep the soil moist but not soggy. Once the seedlings are about 4-6 inches tall, you can transplant them outdoors, following the same spacing guidelines as for onion sets.
Caring for Your Onions: Watering, Weeding, and Feeding
Once your onions are planted, it’s important to provide them with the care they need to thrive. Here’s what you need to do:
* Watering: Onions need consistent moisture, especially during bulb formation. Water them deeply whenever the top inch of soil feels dry. Avoid overwatering, as this can lead to rot.
* Weeding: Weeds compete with onions for nutrients and water, so it’s important to keep your garden bed weed-free. Hand-pull weeds regularly or use a hoe to cultivate the soil. Be careful not to damage the onion roots.
* Fertilizing: Onions are heavy feeders, so they need regular fertilization. Apply a balanced fertilizer (such as 10-10-10) every 2-3 weeks during the growing season. You can also side-dress your onions with compost or well-rotted manure.
* Mulching: Mulching around your onions with straw, hay, or wood chips will help retain moisture, suppress weeds, and regulate soil temperature.
* Pest and Disease Control: Onions are relatively pest-resistant, but they can be susceptible to certain pests and diseases, such as onion maggots, thrips, and fungal diseases. Inspect your plants regularly for signs of problems and take action promptly. You can use organic pesticides or fungicides to control pests and diseases.
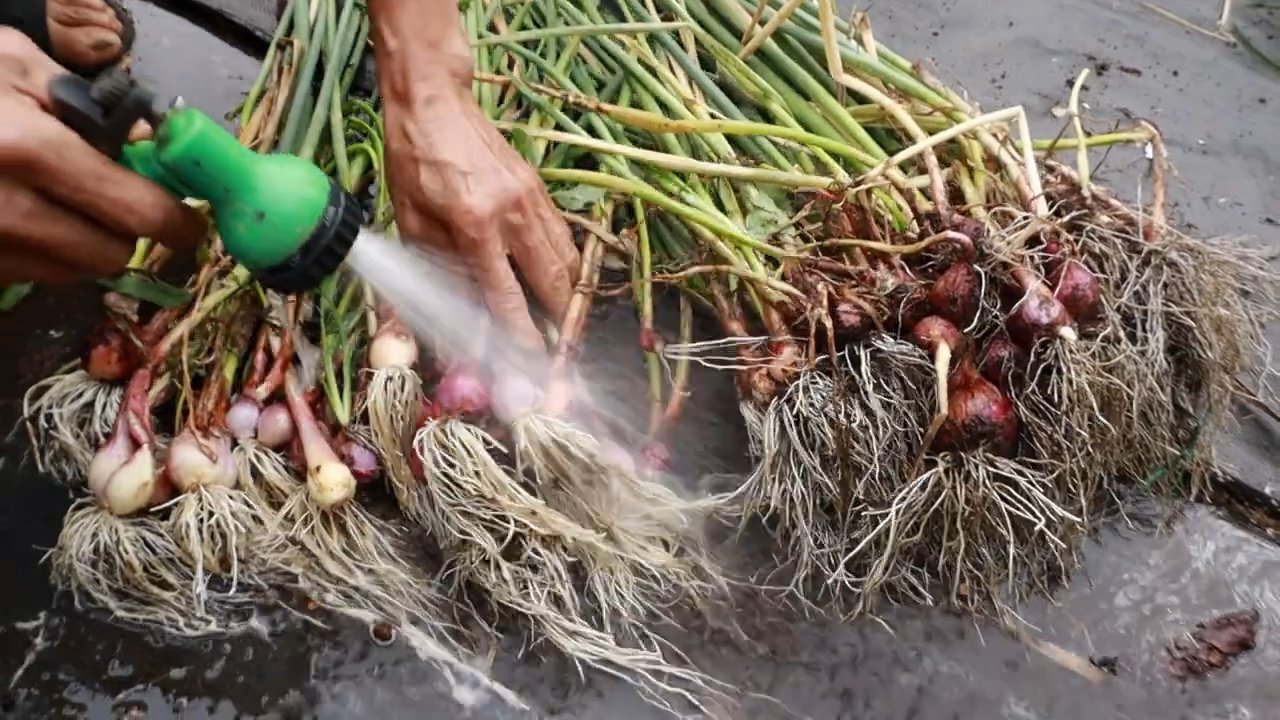
Harvesting Your Onions: Knowing When to Pick
The moment you’ve been waiting for – harvesting! Here’s how to know when your onions are ready to pick:
* When to Harvest: Onions are typically ready to harvest when the tops start to fall over and turn brown. This usually happens in late summer or early fall, depending on the variety and your climate.
* How to Harvest: Gently loosen the soil around the onion bulb with a garden fork or trowel. Then, carefully pull the onion out of the ground.
* Curing Your Onions: After harvesting, you’ll need to cure your onions to help them store properly. To cure your onions, spread them out in a single layer in a warm, dry, well-ventilated place for about 2-3 weeks. The outer skins will dry and become papery, and the necks will tighten.
* Storing Your Onions: Once your onions are cured, you can store them in a cool, dry, dark place for several months. A basement, garage, or root cellar is ideal. You can also braid the onion tops together and hang them in a cool, dry place.
Enjoying Your Homegrown Onions: From Garden to Table
Congratulations! You’ve successfully grown your own onions at home. Now it’s time to enjoy the fruits (or rather, vegetables) of your labor. Use your homegrown onions in all your favorite recipes, from soups and stews to stir-fries and salads. The possibilities are endless!
And there you have it! Growing onions at home is a rewarding experience that anyone can enjoy. With a little bit of planning, preparation, and care, you can have a bountiful harvest of delicious, homegrown onions. Happy gardening!
Conclusion
So, there you have it! Growing onions at home, from humble scraps or seed, is not just a fun project; it’s a gateway to fresher, more flavorful meals and a deeper connection with your food. We’ve explored the simple steps, from prepping your onion bottoms to nurturing seedlings, and hopefully demystified the process of cultivating these culinary staples in your own backyard or windowsill.
Why is this DIY trick a must-try? Because it empowers you to control the quality and origin of your onions. No more wondering about pesticides or long-distance transportation. You’ll have access to organic, homegrown onions bursting with flavor, ready to elevate your favorite dishes. Plus, it’s incredibly satisfying to watch something you’ve nurtured from a tiny scrap transform into a usable ingredient. It’s a small act of self-sufficiency that can bring a surprising amount of joy.
But the benefits don’t stop there. Growing your own onions is also a sustainable practice. By repurposing onion bottoms, you’re reducing food waste and minimizing your environmental impact. It’s a win-win for your taste buds and the planet.
Looking for variations? Absolutely! Experiment with different types of onions. Try growing red onions for their vibrant color and slightly sweeter flavor, or shallots for their delicate, garlic-like notes. You can also explore different growing methods. While we focused on soil-based cultivation, hydroponics is another option for those with limited space. Consider companion planting too! Onions are known to deter pests from other plants, making them excellent neighbors for carrots, tomatoes, and peppers.
Don’t be afraid to get creative with your onion growing. Use recycled containers, decorate your pots, and involve your kids in the process. Make it a family affair and turn it into a learning experience.
We’re confident that once you experience the satisfaction of harvesting your own homegrown onions, you’ll be hooked. The taste difference is undeniable, and the sense of accomplishment is truly rewarding.
So, what are you waiting for? Grab an onion, follow our simple steps, and embark on your own onion-growing adventure. We encourage you to try this DIY trick and share your experiences with us! Post photos of your onion gardens on social media using #HomegrownOnions and tag us so we can see your progress. Let’s build a community of home gardeners and inspire others to embrace the joys of growing their own food. We can’t wait to see what you create! Happy growing!
Frequently Asked Questions (FAQ)
What kind of onions are best for regrowing from scraps?
Generally, any type of onion can be regrown from its base, but yellow and white onions tend to be the most successful. Red onions can also be regrown, but they might take a bit longer to sprout. The key is to choose onions that are firm and healthy, without any signs of rot or mold. Avoid onions that have already started to sprout in the grocery store, as they may be past their prime for regrowing.
How long does it take to grow a full-sized onion from a scrap?
Regrowing an onion from a scrap won’t produce a full-sized onion bulb in the same way as growing from seed or sets. Instead, you’ll primarily harvest the green shoots (scallions or green onions) for culinary use. These shoots will regrow continuously as you harvest them. To get a full-sized bulb, you’ll need to start with onion sets or seeds. However, regrowing from scraps is a great way to get a continuous supply of fresh green onions. Expect to see new growth within a week or two, and you can start harvesting the shoots when they reach a usable size.
Can I grow onions indoors?
Yes, you can absolutely grow onions indoors! In fact, it’s a great option for those with limited outdoor space or who live in climates with harsh winters. To grow onions indoors, choose a sunny spot near a window that receives at least 6-8 hours of direct sunlight per day. If you don’t have enough natural light, you can supplement with grow lights. Use a well-draining potting mix and ensure your container has drainage holes. Water regularly, keeping the soil moist but not soggy. You can grow onions from scraps or from seed indoors.
What kind of soil is best for growing onions?
Onions thrive in well-draining, fertile soil that is rich in organic matter. The ideal soil pH is between 6.0 and 7.0. Before planting, amend your soil with compost or well-rotted manure to improve its fertility and drainage. Avoid heavy clay soils, as they can become waterlogged and lead to root rot. If you have clay soil, consider growing your onions in raised beds or containers with a lighter potting mix.
How often should I water my onions?
Water your onions regularly, especially during dry periods. The soil should be consistently moist but not waterlogged. Overwatering can lead to root rot, while underwatering can stunt growth. Check the soil moisture by sticking your finger about an inch deep into the soil. If it feels dry, it’s time to water. During hot weather, you may need to water more frequently.
What are some common pests and diseases that affect onions?
Onions can be susceptible to various pests and diseases, including onion maggots, thrips, and fungal diseases like downy mildew and botrytis blight. To prevent pest and disease problems, practice good garden hygiene. Remove any dead or decaying plant matter from around your onions, and avoid overcrowding them. Use organic pest control methods, such as insecticidal soap or neem oil, to control pests. For fungal diseases, ensure good air circulation and avoid overhead watering. If you notice any signs of disease, remove the affected plants immediately to prevent the spread.
Can I grow onions in containers?
Yes, growing onions in containers is a great option, especially if you have limited space. Choose a container that is at least 6-8 inches deep and wide to allow the onion roots to develop properly. Use a well-draining potting mix and ensure the container has drainage holes. Water regularly and fertilize every few weeks with a balanced fertilizer. Place the container in a sunny location that receives at least 6-8 hours of direct sunlight per day.
How do I know when my onions are ready to harvest?
If you are growing onions for their green shoots (scallions), you can harvest them at any time once they reach a usable size. Simply snip off the green shoots near the base of the plant, leaving about an inch or two above the soil. The shoots will regrow, providing you with a continuous supply of fresh green onions. If you are growing onions for their bulbs, they are typically ready to harvest when the tops start to fall over and turn yellow or brown. Gently dig up the bulbs and allow them to cure in a warm, dry place for a week or two before storing them.
What are some good companion plants for onions?
Onions are excellent companion plants for many vegetables and herbs. They are known to deter pests from carrots, tomatoes, peppers, cabbage, and lettuce. Other good companion plants for onions include chamomile, marigolds, and summer savory. Avoid planting onions near beans or peas, as they can inhibit their growth.
How do I store my harvested onions?
To store your harvested onion bulbs, allow them to cure in a warm, dry place for a week or two. This will help to dry out the outer layers and prevent them from rotting. Once the onions are cured, store them in a cool, dry, and well-ventilated place, such as a pantry or basement. Avoid storing onions near potatoes, as they can cause each other to spoil more quickly. Properly stored onions can last for several months.
Leave a Comment