
Homemade cleaning solutions: ever feel like you’re battling a never-ending war against grime and dirt in your home? I know I have! But what if I told you the secret weapon was already hiding in your pantry? Forget those harsh chemicals and expensive store-bought cleaners. We’re diving headfirst into the wonderful world of DIY cleaning, where simple ingredients transform into powerful cleaning agents.
The tradition of using natural ingredients for cleaning stretches back centuries. Before the advent of mass-produced chemicals, our ancestors relied on the power of vinegar, baking soda, and essential oils to keep their homes sparkling. Think about it – these methods were passed down through generations, a testament to their effectiveness and safety.
In today’s world, with growing concerns about environmental impact and the potential health risks associated with chemical cleaners, embracing homemade cleaning solutions is more important than ever. Not only are you reducing your exposure to harmful substances, but you’re also saving money and minimizing your carbon footprint. Plus, there’s a certain satisfaction that comes from creating something yourself, knowing exactly what’s going into your cleaning products. So, are you ready to unlock the secrets to a cleaner, healthier home? Let’s get started!
DIY Cleaning Solutions: Ditch the Chemicals, Embrace the Natural!
Hey there, fellow cleaning enthusiasts! Are you tired of harsh chemicals and sky-high prices for your cleaning supplies? I know I was! That’s why I dove headfirst into the world of DIY cleaning solutions. Not only are they incredibly effective, but they’re also budget-friendly and much gentler on the environment (and your lungs!). Plus, it’s kind of fun to whip up your own concoctions. Let’s get started!
All-Purpose Cleaner: Your New Best Friend
This is my go-to cleaner for just about everything – countertops, sinks, even floors! It’s simple, smells amazing, and gets the job done.
Ingredients You’ll Need:
* 1/2 cup white vinegar
* 2 cups water
* 10-20 drops of your favorite essential oil (I love lemon, lavender, or tea tree)
* Spray bottle
Step-by-Step Instructions:
1. Combine the ingredients: In your spray bottle, pour in the white vinegar and water.
2. Add the essential oil: Add your chosen essential oil. Remember, a little goes a long way! Start with 10 drops and add more if you want a stronger scent.
3. Shake it up: Secure the spray nozzle and give the bottle a good shake to combine everything.
4. Time to clean! Spray the solution onto the surface you want to clean and wipe it down with a clean cloth or sponge. For tougher messes, let the solution sit for a few minutes before wiping.
Pro Tip: If you’re cleaning a surface you’re unsure about, test the solution in an inconspicuous area first to make sure it doesn’t cause any damage.
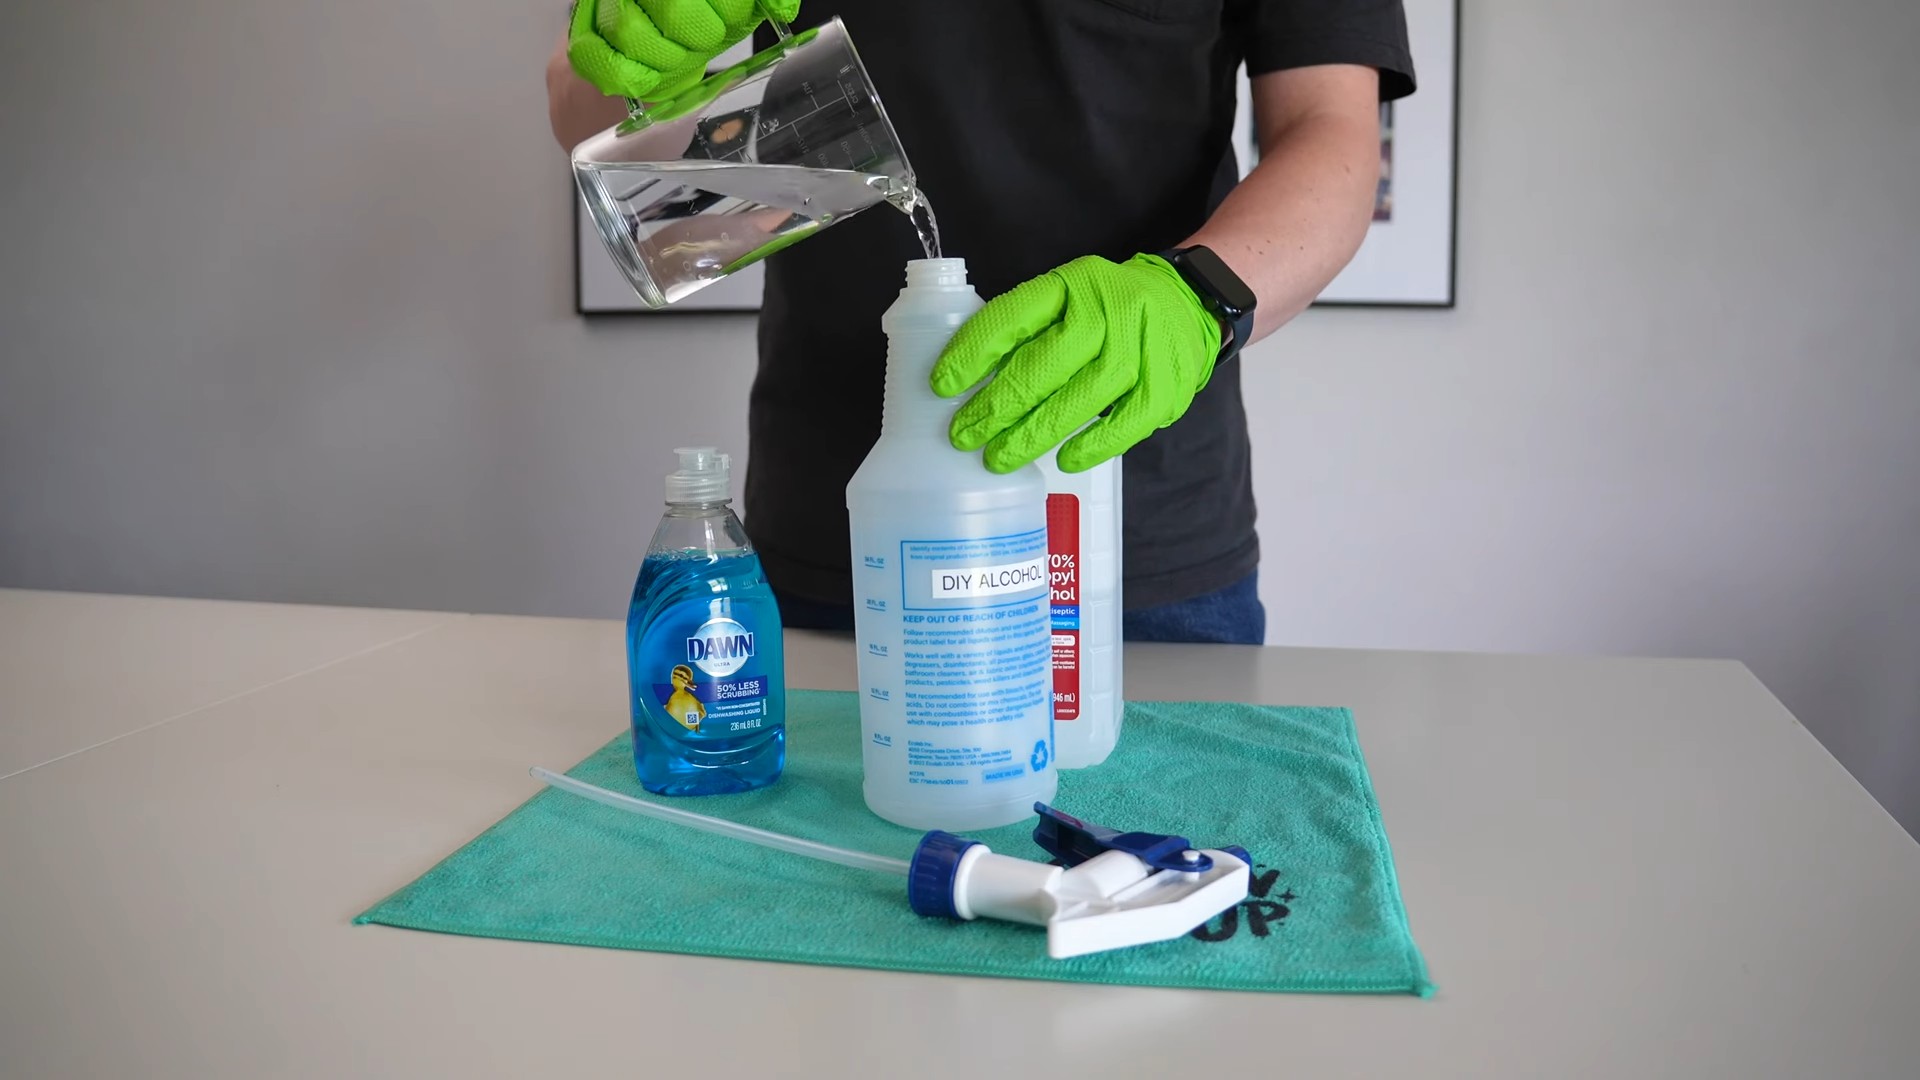
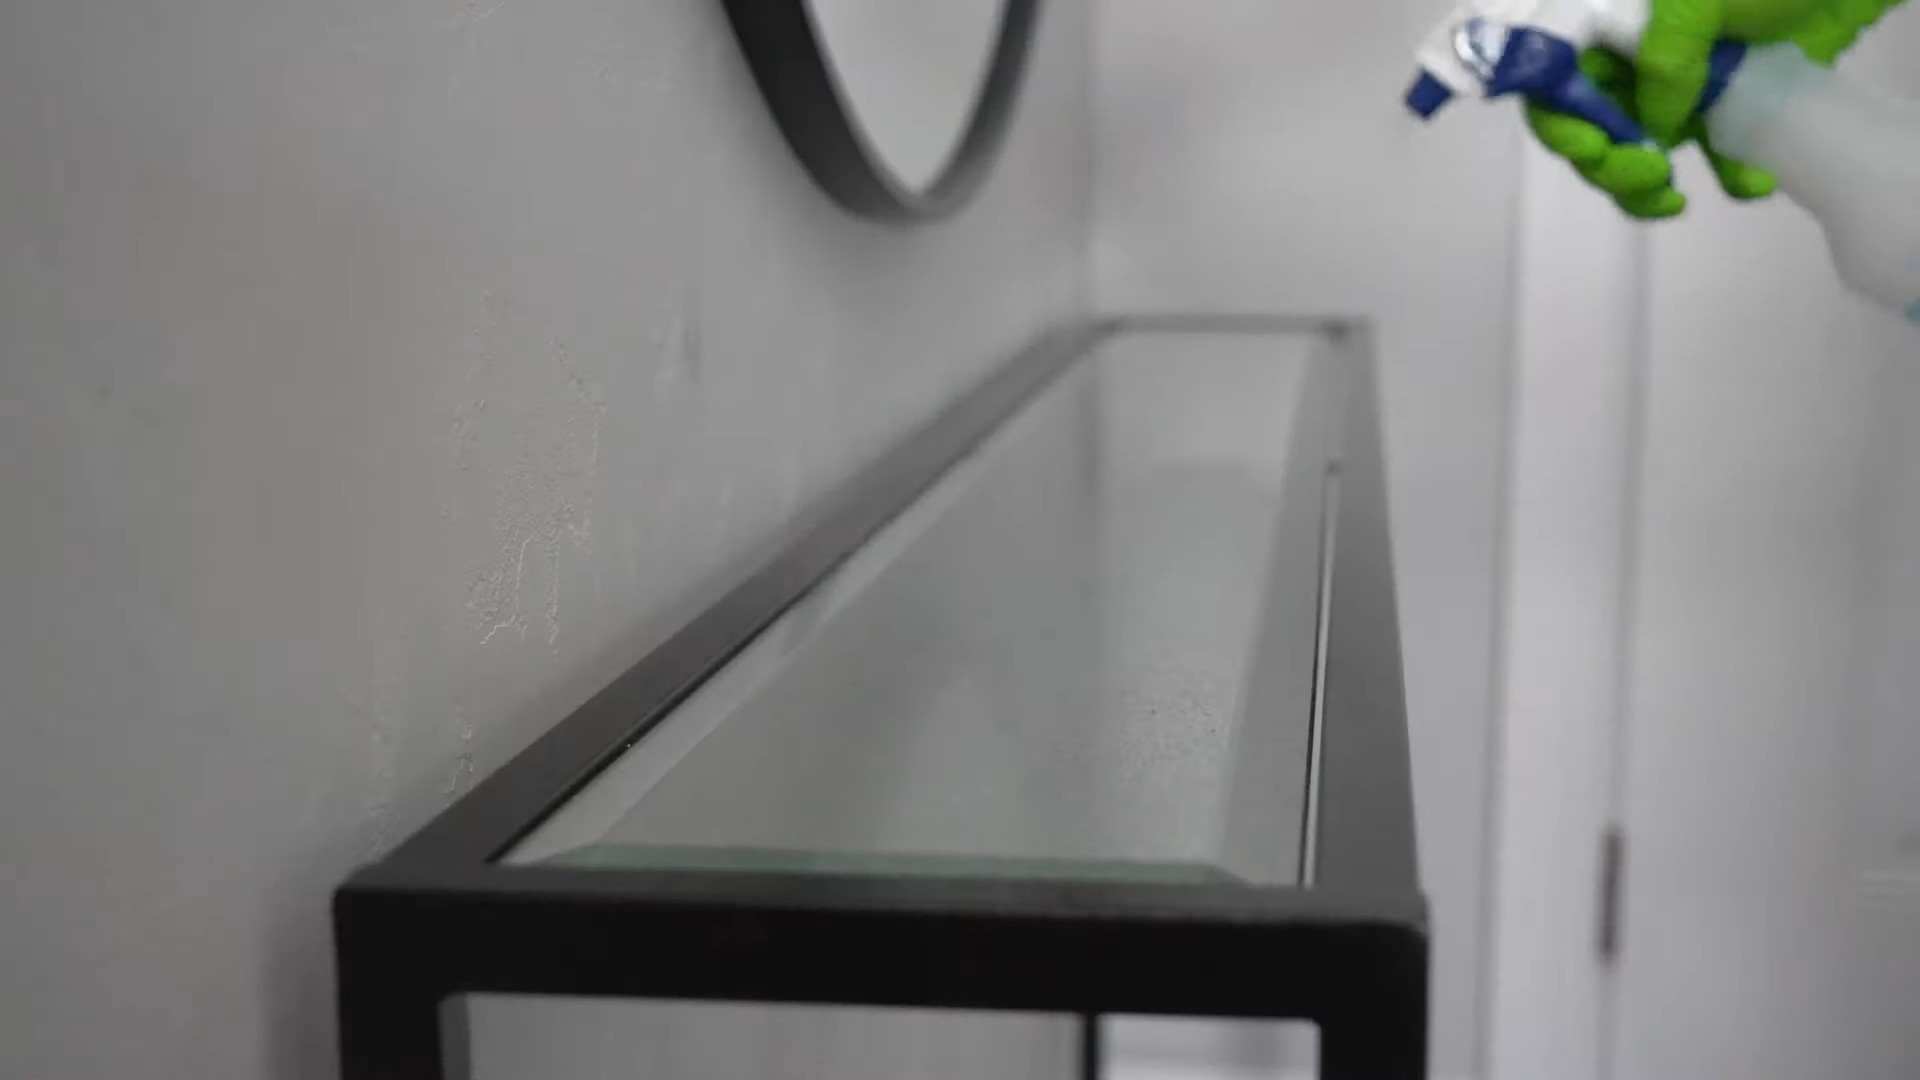
Glass Cleaner: Streak-Free Shine Guaranteed
Say goodbye to streaks and hello to sparkling clean windows and mirrors! This glass cleaner is super easy to make and works like a charm.
Ingredients You’ll Need:
* 1/4 cup white vinegar
* 1/4 cup rubbing alcohol (70% isopropyl alcohol)
* 2 cups water
* Spray bottle
Step-by-Step Instructions:
1. Mix it up: In your spray bottle, combine the white vinegar, rubbing alcohol, and water.
2. Shake well: Secure the spray nozzle and shake the bottle thoroughly to mix the ingredients.
3. Spray and wipe: Spray the solution onto your windows or mirrors and wipe clean with a microfiber cloth. Microfiber cloths are key to achieving a streak-free finish!
Why this works: The vinegar helps to cut through grime, while the rubbing alcohol helps the solution dry quickly, preventing streaks.
Toilet Bowl Cleaner: Keep it Fresh and Clean
Let’s face it, cleaning the toilet isn’t anyone’s favorite chore. But with this DIY toilet bowl cleaner, it’s a little less dreadful.
Ingredients You’ll Need:
* 1/2 cup baking soda
* 1 cup white vinegar
* 10-15 drops of tea tree essential oil (optional, but it has antibacterial properties)
Step-by-Step Instructions:
1. Sprinkle the baking soda: Sprinkle the baking soda evenly around the inside of the toilet bowl.
2. Pour in the vinegar: Slowly pour the white vinegar over the baking soda. It will fizz – that’s normal!
3. Let it sit: Let the mixture sit for at least 15-20 minutes. For tougher stains, you can let it sit for longer, even overnight.
4. Scrub and flush: After the mixture has sat, scrub the toilet bowl with a toilet brush and then flush.
5. Add essential oil (optional): If you’re using tea tree oil, add it to the bowl after flushing for a fresh, clean scent.
Important Note: Never mix bleach with vinegar or baking soda, as it can create dangerous fumes.
Drain Cleaner: Unclog Those Pesky Drains
Clogged drains are a common household problem, but you don’t need harsh chemicals to fix them. This DIY drain cleaner is a safe and effective alternative.
Ingredients You’ll Need:
* 1/2 cup baking soda
* 1 cup white vinegar
* Boiling water
Step-by-Step Instructions:
1. Pour in the baking soda: Pour the baking soda down the drain.
2. Add the vinegar: Pour the white vinegar down the drain after the baking soda.
3. Let it fizz: Let the mixture fizz for about 30 minutes.
4. Flush with boiling water: After 30 minutes, carefully pour a pot of boiling water down the drain.
How it works: The baking soda and vinegar create a chemical reaction that helps to break down clogs, while the boiling water helps to flush everything away.
Repeat if necessary: If the drain is still clogged, repeat the process. For stubborn clogs, you may need to use a plunger after flushing with boiling water.
Furniture Polish: Restore Your Wood’s Natural Shine
Give your wooden furniture a new lease on life with this simple DIY furniture polish. It’s made with natural ingredients and will leave your furniture looking beautiful.
Ingredients You’ll Need:
* 1/4 cup olive oil
* 1/2 cup white vinegar or lemon juice
* Soft cloth
Step-by-Step Instructions:
1. Combine the ingredients: In a small bowl, mix together the olive oil and white vinegar (or lemon juice).
2. Apply to furniture: Dip a soft cloth into the mixture and apply it to your wooden furniture in a circular motion.
3. Buff to a shine: Use a clean, dry cloth to buff the furniture to a shine.
Why this works: The olive oil helps to moisturize the wood, while the vinegar or lemon juice helps to remove dirt and grime.
Important Note: Always test the polish in an inconspicuous area first to make sure it doesn’t damage the finish.
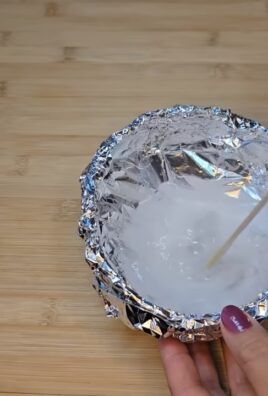
Oven Cleaner: Tackle Baked-On Grime
Cleaning the oven is a dreaded task, but this DIY oven cleaner makes it a little easier. It’s made with baking soda and water, so it’s safe and non-toxic.
Ingredients You’ll Need:
* 1/2 cup baking soda
* Water
* Spray bottle
* Spatula or scraper
Step-by-Step Instructions:
1. Make a paste: In a bowl, mix the baking soda with enough water to form a thick paste.
2. Coat the oven: Spread the paste all over the inside of your oven, avoiding the heating elements.
3. Let it sit: Let the paste sit for at least 12 hours, or even overnight.
4. Scrub and wipe: After the paste has sat, use a spatula or scraper to remove as much of the dried paste as possible.
5. Wipe clean: Use a damp cloth to wipe away any remaining paste and grime. You may need to rinse the cloth several times.
6. Spray with vinegar (optional): For any stubborn spots, spray them with white vinegar and let it sit for a few minutes before wiping clean.
Important Note: Wear gloves when cleaning your oven to protect your hands.
Dish Soap: Gentle and Effective
This DIY dish soap is gentle on your hands and effective at cleaning dishes. It’s made with natural ingredients and is free of harsh chemicals.
Ingredients You’ll Need:
* 1 cup grated castile soap (like Dr. Bronner’s)
* 1/4 cup washing soda (sodium carbonate)
* 10-15 drops of your favorite essential oil (lemon, grapefruit, or orange are great choices)
* Hot water
Step-by-Step Instructions:
1. Dissolve the soap: In a saucepan, combine the grated castile soap with 2 cups of hot water. Heat over low heat, stirring constantly, until the soap is completely dissolved.
2. Add the washing soda: Remove the saucepan from the heat and stir in the washing soda until it is dissolved.
3. Add essential oil: Add your chosen essential oil and stir to combine.
4. Let it cool: Let the mixture cool completely. It will thicken as it cools.
5. Transfer to a container: Pour the dish soap into a container with a pump or squeeze top.
How to use: Use a small amount of dish soap to wash your dishes as usual.
Important Note: Washing soda can be irritating to the skin, so wear gloves when handling it.
Laundry Detergent: Clean Clothes, Happy Planet
Making your own laundry detergent is a great way to save money and reduce your environmental impact. This recipe is simple and effective.
Conclusion
So, there you have it! Ditching the harsh chemicals and embracing the power of homemade cleaning solutions is not just a trend; it’s a conscious choice for a healthier home, a happier planet, and a lighter wallet. We’ve explored some fantastic recipes that are incredibly effective, surprisingly simple to make, and customizable to your specific needs and preferences.
Why is this a must-try? Because you’re taking control of what you’re bringing into your home. You know exactly what’s in your cleaning products, eliminating the mystery and potential health risks associated with commercial cleaners. Plus, you’re significantly reducing your plastic waste by reusing spray bottles and containers. Think about the impact of millions of households switching to homemade solutions – it’s a powerful step towards a more sustainable future.
But the benefits don’t stop there. These homemade solutions are often more effective than you might think. Vinegar, baking soda, lemon juice, and essential oils are potent cleaning agents that have been used for generations. They cut through grease, disinfect surfaces, and leave your home smelling fresh and clean, without the overpowering artificial fragrances of store-bought products.
Looking for variations? Absolutely!
* **For a stronger disinfectant:** Add a few drops of tea tree oil to your all-purpose cleaner. Tea tree oil is a natural antiseptic and antifungal agent.
* **For a citrus boost:** Infuse your vinegar with citrus peels (lemon, orange, grapefruit) for a few weeks before using it in your cleaning solutions. This will add a pleasant scent and enhance its cleaning power.
* **For a gentle scrub:** Mix baking soda with a little water to create a paste for scrubbing stubborn stains on sinks, tubs, and stovetops.
* **For a linen spray:** Combine distilled water with a few drops of your favorite essential oils (lavender, chamomile, eucalyptus) in a spray bottle.
Don’t be afraid to experiment and find what works best for you and your home. The beauty of homemade cleaning solutions is that they are completely adaptable. You can adjust the ratios of ingredients, add different essential oils, and tailor them to your specific cleaning needs.
We wholeheartedly encourage you to give these homemade cleaning solutions a try. Start with one recipe, see how you like it, and then gradually replace your commercial cleaners with these natural alternatives. You’ll be amazed at how easy and effective they are.
And most importantly, we want to hear about your experience! Share your favorite recipes, tips, and tricks in the comments below. Let us know what works for you, what challenges you encountered, and any variations you’ve discovered. Together, we can create a community of eco-conscious cleaners who are committed to making a positive impact on our homes and our planet. Let’s ditch the chemicals and embrace the power of nature!
Frequently Asked Questions (FAQs)
Are homemade cleaning solutions as effective as commercial cleaners?
Yes, in many cases, homemade cleaning solutions can be just as effective, and sometimes even more so, than commercial cleaners. The key is to use the right ingredients for the specific cleaning task. For example, vinegar is excellent for cutting through grease and removing hard water stains, while baking soda is a gentle abrasive that can scrub away stubborn grime. Essential oils like tea tree and eucalyptus have natural antibacterial and antifungal properties, making them effective disinfectants. However, it’s important to note that some commercial cleaners contain harsh chemicals that may be necessary for certain heavy-duty cleaning tasks. For everyday cleaning, however, homemade solutions are a fantastic and effective alternative.
Will vinegar damage my surfaces?
Vinegar is a powerful cleaning agent, but it’s important to use it with caution on certain surfaces. Avoid using vinegar on natural stone surfaces like marble, granite, and limestone, as it can etch and damage them. It’s also not recommended for use on waxed wood furniture, as it can strip the wax finish. For these surfaces, use a mild soap and water solution instead. When in doubt, always test a small, inconspicuous area before applying vinegar to the entire surface.
How long do homemade cleaning solutions last?
The shelf life of homemade cleaning solutions depends on the ingredients used. Solutions containing water are more prone to bacterial growth and should be used within a few weeks. Solutions made with vinegar or alcohol have a longer shelf life due to their natural preservative properties. To extend the shelf life of your homemade cleaners, store them in a cool, dark place and use clean spray bottles. It’s also a good idea to label your bottles with the date you made the solution. If you notice any changes in color, odor, or consistency, discard the solution.
Can I use any essential oil in my cleaning solutions?
While many essential oils have antibacterial, antifungal, and antiviral properties, not all are suitable for cleaning. Some essential oils can be irritating to the skin or respiratory system, while others may not be effective cleaning agents. Some of the best essential oils for cleaning include tea tree, eucalyptus, lavender, lemon, and peppermint. Always dilute essential oils properly before using them in your cleaning solutions, and avoid using them on surfaces that may be damaged by oils. If you have allergies or sensitivities, consult with a healthcare professional before using essential oils.
Are homemade cleaning solutions safe for pets and children?
Homemade cleaning solutions are generally safer for pets and children than commercial cleaners, as they don’t contain harsh chemicals that can be harmful if ingested or inhaled. However, it’s still important to keep them out of reach of children and pets. Some essential oils can be toxic to pets, so do your research before using them in your cleaning solutions. Always store your homemade cleaners in labeled bottles to avoid accidental ingestion. If you have any concerns about the safety of homemade cleaning solutions for your pets or children, consult with a veterinarian or pediatrician.
How do I get rid of the vinegar smell after cleaning?
The vinegar smell is a common concern for people who are new to using vinegar as a cleaning agent. The good news is that the smell dissipates quickly. You can also add a few drops of your favorite essential oil to your vinegar solution to mask the smell. Another tip is to open windows and ventilate the area after cleaning. The vinegar smell will usually disappear within a few hours.
What kind of spray bottles should I use for my homemade cleaning solutions?
It’s best to use plastic or glass spray bottles for your homemade cleaning solutions. Avoid using metal spray bottles, as some ingredients, like vinegar, can react with metal. You can reuse old spray bottles from commercial cleaners, but make sure to clean them thoroughly before using them for your homemade solutions. Label your bottles clearly to avoid confusion. Amber or dark-colored bottles are ideal for storing solutions containing essential oils, as they protect the oils from light degradation.
What if my homemade cleaning solution doesn’t work as well as I expected?
Don’t be discouraged if your homemade cleaning solution doesn’t work perfectly the first time. Experiment with different ratios of ingredients and try different essential oils. You may need to adjust the recipe to suit your specific cleaning needs and the types of surfaces you’re cleaning. Remember that homemade cleaning is a process of trial and error. With a little experimentation, you’ll find the perfect recipes for your home.

Leave a Comment