
Plastic bottle tomato growing: sounds a little crazy, right? But trust me, it’s a game-changer! Imagine harvesting juicy, sun-ripened tomatoes right from your balcony or windowsill, all thanks to a humble plastic bottle. This isn’t just a quirky gardening trend; it’s a sustainable and space-saving solution that’s taking the home gardening world by storm.
While the exact origins of this method are a bit hazy, resourceful gardeners have been repurposing materials for centuries. Think about the “Victory Gardens” of World War II, where people grew their own food in whatever space they could find, often using recycled containers. This DIY spirit is alive and well, and plastic bottle tomato growing is a perfect example of it.
Why should you try this? Well, for starters, it’s incredibly budget-friendly. We all have plastic bottles lying around, right? Plus, it’s perfect for those of us with limited space – apartments, small patios, or even just a sunny windowsill. But more importantly, it’s a fantastic way to reduce waste and connect with nature. I’m excited to share some simple yet effective tricks and hacks that will help you master the art of growing delicious tomatoes using nothing more than a plastic bottle and a little bit of know-how. Let’s get started!
DIY Upside-Down Tomato Planter from Plastic Bottles
Hey there, fellow gardening enthusiasts! Are you short on space but dreaming of juicy, homegrown tomatoes? Well, I’ve got just the project for you: an upside-down tomato planter made from recycled plastic bottles! It’s a fun, eco-friendly way to grow tomatoes, and it’s surprisingly easy. Plus, it looks pretty cool hanging on your porch or balcony. Let’s get started!
What You’ll Need
Before we dive in, let’s gather our supplies. Here’s what you’ll need to create your own upside-down tomato planter:
* Large Plastic Bottles: Think 2-liter soda bottles, juice bottles, or even larger water bottles. The sturdier, the better. You’ll need one bottle per tomato plant.
* Tomato Seedlings: Choose a variety that’s well-suited for container gardening, like cherry tomatoes, Roma tomatoes, or patio tomatoes.
* Potting Soil: A good quality potting mix is essential for healthy tomato growth.
* Utility Knife or Scissors: For cutting the plastic bottles. Be careful!
* Drill or Nail: To create drainage holes.
* Old Cloth or Burlap: To prevent soil from falling out.
* Strong Twine or Rope: For hanging the planter.
* Watering Can: For, well, watering!
* Gloves (Optional): To keep your hands clean.
Preparing the Plastic Bottle
Okay, let’s get our hands dirty! The first step is to prepare the plastic bottle.
1. Clean the Bottle: Thoroughly wash the plastic bottle with soap and water to remove any residue. Rinse it well and let it dry completely. This is important to prevent any unwanted chemicals from affecting your tomato plant.
2. Cut the Bottle: Using your utility knife or scissors, carefully cut off the bottom of the bottle. You’ll want to cut it about 4-6 inches from the bottom, creating a wide opening. Be extra cautious when using sharp tools. I always recommend wearing gloves for this step.
3. Drill Drainage Holes: Now, drill or poke several small drainage holes in the bottle cap. These holes are crucial for allowing excess water to escape and preventing root rot. I usually make about 4-5 holes.
4. Prepare the Cloth: Cut a square of old cloth or burlap that’s slightly larger than the bottle opening. This will act as a barrier to prevent the soil from falling out when you turn the bottle upside down.
Planting the Tomato Seedling
This is where the magic happens! Let’s get that tomato seedling planted.
1. Insert the Cloth: Place the cloth square over the bottle opening (where the cap is). Gently push the center of the cloth through the opening, creating a small pouch. This pouch will hold the tomato seedling in place.
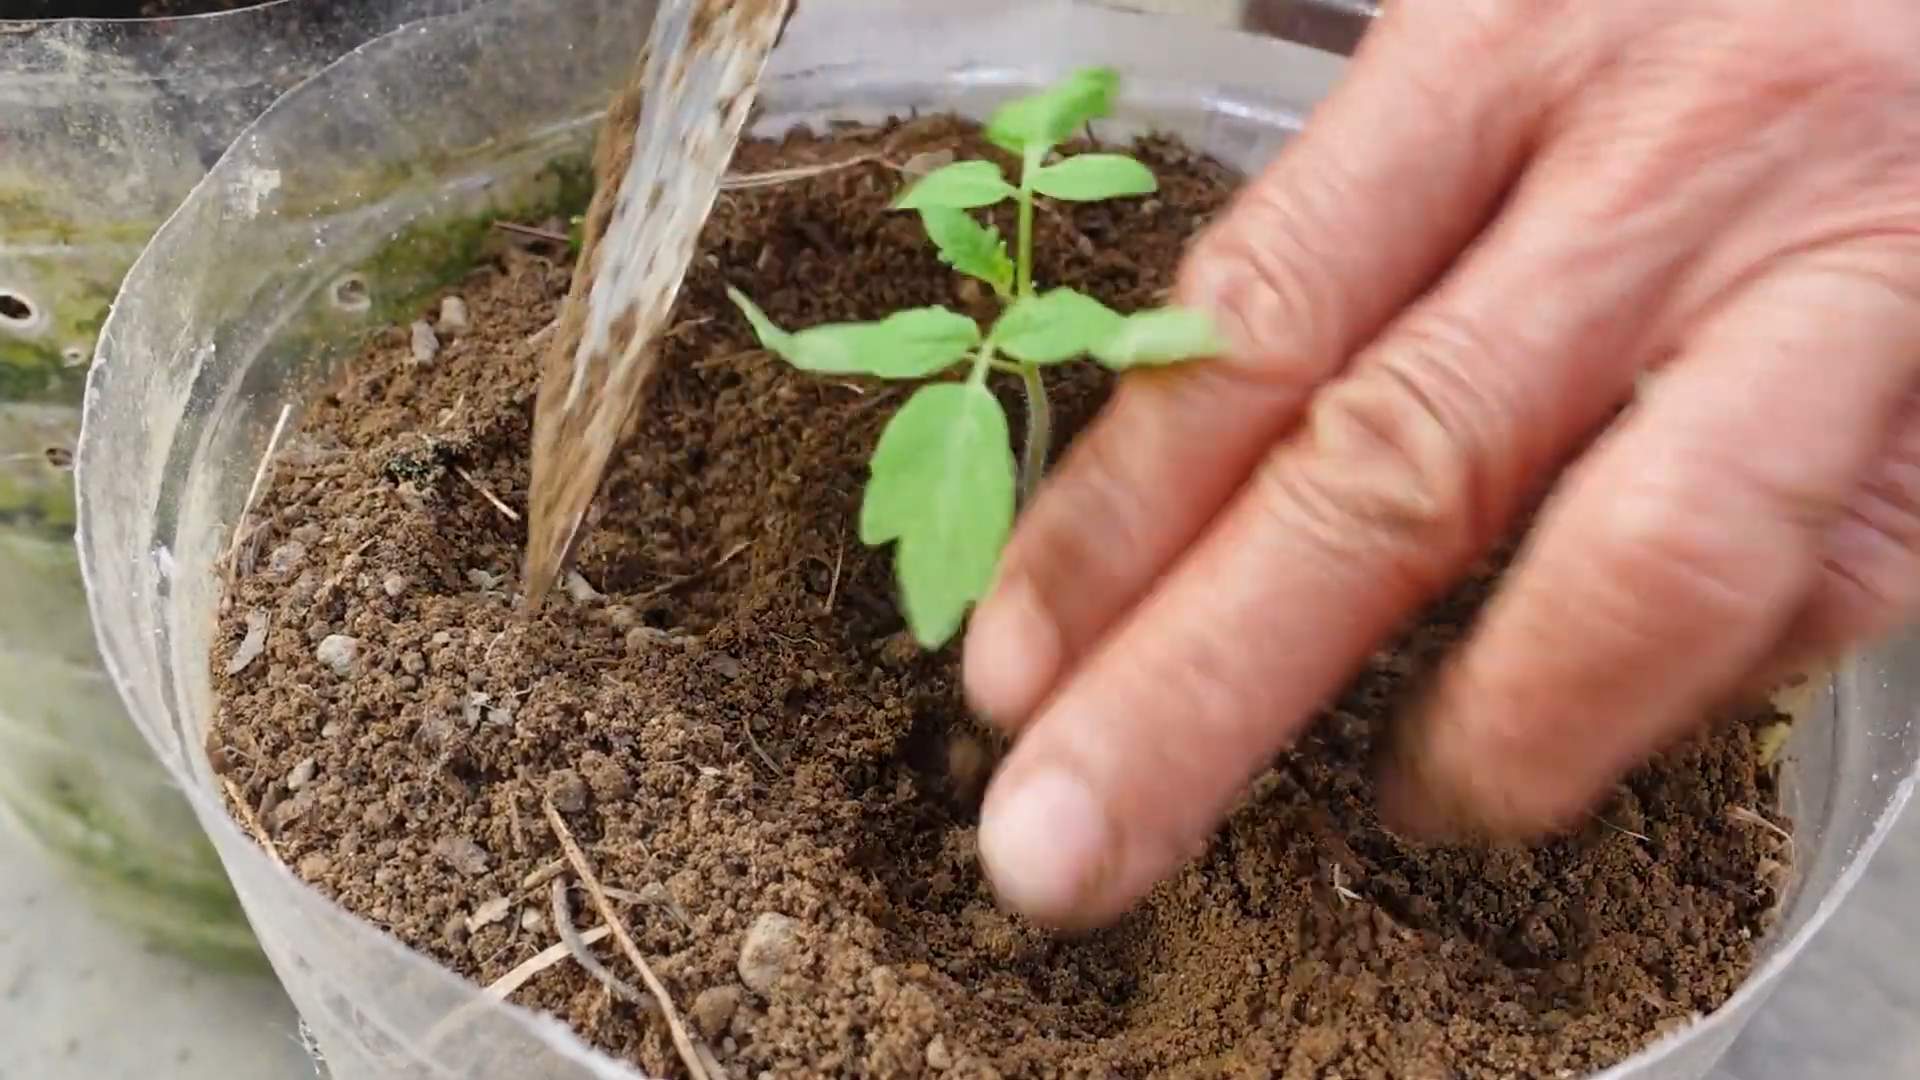
2. Carefully Insert the Seedling: Gently remove the tomato seedling from its container. Loosen the roots slightly to encourage them to spread. Carefully insert the root ball of the seedling through the bottle opening and into the cloth pouch. The leaves and stem of the tomato plant should be hanging down through the opening. This might feel a little awkward, but take your time and be gentle.
3. Add Potting Soil: Now, slowly add potting soil to the bottle, filling it up to the top. Gently pack the soil around the seedling’s roots. Make sure the soil is moist but not soaking wet.
4. Secure the Cloth: Once the bottle is filled with soil, gently fold the edges of the cloth over the soil to help secure it. You can use a rubber band or twine to hold the cloth in place if needed.
Hanging the Planter
Almost there! Now it’s time to hang your upside-down tomato planter.
1. Create Hanging Loops: Cut three or four equal lengths of strong twine or rope. Attach each length of twine to the bottle, spacing them evenly around the circumference. You can tie them around the neck of the bottle, just below the cut edge. Make sure the knots are secure.
2. Gather the Twine: Gather the loose ends of the twine together and tie them in a knot at the desired hanging height. Make sure the knot is strong enough to support the weight of the planter.
3. Hang the Planter: Choose a sunny location to hang your upside-down tomato planter. A porch, balcony, or even a sturdy tree branch will work. Make sure the location receives at least 6-8 hours of sunlight per day.
Caring for Your Upside-Down Tomato Plant
Now that your upside-down tomato planter is hanging, it’s important to provide proper care to ensure a bountiful harvest.
1. Watering: Water your tomato plant regularly, especially during hot weather. Check the soil moisture by sticking your finger into the soil. If the top inch of soil feels dry, it’s time to water. Water slowly and deeply, allowing the water to drain out of the drainage holes.
2. Fertilizing: Feed your tomato plant with a balanced liquid fertilizer every 2-3 weeks. Follow the instructions on the fertilizer packaging.
3. Sunlight: Ensure your tomato plant receives at least 6-8 hours of sunlight per day. If you live in a particularly hot climate, you may need to provide some afternoon shade to prevent the plant from getting scorched.
4. Pruning: Prune your tomato plant regularly to remove any suckers (small shoots that grow between the main stem and the branches). This will help to improve air circulation and encourage fruit production.
5. Pest Control: Keep an eye out for pests, such as aphids, whiteflies, and tomato hornworms. If you spot any pests, treat them with an appropriate insecticide or organic pest control method.
Troubleshooting
Sometimes, things don’t go exactly as planned. Here are a few common problems you might encounter and how to fix them:
* Soil Falling Out: If soil is constantly falling out of the bottle, make sure the cloth is securely in place. You may need to use a larger piece of cloth or secure it with a rubber band or twine.
* Plant Wilting: If your tomato plant is wilting, it could be due to lack of water, too much sun, or root rot. Check the soil moisture and adjust your watering schedule accordingly. If the plant is getting too much sun, move it to a shadier location. If you suspect root rot, make sure the drainage holes are clear and consider repotting the plant with fresh soil.
* Lack of Fruit: If your tomato plant is not producing fruit, it could be due to lack of sunlight, poor pollination, or nutrient deficiencies. Make sure the plant is getting enough sunlight and fertilize it regularly. You can also try hand-pollinating the flowers by gently shaking the plant or using a small brush to transfer pollen from one flower to another.
Enjoy Your Harvest!
With a little care and attention, your upside-down tomato planter will reward you with a bountiful harvest of delicious, homegrown tomatoes. Enjoy them fresh off the vine, in salads, sauces, or your favorite recipes. Happy gardening! I hope you found this guide helpful and that you have a blast creating your own upside-down tomato planters. Let me know how it goes!
Conclusion
So, there you have it! Transforming a simple plastic bottle into a thriving tomato haven is not just a clever upcycling project; it’s a game-changer for gardeners of all levels. From beginners tentatively dipping their toes into the world of homegrown produce to seasoned veterans seeking innovative techniques, this DIY trick offers a multitude of benefits. It’s cost-effective, space-saving, and incredibly rewarding to witness the journey from seed to succulent, sun-ripened tomato, all nurtured within the confines of a repurposed plastic bottle.
This method isn’t just about saving money and reducing waste; it’s about creating a microclimate that fosters optimal growth. The plastic acts as a mini-greenhouse, trapping warmth and humidity, which are crucial for tomato development, especially in cooler climates or during unpredictable weather patterns. Plus, the controlled environment minimizes the risk of soilborne diseases and pests, giving your tomato plants a significant head start.
But the beauty of this DIY project lies in its adaptability. Feel free to experiment with different types of plastic bottles. Larger bottles, like those used for water coolers, can accommodate larger tomato varieties, while smaller bottles are perfect for cherry tomatoes or patio varieties. You can also customize the drainage system to suit your specific soil type and watering habits. Consider adding a layer of gravel or pebbles at the bottom of the bottle to improve drainage and prevent waterlogging.
For those looking to take their plastic bottle tomato growing to the next level, consider incorporating companion planting. Basil, for example, is a classic companion plant for tomatoes, known to improve their flavor and deter pests. You can plant basil seedlings directly in the same bottle, creating a symbiotic relationship that benefits both plants. Marigolds are another excellent choice, adding a splash of color while repelling nematodes and other harmful insects.
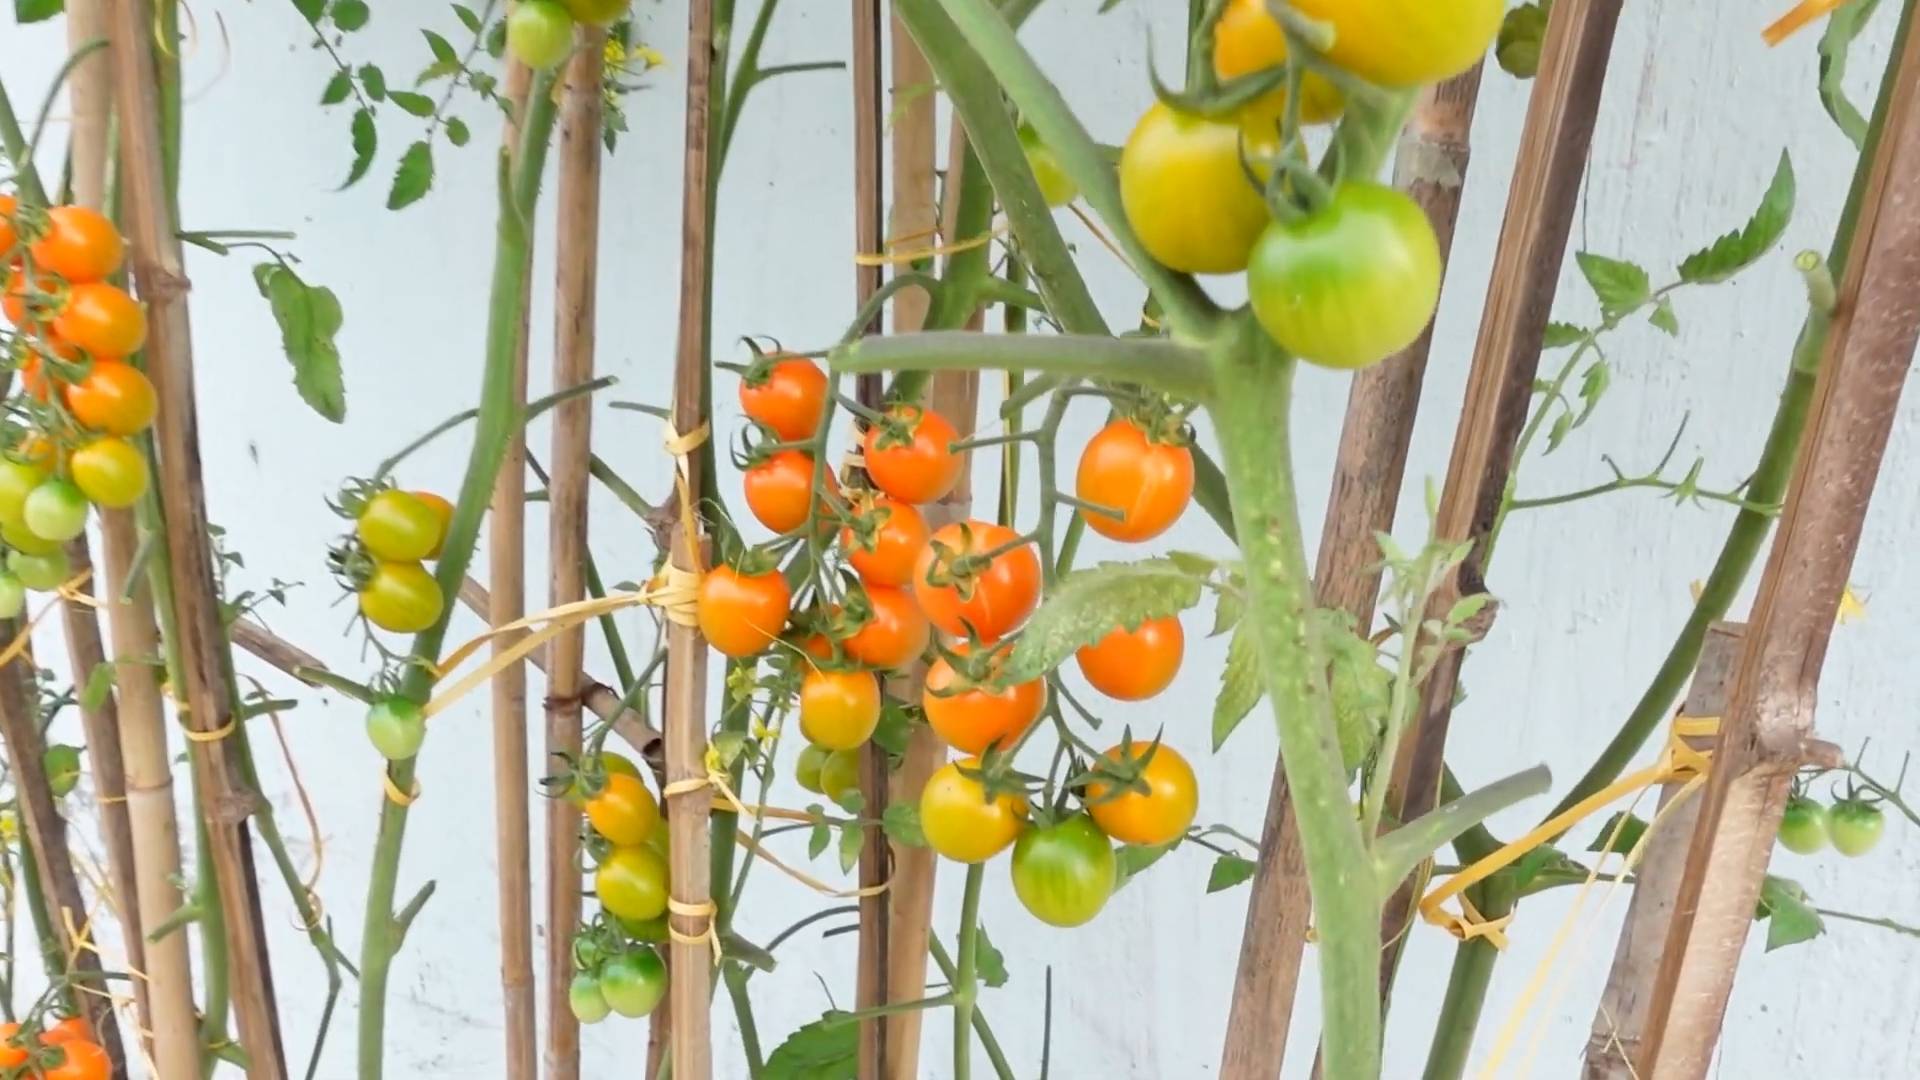
Don’t be afraid to get creative with your support system. While the bottle itself provides some structural support, taller tomato varieties may require additional staking or trellising. Bamboo stakes, repurposed garden twine, or even old pantyhose can be used to create a sturdy framework that prevents your plants from toppling over under the weight of their bountiful harvest.
And remember, the type of tomato you choose to grow is crucial. Determinate varieties, which grow to a fixed size and produce all their fruit at once, are generally better suited for container gardening than indeterminate varieties, which continue to grow and produce fruit throughout the season. However, with proper pruning and support, even indeterminate varieties can thrive in plastic bottle containers.
The most important thing is to have fun and embrace the learning process. Gardening is an art as much as it is a science, and there’s always something new to discover. So, gather your supplies, grab a plastic bottle, and get ready to embark on a rewarding journey of homegrown tomato goodness.
We wholeheartedly encourage you to try this simple yet effective DIY trick. It’s a fantastic way to reduce waste, save money, and enjoy the unparalleled flavor of homegrown tomatoes. And most importantly, we want to hear about your experiences! Share your photos, tips, and tricks in the comments below. Let’s create a community of plastic bottle tomato growers and inspire others to embrace sustainable gardening practices. Your success stories can motivate others to take the plunge and discover the joys of growing their own food. Let us know what tomato varieties you tried, what challenges you faced, and what innovative solutions you came up with. Together, we can unlock the full potential of plastic bottle tomato growing and create a greener, more sustainable future.
FAQ
What type of plastic bottle is best for growing tomatoes?
Ideally, you should use a food-grade plastic bottle, such as those used for water, juice, or soda. Avoid using bottles that have contained harsh chemicals or cleaning products, as these could contaminate the soil and harm your plants. The size of the bottle will depend on the type of tomato you plan to grow. Larger bottles (2-3 liters or more) are suitable for larger tomato varieties, while smaller bottles (1-2 liters) are better for cherry tomatoes or patio varieties. Make sure the bottle is clean and free of any residue before using it.
How do I prepare the plastic bottle for planting?
First, thoroughly clean the plastic bottle with soap and water to remove any dirt or residue. Then, cut the bottle in half horizontally. You can either discard the top half or use it as a mini-greenhouse cover for the seedling stage. Drill drainage holes in the bottom of the bottle to prevent waterlogging. The number and size of the holes will depend on your soil type and watering habits. A good rule of thumb is to drill at least four holes, each about ¼ inch in diameter.
What type of soil should I use for growing tomatoes in plastic bottles?
Use a well-draining potting mix specifically formulated for vegetables. Avoid using garden soil, as it can be too heavy and compact, hindering root growth. A good potting mix will contain a blend of peat moss, perlite, and vermiculite, which provide good drainage and aeration. You can also amend the potting mix with compost or other organic matter to improve its fertility.
How often should I water my tomato plants in plastic bottles?
The frequency of watering will depend on the weather conditions, the size of the bottle, and the type of soil you are using. Generally, you should water your tomato plants when the top inch of soil feels dry to the touch. Avoid overwatering, as this can lead to root rot. When watering, water deeply until the water drains out of the drainage holes.
How much sunlight do tomato plants need in plastic bottles?
Tomato plants need at least 6-8 hours of direct sunlight per day to thrive. Place your plastic bottle tomato containers in a sunny location where they will receive ample sunlight. If you live in a particularly hot climate, you may need to provide some afternoon shade to prevent the plants from overheating.
Do I need to fertilize my tomato plants in plastic bottles?
Yes, tomato plants are heavy feeders and require regular fertilization to produce a bountiful harvest. Use a balanced fertilizer specifically formulated for tomatoes, following the instructions on the label. You can also use organic fertilizers, such as compost tea or fish emulsion. Fertilize your tomato plants every 2-3 weeks during the growing season.
How do I support my tomato plants in plastic bottles?
As your tomato plants grow, they will need support to prevent them from toppling over. You can use bamboo stakes, tomato cages, or even repurposed materials like old pantyhose to provide support. Insert the stakes or cages into the soil around the base of the plant and tie the stems to the support as needed.
What are some common problems I might encounter when growing tomatoes in plastic bottles?
Some common problems include pests, diseases, and nutrient deficiencies. Monitor your plants regularly for signs of pests or diseases and take appropriate action if necessary. Common pests include aphids, whiteflies, and tomato hornworms. Common diseases include early blight, late blight, and blossom end rot. Nutrient deficiencies can be addressed by fertilizing your plants regularly with a balanced fertilizer.
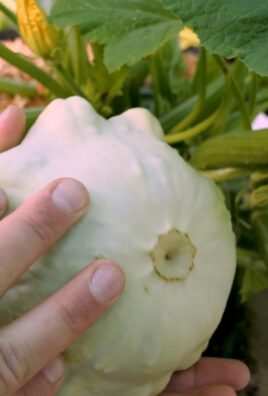
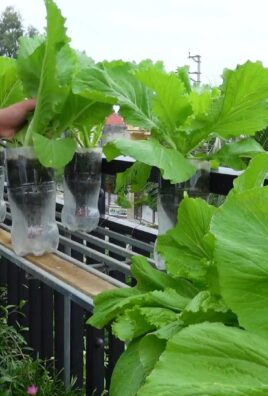
Can I grow other vegetables in plastic bottles using this method?
Yes, you can grow a variety of other vegetables in plastic bottles using this method, including herbs, peppers, lettuce, and strawberries. The key is to choose vegetables that are well-suited for container gardening and to provide them with the appropriate growing conditions.
How do I prevent blossom end rot in my plastic bottle tomatoes?
Blossom end rot is a common problem in tomatoes caused by a calcium deficiency. To prevent blossom end rot, ensure that your soil is rich in calcium and that your plants are receiving consistent watering. You can add calcium to the soil by incorporating bone meal or crushed eggshells. You can also use a calcium-based foliar spray to supplement the calcium levels in your plants. Consistent watering is crucial, as fluctuations in soil moisture can interfere with calcium uptake.
Leave a Comment