
Shaving Foam Hacks: Who knew that fluffy white cloud in a can held so much potential beyond just a smooth shave? I’m always on the lookout for clever DIY solutions around the house and garden, and let me tell you, I stumbled upon a game-changer! Forget harsh chemicals and expensive cleaners; shaving foam is about to become your new best friend.
While shaving foam’s primary purpose has always been grooming, its versatility has been quietly bubbling beneath the surface. Think about it – the lathering action, the gentle cleansing properties… it’s practically begging to be used for more! From cleaning carpets to preventing foggy mirrors, the possibilities are surprisingly endless.
But why should *you* care about shaving foam hacks? Because let’s face it, we’re all looking for ways to simplify our lives, save money, and maybe even have a little fun along the way. This DIY guide is packed with easy-to-follow tips and tricks that will transform your cleaning routine and unlock the hidden potential of that can sitting in your bathroom. Get ready to be amazed by the power of shaving foam!
Unlock the Cleaning Power of Shaving Foam: More Than Just for Shaving!
Hey there, DIY enthusiasts! Are you ready to discover a secret weapon hiding in your bathroom cabinet? I’m talking about shaving foam! Yes, that fluffy stuff you use for a smooth shave can do so much more than just prep your skin. Get ready to be amazed by these incredible shaving foam hacks that will simplify your cleaning routine and leave your home sparkling.
The Magic of Shaving Foam: Why It Works
Before we dive into the hacks, let’s understand why shaving foam is such a versatile cleaner. The key lies in its ingredients:
* Surfactants: These reduce surface tension, allowing the foam to penetrate and lift dirt, grime, and stains.
* Emollients: These help to soften and loosen stubborn messes, making them easier to wipe away.
* Foaming Agents: These create the fluffy texture that helps the product cling to surfaces, maximizing its cleaning power.
Now that you know the science behind the magic, let’s get started with the hacks!
Hack 1: Sparkling Clean Mirrors and Windows
Tired of streaks and smudges on your mirrors and windows? Shaving foam is your new best friend!
What you’ll need:
* Shaving foam (any kind will do, but I prefer the foamy kind)
* A clean, lint-free cloth or microfiber towel
* A spray bottle filled with water (optional)
Step-by-step instructions:
1. Apply the foam: Generously apply shaving foam to the entire surface of the mirror or window. Don’t be shy!
2. Let it sit: Allow the foam to sit for a minute or two. This gives the surfactants time to work their magic and loosen any dirt or grime.
3. Wipe it away: Using your clean cloth or microfiber towel, wipe away the shaving foam in a circular motion.
4. Rinse (optional): If you prefer, you can lightly spray the surface with water and wipe it dry with a clean cloth. This will remove any remaining residue.
5. Admire your sparkle: Step back and admire your streak-free, sparkling clean mirrors and windows!
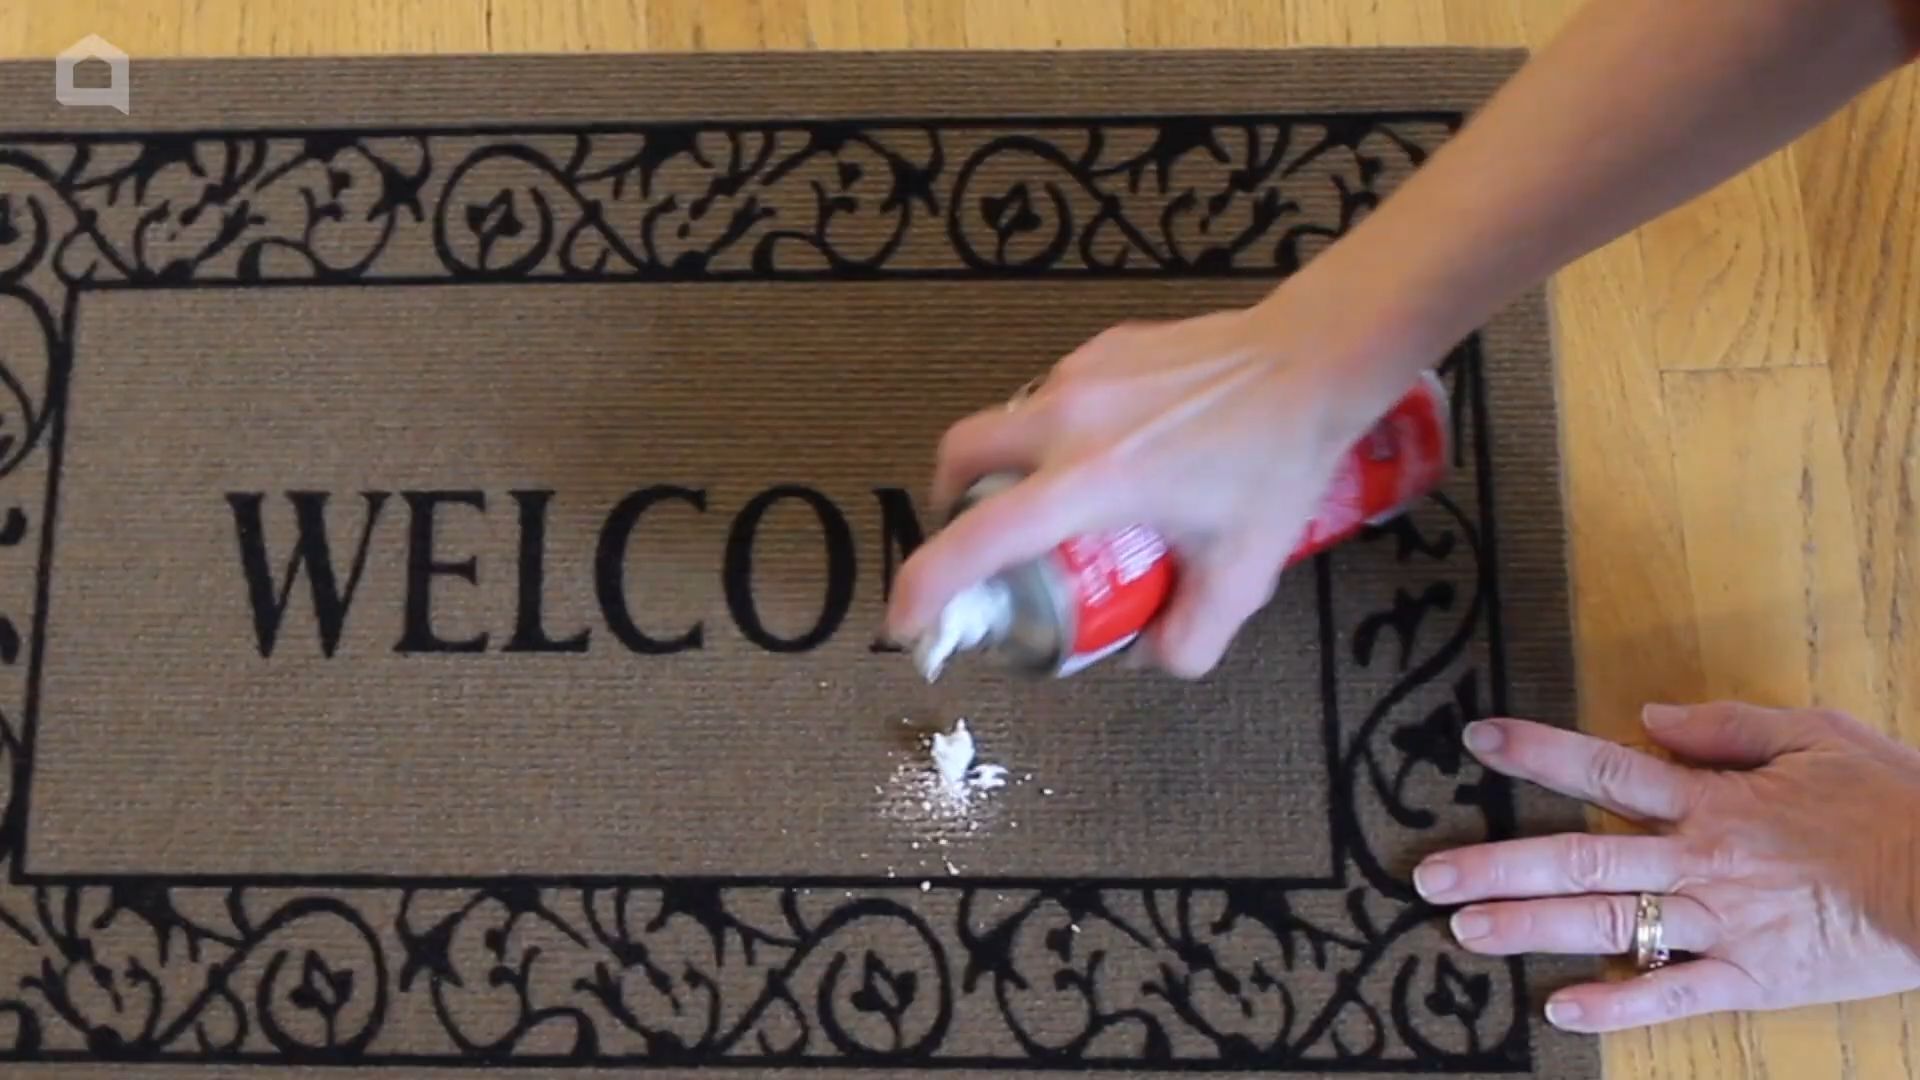
Hack 2: Stain Remover for Carpets and Upholstery
Accidents happen! But don’t panic when you spill something on your carpet or upholstery. Shaving foam can come to the rescue.
What you’ll need:
* Shaving foam (again, the foamy kind works best)
* A clean, damp cloth
* A vacuum cleaner
Step-by-step instructions:
1. Act fast: The sooner you treat the stain, the better the results.
2. Apply the foam: Apply a generous amount of shaving foam directly to the stain.
3. Let it penetrate: Gently massage the foam into the stain using your fingers or a clean cloth. Allow it to sit for 10-15 minutes to penetrate the fibers.
4. Wipe it away: Using a clean, damp cloth, blot the stain from the outside in. Avoid rubbing, as this can spread the stain.
5. Repeat if necessary: If the stain is still visible, repeat steps 2-4.
6. Let it dry: Allow the area to air dry completely.
7. Vacuum: Once dry, vacuum the area to remove any remaining residue and restore the carpet or upholstery’s texture.
Important note: Always test the shaving foam on an inconspicuous area of the carpet or upholstery first to ensure it doesn’t cause any discoloration.
Hack 3: Chrome Fixture Cleaner and Polisher
Say goodbye to water spots and dull chrome fixtures! Shaving foam will leave your faucets, showerheads, and other chrome surfaces gleaming.
What you’ll need:
* Shaving foam
* A clean, soft cloth
Step-by-step instructions:
1. Apply the foam: Apply a small amount of shaving foam to the chrome fixture.
2. Rub it in: Gently rub the foam over the entire surface of the fixture.
3. Let it sit: Allow the foam to sit for a few minutes to loosen any water spots or grime.
4. Wipe it away: Using a clean, soft cloth, wipe away the shaving foam.
5. Buff to a shine: Buff the fixture with a dry cloth to achieve a brilliant shine.
Hack 4: Toilet Bowl Cleaner and Freshener
Yes, you read that right! Shaving foam can even clean and freshen your toilet bowl.
What you’ll need:
* Shaving foam
* A toilet brush
Step-by-step instructions:
1. Apply the foam: Squirt a generous amount of shaving foam into the toilet bowl, coating the sides and bottom.
2. Let it sit: Allow the foam to sit for at least 15 minutes, or even longer for tougher stains.
3. Scrub: Use your toilet brush to scrub the bowl, paying attention to any stains or buildup.
4. Flush: Flush the toilet to rinse away the foam and any loosened dirt or grime.
Your toilet bowl will be clean, fresh, and sparkling!
Hack 5: Oven Cleaner (For Light Cleaning)
Okay, this one is for light oven cleaning, not for tackling years of baked-on grease. But for a quick refresh, shaving foam can work wonders.
What you’ll need:
* Shaving foam
* A damp sponge or cloth
Step-by-step instructions:
1. Apply the foam: Make sure your oven is cool. Apply a generous layer of shaving foam to the interior surfaces of your oven, avoiding the heating elements.
2. Let it sit: Allow the foam to sit for at least 30 minutes, or even overnight for slightly tougher messes.
3. Wipe it away: Using a damp sponge or cloth, wipe away the shaving foam. You may need to rinse the sponge or cloth frequently.
4. Dry: Wipe the oven interior with a clean, dry cloth.
Important note: This method is best for light cleaning and may not remove heavy grease or baked-on food. For tougher oven cleaning, you’ll need a dedicated oven cleaner.
Hack 6: DIY Jewelry Cleaner
Give your jewelry a quick shine with shaving foam! This is a gentle way to remove dirt and grime without harsh chemicals.
What you’ll need:
* Shaving foam
* A soft-bristled toothbrush
* Warm water
* A clean, soft cloth
Step-by-step instructions:
1. Apply the foam: Apply a small amount of shaving foam to your jewelry.
2. Gently scrub: Use a soft-bristled toothbrush to gently scrub the jewelry, paying attention to any crevices or areas with buildup.
3. Rinse: Rinse the jewelry thoroughly with warm water.
4. Dry: Pat the jewelry dry with a clean, soft cloth.
Your jewelry will be sparkling clean and ready to wear!
Hack 7: Cleaning Stainless Steel Appliances
Fingerprints and smudges on your stainless steel appliances driving you crazy? Shaving foam to the rescue!
What you’ll need:
* Shaving foam
* A clean, soft cloth
Step-by-step instructions:
1. Apply the foam: Apply a small amount of shaving foam to a clean, soft cloth.
2. Wipe the appliance: Gently wipe the stainless steel appliance in the direction of the grain.
3. Buff to a shine: Use a clean, dry cloth to buff the appliance to a shine.
Your stainless steel appliances will look brand new!
Hack 8: Preventing Foggy Bathroom Mirrors
This is a game-changer! Prevent your bathroom mirror from fogging up after a hot shower with this simple trick.
What you’ll need:
* Shaving foam
* A clean, lint-free cloth
Step-by-step instructions:
1. Apply the foam: Apply a thin layer of shaving foam to the entire surface of the mirror.
2. Wipe it away: Using a clean, lint-free cloth, wipe away the shaving foam completely.
3. Enjoy a fog-free mirror: The shaving foam will leave a thin film on the mirror that prevents condensation from forming.
Enjoy your fog-free mirror after every shower! This trick lasts for several days.
Hack 9: Cleaning Leather Shoes
Give your leather shoes a gentle cleaning and conditioning with shaving foam.
What you’ll need:
* Shaving foam
* A clean, soft cloth
Step-by-step instructions:
1.
Conclusion
So, there you have it! These shaving foam hacks are more than just clever tricks; they’re game-changers for your cleaning routine and beyond. From banishing stubborn stains to creating mesmerizing marbled art, the versatility of this everyday product is truly astounding. Why spend a fortune on specialized cleaners and art supplies when a can of shaving foam can do it all – and often, even better?
The beauty of these DIY solutions lies in their simplicity and accessibility. You likely already have a can of shaving foam tucked away in your bathroom, making these hacks incredibly convenient and cost-effective. Plus, they’re generally safer than many harsh chemical cleaners, making them a great option for households with children and pets.
But the real reason these shaving foam hacks are a must-try is the sheer satisfaction of seeing them work. Witnessing a grimy mirror transform into a sparkling surface with just a swipe of shaving foam is incredibly rewarding. Watching your kids’ eyes light up as they create swirling masterpieces with marbled shaving foam art is priceless. These aren’t just chores; they’re opportunities to discover the hidden potential of everyday items and inject a little fun into your routine.
Don’t be afraid to experiment and adapt these hacks to your specific needs and preferences. For example, if you’re tackling a particularly stubborn stain, try letting the shaving foam sit for a longer period before wiping it away. For the marbled art, consider adding different colors of food coloring or liquid watercolors to create unique and vibrant effects. You can even use different types of shaving foam – gel, cream, or even sensitive skin formulas – to see which works best for your particular application.
We encourage you to dive in and try these shaving foam hacks for yourself. You might be surprised at just how effective and enjoyable they are. And most importantly, we want to hear about your experiences! Share your successes, your failures, and any variations you’ve discovered in the comments below. Let’s build a community of shaving foam enthusiasts and unlock even more of its hidden potential together. Discovering new uses for common household items like shaving foam is not only economical but also fosters creativity and resourcefulness. So, grab a can, get experimenting, and let us know what amazing things you discover!
Frequently Asked Questions (FAQs)
What type of shaving foam works best for these hacks?
Generally, a basic, non-gel shaving cream works best for most of these hacks. The foamy texture is key to its effectiveness in cleaning and creating the desired effects in art projects. Gel shaving foams tend to be too dense and don’t spread as easily, which can hinder their performance. However, don’t be afraid to experiment! Some people have found success with gel foams for certain applications, like spot cleaning. If you have sensitive skin, a sensitive skin shaving foam formula is perfectly fine to use and won’t compromise the results. The most important thing is to avoid shaving foams that contain added oils or moisturizers, as these can leave a residue.
Are these shaving foam hacks safe for all surfaces?
While shaving foam is generally safe for most surfaces, it’s always a good idea to test it in an inconspicuous area first, especially on delicate or valuable items. This is particularly important for painted surfaces, fabrics, and certain types of wood. Avoid using shaving foam on electronics or any surface that could be damaged by moisture. For upholstery, always blot the area dry after cleaning with shaving foam to prevent water stains. If you’re unsure about a particular surface, consult the manufacturer’s instructions or a professional cleaner.
Can I use shaving foam to remove all types of stains?
Shaving foam is effective for removing many types of stains, including grease, dirt, ink, and some food stains. However, it may not be effective for all stains, especially those that are deeply embedded or have been left to set for a long time. For stubborn stains, you may need to pre-treat the area with a stain remover before applying shaving foam. It’s also important to note that shaving foam may not be suitable for removing stains from delicate fabrics or materials that require professional cleaning. Always check the care label before attempting to clean any garment or item.
How long should I leave the shaving foam on a surface before wiping it off?
The amount of time you should leave the shaving foam on a surface depends on the specific application and the severity of the stain. For general cleaning, such as mirrors and windows, a few minutes is usually sufficient. For stain removal, you may need to leave the shaving foam on for 10-15 minutes, or even longer for stubborn stains. However, it’s important to monitor the area and prevent the shaving foam from drying out completely, as this can make it more difficult to remove. If the shaving foam starts to dry, you can lightly dampen it with a sponge or cloth.
Is shaving foam safe for children to use in art projects?
Yes, shaving foam is generally safe for children to use in art projects, such as marbled paper art. However, it’s important to supervise children closely and ensure that they don’t ingest the shaving foam. Use non-toxic food coloring or liquid watercolors to color the shaving foam, and avoid using any materials that could be harmful if swallowed. It’s also a good idea to have children wear aprons or old clothes to protect their clothing from stains. After the art project is complete, be sure to wash children’s hands thoroughly with soap and water.
Can I use shaving foam to clean my car interior?
Yes, shaving foam can be used to clean certain parts of your car interior, such as upholstery and dashboard. However, it’s important to use it sparingly and avoid getting it on sensitive electronic components. Test the shaving foam in an inconspicuous area first to ensure that it doesn’t damage the material. Apply a small amount of shaving foam to a clean cloth and gently rub it onto the surface. Wipe away any excess foam with a damp cloth and allow the area to dry completely. Avoid using shaving foam on leather seats, as it can dry them out.
Does the scent of the shaving foam matter?
The scent of the shaving foam is largely a matter of personal preference. However, if you’re sensitive to strong fragrances, you may want to choose an unscented or lightly scented shaving foam. Keep in mind that the scent of the shaving foam will linger for a short time after you’ve cleaned a surface, so choose a scent that you find pleasant. If you’re using shaving foam for art projects, the scent is less important, as it will likely dissipate quickly.
Can I use expired shaving foam for these hacks?
While expired shaving foam may not be as effective for its intended purpose (shaving), it can still be used for many of these hacks. The cleaning and stain-removing properties of shaving foam don’t typically diminish significantly over time. However, the texture and consistency of the shaving foam may change, so it’s important to test it in an inconspicuous area first to ensure that it still works as expected. If the shaving foam is dried out or clumpy, it may not be suitable for use.


Leave a Comment