
Baking Soda Dish Soap Cleaner: Sounds like a science experiment, right? Well, it kind of is, but it’s also your secret weapon for a sparkling clean home! Forget those expensive, chemical-laden cleaners at the store. I’m going to show you how to whip up a powerful, all-natural cleaner using just two simple ingredients you probably already have in your kitchen.
The beauty of homemade cleaners isn’t just about saving money. For generations, resourceful homemakers have relied on simple, natural ingredients like baking soda and soap to keep their homes clean and healthy. Before the age of mass-produced cleaning products, these were the go-to solutions, passed down through families. Think of it as a return to simpler times, but with a modern twist!
Why do you need this baking soda dish soap cleaner in your life? Because it’s incredibly versatile! From scrubbing stubborn grime off your stovetop to tackling soap scum in your bathroom, this DIY cleaner can handle it all. Plus, it’s gentle on the environment and safe for your family, pets included. I know I feel better knowing exactly what I’m using to clean my home, and I think you will too. So, let’s ditch the harsh chemicals and embrace the power of simple, effective cleaning!
DIY Baking Soda and Dish Soap Cleaner: Your All-Purpose Cleaning Solution
Hey there, fellow DIY enthusiasts! I’m so excited to share this super simple, yet incredibly effective, cleaning solution that I’ve been using for ages. It’s a powerhouse combo of baking soda and dish soap, and trust me, it can tackle almost anything around the house. Forget those expensive, chemical-laden cleaners – this homemade version is budget-friendly, eco-conscious, and works like a charm!
Why Baking Soda and Dish Soap?
Before we dive into the how-to, let’s quickly chat about why this dynamic duo works so well:
* **Baking Soda:** This is your gentle abrasive and deodorizer. It’s mildly alkaline, which helps to dissolve dirt, grease, and grime. Plus, it’s fantastic at absorbing odors, leaving your surfaces smelling fresh and clean.
* **Dish Soap:** Dish soap is a surfactant, meaning it reduces the surface tension of water, allowing it to spread more easily and lift away dirt and grease. It also provides a bit of extra cleaning power and helps the mixture cling to surfaces.
What You’ll Need
* Baking Soda
* Dish Soap (I prefer a grease-cutting variety like Dawn, but any dish soap will work)
* A Bowl or Container for Mixing
* A Spoon or Spatula
* A Spray Bottle (optional, for liquid applications)
* A Scrub Brush or Sponge
* Water (optional, for diluting the mixture)
* Gloves (recommended, especially for sensitive skin)
Mixing the Magic: Step-by-Step Instructions
Alright, let’s get down to business! Here’s how to whip up your own baking soda and dish soap cleaner:
1. **Gather Your Supplies:** First things first, gather all the ingredients and tools you’ll need. This will make the process much smoother and prevent you from running around mid-mixing.
2. **Choose Your Consistency:** This is where you decide what kind of cleaner you want. I usually make a paste for tough stains and a liquid solution for general cleaning.
* **For a Paste:** This is my go-to for scrubbing sinks, ovens, and other stubborn messes.
* **For a Liquid Solution:** This is perfect for spraying on countertops, shower walls, and other large surfaces.
3. **Making the Paste (My Favorite for Tough Stains!)**
* **Step 1: Add Baking Soda to the Bowl:** Start by adding about 1/2 cup of baking soda to your mixing bowl. You can adjust the amount depending on how much cleaner you need.
* **Step 2: Slowly Add Dish Soap:** Now, slowly drizzle in the dish soap, a little at a time. I usually start with about 1/4 cup.
* **Step 3: Mix Thoroughly:** Use your spoon or spatula to mix the baking soda and dish soap together. The mixture will start to form a thick paste.
* **Step 4: Adjust the Consistency:** If the paste is too dry, add a tiny bit more dish soap. If it’s too runny, add a little more baking soda. You want a thick, spreadable consistency, similar to toothpaste.
* **Step 5: Test the Consistency:** Before you start cleaning, test a small amount of the paste on an inconspicuous area to make sure it doesn’t scratch or damage the surface.
4. **Making the Liquid Solution (Great for General Cleaning!)**
* **Step 1: Add Baking Soda to the Bowl:** Start with about 1/4 cup of baking soda in your bowl.
* **Step 2: Add Dish Soap:** Add about 2 tablespoons of dish soap.
* **Step 3: Add Water:** Slowly add about 1 cup of warm water.
* **Step 4: Mix Well:** Stir the mixture until the baking soda is completely dissolved.
* **Step 5: Transfer to a Spray Bottle:** Carefully pour the solution into a spray bottle for easy application.
Putting Your Cleaner to Work: Cleaning Tips and Tricks
Now that you’ve got your cleaner ready, let’s talk about how to use it effectively:
1. **Always Test First:** I can’t stress this enough! Before applying the cleaner to any surface, test it on a small, hidden area to make sure it doesn’t cause any damage or discoloration.
2. **Apply and Let It Sit:** For tough stains, apply the paste or spray the liquid solution onto the affected area and let it sit for a few minutes (or even longer for really stubborn messes). This gives the baking soda and dish soap time to work their magic.
3. **Scrub, Scrub, Scrub:** Use a scrub brush or sponge to scrub the area thoroughly. For delicate surfaces, use a soft sponge or cloth to avoid scratching.
4. **Rinse Well:** After scrubbing, rinse the area thoroughly with clean water to remove any residue.
5. **Dry the Surface:** Finally, dry the surface with a clean cloth or towel.
Where to Use Your DIY Cleaner: Cleaning Applications
This cleaner is incredibly versatile! Here are some of my favorite ways to use it:
* **Kitchen:**
* **Sinks:** Scrub away food stains and grime.
* **Countertops:** Clean up spills and messes.
* **Ovens:** Remove baked-on grease and food residue (make sure the oven is cool!).
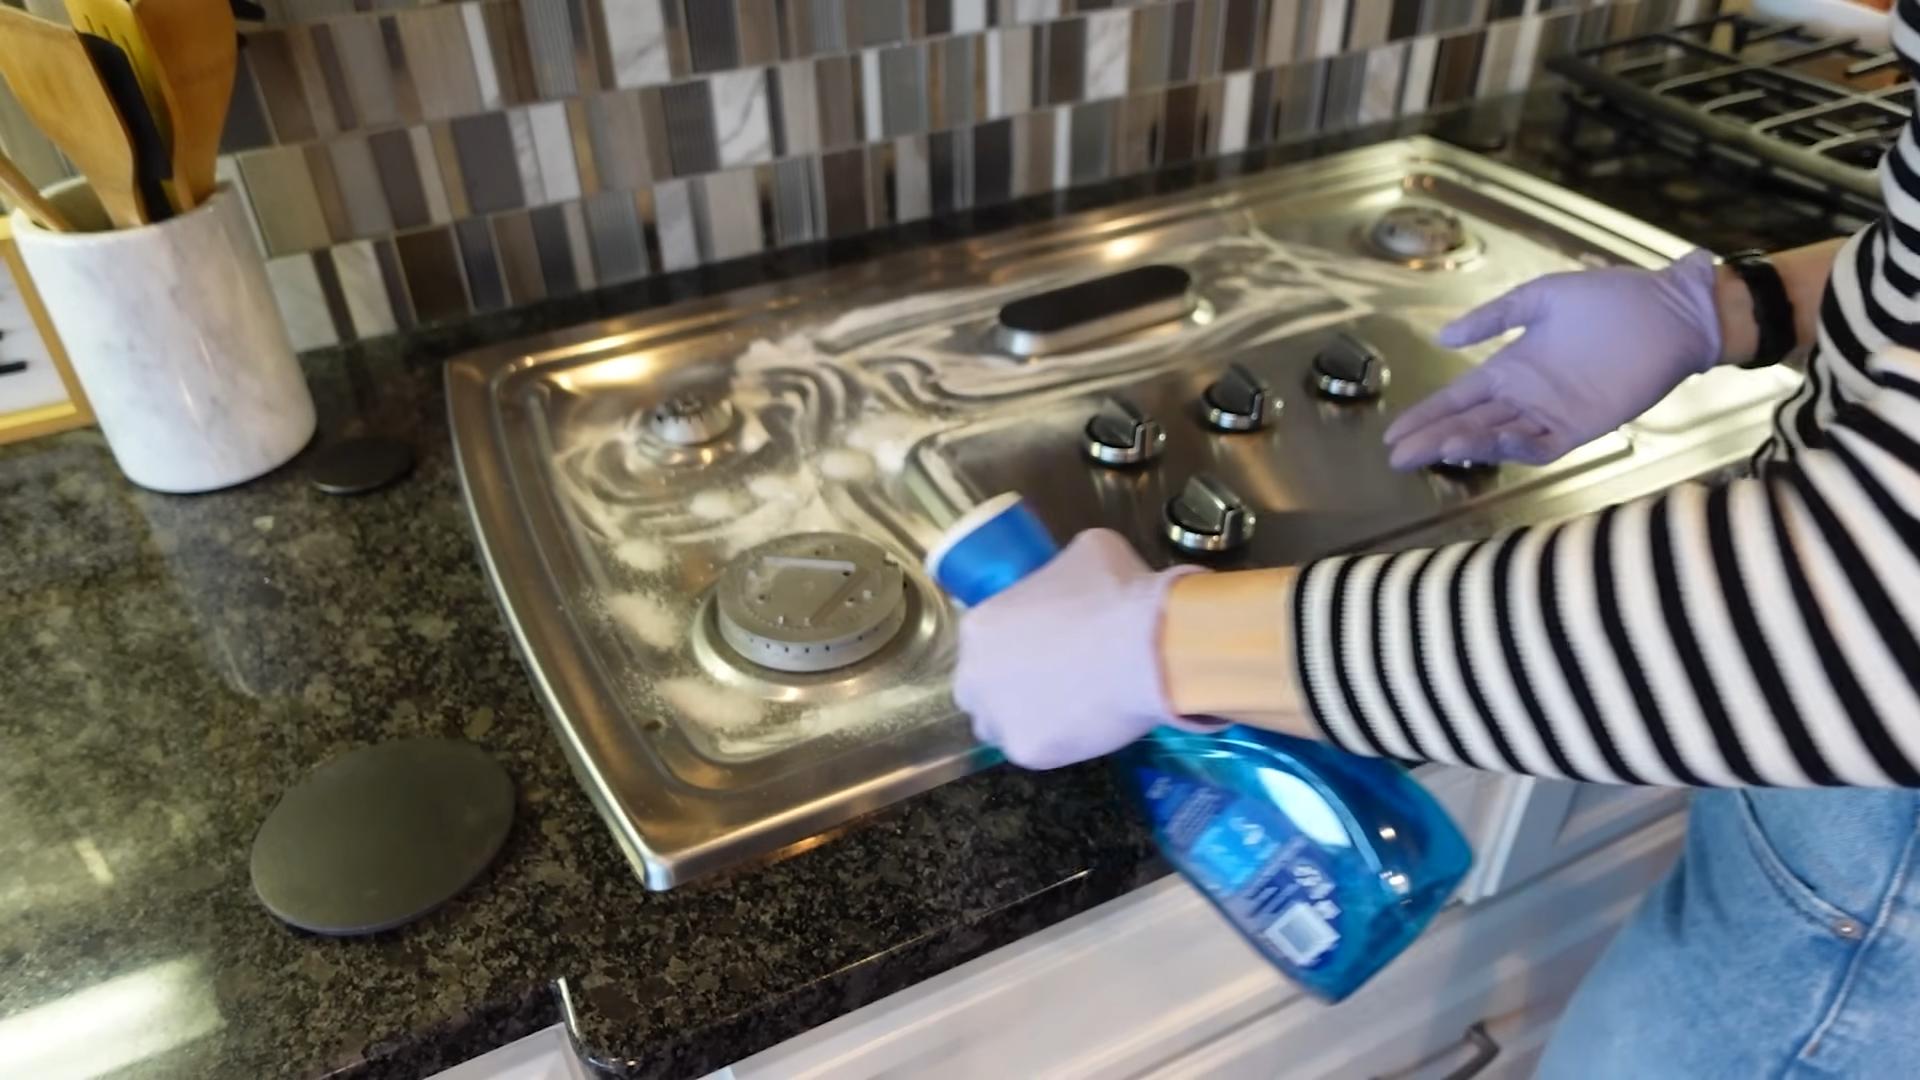
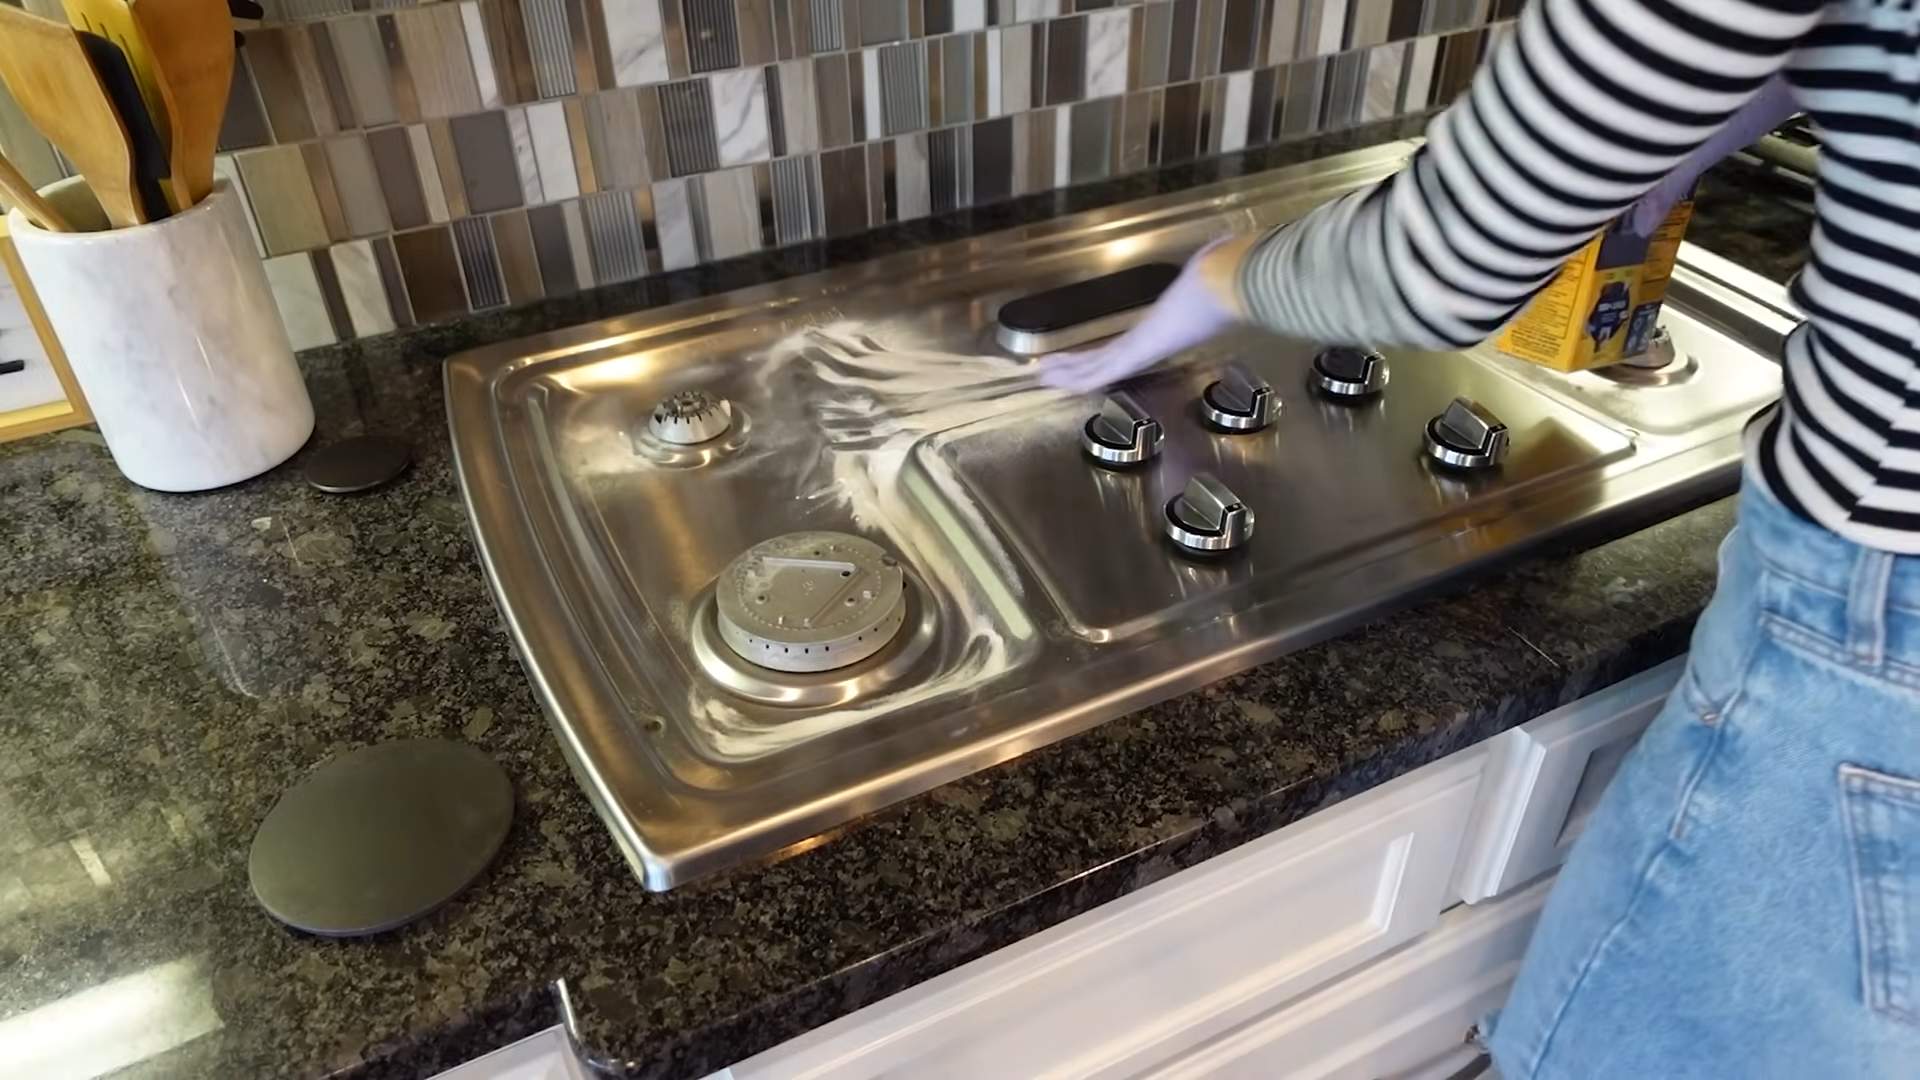
* **Stovetops:** Clean up spills and splatters.
* **Microwaves:** Remove food splatters and odors.
* **Dishwashers:** Freshen up your dishwasher by sprinkling baking soda on the bottom before running a cycle.
* **Bathroom:**
* **Sinks:** Clean soap scum and toothpaste splatters.
* **Toilets:** Scrub away stains and odors.
* **Showers and Tubs:** Remove soap scum and mildew.
Hey there, fellow DIY enthusiasts! I’m so excited to share this super simple, yet incredibly effective, cleaning solution that I’ve been using for ages. It’s a powerhouse combo of baking soda and dish soap, and trust me, it can tackle almost anything around the house. Forget those expensive, chemical-laden cleaners – this homemade version is budget-friendly, eco-conscious, and works like a charm!
Why Baking Soda and Dish Soap?
Before we dive into the how-to, let’s quickly chat about why this dynamic duo works so well:
* **Baking Soda:** This is your gentle abrasive and deodorizer. It’s mildly alkaline, which helps to dissolve dirt, grease, and grime. Plus, it’s fantastic at absorbing odors, leaving your surfaces smelling fresh and clean.
* **Dish Soap:** Dish soap is a surfactant, meaning it reduces the surface tension of water, allowing it to spread more easily and lift away dirt and grease. It also provides a bit of extra cleaning power and helps the mixture cling to surfaces.
What You’ll Need
* Baking Soda
* Dish Soap (I prefer a grease-cutting variety like Dawn, but any dish soap will work)
* A Bowl or Container for Mixing
* A Spoon or Spatula
* A Spray Bottle (optional, for liquid applications)
* A Scrub Brush or Sponge
* Water (optional, for diluting the mixture)
* Gloves (recommended, especially for sensitive skin)
Mixing the Magic: Step-by-Step Instructions
Alright, let’s get down to business! Here’s how to whip up your own baking soda and dish soap cleaner:
1. **Gather Your Supplies:** First things first, gather all the ingredients and tools you’ll need. This will make the process much smoother and prevent you from running around mid-mixing.
2. **Choose Your Consistency:** This is where you decide what kind of cleaner you want. I usually make a paste for tough stains and a liquid solution for general cleaning.
* **For a Paste:** This is my go-to for scrubbing sinks, ovens, and other stubborn messes.
* **For a Liquid Solution:** This is perfect for spraying on countertops, shower walls, and other large surfaces.
3. **Making the Paste (My Favorite for Tough Stains!)**
* **Step 1: Add Baking Soda to the Bowl:** Start by adding about 1/2 cup of baking soda to your mixing bowl. You can adjust the amount depending on how much cleaner you need.
* **Step 2: Slowly Add Dish Soap:** Now, slowly drizzle in the dish soap, a little at a time. I usually start with about 1/4 cup.
* **Step 3: Mix Thoroughly:** Use your spoon or spatula to mix the baking soda and dish soap together. The mixture will start to form a thick paste.
* **Step 4: Adjust the Consistency:** If the paste is too dry, add a tiny bit more dish soap. If it’s too runny, add a little more baking soda. You want a thick, spreadable consistency, similar to toothpaste.
* **Step 5: Test the Consistency:** Before you start cleaning, test a small amount of the paste on an inconspicuous area to make sure it doesn’t scratch or damage the surface.
4. **Making the Liquid Solution (Great for General Cleaning!)**
* **Step 1: Add Baking Soda to the Bowl:** Start with about 1/4 cup of baking soda in your bowl.
* **Step 2: Add Dish Soap:** Add about 2 tablespoons of dish soap.
* **Step 3: Add Water:** Slowly add about 1 cup of warm water.
* **Step 4: Mix Well:** Stir the mixture until the baking soda is completely dissolved.
* **Step 5: Transfer to a Spray Bottle:** Carefully pour the solution into a spray bottle for easy application.
Putting Your Cleaner to Work: Cleaning Tips and Tricks
Now that you’ve got your cleaner ready, let’s talk about how to use it effectively:
1. **Always Test First:** I can’t stress this enough! Before applying the cleaner to any surface, test it on a small, hidden area to make sure it doesn’t cause any damage or discoloration.
2. **Apply and Let It Sit:** For tough stains, apply the paste or spray the liquid solution onto the affected area and let it sit for a few minutes (or even longer for really stubborn messes). This gives the baking soda and dish soap time to work their magic.
3. **Scrub, Scrub, Scrub:** Use a scrub brush or sponge to scrub the area thoroughly. For delicate surfaces, use a soft sponge or cloth to avoid scratching.
4. **Rinse Well:** After scrubbing, rinse the area thoroughly with clean water to remove any residue.
5. **Dry the Surface:** Finally, dry the surface with a clean cloth or towel.
Where to Use Your DIY Cleaner: Cleaning Applications
This cleaner is incredibly versatile! Here are some of my favorite ways to use it:
* **Kitchen:**
* **Sinks:** Scrub away food stains and grime.
* **Countertops:** Clean up spills and messes.
* **Ovens:** Remove baked-on grease and food residue (make sure the oven is cool!).
* **Stovetops:** Clean up spills and splatters.
* **Microwaves:** Remove food splatters and odors.
* **Dishwashers:** Freshen up your dishwasher by sprinkling baking soda on the bottom before running a cycle.
* **Bathroom:**
* **Sinks:** Clean soap scum and toothpaste splatters.
* **Toilets:** Scrub away stains and odors.
* **Showers and Tubs:** Remove soap scum and mildew.
* **Tiles:** Clean grout and remove stains.
* **General Cleaning:**
* **Floors:** Mop floors (dilute the liquid solution with water).
* **Walls:** Clean scuff marks and dirt.
* **Furniture:** Spot clean stains on upholstery (test first!).
* **Garbage Disposals:** Freshen up your garbage disposal by pouring baking soda down the drain followed by hot water.
* **Stainless Steel:** Polish stainless steel appliances and fixtures.
Specific Cleaning Challenges and How to Tackle Them
Let’s get into some specific cleaning scenarios and how to use our baking soda and dish soap cleaner to conquer them:
Burnt Food in Pots and Pans
This is a common kitchen woe! Here’s how to tackle it:
1. **Coat the Burnt Area:** Generously coat the burnt food with the baking soda paste.
2. **Add a Little Water:** Add a small amount of water to the pot or pan to create a slightly soupy mixture.
3. **Let It Soak:** Let the mixture soak for several hours, or even overnight, for really stubborn burns.
4. **Scrub Vigorously:** Use a scrub brush or sponge to scrub away the burnt food. You may need to use a bit of elbow grease!
5. **Rinse and Repeat:** Rinse the pot or pan thoroughly and repeat the process if necessary.
Greasy Oven Cleaning
Ovens can get incredibly greasy, but this cleaner can help:
1. **Remove Loose Debris:** Scrape away any loose food particles or debris from the oven.
2. **Coat the Interior:** Coat the interior of the oven with the baking soda paste, avoiding the heating elements.
3. **Let It Sit:** Let the paste sit for several hours, or overnight.
4. **Scrub Thoroughly:** Use a scrub brush or sponge to scrub away the grease and grime.
5. **Rinse and Wipe Clean:** Rinse the oven thoroughly with clean water and wipe it dry with a clean cloth.
Soap Scum in Showers and Tubs
Soap scum can be a real pain, but here’s how to get rid of it:
1. **Spray the Affected Area:** Spray the liquid baking soda and dish soap solution onto the soap scum.
2. **Let It Sit:** Let the solution sit for a few minutes to soften the soap scum.
3. **Scrub with a Sponge:** Use a sponge or scrub brush to scrub away the soap scum.
4. **Rinse Thoroughly:** Rinse the area thoroughly with clean water.
Stained Grout
Grout can easily become stained and discolored. Here’s how to brighten it up:
1. **Apply the Paste:** Apply the baking soda paste to the stained grout.
2. **Let It Sit:** Let the paste sit for a few minutes.
3. **Scrub with a Brush:** Use a grout brush or an old toothbrush to scrub the grout.
4. **Rinse Thoroughly:** Rinse the area thoroughly with clean water.
Important Considerations and Safety
Conclusion
So, there you have it! This simple yet incredibly effective baking soda dish soap cleaner is a game-changer for anyone looking to ditch harsh chemicals and embrace a more natural and budget-friendly approach to cleaning. We’ve walked you through the easy steps, highlighted the benefits, and hopefully, inspired you to give it a try.
But why is this DIY cleaner a must-try? It’s more than just a cleaning solution; it’s a statement. A statement that says you care about your health, your home, and the environment. It’s a testament to the fact that powerful cleaning doesn’t have to come at the cost of harsh chemicals and overpowering fragrances. The combination of baking soda’s gentle abrasive power and dish soap’s degreasing abilities creates a synergistic effect, tackling grime, grease, and everyday messes with surprising ease.
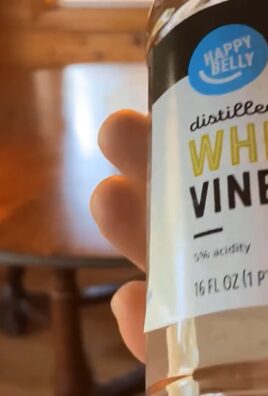
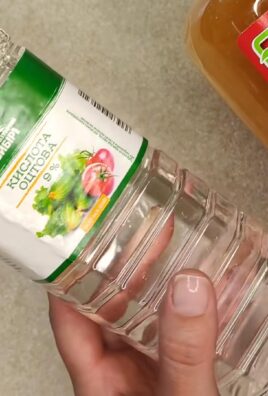
Beyond its effectiveness, this cleaner is incredibly versatile. Feel free to experiment with variations to suit your specific needs and preferences. For instance, add a few drops of your favorite essential oil, like lemon or tea tree, for an extra boost of cleaning power and a refreshing scent. Lavender oil can also be added for a calming aroma. If you’re dealing with particularly stubborn stains, consider adding a splash of white vinegar to the mixture, but remember to test it on an inconspicuous area first to ensure it doesn’t damage the surface. For a thicker paste, use less water. For a sprayable solution, add more water and use a spray bottle.
Consider using different types of dish soap. A natural, plant-based dish soap will further enhance the eco-friendliness of this cleaner. You can also experiment with different ratios of baking soda and dish soap to find the perfect balance for your cleaning needs. Some people prefer a more abrasive paste, while others prefer a smoother, more liquid consistency.
Don’t limit this cleaner to just your kitchen sink! It’s fantastic for cleaning countertops, stovetops, bathroom tiles, and even grout. Just be sure to test it on a small, hidden area first, especially on delicate surfaces like marble or granite.
We truly believe that this baking soda dish soap cleaner will become a staple in your cleaning routine. It’s simple, effective, affordable, and environmentally friendly. What’s not to love?
Now, it’s your turn! We encourage you to give this DIY cleaner a try and see the amazing results for yourself. We’re confident that you’ll be pleasantly surprised. And most importantly, we want to hear about your experience! Share your tips, variations, and before-and-after photos with us in the comments below. Let’s build a community of clean-living enthusiasts who are passionate about natural and effective cleaning solutions. Your feedback will not only help others discover the benefits of this cleaner but also inspire us to create even more helpful and informative content in the future. So, go ahead, get cleaning, and share your story! We can’t wait to hear from you.
Frequently Asked Questions
Is this baking soda dish soap cleaner safe for all surfaces?
While this cleaner is generally safe for most surfaces, it’s always a good idea to test it on an inconspicuous area first, especially on delicate materials like marble, granite, or painted surfaces. The abrasive nature of baking soda could potentially scratch some surfaces if used too vigorously. Avoid using it on surfaces that are known to be sensitive to abrasives. If you’re unsure, err on the side of caution and test a small area first.
Can I use any type of dish soap?
Yes, you can use any type of dish soap, but for a more eco-friendly option, consider using a natural, plant-based dish soap. These soaps are typically free of harsh chemicals and synthetic fragrances, making them a gentler choice for both your home and the environment. However, even conventional dish soaps will work effectively in this cleaner.
How long does this cleaner last?
This cleaner doesn’t contain any preservatives, so it’s best to use it within a week or two for optimal effectiveness. Store it in an airtight container in a cool, dark place. If you notice any changes in color, texture, or smell, it’s best to discard it and make a fresh batch. Because it’s so easy to make, whipping up a new batch is never a hassle.
Can I add essential oils to this cleaner?
Absolutely! Adding essential oils can enhance the cleaning power and add a pleasant scent. Lemon, tea tree, and lavender are popular choices. Lemon and tea tree oil have antibacterial and antifungal properties, while lavender oil has a calming aroma. Add a few drops of your favorite essential oil to the mixture and stir well. Be sure to use pure essential oils for the best results.
Is this cleaner effective for removing tough stains?
This cleaner is effective for removing many types of stains, but for particularly stubborn stains, you may need to let it sit for a longer period of time or use a bit more elbow grease. You can also try adding a splash of white vinegar to the mixture, but be sure to test it on an inconspicuous area first. For really tough stains, consider making a paste of baking soda and water and applying it directly to the stain before scrubbing.
Can I use this cleaner in my dishwasher?
No, this cleaner is not designed for use in a dishwasher. The baking soda could potentially clog the dishwasher’s jets and damage the appliance. It’s best to use a dishwasher detergent specifically formulated for dishwashers.
How do I store the baking soda dish soap cleaner?
Store the cleaner in an airtight container, like a glass jar or a plastic container with a tight-fitting lid. Keep it in a cool, dark place to prevent it from drying out or losing its effectiveness. Avoid storing it in direct sunlight or near heat sources.
What if the baking soda doesn’t fully dissolve?
It’s normal for some of the baking soda to remain undissolved, especially if you’re using cold water. The undissolved baking soda will act as a gentle abrasive, helping to scrub away grime and dirt. If you prefer a smoother consistency, you can try using warm water to help dissolve the baking soda.
Can I use this cleaner on stainless steel appliances?
Yes, this cleaner can be used on stainless steel appliances, but be sure to use a soft cloth or sponge to avoid scratching the surface. Always wipe in the direction of the grain to prevent streaks. After cleaning, rinse the surface with water and dry it with a clean cloth.
What are the benefits of using baking soda as a cleaner?
Baking soda is a natural, non-toxic, and affordable cleaning agent. It’s a mild abrasive, which means it can help to scrub away dirt and grime without scratching surfaces. It’s also a natural deodorizer, so it can help to eliminate unpleasant odors. Baking soda is also environmentally friendly, as it’s biodegradable and doesn’t contain any harsh chemicals.

Leave a Comment