
Napa Cabbage Small Space gardening might sound like an oxymoron, but trust me, it’s absolutely achievable, even if your “garden” is just a sunny balcony or a tiny patio! I’m so excited to share some clever DIY tricks and hacks that will have you harvesting fresh, crisp Napa cabbage from your own little urban oasis.
For centuries, Napa cabbage has been a staple in Asian cuisine, gracing tables in everything from kimchi to stir-fries. Its mild, slightly sweet flavor and satisfying crunch make it incredibly versatile. But you don’t need acres of farmland to enjoy this delicious vegetable. In fact, the beauty of growing Napa Cabbage Small Space is that it’s surprisingly adaptable.
Let’s face it, space is a premium these days, especially in urban environments. But that shouldn’t stop you from enjoying the satisfaction of growing your own food. Imagine stepping outside your door and snipping fresh Napa cabbage leaves for a quick salad or adding them to your favorite Asian-inspired dish. No more trips to the grocery store for wilted, overpriced produce! This article is packed with practical, easy-to-follow tips that will empower you to cultivate a thriving Napa cabbage crop, no matter how limited your space may be. Get ready to unleash your inner urban farmer!
Growing Napa Cabbage in Small Spaces: A DIY Guide
Hey there, fellow gardening enthusiasts! So, you’re itching to grow some delicious Napa cabbage but are short on space? Don’t worry, I’ve got you covered! I’ve been growing Napa cabbage in containers for years, and it’s surprisingly easy and rewarding. This guide will walk you through everything you need to know to cultivate your own mini Napa cabbage patch, even if you only have a balcony or a small patio.
Choosing the Right Container and Soil
First things first, let’s talk about the foundation of your Napa cabbage garden: the container and the soil.
* Container Size: Napa cabbage needs room to grow, so don’t skimp on the container size. I recommend a pot that’s at least 12 inches in diameter and 12 inches deep. A 5-gallon bucket works great, or even a large, sturdy plastic storage container with drainage holes drilled in the bottom. Remember, bigger is generally better, as it gives the roots more space to spread out and access nutrients.
* Container Material: The material of your container isn’t as crucial as the size, but some materials are better than others. Plastic pots are lightweight and inexpensive, but they can heat up quickly in direct sunlight. Terracotta pots are more breathable and help regulate soil temperature, but they’re heavier and can dry out faster. Fabric pots are another great option, as they allow for excellent drainage and aeration, preventing root rot.
* Drainage: This is non-negotiable! Napa cabbage hates sitting in soggy soil, so make sure your container has plenty of drainage holes. If you’re using a container without pre-drilled holes, grab a drill and add at least four or five holes that are about half an inch in diameter.
* Soil: Forget about using garden soil straight from the ground. It’s usually too heavy and doesn’t drain well enough for container gardening. Instead, opt for a high-quality potting mix. Look for a mix that’s specifically formulated for vegetables, as it will contain the right balance of nutrients and drainage. I like to amend my potting mix with compost to add extra organic matter and boost fertility. You can also add perlite or vermiculite to improve drainage and aeration.
Planting Your Napa Cabbage
Now that you’ve got your container and soil sorted, it’s time to get planting!
* Starting from Seed vs. Transplants: You can start Napa cabbage from seed or buy transplants from a local nursery. Starting from seed gives you more control over the variety and can be more cost-effective, but it requires a bit more time and effort. Transplants are a quicker and easier option, but you’ll have fewer choices in terms of variety.
* When to Plant: Napa cabbage is a cool-season crop, so it’s best to plant it in early spring or late summer/early fall. In the spring, aim to plant about 4-6 weeks before the last expected frost. In the fall, plant about 6-8 weeks before the first expected frost. This will give the plants enough time to mature before the weather gets too hot or too cold.
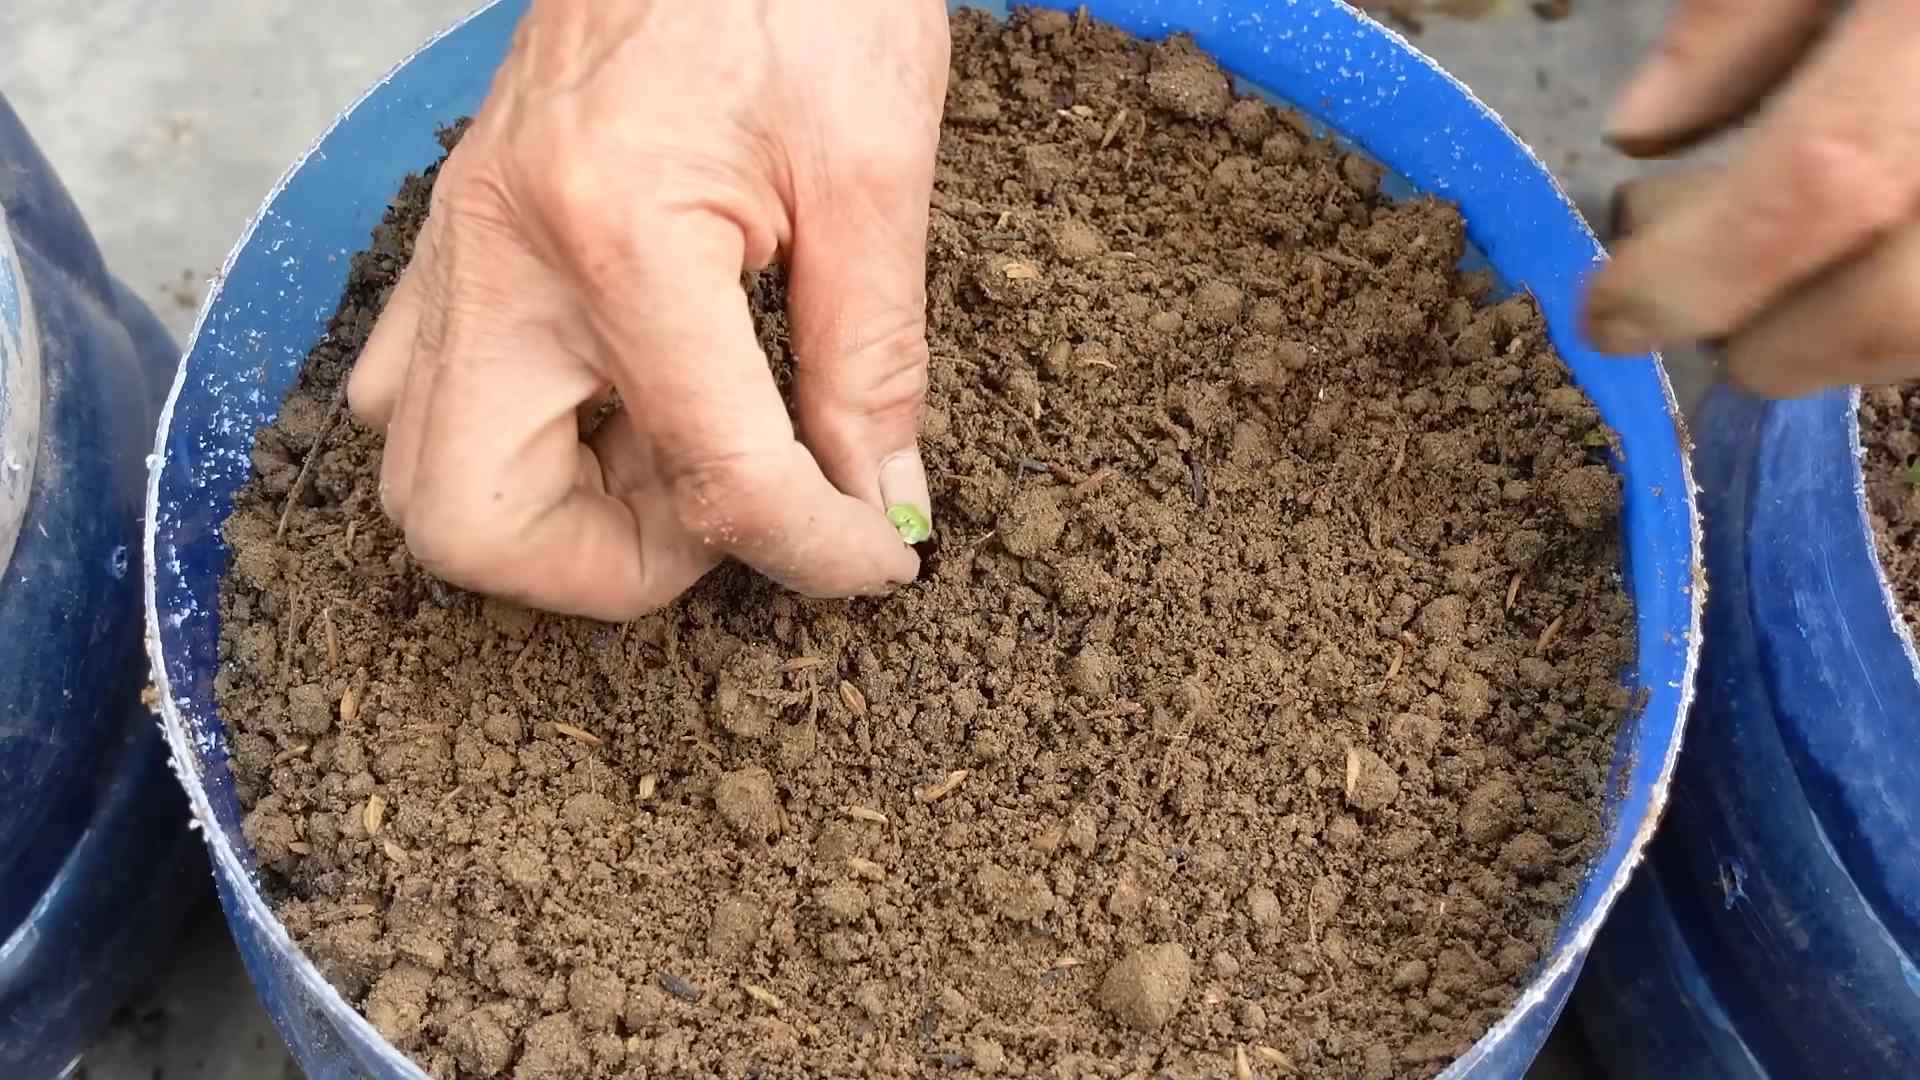
* Planting Seeds: If you’re starting from seed, sow the seeds about ¼ inch deep and 1 inch apart in your prepared container. Gently water the soil and keep it consistently moist until the seeds germinate, which usually takes about 5-10 days. Once the seedlings have developed a few true leaves, thin them out to one plant per container.
* Planting Transplants: If you’re using transplants, gently remove them from their nursery pots and loosen the roots slightly. Dig a hole in the center of your container that’s large enough to accommodate the root ball. Place the transplant in the hole and backfill with soil, gently firming it around the base of the plant. Water thoroughly after planting.
Caring for Your Napa Cabbage
Once your Napa cabbage is planted, it’s time to provide it with the care it needs to thrive.
* Sunlight: Napa cabbage needs at least 6 hours of sunlight per day. Choose a location that gets plenty of sun, especially in the morning. If you live in a hot climate, you may need to provide some afternoon shade to prevent the leaves from scorching.
* Watering: Napa cabbage needs consistent moisture, but it doesn’t like to be waterlogged. Water deeply whenever the top inch of soil feels dry to the touch. Avoid overhead watering, as this can lead to fungal diseases. Instead, water at the base of the plant.
* Fertilizing: Napa cabbage is a heavy feeder, so it needs regular fertilization. Start fertilizing about 2-3 weeks after planting, using a balanced fertilizer that’s specifically formulated for vegetables. Follow the instructions on the fertilizer label for application rates. I like to use a liquid fertilizer diluted in water, applying it every 2-3 weeks. You can also side-dress your plants with compost or aged manure.
* Pest Control: Napa cabbage is susceptible to several pests, including aphids, cabbage worms, and flea beetles. Inspect your plants regularly for signs of infestation. If you spot any pests, take action immediately. You can try hand-picking the pests off the plants, spraying them with insecticidal soap, or using a biological control agent like Bacillus thuringiensis (Bt) for cabbage worms.
* Weed Control: Keep your container free of weeds, as they can compete with your Napa cabbage for nutrients and water. Hand-pull any weeds that pop up, or use a layer of mulch to suppress weed growth.
* Bolting: Bolting is when a plant prematurely flowers and goes to seed. This can happen when Napa cabbage is exposed to hot weather or stress. To prevent bolting, keep your plants well-watered and fertilized, and provide some afternoon shade if necessary. If your plants do start to bolt, you can still harvest the leaves, but they may be a bit bitter.
Harvesting Your Napa Cabbage
The moment you’ve been waiting for! Harvesting your homegrown Napa cabbage.
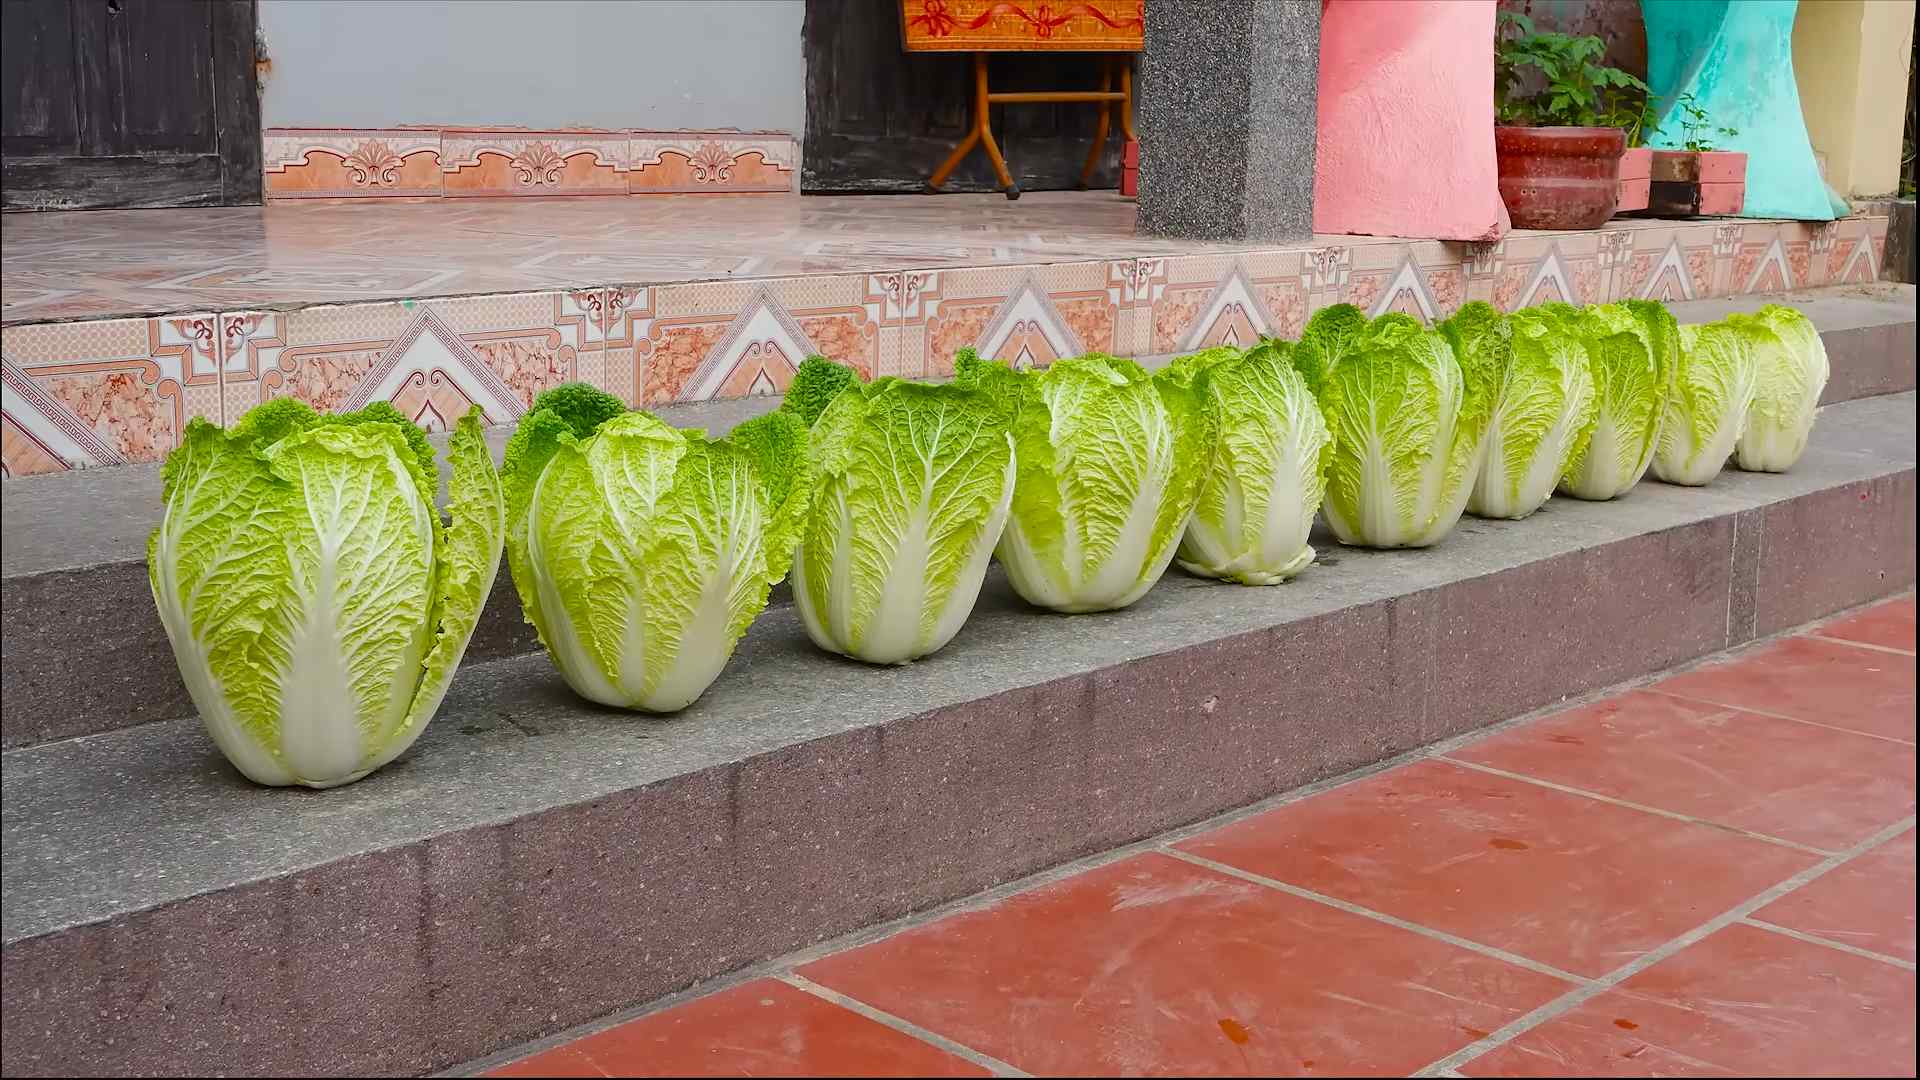
* When to Harvest: Napa cabbage is usually ready to harvest about 70-80 days after planting. The head should be firm and compact, and the leaves should be tightly packed together. You can also harvest individual leaves as needed, but this will slow down the growth of the head.
* How to Harvest: To harvest the entire head, use a sharp knife to cut it off at the base of the plant. Leave a few of the outer leaves intact to protect the head during storage.
* Storage: Napa cabbage can be stored in the refrigerator for up to 2 weeks. Wrap the head in plastic wrap or place it in a plastic bag to prevent it from drying out.
Troubleshooting Common Problems
Even with the best care, you might encounter some problems along the way. Here are a few common issues and how to address them:
* Yellowing Leaves: This could be a sign of nutrient deficiency, overwatering, or underwatering. Check the soil moisture and adjust your watering accordingly. Fertilize your plants with a balanced fertilizer to provide them with the nutrients they need.
* Stunted Growth: This could be caused by poor soil, lack of sunlight, or pest infestation. Make sure your plants are getting enough sunlight and are planted in a high-quality potting mix. Inspect them for pests and take action if necessary.
* Root Rot: This is caused by overwatering and poor drainage. Make sure your container has plenty of drainage holes and avoid overwatering. If you suspect root rot, you can try transplanting your plant into a fresh container with well-draining soil.
* Pest Infestations: As mentioned earlier, Napa cabbage is susceptible to several pests. Inspect your plants regularly and take action immediately if you spot any pests.
Choosing the Right Variety for Containers
While most Napa cabbage varieties can be grown in containers, some are better suited than others. Look for varieties that are compact and early-maturing. Here are a few of my favorites:
* ‘Minuet’: This is a small, compact variety that’s perfect for containers. It matures in about 60 days.
* ‘Blues’: This variety is known for its disease resistance and good flavor. It matures in about 70 days.
* ‘Wong Bok’: This is a classic Napa cabbage variety that’s relatively easy to grow in containers. It matures in about 75 days.
Step-by-Step Instructions: A Quick Recap
Okay, let’s break it down into a super easy-to-follow numbered list:
1. Choose your container: Select a pot at least 12 inches in diameter and depth with good drainage.
2. Prepare your soil: Fill the container with a high-quality potting mix amended with compost.
3. Plant your seeds or transplants: Sow seeds ¼ inch deep or plant transplants at the same depth they were in their nursery pots.
4. Water thoroughly: Keep the soil consistently moist, but not waterlogged.
5. Provide sunlight:
Conclusion
So, there you have it! Growing your own Napa cabbage, even in a limited space, is not only achievable but also incredibly rewarding. This DIY trick, focusing on maximizing yield in small areas, is a game-changer for urban gardeners and anyone looking to enjoy fresh, homegrown produce without needing acres of land.
Why is this a must-try? Because it puts control back in your hands. You know exactly what goes into your food – no pesticides, no hidden chemicals, just pure, delicious Napa cabbage grown with love and care. Imagine the satisfaction of harvesting crisp, flavorful leaves for your salads, stir-fries, and kimchi, knowing you nurtured them from seed to table. Plus, it’s a fantastic way to connect with nature, reduce your carbon footprint, and save money on groceries.
But the beauty of this DIY approach lies in its adaptability. Feel free to experiment with different container sizes to see what works best for your space. Consider companion planting – marigolds can help deter pests, while herbs like dill or chamomile can attract beneficial insects. You can also explore different Napa cabbage varieties; some are more compact than others, making them ideal for container gardening. For example, you could try ‘Blues’ Napa cabbage, known for its disease resistance and relatively small size. Or, if you’re feeling adventurous, try succession planting – sowing seeds every few weeks to ensure a continuous harvest throughout the growing season.
Don’t be afraid to get your hands dirty and embrace the learning process. Gardening is all about experimentation, and even if you encounter challenges along the way, the rewards are well worth the effort. The taste of homegrown Napa cabbage is simply unmatched, and the sense of accomplishment you’ll feel is priceless.
We wholeheartedly encourage you to try this DIY Napa cabbage growing trick. It’s a simple, effective, and sustainable way to enjoy fresh, healthy food, regardless of your living situation. And most importantly, we want to hear about your experiences! Share your photos, tips, and challenges in the comments below. Let’s build a community of small-space Napa cabbage growers and inspire others to embrace the joy of homegrown goodness. Your success story could be the inspiration someone else needs to start their own gardening journey. So, grab your seeds, prepare your soil, and get ready to experience the magic of growing your own Napa cabbage!
Frequently Asked Questions (FAQ)
Q: What is the best type of container to use for growing Napa cabbage in a small space?
A: The ideal container should be at least 12 inches deep and 12 inches in diameter to provide enough room for the roots to develop. Fabric pots are a great option because they allow for good drainage and aeration, preventing root rot. Plastic pots are also suitable, but make sure they have drainage holes. Consider using a self-watering container to help maintain consistent moisture levels, especially if you live in a hot or dry climate. Remember, the bigger the container, the more room the Napa cabbage has to grow, but balance that with the space you have available.
Q: How often should I water my Napa cabbage plants?
A: Napa cabbage needs consistent moisture, especially during hot weather. Water deeply whenever the top inch of soil feels dry to the touch. Avoid overwatering, as this can lead to root rot. A good rule of thumb is to water thoroughly every 2-3 days, but adjust based on the weather conditions and the drainage of your container. Mulching around the base of the plants can help retain moisture and reduce the need for frequent watering.
Q: What kind of fertilizer should I use for Napa cabbage?
A: Napa cabbage is a heavy feeder, so it needs a nutrient-rich soil and regular fertilization. Start with a soil mix that is rich in organic matter, such as compost or well-rotted manure. During the growing season, fertilize every 2-3 weeks with a balanced fertilizer (e.g., 10-10-10) or a fertilizer specifically formulated for leafy greens. You can also use organic fertilizers like fish emulsion or seaweed extract. Avoid over-fertilizing, as this can lead to excessive leaf growth and reduced head formation.
Q: How do I protect my Napa cabbage from pests and diseases?
A: Napa cabbage is susceptible to several pests and diseases, including cabbage worms, aphids, and clubroot. To prevent pest problems, inspect your plants regularly and remove any pests by hand. You can also use insecticidal soap or neem oil to control infestations. To prevent diseases, choose disease-resistant varieties, practice crop rotation, and ensure good air circulation around your plants. If you notice signs of disease, remove the affected leaves immediately and treat with an appropriate fungicide. Companion planting with marigolds or nasturtiums can also help deter pests.
Q: When is the best time to harvest my Napa cabbage?
A: Napa cabbage is typically ready to harvest 70-80 days after planting. The head should be firm and compact. To harvest, cut the head at the base with a sharp knife. You can also harvest individual leaves as needed, but this will slow down the overall growth of the head. Harvest in the morning when the leaves are crisp and cool.
Q: Can I grow Napa cabbage indoors?
A: Yes, you can grow Napa cabbage indoors, but it requires a lot of light. You’ll need to provide at least 6-8 hours of direct sunlight per day, or supplement with grow lights. Choose a compact variety and use a large container with good drainage. Monitor the soil moisture carefully and fertilize regularly. Indoor growing can be more challenging than outdoor growing, but it’s possible with the right conditions.
Q: What are some creative ways to use my homegrown Napa cabbage?
A: Beyond the classic kimchi and stir-fries, Napa cabbage is incredibly versatile. Try using it in salads, slaws, soups, and even as a wrap for fillings like ground meat or vegetables. You can also grill or roast Napa cabbage wedges for a delicious and healthy side dish. Don’t forget to use the outer leaves for making vegetable broth or compost. The possibilities are endless!
Q: My Napa cabbage is bolting (going to seed). What should I do?
A: Bolting is often caused by stress, such as heat or lack of water. Once a Napa cabbage bolts, the leaves become bitter and less palatable. Unfortunately, there’s not much you can do to reverse bolting. The best thing to do is to harvest the remaining leaves and use them as soon as possible. To prevent bolting in the future, choose bolt-resistant varieties, provide consistent moisture, and protect your plants from extreme heat.
Q: Can I save seeds from my Napa cabbage?
A: Saving seeds from Napa cabbage can be challenging because it’s a biennial plant, meaning it takes two years to produce seeds. If you want to save seeds, you’ll need to overwinter the plant and allow it to flower and produce seeds in the second year. However, Napa cabbage is also cross-pollinated, so the seeds may not be true to type. If you’re serious about seed saving, it’s best to isolate your plants from other brassicas to prevent cross-pollination.
Leave a Comment