
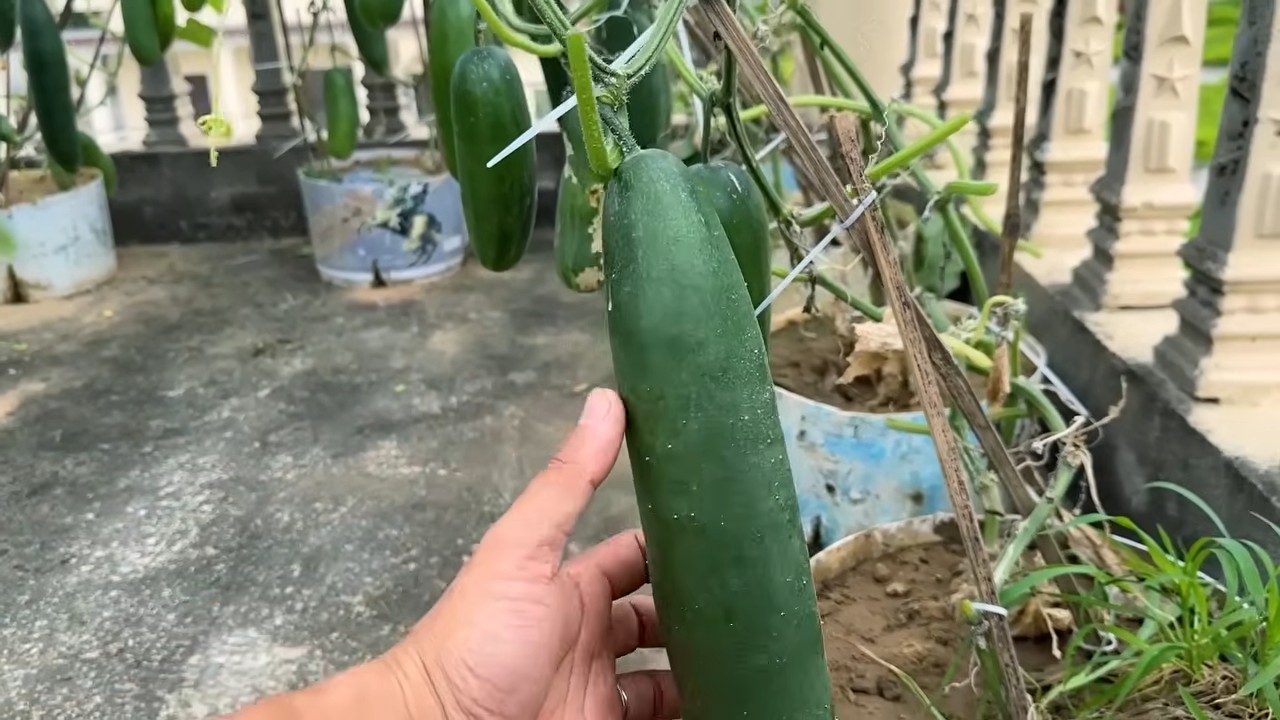
Boost Cucumber Growth and watch your garden flourish! Have you ever dreamed of harvesting baskets overflowing with crisp, juicy cucumbers right from your own backyard? I know I have! There’s something incredibly satisfying about nurturing a plant from a tiny seed to a bountiful producer. But let’s be honest, sometimes those cucumbers need a little extra help to reach their full potential.
For centuries, gardeners have sought innovative ways to maximize their yields. From ancient Egyptians cultivating cucumbers along the Nile to modern-day enthusiasts experimenting with hydroponics, the quest for the perfect cucumber has been a constant. These days, we’re all looking for ways to be more self-sufficient and enjoy fresh, healthy produce. That’s where these DIY tricks and hacks come in!
Let’s face it, store-bought cucumbers just don’t compare to the taste and satisfaction of homegrown ones. But achieving that perfect cucumber harvest can be tricky. Pests, diseases, and nutrient deficiencies can all hinder your efforts. That’s why I’m so excited to share these simple, yet effective, DIY methods to boost cucumber growth. These aren’t complicated, expensive solutions; they’re clever hacks using everyday items that will give your cucumber plants the extra edge they need to thrive. Get ready to unlock the secrets to a cucumber bounty you never thought possible!
Growing Water Spinach (Ong Choy) at Home: A DIY Guide
Hey there, fellow gardening enthusiasts! I’m so excited to share my experience with growing water spinach, also known as Ong Choy, right in my backyard. It’s surprisingly easy, incredibly rewarding, and gives you a constant supply of fresh, delicious greens. Plus, it’s a fantastic way to add some vibrant green to your garden. Let’s dive in!
What You’ll Need
Before we get started, let’s gather all the necessary materials. Trust me, having everything ready beforehand will make the process much smoother.
* **Water Spinach Seeds or Cuttings:** You can find seeds online or at your local garden center. Cuttings from a friend’s plant work great too!
* **A Container or Growing Area:** A large pot, a kiddie pool, a raised garden bed, or even a repurposed plastic tub will do. Just make sure it can hold water.
* **Soil:** A rich, loamy soil is ideal. You can use a potting mix or amend your garden soil with compost.
* **Water:** Lots of it! Water spinach loves water.
* **Fertilizer (Optional):** A balanced liquid fertilizer can boost growth, but it’s not strictly necessary.
* **Sunlight:** Water spinach needs at least 6 hours of sunlight per day.
* **Gardening Gloves:** To keep your hands clean.
* **Trowel or Small Shovel:** For planting.
* **Watering Can or Hose:** For watering.
Choosing Your Growing Method
Water spinach is incredibly versatile and can be grown in a few different ways. Here’s a breakdown to help you decide which method is best for you:
* **Container Gardening:** Perfect for small spaces like balconies or patios. You can easily move the container around to find the best sunlight.
* **Raised Bed Gardening:** A great option if you have a bit more space and want to grow a larger quantity.
* **Aquaponics:** If you’re feeling adventurous, you can even grow water spinach in an aquaponics system! It thrives in nutrient-rich water.
* **Directly in the Ground (with modifications):** If you have a naturally wet area in your garden, you can grow it directly in the ground, but you’ll need to create a small dam or barrier to keep the soil consistently moist.
I personally prefer container gardening because it’s easy to manage and move around.
Step-by-Step Instructions: Growing Water Spinach
Alright, let’s get our hands dirty! Here’s a detailed guide to growing water spinach at home:
1. Preparing Your Container or Growing Area
* **Choose Your Container:** Select a container that’s at least 12 inches deep and wide. The bigger, the better, as water spinach can grow quite rapidly.
* **Add Drainage (If Necessary):** If your container doesn’t have drainage holes, you’ll need to drill some. Water spinach loves water, but it doesn’t like sitting in stagnant water.
* **Fill with Soil:** Fill the container with your chosen soil mix, leaving about an inch or two of space at the top.
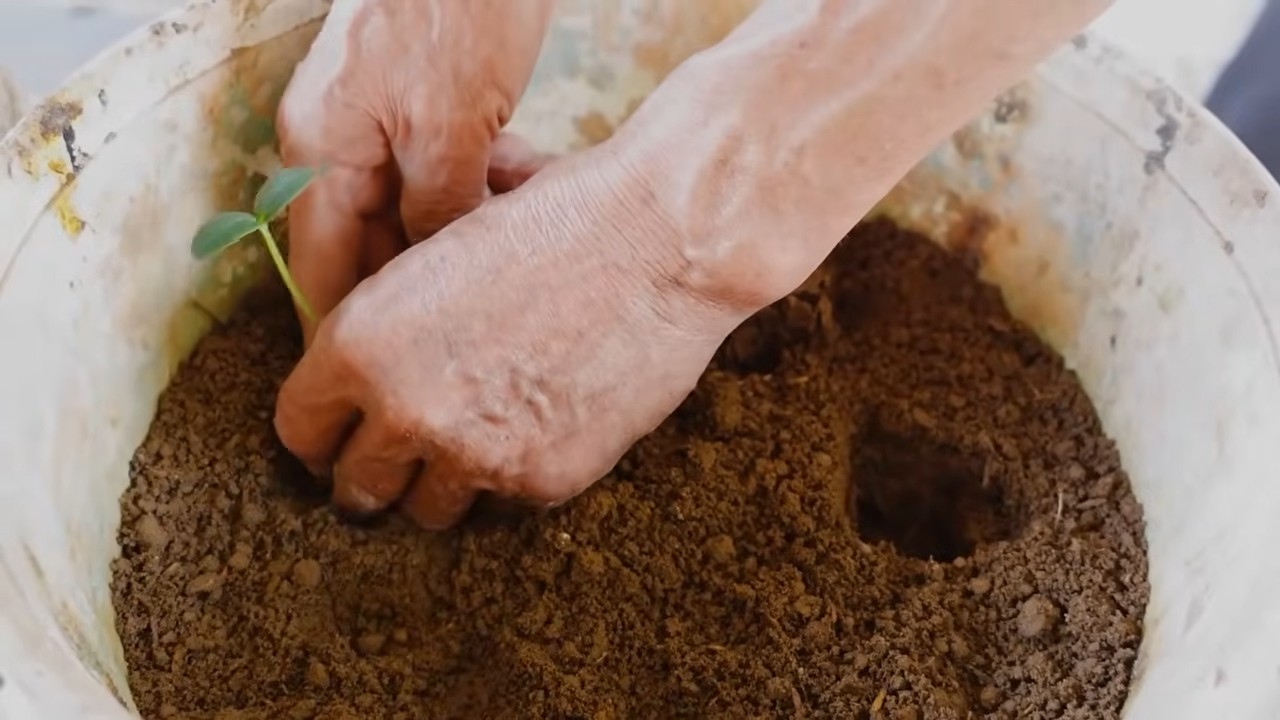
2. Planting Your Seeds or Cuttings
* **From Seeds:**
1. **Soak the Seeds:** Soak the water spinach seeds in warm water for 12-24 hours before planting. This helps to soften the seed coat and improve germination.
2. **Sow the Seeds:** Sow the seeds about ½ inch deep and 1-2 inches apart.
3. **Cover with Soil:** Gently cover the seeds with soil and water thoroughly.
4. Keep Moist: Keep the soil consistently moist. You can cover the container with plastic wrap to create a humid environment, but remove it once the seedlings emerge.
* **From Cuttings:**
1. **Take Cuttings:** Take cuttings that are about 6-8 inches long from a healthy water spinach plant. Make sure the cuttings have at least a few nodes (the points where leaves grow).
2. **Remove Lower Leaves:** Remove the leaves from the bottom 2-3 inches of the cutting.
3. **Rooting in Water (Optional):** You can root the cuttings in water before planting them in soil. Simply place the cuttings in a glass of water, making sure the bottom nodes are submerged. Roots should start to appear within a week or two.
4. **Plant the Cuttings:** Plant the cuttings directly into the soil, burying the bottom 2-3 inches. Space them about 4-6 inches apart.
5. Water Thoroughly: Water thoroughly after planting.
3. Watering and Maintaining
* **Water Regularly:** Water spinach needs consistently moist soil. Water daily, or even twice a day during hot weather. The soil should feel like a wrung-out sponge.
* **Keep the Water Level High:** If you’re growing in a container, consider placing the container in a shallow tray of water to ensure the soil stays consistently moist.
* **Fertilize (Optional):** If you want to boost growth, you can fertilize your water spinach every 2-3 weeks with a balanced liquid fertilizer. Follow the instructions on the fertilizer packaging.
* **Sunlight:** Ensure your water spinach receives at least 6 hours of sunlight per day. If you’re growing indoors, you may need to supplement with grow lights.
4. Harvesting Your Water Spinach
* **When to Harvest:** You can start harvesting your water spinach about 4-6 weeks after planting. The stems should be about 8-12 inches long.
* **How to Harvest:** Use scissors or a sharp knife to cut the stems about 2-3 inches above the soil line. This will encourage new growth.
* **Harvest Regularly:** Harvest regularly to encourage continuous growth. The more you harvest, the more it will grow!
Troubleshooting
Even with the best care, you might encounter a few challenges. Here are some common issues and how to address them:
* **Yellowing Leaves:** This could be a sign of nutrient deficiency. Try fertilizing with a balanced liquid fertilizer. It could also be a sign of overwatering, so make sure your container has adequate drainage.
* **Slow Growth:** This could be due to insufficient sunlight or water. Make sure your water spinach is getting at least 6 hours of sunlight per day and that the soil is consistently moist.
* **Pests:** Water spinach is relatively pest-resistant, but aphids and spider mites can sometimes be a problem. You can control these pests with insecticidal soap or neem oil.
* **Bolting (Premature Flowering):** This can happen in hot weather. Try to provide some shade during the hottest part of the day.
Tips and Tricks for Success
Here are a few extra tips to help you grow the best water spinach possible:
* **Succession Planting:** Plant new seeds or cuttings every few weeks to ensure a continuous supply of water spinach.
* **Use a Dark-Colored Container:** Dark-colored containers absorb more heat, which can help to warm the soil and promote faster growth.
* **Add Compost:** Amending your soil with compost will provide essential nutrients and improve drainage.
* **Don’t Overcrowd:** Give your water spinach plants enough space to grow. Overcrowding can lead to stunted growth and increased susceptibility to pests and diseases.
* **Experiment:** Don’t be afraid to experiment with different growing methods and fertilizers to see what works best for you.
Enjoying Your Harvest
Now for the best part – enjoying the fruits (or rather, vegetables!) of your labor. Water spinach is incredibly versatile and can be used in a variety of dishes.
* **Stir-Fries:** Water spinach is a staple in stir-fries. Simply sauté it with garlic, ginger, and your favorite sauce.
* **Soups:** Add water spinach to soups for a boost of nutrients and flavor.
* **Salads:** Young, tender water spinach leaves can be added to salads.
* **Steamed:** Steam water spinach and serve it with a drizzle of soy sauce and sesame oil.
I personally love stir-frying it with garlic and a little bit of oyster sauce. It’s quick, easy, and incredibly delicious!
Growing water spinach at home is a rewarding experience that anyone can enjoy. With a little bit of care and attention, you can have a constant supply of fresh, delicious greens right at your fingertips. So, what are you waiting for? Get planting! Happy gardening!
Conclusion
So, there you have it! This simple, yet incredibly effective DIY trick to boost cucumber growth is a game-changer for any gardener, regardless of experience level. We’ve walked you through the process, highlighting the benefits and providing a clear, concise method for implementation. But why is this a must-try?
Firstly, it’s about maximizing your yield. Imagine harvesting basket after basket of crisp, delicious cucumbers from a plant that’s thriving, all thanks to a little extra care and attention. This DIY method isn’t just about growing cucumbers; it’s about growing *more* cucumbers, and healthier ones at that. By providing your cucumber plants with the specific nutrients they crave at critical growth stages, you’re setting them up for success from the very beginning.
Secondly, it’s about sustainability and control. You know exactly what’s going into your garden, avoiding harsh chemicals and commercially produced fertilizers that can sometimes have unintended consequences. This DIY approach allows you to tailor the nutrient mix to your specific soil conditions and plant needs, creating a truly personalized growing experience.
And finally, it’s about the satisfaction of doing it yourself. There’s a unique sense of accomplishment that comes from nurturing a plant from seedling to harvest, knowing that you played an active role in its success. This DIY trick empowers you to take control of your garden and witness the tangible results of your efforts.
Variations and Suggestions:
Don’t be afraid to experiment! While the core recipe is effective, you can adapt it to suit your specific needs and preferences.
* Compost Tea Boost: Instead of plain water, try using diluted compost tea as the base for your nutrient solution. This adds an extra layer of beneficial microbes and organic matter to the mix.
* Epsom Salt Enhancement: For plants showing signs of magnesium deficiency (yellowing leaves), add a teaspoon of Epsom salts to the solution. Magnesium is crucial for chlorophyll production and overall plant health.
* Seaweed Extract Supplement: A small amount of seaweed extract can provide a boost of micronutrients and growth hormones, further enhancing cucumber development.
* Adjusting for Soil Type: If your soil is already rich in certain nutrients, you may need to adjust the recipe accordingly. Consider getting a soil test to determine the specific nutrient levels in your garden.
* Timing is Key: Remember to apply the solution at the recommended intervals, typically every 2-3 weeks during the active growing season. Over-fertilizing can be just as harmful as under-fertilizing.
We wholeheartedly encourage you to try this DIY trick to boost cucumber growth in your own garden. The results are often remarkable, and the process is both rewarding and educational. We are confident that you will see a noticeable difference in the health and productivity of your cucumber plants.
But don’t just take our word for it! We want to hear about your experiences. Share your results, variations, and tips in the comments below. Let’s create a community of cucumber-growing enthusiasts who are passionate about sustainable gardening and maximizing their harvests. Your insights could help others achieve even greater success in their own gardens. Happy growing!
FAQ
Q: How often should I apply this DIY nutrient solution to my cucumber plants?
A: The ideal frequency is typically every 2-3 weeks during the active growing season. However, it’s important to observe your plants closely. If they appear to be thriving and producing well, you may be able to extend the intervals slightly. Conversely, if they show signs of nutrient deficiency (e.g., yellowing leaves, stunted growth), you may need to apply the solution more frequently. Avoid over-fertilizing, as this can lead to salt buildup in the soil and damage your plants.
Q: Can I use this DIY trick on other types of plants besides cucumbers?
A: While this particular recipe is formulated specifically for cucumbers, the underlying principles can be applied to other fruiting vegetables, such as tomatoes, peppers, and zucchini. However, you may need to adjust the nutrient ratios to suit the specific needs of each plant. Research the optimal nutrient requirements for the plants you intend to fertilize and modify the recipe accordingly. For example, tomatoes typically require more potassium than cucumbers.
Q: What are the signs of nutrient deficiency in cucumber plants?
A: Common signs of nutrient deficiency in cucumber plants include:
* Yellowing leaves (chlorosis), often starting with the older leaves.
* Stunted growth and reduced fruit production.
* Deformed or misshapen fruits.
* Weak stems and susceptibility to disease.
* Leaf curling or spotting.
The specific symptoms can vary depending on which nutrient is lacking. For example, nitrogen deficiency often manifests as overall yellowing, while potassium deficiency can cause leaf edges to turn brown and crispy.
Q: Is it possible to over-fertilize my cucumber plants with this DIY solution?
A: Yes, it is definitely possible to over-fertilize your cucumber plants, even with a DIY solution. Over-fertilization can lead to a buildup of salts in the soil, which can damage the roots and inhibit nutrient uptake. Signs of over-fertilization include:
* Wilting leaves, even when the soil is moist.
* Brown or burnt leaf tips.
* Slow or stunted growth.
* A white crust on the soil surface.
If you suspect over-fertilization, flush the soil with plenty of water to leach out the excess nutrients.
Q: Can I use tap water to make this DIY nutrient solution?
A: While tap water is generally safe to use, it’s best to let it sit out for 24 hours before using it to allow chlorine and other chemicals to dissipate. Alternatively, you can use filtered water or rainwater. Avoid using softened water, as it contains high levels of sodium, which can be harmful to plants.
Q: What if I don’t have all the ingredients listed in the recipe? Can I substitute anything?
A: While it’s best to use the recommended ingredients for optimal results, you can make some substitutions if necessary. For example, if you don’t have bone meal, you can use rock phosphate as a source of phosphorus. If you don’t have Epsom salts, you can use magnesium sulfate. However, be sure to adjust the quantities accordingly to ensure you’re providing the correct nutrient ratios.
Q: How do I store the leftover DIY nutrient solution?
A: Store any leftover solution in a tightly sealed container in a cool, dark place. It’s best to use the solution within a few weeks, as the nutrients may degrade over time. Avoid storing the solution in direct sunlight or extreme temperatures.
Q: My cucumber plants are already producing fruit. Is it too late to use this DIY trick?
A: No, it’s not too late! Even if your cucumber plants are already producing fruit, this DIY trick can still help to boost their growth and improve the quality of the harvest. The nutrient solution will provide the plants with the extra energy they need to continue producing abundant, healthy cucumbers.
Q: I’m growing my cucumbers in containers. Will this DIY trick still work?
A: Yes, this DIY trick is perfectly suitable for container-grown cucumbers. In fact, container-grown plants often benefit even more from supplemental fertilization, as the limited soil volume can quickly become depleted of nutrients. Just be sure to adjust the watering schedule to prevent the soil from drying out too quickly.
Q: Where can I find the ingredients for this DIY nutrient solution?
A: Most of the ingredients can be found at your local garden center or hardware store. Bone meal, Epsom salts, and seaweed extract are commonly available. You may also be able to find these ingredients online.


Leave a Comment