
Celery Growing Water Saving Tips: Are you dreaming of crisp, crunchy celery straight from your backyard, but worried about the water bill? I get it! We all want a thriving garden without draining our resources (literally!). For centuries, celery has been a culinary staple, gracing tables from ancient Rome to modern-day kitchens. Its refreshing flavor and versatility make it a must-have for soups, salads, and snacks. But let’s be honest, celery can be a thirsty plant.
That’s where these amazing DIY tricks come in! I’m going to share some simple, yet effective, celery growing water saving tips that will help you cultivate a bountiful harvest while being kind to the environment and your wallet. Imagine enjoying delicious, homegrown celery knowing you’re conserving water and reducing your ecological footprint.
In this article, I’ll walk you through easy-to-implement strategies, from choosing the right soil to mastering efficient watering techniques. You’ll discover how to minimize water waste and maximize your celery yield. So, grab your gardening gloves, and let’s dive into the world of water-wise celery growing!
DIY Water-Saving Celery Growing Hack: Never Waste a Drop!
Hey there, fellow gardeners! I’m so excited to share this super simple, yet incredibly effective, DIY hack for growing celery while drastically reducing water waste. Celery, as much as I love it in my soups and salads, can be a thirsty plant. But with this method, you’ll be amazed at how little water you actually need to get a bountiful harvest. Let’s dive in!
What You’ll Need:
Before we get started, gather these materials. Don’t worry, most of them are probably already lying around your house!
* A large plastic container (think a storage tote, a large bucket, or even a repurposed trash can – just make sure it’s clean!). The size will depend on how many celery plants you want to grow.
* A smaller plastic container (like a yogurt tub, margarine container, or even a cut-off plastic bottle). This will act as our inner pot.
* Potting soil (a good quality mix is best).
* Celery stalks with the root end intact (you can buy these from the grocery store!).
* A drill (or a nail and hammer if you’re feeling old-school).
* Gravel or small stones.
* Water.
* Optional: A lid for your large container (this helps retain moisture, especially in hot climates).
Understanding the Water-Saving Principle
The key to this method is creating a self-watering system. The large container acts as a reservoir, holding water that the celery plant can access as needed. The smaller container, nestled inside the larger one, holds the celery plant and its soil. The gravel at the bottom of the large container prevents the soil from becoming waterlogged, while allowing the roots to draw up moisture. It’s a win-win!
Step-by-Step Instructions: Building Your Self-Watering Celery System
Okay, let’s get our hands dirty! Follow these steps carefully, and you’ll be enjoying homegrown celery in no time.
1. Prepare the Large Container: First, we need to make sure the large container is ready to hold water. Give it a good cleaning to remove any dirt or debris. If you’re using a repurposed container, make sure it’s food-safe.
2. Drill Drainage Holes (in the Small Container): This is crucial! Take your smaller container and drill several drainage holes in the bottom. I usually aim for about 5-6 holes, each about ¼ inch in diameter. These holes will allow water to wick up into the soil.
3. Add Gravel to the Large Container: Now, pour a layer of gravel or small stones into the bottom of the large container. This layer should be about 2-3 inches deep. This creates a space for the water reservoir and prevents the soil in the smaller container from sitting directly in the water.
4. Prepare the Celery Stalks: This is where the magic begins! Take your celery stalks and cut off the top portion, leaving about 2-3 inches of the root end intact. You can eat the top portion, of course! Place the root end in a shallow dish of water for a few days, changing the water daily. You should start to see new growth emerging from the top. This step isn’t strictly necessary, but it gives your celery a head start.
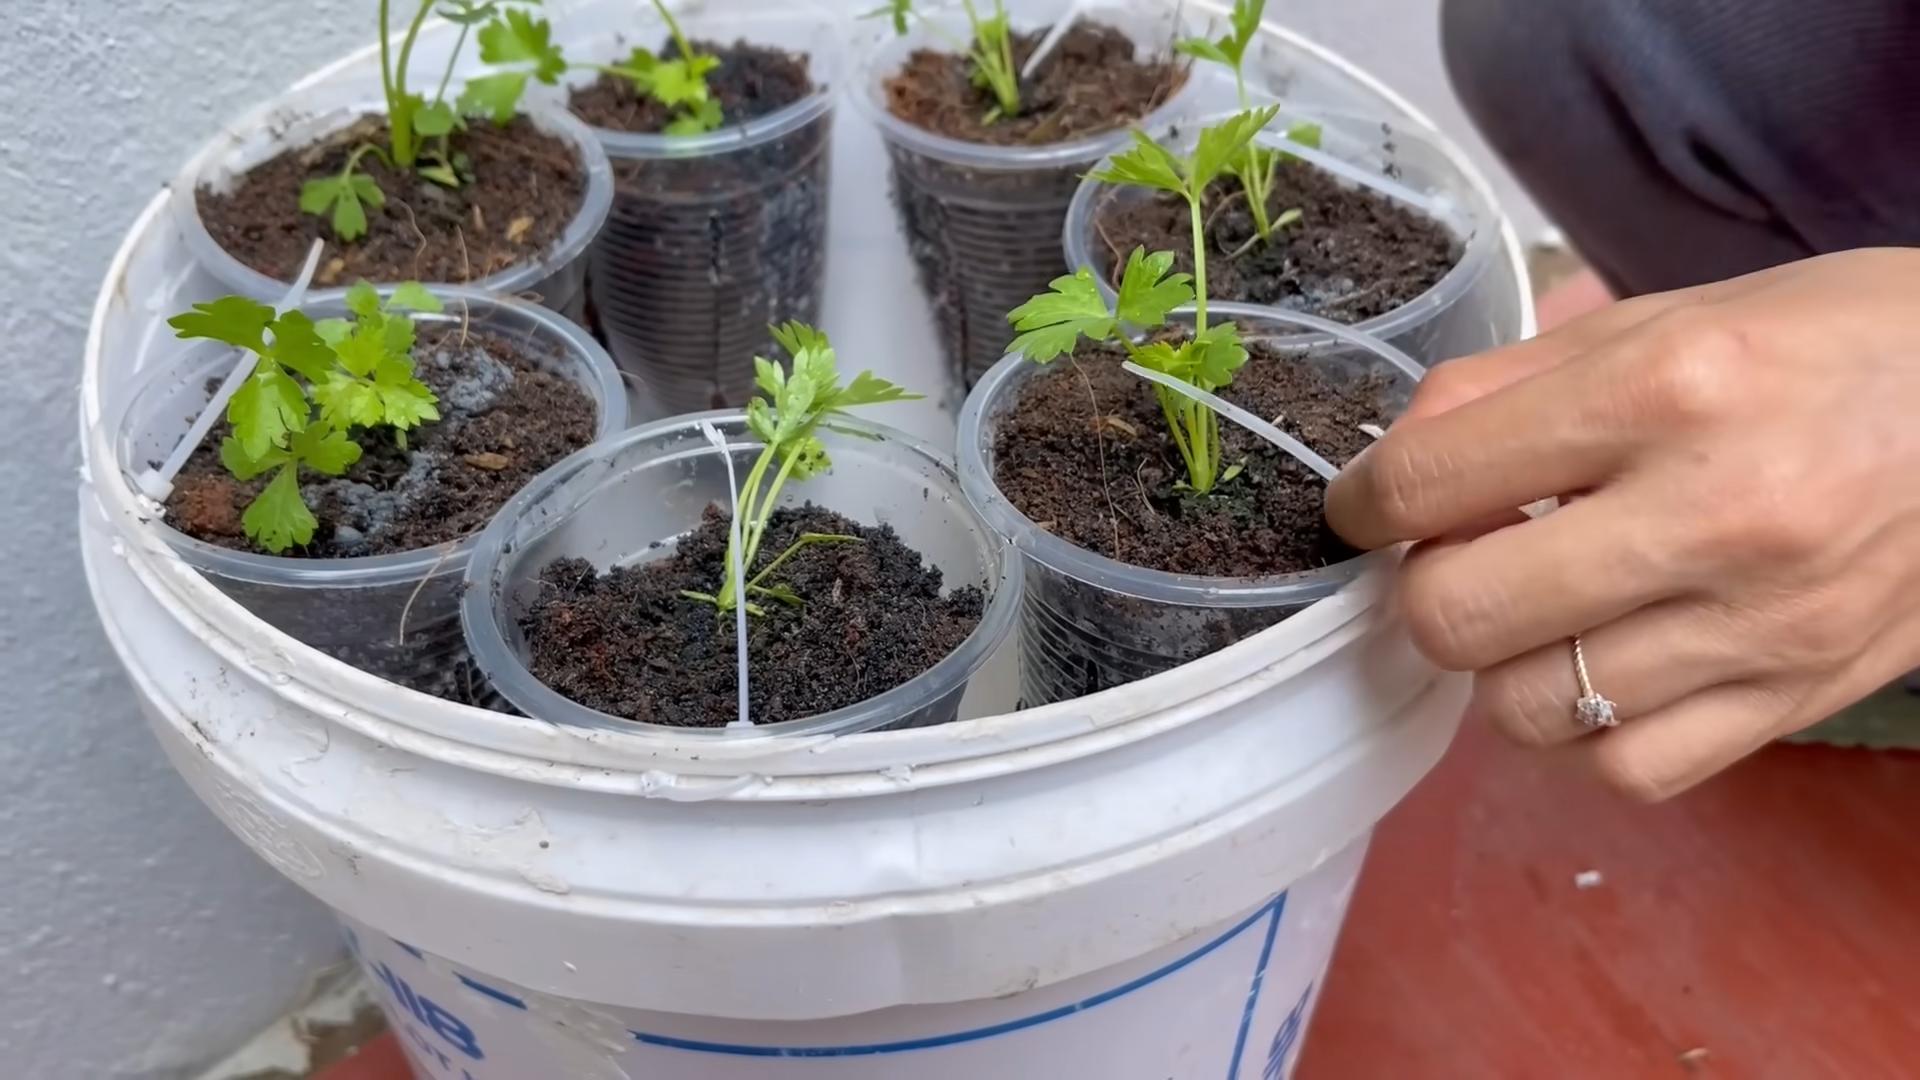
5. Fill the Small Container with Potting Soil: Fill the smaller container with your potting soil, leaving about an inch of space at the top. Gently pat the soil down to remove any air pockets.
6. Plant the Celery: Carefully plant the celery stalk in the center of the smaller container. Make sure the root end is buried in the soil, but the new growth is exposed.
7. Place the Small Container Inside the Large Container: Now, gently place the smaller container (with the celery planted inside) into the large container, on top of the gravel layer.
8. Water Thoroughly (Initially): The first time you water, water the soil in the smaller container thoroughly. This will help settle the soil and encourage the roots to grow. Water until you see water draining into the gravel layer in the large container.
9. Fill the Water Reservoir: Now, fill the large container with water, up to just below the bottom of the smaller container. You don’t want the soil in the smaller container to be constantly submerged in water.
10. Monitor and Maintain: This is the most important part! Check the water level in the large container regularly. You’ll likely need to refill it every few days, depending on the weather and how quickly your celery is growing. Also, keep an eye on the soil moisture in the smaller container. It should be consistently moist, but not soggy.
11. Optional: Add a Lid: If you live in a hot or dry climate, consider adding a lid to your large container. This will help retain moisture and reduce evaporation. Just make sure to leave some ventilation to prevent mold growth.
Troubleshooting and Tips for Success
Even with the best instructions, things can sometimes go wrong. Here are a few common issues and how to fix them:
* Yellowing Leaves: This could be a sign of overwatering or underwatering. Check the soil moisture and adjust your watering accordingly. Yellowing leaves can also indicate a nutrient deficiency. Consider adding a diluted liquid fertilizer to the water reservoir.
* Slow Growth: Celery needs plenty of sunlight to thrive. Make sure your container is placed in a sunny location. If you’re growing indoors, you may need to supplement with grow lights.
* Pests: Keep an eye out for common garden pests like aphids and slugs. Treat them with organic pest control methods as needed.
* Root Rot: This is usually caused by overwatering. Make sure the soil is well-draining and that the water level in the large container is not too high.
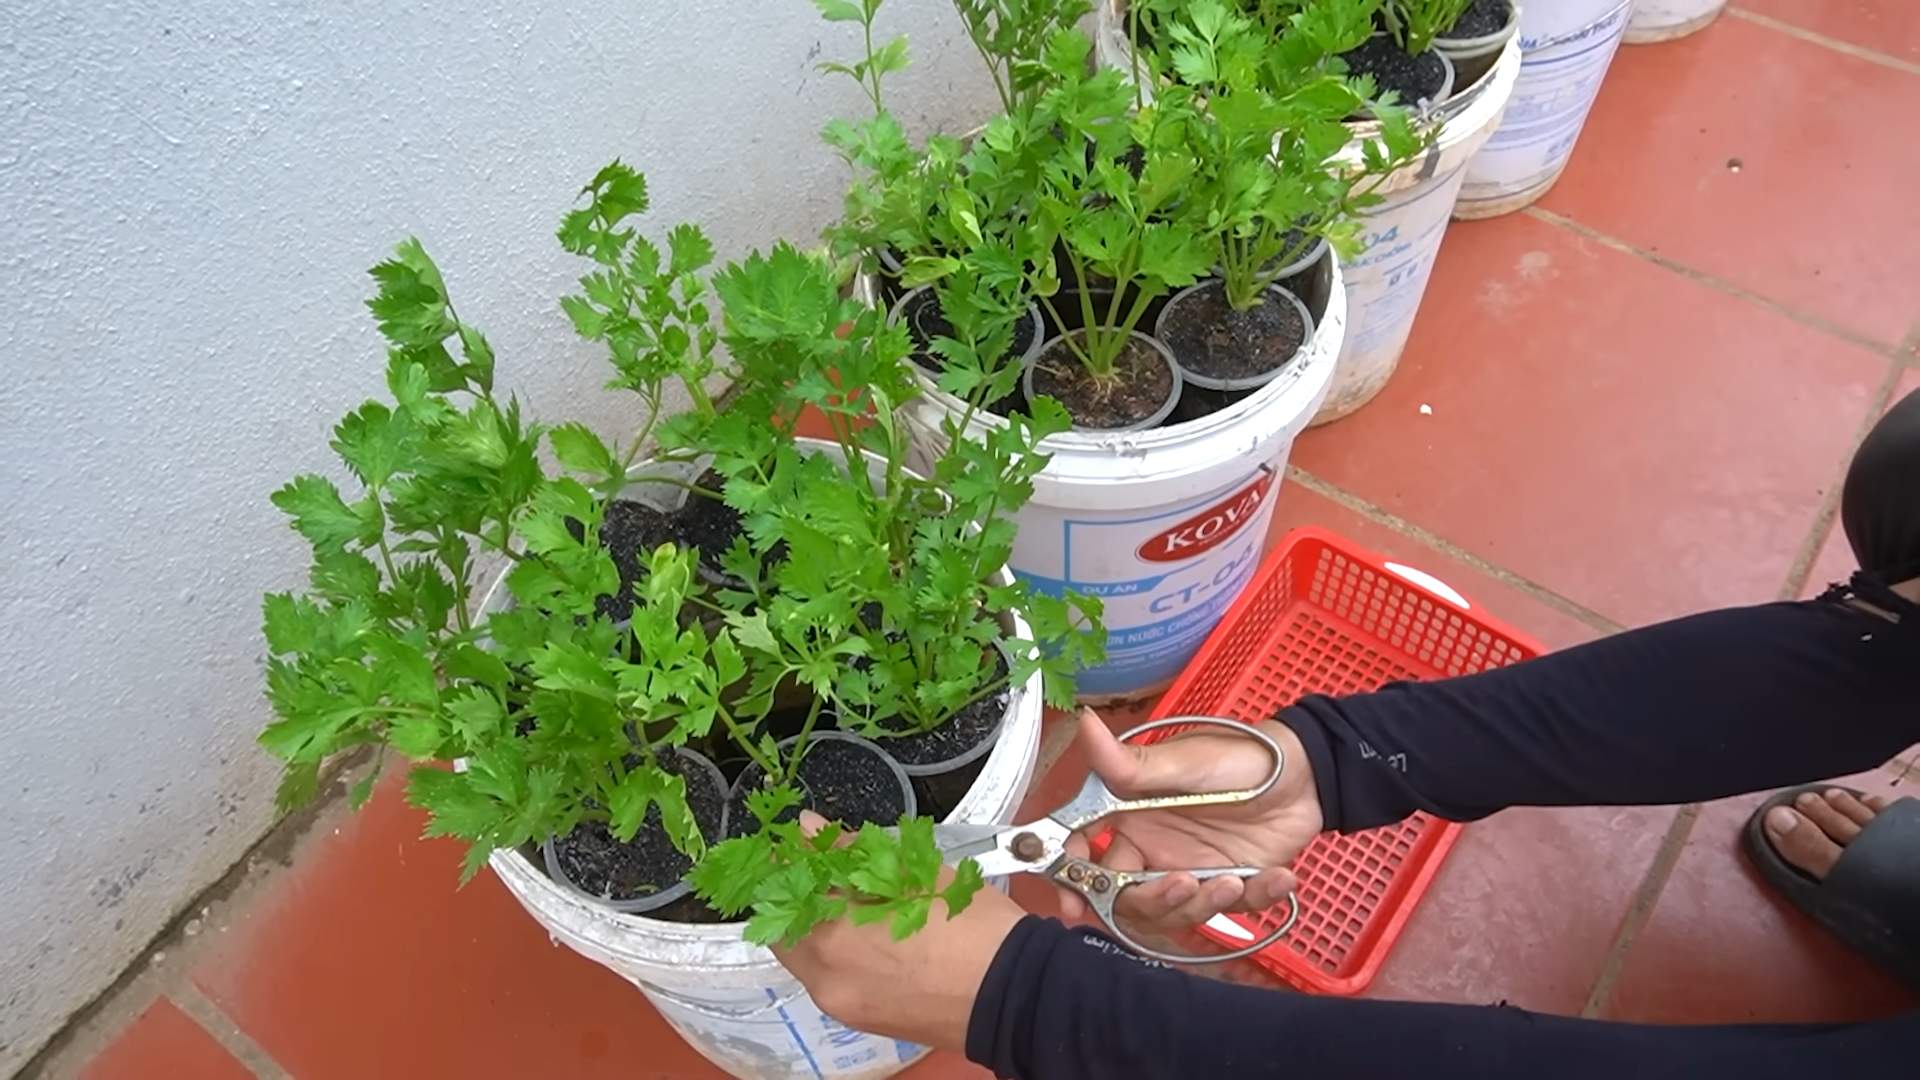
Harvesting Your Celery
After a few months, your celery will be ready to harvest! You can either harvest the entire plant at once or harvest individual stalks as needed. To harvest, simply cut the stalks off at the base of the plant.
Why This Method Works So Well
I’ve been using this method for years, and I’m always amazed at how well it works. Here’s why I think it’s so effective:
* Water Conservation: By creating a self-watering system, you’re only using the water that the plant actually needs. This drastically reduces water waste compared to traditional watering methods.
* Consistent Moisture: The self-watering system ensures that the soil stays consistently moist, which is essential for healthy celery growth.
* Reduced Weeding: The containerized system makes it much easier to control weeds.
* Portability: You can easily move the container around to follow the sun or protect it from frost.
* Space-Saving: This method is perfect for small spaces, like balconies or patios.
Beyond Celery: Adapting the Hack for Other Plants
The beauty of this DIY hack is that it can be adapted for other plants as well! I’ve successfully used it to grow herbs like basil and mint, as well as vegetables like tomatoes and peppers. Just adjust the size of the containers and the type of potting soil to suit the specific needs of the plant.
Final Thoughts
Growing your own celery is a rewarding experience, and this water-saving hack makes it even easier and more sustainable. I hope you give it a try! Happy gardening!
Conclusion
So, there you have it! These simple, yet incredibly effective, water-saving tips for growing celery are a game-changer for any gardener, regardless of experience level. We’ve explored how to maximize water retention, minimize waste, and ultimately cultivate thriving celery plants while being mindful of our precious resources.
Why is this DIY approach a must-try? Because it’s not just about saving water; it’s about creating a more sustainable and efficient gardening practice. Think about it: less water usage translates to lower water bills, reduced strain on local water supplies, and a healthier planet. Plus, these techniques often lead to stronger, more resilient celery plants that are better equipped to withstand environmental stressors.
Beyond the core methods we discussed, there are several exciting variations you can experiment with. For instance, consider incorporating companion planting to further enhance water retention. Planting basil or marigolds near your celery can help deter pests and reduce the need for frequent watering. Another variation is to explore different types of mulch. While straw and wood chips are excellent choices, you could also try using composted leaves or even shredded paper for a unique and nutrient-rich mulch layer.
Furthermore, if you’re growing celery in containers, pay extra attention to drainage. Ensure your pots have adequate drainage holes and consider using a well-draining potting mix specifically formulated for vegetables. You can also elevate your containers slightly to prevent water from pooling at the bottom.
Don’t be afraid to get creative and adapt these techniques to suit your specific gardening conditions and preferences. The beauty of DIY gardening is the freedom to experiment and discover what works best for you.
We firmly believe that incorporating these water-saving tips into your celery growing routine will make a significant difference, not only in the health and yield of your plants but also in your overall environmental impact. It’s a win-win situation!
Now, it’s your turn to put these tips into action. We encourage you to try these **celery growing water saving tips** and witness the positive results firsthand. Start small, perhaps with a single row of celery, and gradually expand your efforts as you become more comfortable with the techniques.
Most importantly, we want to hear about your experiences! Share your successes, challenges, and any variations you’ve tried in the comments section below. Let’s create a community of gardeners who are passionate about growing delicious celery while conserving water and protecting our planet. Your insights and feedback will be invaluable to other readers who are embarking on their own water-saving celery growing journey. Happy gardening!
FAQ
Frequently Asked Questions About Saving Water While Growing Celery
1. How much water does celery typically need?
Celery is known to be a water-intensive crop, requiring consistent moisture to thrive. Generally, celery needs about 1 to 1.5 inches of water per week, especially during hot and dry periods. However, this can vary depending on factors like soil type, climate, and the age of the plants. Younger plants require more frequent watering than mature ones. The goal is to keep the soil consistently moist but not waterlogged. Overwatering can lead to root rot and other problems. Using a soil moisture meter can help you determine when your celery plants need watering.
2. What are the best soil types for water conservation when growing celery?
While celery prefers rich, well-draining soil, certain soil amendments can significantly improve water retention. Adding organic matter like compost, well-rotted manure, or peat moss to your soil will increase its ability to hold water. These amendments act like sponges, absorbing and retaining moisture that the celery roots can access as needed. Avoid sandy soils, as they drain too quickly, and heavy clay soils, which can become waterlogged. Aim for a loamy soil that balances drainage and water retention. Raised beds or mounds can also improve drainage in areas with heavy clay soil.
3. How does mulching help save water when growing celery?
Mulching is a crucial technique for conserving water in your celery garden. A layer of mulch, such as straw, wood chips, or compost, acts as a barrier between the soil and the sun, reducing evaporation. This helps to keep the soil moist for longer periods, reducing the frequency of watering. Mulch also helps to suppress weeds, which compete with your celery plants for water and nutrients. Apply a 2-3 inch layer of mulch around your celery plants, being careful not to pile it directly against the stems, as this can promote rot.
4. What are some efficient watering methods for celery?
Drip irrigation and soaker hoses are the most efficient watering methods for celery. These methods deliver water directly to the roots of the plants, minimizing water loss through evaporation and runoff. Drip irrigation systems consist of a network of tubes and emitters that slowly release water at a controlled rate. Soaker hoses are porous hoses that seep water along their entire length. Both methods are more effective than overhead watering, which can waste water and increase the risk of fungal diseases. Water early in the morning to minimize evaporation and allow the foliage to dry before nightfall.
5. Can I use rainwater to water my celery plants?
Absolutely! Rainwater harvesting is an excellent way to conserve water and provide your celery plants with a natural, nutrient-rich water source. Rainwater is free of chlorine and other chemicals that can be found in tap water, making it ideal for irrigation. You can collect rainwater using rain barrels or other containers placed under downspouts. Ensure your collection system is clean and free of debris to prevent contamination. Use a screen or filter to remove leaves and other particles from the water before using it to irrigate your celery plants.
6. How can I tell if I’m overwatering or underwatering my celery plants?
Observing your celery plants closely is essential for determining their watering needs. Overwatered celery plants may have yellowing leaves, stunted growth, and soft, mushy stems. The soil will also be constantly wet. Underwatered celery plants may have wilting leaves, dry, cracked soil, and slow growth. The leaves may also turn brown and crispy at the edges. Check the soil moisture regularly by inserting your finger about an inch into the soil. If the soil feels dry, it’s time to water. If it feels wet, wait a day or two and check again.
7. Are there any specific celery varieties that are more drought-tolerant?
While celery is generally a water-loving plant, some varieties may be slightly more tolerant of drier conditions than others. Look for varieties that are known for their disease resistance and vigor, as these plants are often better able to withstand environmental stressors. Some gardeners have reported success with varieties like ‘Utah Improved’ and ‘Conquistador’ in drier climates. However, even drought-tolerant varieties will still require consistent moisture to produce a good harvest.
8. How does companion planting help with water conservation in celery?
Companion planting can indirectly help with water conservation by improving soil health and reducing the need for frequent watering. Certain companion plants, like basil and marigolds, can help deter pests that might otherwise damage your celery plants and weaken their ability to absorb water. Other companion plants, like legumes (beans and peas), can fix nitrogen in the soil, improving soil fertility and reducing the need for fertilizer, which can sometimes increase water demand. Additionally, some companion plants can provide shade, reducing evaporation from the soil.
9. Can I recycle water from my household to water my celery plants?
Using greywater (recycled water from household activities like washing dishes or showering) to water your celery plants can be a sustainable way to conserve water, but it’s important to do it safely. Avoid using greywater that contains harsh chemicals, such as bleach or strong detergents. Only use greywater from activities that use mild, biodegradable soaps. Filter the greywater to remove any solid particles before using it to irrigate your celery plants. Apply the greywater directly to the soil, avoiding contact with the foliage. It’s also important to check your local regulations regarding the use of greywater for irrigation.
10. What are some other tips for saving water in the garden besides those mentioned above?
In addition to the tips already discussed, there are several other ways to save water in your garden. Group plants with similar water needs together to avoid overwatering or underwatering certain areas. Water deeply and less frequently to encourage deep root growth, which will make your plants more drought-tolerant. Weed regularly to eliminate competition for water and nutrients. Use a rain gauge to monitor rainfall and adjust your watering schedule accordingly. Consider using a water-wise gardening design, such as xeriscaping, which utilizes drought-tolerant plants and landscaping techniques to minimize water use. By implementing these strategies, you can create a beautiful and productive garden while conserving water and protecting our environment.


Leave a Comment