
Clean frying pan baking soda vinegar – sounds like a science experiment, right? Well, in a way, it is! But instead of bubbling beakers and lab coats, we’re talking about rescuing your beloved frying pan from the dreaded clutches of burnt-on food and stubborn grease. I know, I know, we’ve all been there. You’re whipping up a delicious meal, get distracted for a minute, and BAM! Your pan looks like it’s been through a war zone.
But before you resign yourself to endless scrubbing or, worse, tossing that pan in the trash, let me tell you a secret: this simple DIY trick using baking soda and vinegar can work wonders. This isn’t some newfangled invention, either. Our grandmothers and great-grandmothers likely used similar methods, relying on the power of simple household ingredients to keep their cookware sparkling. Think of it as a time-honored tradition, passed down through generations, now available to you!
Why is this clean frying pan baking soda vinegar method so essential? Because a clean pan isn’t just about aesthetics; it’s about better cooking! Burnt residue can affect the taste of your food, and a grimy pan can even harbor bacteria. Plus, let’s be honest, cooking in a sparkling clean pan just makes the whole experience more enjoyable. So, ditch the harsh chemicals and expensive cleaners. I’m going to show you how to bring your frying pan back to life with just a few simple steps and ingredients you probably already have in your pantry.
DIY: Revive Your Scorched Frying Pan with Baking Soda and Vinegar!
Hey there, fellow home chefs! Are you staring at a frying pan that looks like it’s been through a war zone? Burnt-on food, stubborn stains, and a general feeling of despair? Don’t throw it out just yet! I’m here to share my go-to method for rescuing even the most tragically scorched frying pans using just two simple ingredients: baking soda and vinegar. Trust me, this works wonders!
What You’ll Need:
Before we dive in, let’s gather our supplies. This is a pretty low-key operation, so you probably already have everything you need.
* Baking Soda: The star of the show! This gentle abrasive helps lift burnt-on food without scratching your pan.
* White Vinegar: The acidic power player! Vinegar helps break down stubborn grime and loosen those pesky stains.
* Water: For creating our cleaning solution.
* Dish Soap: A little extra cleaning power never hurts.
* Scrubbing Sponge or Pad: Choose one that’s appropriate for your pan’s surface. Avoid steel wool on non-stick surfaces!
* Soft Cloth or Paper Towels: For wiping and drying.
* Optional: Rubber Gloves: If you have sensitive skin, these will protect your hands from the vinegar.
The Magic Formula: Baking Soda and Vinegar to the Rescue!
This method works best on stainless steel, cast iron (seasoned), and even some non-stick pans (use caution and a gentle sponge on non-stick). Always test a small, inconspicuous area first, especially with non-stick cookware.
Step-by-Step Instructions:
Here’s the breakdown of how we’re going to bring your frying pan back to life.
1. Initial Soak (If Necessary): If your pan is seriously encrusted, start with a soak. Fill the pan with hot, soapy water and let it sit for at least 30 minutes, or even overnight. This will help loosen some of the burnt-on food and make the next steps easier.
2. Drain and Rinse: After soaking, drain the soapy water and give the pan a good rinse with clean water.
3. Baking Soda Paste Application: Now for the fun part! Sprinkle a generous amount of baking soda onto the bottom of the pan, covering all the burnt areas. You want a nice, thick layer.
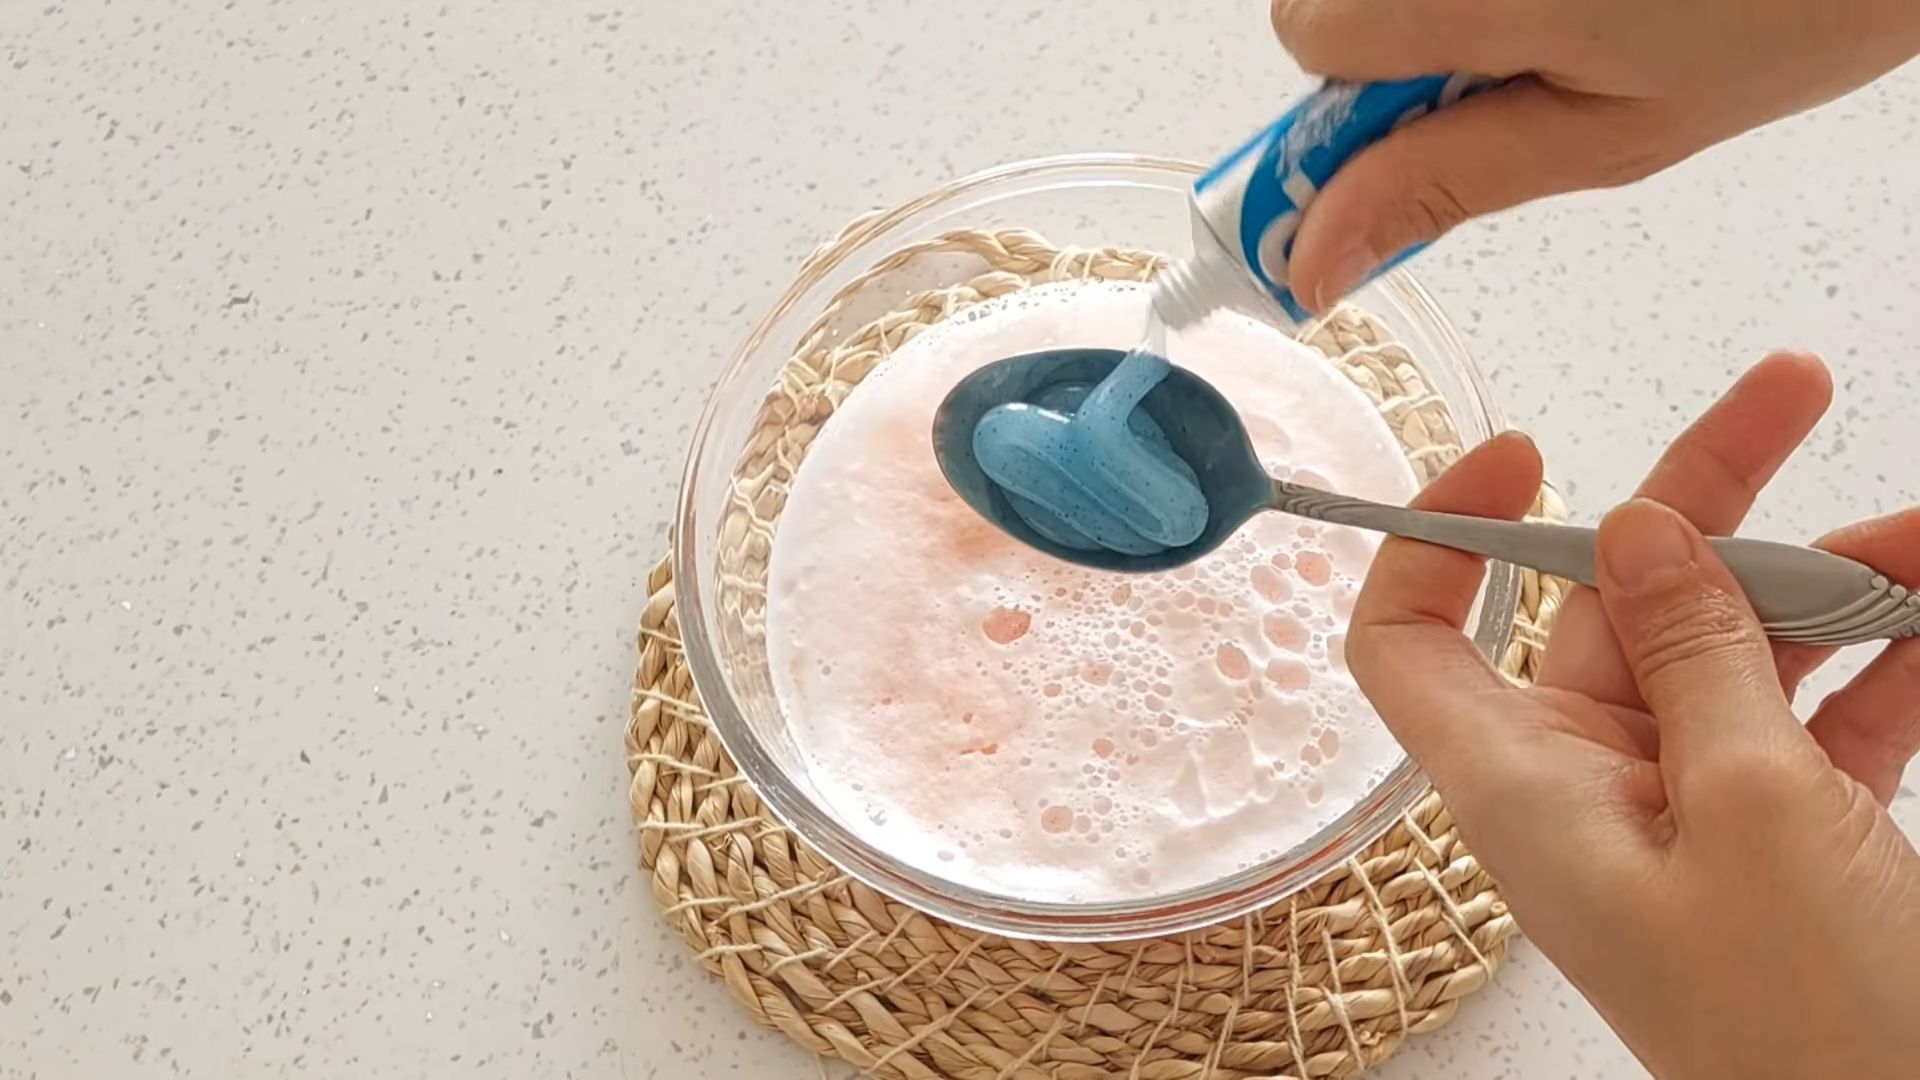
4. Vinegar Power! Slowly pour white vinegar over the baking soda. You’ll see it start to fizz and bubble – that’s the magic happening! The chemical reaction between the baking soda and vinegar helps to lift the burnt-on food.
5. Simmering Solution: Add about a cup of water to the pan. Place the pan on the stovetop over medium heat. Bring the mixture to a simmer. Let it simmer for 5-10 minutes, keeping an eye on it to make sure it doesn’t boil over. The simmering action helps to further loosen the burnt-on food.
6. Cooling Period: Remove the pan from the heat and let it cool down slightly. You don’t want to burn yourself!
7. Scrubbing Time: Once the pan is cool enough to handle, it’s time to scrub! Use your scrubbing sponge or pad to gently scrub the burnt areas. You should find that the baking soda and vinegar mixture has loosened the food, making it easier to remove.
* For Stainless Steel: You can use a slightly more abrasive scrubbing pad on stainless steel, but still avoid steel wool, as it can scratch the surface.
* For Cast Iron: Use a stiff brush or a plastic scraper to avoid damaging the seasoning.
* For Non-Stick: Use a very gentle sponge or cloth to avoid scratching the non-stick coating.
8. Rinse and Repeat (If Needed): Rinse the pan thoroughly with clean water. If there are still some stubborn spots, repeat steps 3-7. Sometimes, it takes a couple of rounds to get everything off.
9. Dish Soap Wash: Once you’ve removed all the burnt-on food, wash the pan with dish soap and water to remove any remaining baking soda and vinegar residue.
10. Dry Thoroughly: Dry the pan completely with a soft cloth or paper towels. This is especially important for cast iron to prevent rusting.
Dealing with Extra Stubborn Spots:
Sometimes, you’ll encounter spots that just won’t budge. Here are a few extra tricks I’ve learned over the years:
* Baking Soda Paste Overnight: For really tough spots, make a thick paste of baking soda and water and apply it to the affected area. Let it sit overnight, then scrub in the morning.
* Boiling Water and Baking Soda: Fill the pan with water, add a few tablespoons of baking soda, and bring it to a boil. Let it boil for 10-15 minutes, then let it cool and scrub.
* Lemon Juice Power: For stains, try rubbing the pan with lemon juice. The acidity of the lemon juice can help to lighten stains.
* Salt Scrub: For cast iron, a coarse salt scrub can work wonders. Sprinkle coarse salt onto the pan and scrub with a dry cloth or paper towel.
Specific Pan Types:
Let’s talk about some specific pan types and any special considerations you should keep in mind.
Stainless Steel:
Stainless steel is pretty durable, so you can be a bit more aggressive with your scrubbing. However, avoid steel wool, as it can scratch the surface. Bar Keeper’s Friend is also a great option for removing stubborn stains on stainless steel.
Cast Iron:
Cast iron requires a bit more care. Avoid using soap too often, as it can strip the seasoning. After cleaning, make sure to dry the pan thoroughly and re-season it by coating it with a thin layer of oil and baking it in the oven at 350°F (175°C) for an hour.
Non-Stick:
Non-stick pans are the most delicate. Always use a gentle sponge or cloth and avoid abrasive cleaners. Never use steel wool or scouring pads on non-stick surfaces. If the non-stick coating is damaged, it’s time to replace the pan.
Preventative Measures:
Of course, the best way to deal with a burnt frying pan is to prevent it from happening in the first place! Here are a few tips:
* Don’t Overheat: Avoid overheating your pan, especially when cooking with oil or butter.
* Use Enough Oil or Butter: Make sure you’re using enough oil or butter to prevent food from sticking.
* Stir Frequently: Stir your food frequently to prevent it from burning.
* Clean Immediately: Clean your pan as soon as possible after cooking. The longer you wait, the harder it will be to remove burnt-on food.
* Proper Storage: Store your pans properly to prevent them from getting scratched or damaged.
Final Thoughts:
So there you have it! My tried-and-true method for rescuing scorched frying pans with baking soda and vinegar. It might take a little elbow grease, but it’s definitely worth it to save your favorite pan from the trash heap. Remember to be patient, persistent, and always test a small area first, especially with non-stick cookware. Happy cleaning!

Conclusion
So, there you have it! A simple, effective, and surprisingly satisfying way to breathe new life into your grimy frying pans. This DIY cleaning trick, using just baking soda and vinegar, is more than just a cleaning hack; it’s a testament to the power of simple chemistry and a commitment to extending the life of your kitchenware. Why spend money on harsh chemicals or, worse, replace perfectly good pans when you can achieve sparkling results with ingredients you likely already have in your pantry?
This method isn’t just about aesthetics, though a gleaming pan is certainly a welcome sight. It’s about ensuring your food cooks evenly and doesn’t pick up any unwanted flavors from baked-on residue. It’s about saving money and reducing waste. And, perhaps most importantly, it’s about taking pride in your kitchen and the tools you use to create delicious meals.
This DIY frying pan cleaning method is a must-try for anyone who values a clean kitchen, sustainable practices, and saving a few dollars.
But don’t just take our word for it! Experiment with variations to find what works best for your specific pans and level of grime. For particularly stubborn stains, try adding a squeeze of lemon juice to the baking soda paste for an extra boost of cleaning power. You can also pre-soak the pan in hot, soapy water before applying the baking soda and vinegar mixture. For cast iron pans, be sure to re-season them after cleaning to prevent rusting. Consider using a non-abrasive sponge or cloth to avoid scratching the surface of your pans, especially if they have a non-stick coating.
We’re confident that once you try this DIY trick, you’ll be amazed by the results. It’s a game-changer for anyone who struggles with cleaning burnt-on food and grease. It’s a simple, effective, and eco-friendly way to keep your frying pans looking their best.
So, grab your baking soda, vinegar, and a little elbow grease, and get ready to transform your frying pans. We encourage you to try this method and share your experience with us! Let us know in the comments below how it worked for you, any variations you tried, and any tips you have to share. We’re all in this together, striving for cleaner kitchens and happier cooking experiences. Share your before and after photos – we’d love to see the transformation! Happy cleaning!
Frequently Asked Questions (FAQ)
1. What types of frying pans can I clean with this method?
This DIY cleaning method is generally safe and effective for most types of frying pans, including stainless steel, non-stick, and even some cast iron pans (with proper re-seasoning afterward). However, it’s always a good idea to test a small, inconspicuous area first, especially if you have a pan with a delicate coating or finish. Avoid using this method on pans with copper exteriors, as the vinegar can tarnish the copper. For cast iron, remember to re-season immediately after cleaning to prevent rust.
2. How often should I clean my frying pans using this method?
The frequency depends on how often you use your frying pans and how much food residue accumulates. For pans used daily, a deep clean with baking soda and vinegar every 1-2 weeks is generally sufficient. For pans used less frequently, you can clean them as needed. Regular cleaning with soap and water after each use will also help prevent buildup and make deep cleaning easier.
3. Can I use this method on other cookware, like pots and baking sheets?
Yes, absolutely! This DIY cleaning trick is not limited to frying pans. You can use it on pots, baking sheets, casserole dishes, and other cookware that has stubborn baked-on food or grease. The same principles apply: create a paste of baking soda and water, apply it to the affected area, pour vinegar over the paste, let it fizz, and then scrub away the residue.
4. What if the baking soda and vinegar mixture doesn’t remove all the grime?
If the grime is particularly stubborn, you may need to repeat the process. You can also try letting the baking soda and vinegar mixture sit for a longer period of time, even overnight, before scrubbing. For extremely difficult stains, consider adding a small amount of dish soap to the baking soda paste for extra cleaning power. As mentioned before, lemon juice can also be a great addition.
5. Is it safe to use baking soda and vinegar together?
Yes, baking soda and vinegar are safe to use together for cleaning purposes. The chemical reaction between them produces carbon dioxide gas, which helps to lift dirt and grime. However, it’s important to note that the mixture is most effective while it’s fizzing. Once the fizzing stops, the cleaning power diminishes. Also, avoid using this mixture in a closed container, as the pressure from the carbon dioxide gas could cause it to burst.
6. Will this method scratch my non-stick frying pan?
While baking soda is a mild abrasive, it can still scratch non-stick surfaces if you scrub too hard. To minimize the risk of scratching, use a non-abrasive sponge or cloth and avoid applying excessive pressure. You can also try making a thinner paste of baking soda and water to reduce its abrasiveness. If you’re concerned about scratching, test the method on a small, inconspicuous area first.
7. How do I re-season a cast iron frying pan after cleaning it with this method?
Re-seasoning is crucial for cast iron pans to prevent rust and maintain their non-stick properties. After cleaning the pan with baking soda and vinegar, rinse it thoroughly and dry it completely. Then, apply a thin layer of cooking oil (such as vegetable oil, canola oil, or flaxseed oil) to the entire surface of the pan, inside and out. Place the pan upside down in a preheated oven at 350°F (175°C) for one hour. Let the pan cool completely in the oven before using it.
8. Can I use this method to clean burnt food from the bottom of my frying pan?
Yes, this method is particularly effective for cleaning burnt food from the bottom of frying pans. The baking soda and vinegar mixture helps to loosen the burnt residue, making it easier to scrub away. For heavily burnt food, you may need to repeat the process or let the mixture sit for a longer period of time.
9. What are some other natural cleaning alternatives to baking soda and vinegar?
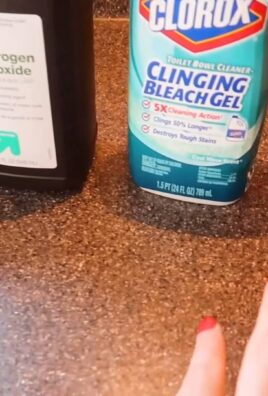
Besides baking soda and vinegar, other natural cleaning alternatives include lemon juice, salt, and hydrogen peroxide. Lemon juice is a natural degreaser and can help to remove stains and odors. Salt is a mild abrasive that can be used to scrub away dirt and grime. Hydrogen peroxide is a disinfectant and can be used to kill bacteria and mold.
10. Where can I share my before and after photos and my experience with this DIY cleaning trick?
We encourage you to share your before and after photos and your experience with this DIY cleaning trick in the comments section below this article. You can also share them on social media platforms like Facebook, Instagram, and Twitter, using relevant hashtags such as #DIYCleaning, #FryingPanCleaning, #BakingSodaAndVinegar, and #CleanKitchen. We’d love to see your results and hear your feedback!
Leave a Comment