
Clean sink with dish soap? Sounds simple, right? But trust me, there’s more to it than just a squirt and a scrub! We’ve all been there – staring at a sink that’s seen better days, wondering how it got so grimy despite our best efforts. It’s a common household woe, and that’s why I’m so excited to share some game-changing DIY tricks that will leave your sink sparkling like new.
Throughout history, a clean sink has been a symbol of a well-maintained home. Think about it – from ancient civilizations using natural abrasives to the modern marvels of stainless steel, keeping our washing areas clean has always been a priority. A gleaming sink not only looks good, but it also promotes hygiene and prevents the spread of germs.
But why do you *really* need these DIY tricks? Because a truly clean sink with dish soap involves more than just surface cleaning. We’re talking about banishing stubborn stains, tackling hard water buildup, and eliminating those lingering odors that just won’t go away. I’m going to show you how to achieve a level of cleanliness you never thought possible, using simple ingredients you probably already have in your pantry. Get ready to transform your sink from a source of frustration to a point of pride!

DIY Sparkling Sink: A Deep Clean Guide
Hey there! Are you tired of looking at a dull, grimy sink? I know I was! A sparkling sink can instantly brighten up your kitchen and make doing dishes a little less… dreadful. This guide will walk you through my tried-and-true method for getting your sink looking brand new, using mostly things you probably already have at home. Let’s get started!
What You’ll Need
Before we dive in, let’s gather our supplies. This makes the whole process much smoother.
* **Dish Soap:** Any brand will do, but I prefer one with degreasing power.
* **Baking Soda:** This is our gentle abrasive and deodorizer.
* **White Vinegar:** The acid helps break down grime and hard water stains.
* **Lemon (Optional):** For extra shine and a fresh scent.
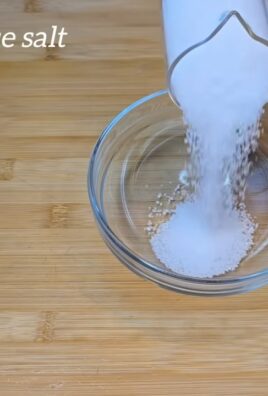
* **Salt (Optional):** For extra scrubbing power.
* **Old Toothbrush:** Perfect for getting into those hard-to-reach areas.
* **Soft Cloth or Sponge:** For general cleaning.
* **Microfiber Cloth:** For polishing and drying.
* **Rubber Gloves (Optional):** To protect your hands.
* **Spray Bottle (Optional):** For easy vinegar application.
* **Sink Stopper:** To plug the drain when needed.
* **Hot Water:** Essential for rinsing and loosening grime.
Cleaning Your Sink: Step-by-Step
Okay, now for the fun part! Follow these steps, and you’ll be amazed at the transformation.
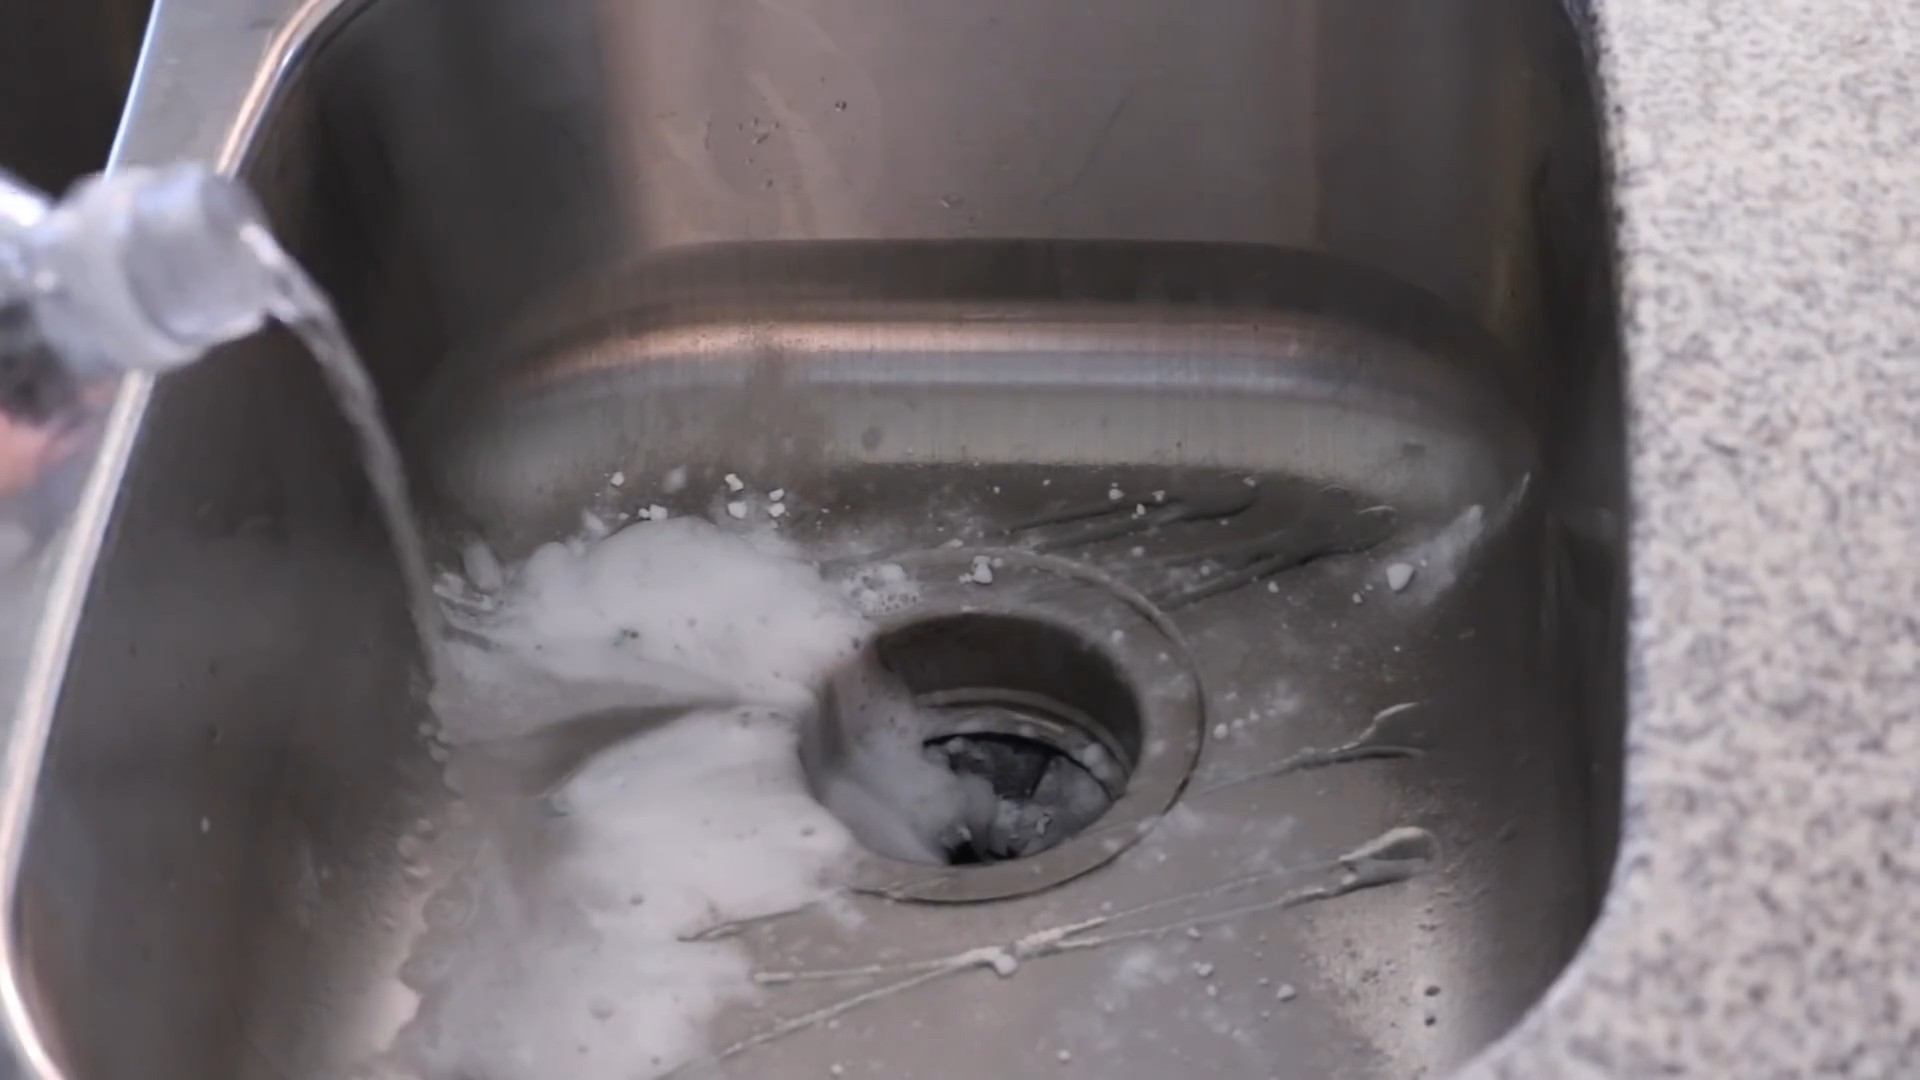
1. **Rinse the Sink:** Start by rinsing your sink thoroughly with hot water. This will loosen any loose debris and prepare the surface for cleaning. Make sure to remove any dishes or items that might be in the way.
2. **Apply Dish Soap:** Squirt a generous amount of dish soap onto your sponge or cloth. I like to use a circular motion to spread it evenly across the entire sink surface, including the sides and the faucet.
3. **Scrub the Sink:** Now, put some elbow grease into it! Scrub the entire sink with your soapy sponge or cloth. Pay special attention to areas that tend to accumulate grime, such as around the drain, the faucet base, and any corners.
4. **Rinse Again:** Rinse the sink thoroughly with hot water to remove all traces of dish soap. Make sure there are no soapy residues left behind, as these can attract dirt and leave streaks.
5. **Sprinkle Baking Soda:** This is where the magic happens! Sprinkle a generous layer of baking soda over the entire damp sink surface. Don’t be shy – the more, the merrier!
6. **Scrub with Baking Soda:** Using your sponge or cloth, scrub the baking soda into the sink. The baking soda acts as a gentle abrasive, helping to remove stubborn stains and grime without scratching the surface. I find that a circular motion works best.
7. **Target Hard-to-Reach Areas:** Grab your old toothbrush and use it to scrub those hard-to-reach areas, such as around the drain, the faucet base, and any tight corners. The toothbrush’s bristles will help to dislodge any stubborn dirt and grime that your sponge couldn’t reach.
8. **Rinse Again (Part 3!):** Rinse the sink thoroughly with hot water to remove all traces of baking soda. Again, make sure there are no residues left behind.
Dealing with Stubborn Stains and Hard Water
Sometimes, dish soap and baking soda just aren’t enough to tackle those really stubborn stains and hard water deposits. That’s where vinegar comes in!
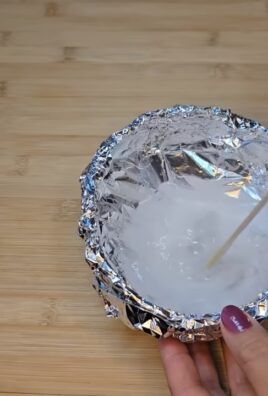
1. **Vinegar Application:** If you have a spray bottle, fill it with white vinegar. If not, you can simply pour the vinegar directly onto the sink surface.
2. **Let it Sit (Vinegar Power):** Let the vinegar sit on the sink surface for about 10-15 minutes. This will give the vinegar time to break down the hard water deposits and loosen any stubborn stains. You might notice some fizzing – that’s the vinegar reacting with the baking soda residue, which is perfectly normal.
3. **Scrub Again (Vinegar Edition):** After the vinegar has had time to sit, scrub the sink again with your sponge or cloth. You should notice that the stains and hard water deposits are much easier to remove now.
4. **Rinse Thoroughly (Vinegar Removal):** Rinse the sink thoroughly with hot water to remove all traces of vinegar. The vinegar smell might be a bit strong at first, but it will dissipate quickly.
Adding Shine and Freshness (Optional)
If you want to take your sink cleaning to the next level, try this lemon trick!
1. **Lemon Power:** Cut a lemon in half.
2. **Rub the Lemon:** Rub the cut side of the lemon all over the sink surface. The lemon juice will help to add shine and leave a fresh, citrusy scent.
3. **Squeeze for Extra Juice:** For extra cleaning power, squeeze the lemon halves as you rub them over the sink.
4. **Rinse One Last Time:** Rinse the sink thoroughly with hot water to remove any lemon residue.
Drying and Polishing
This is the final step, and it’s crucial for achieving that sparkling finish!
1. **Dry the Sink:** Use a clean microfiber cloth to dry the entire sink surface thoroughly.
2. **Polish for Shine:** As you dry the sink, use the microfiber cloth to polish the surface. This will help to remove any water spots and leave a brilliant shine.
3. **Admire Your Work:** Step back and admire your sparkling clean sink! You deserve it!
Cleaning Different Sink Materials
The above method works great for most stainless steel and porcelain sinks. However, if you have a different type of sink, you might need to adjust the cleaning process slightly.
Stainless Steel Sinks
Stainless steel sinks are generally quite durable, but they can be prone to scratches. Avoid using abrasive cleaners or steel wool, as these can damage the surface. Always scrub in the direction of the grain to prevent scratches.
Porcelain Sinks
Porcelain sinks can be more delicate than stainless steel sinks. Avoid using harsh chemicals or abrasive cleaners, as these can damage the enamel coating. Be gentle when scrubbing to avoid scratching the surface.
Composite Sinks
Composite sinks are made from a mixture of materials, such as granite or quartz. These sinks are generally quite durable and resistant to stains. However, it’s still important to avoid using harsh chemicals or abrasive cleaners.
Copper Sinks
Copper sinks require special care to maintain their unique patina. Avoid using abrasive cleaners or harsh chemicals, as these can damage the finish. Instead, use a mild dish soap and a soft cloth to clean the sink. You can also use a copper cleaner to restore the shine.
Maintaining Your Sparkling Sink
Now that you’ve got your sink looking brand new, here are a few tips to help you keep it that way:
* **Rinse After Each Use:** Make it a habit to rinse your sink with hot water after each use. This will help to prevent food particles and grime from building up.
* **Wipe Down Regularly:** Wipe down your sink with a damp cloth or sponge every day to remove any spills or splatters.
* **Deep Clean Weekly:** Give your sink a deep clean once a week using the method described above.
* **Avoid Harsh Chemicals:** Avoid using harsh chemicals or abrasive cleaners, as these can damage the sink surface.
* **Use a Sink Grid:** Consider using a sink grid to protect the bottom of your sink from scratches and dents.
* **Address Stains Promptly:** If you notice any stains, address them promptly to prevent them from becoming permanent.
Troubleshooting Common Sink Problems
Even with regular cleaning, you might encounter some common sink problems. Here are a few tips for troubleshooting:
* **Clogged Drain:** If your sink drain is clogged, try using a plunger or a drain snake to clear the blockage. You can also try pouring boiling water down the drain. If these methods don’t work, you might need to call a plumber.
* **Hard Water Stains:** Hard water stains can be difficult to remove. Try using vinegar or lemon juice to dissolve the mineral deposits. You can also use a commercial hard water stain remover.
* **Rust Stains:** Rust stains can occur in sinks made of iron or steel. Try using a rust remover or a paste made from baking soda and water to remove the stains.
* **Scratches:** Scratches can occur in any type of sink. Unfortunately, there’s not much you can do to remove scratches completely. However, you can try using a scratch repair kit to minimize their appearance.
I hope this guide has been helpful! With a little bit of effort, you can keep your sink sparkling clean and looking its best. Happy cleaning!
Conclusion
So, there you have it! Transforming your everyday dish soap into a powerhouse sink cleaner is not just a clever hack; it’s a game-changer for maintaining a sparkling and hygienic kitchen. We’ve shown you how a simple tweak can elevate your cleaning routine, saving you money and reducing your reliance on harsh chemicals. This DIY trick is a must-try because it’s effective, affordable, and environmentally conscious. Who wouldn’t want a cleaner sink without the hefty price tag or the lingering smell of industrial cleaners?
But the beauty of this method lies in its adaptability. Feel free to experiment with variations to suit your specific needs and preferences. For instance, if you’re dealing with stubborn hard water stains, consider adding a splash of white vinegar to your dish soap mixture. The vinegar’s acidity will help break down mineral deposits, leaving your sink gleaming. Or, if you prefer a more aromatic cleaning experience, infuse your dish soap with a few drops of your favorite essential oil, like lemon or tea tree, for their antibacterial properties and refreshing scents. Remember to test any additions on a small, inconspicuous area first to ensure they don’t damage your sink’s surface.
Beyond the basic cleaning power, this method also offers a fantastic way to maintain your sink’s shine and prevent future buildup. Regular use of this enhanced dish soap solution will keep grime at bay, making your weekly cleaning sessions much easier. Think of it as a preventative measure, saving you time and effort in the long run.
We are confident that once you try this simple yet effective DIY sink cleaning trick, you’ll wonder why you haven’t been doing it all along. It’s a testament to the fact that sometimes, the best solutions are the simplest ones.
Now, it’s your turn to put this knowledge into action! Grab your dish soap, gather your supplies, and prepare to be amazed by the results. We encourage you to try this DIY sink cleaning method and share your experience with us. Let us know what variations you tried, what worked best for you, and any tips you discovered along the way. Your feedback will not only help us refine this method but also inspire others to embrace the power of DIY cleaning. Share your before-and-after photos, your favorite essential oil combinations, or any other insights you have. Together, we can create a community of savvy cleaners who are passionate about keeping their kitchens sparkling without breaking the bank. So, go ahead, give it a try, and let us know what you think! We can’t wait to hear from you!
Frequently Asked Questions (FAQ)
1. What kind of dish soap works best for this DIY sink cleaning method?
Generally, any liquid dish soap will work for cleaning your sink. However, for optimal results, consider using a dish soap that is known for its grease-cutting abilities. These types of dish soaps often contain enzymes that help break down stubborn grime and food particles. If you have a particularly sensitive sink surface, such as a natural stone, opt for a gentle, pH-neutral dish soap to avoid any potential damage. Avoid using dish soaps that contain abrasive particles, as these can scratch your sink’s surface.
2. Can I use this method on all types of sinks?
This DIY sink cleaning method is generally safe for most types of sinks, including stainless steel, porcelain, and composite sinks. However, it’s always a good idea to test the solution on a small, inconspicuous area first, especially if you have a more delicate sink material like natural stone (granite, marble, etc.). Avoid using abrasive scrub brushes or scouring pads on sensitive surfaces, as these can cause scratches. For natural stone sinks, use a pH-neutral dish soap and a soft cloth to avoid damaging the sealant.
3. How often should I clean my sink using this method?
The frequency of cleaning depends on how often you use your sink and how much food debris accumulates. As a general guideline, aim to clean your sink at least once a week using this method. For high-traffic sinks or those that are frequently exposed to greasy foods, you may want to clean them more often, perhaps every other day. Regular cleaning will prevent buildup and make your sink easier to maintain in the long run.
4. What if I have stubborn stains or buildup in my sink?
For stubborn stains or buildup, you can try a few different approaches. First, let the dish soap solution sit on the affected area for a longer period, perhaps 15-20 minutes, to allow it to penetrate the grime. You can also try adding a small amount of baking soda to the dish soap mixture to create a gentle abrasive paste. Gently scrub the stained area with a soft cloth or sponge. For hard water stains, a splash of white vinegar can work wonders. Remember to rinse thoroughly after cleaning.
5. Can I add other cleaning agents to the dish soap mixture?
While the dish soap solution is effective on its own, you can add other cleaning agents to boost its cleaning power. As mentioned earlier, white vinegar is a great addition for tackling hard water stains. You can also add a few drops of essential oils, such as lemon or tea tree, for their antibacterial properties and refreshing scents. However, avoid mixing dish soap with bleach, as this can create harmful fumes. Always test any additions on a small, inconspicuous area first to ensure they don’t damage your sink’s surface.
6. How do I prevent my sink from getting dirty in the first place?
Prevention is key to keeping your sink clean and sparkling. Rinse your sink after each use to remove any food debris or spills. Avoid pouring grease down the drain, as this can clog your pipes and create a breeding ground for bacteria. Use a sink strainer to catch food particles and prevent them from going down the drain. Wipe down your sink regularly with a damp cloth to remove any water spots or spills. By following these simple tips, you can minimize the amount of cleaning required and keep your sink looking its best.
7. Is this DIY sink cleaning method environmentally friendly?
Yes, this DIY sink cleaning method is generally more environmentally friendly than using harsh chemical cleaners. Dish soap is typically biodegradable and less toxic than many commercial cleaning products. By making your own cleaning solution, you can also reduce your reliance on plastic bottles and packaging. To further enhance the eco-friendliness of this method, choose a dish soap that is labeled as biodegradable and free of harsh chemicals. You can also use natural cleaning agents like white vinegar and essential oils.
8. Can I use this method to clean other areas of my kitchen?
While this method is primarily designed for cleaning sinks, it can also be used to clean other areas of your kitchen, such as countertops, stovetops, and backsplashes. However, it’s important to test the solution on a small, inconspicuous area first to ensure it doesn’t damage the surface. Avoid using this method on delicate surfaces like wood or painted walls. For general kitchen cleaning, dilute the dish soap solution with more water to prevent residue buildup.

Leave a Comment