
Cleaning Tricks for Easier Chores – who doesn’t want those? Let’s be honest, cleaning isn’t exactly anyone’s favorite pastime. We all dream of sparkling homes, but the thought of spending hours scrubbing and dusting? Not so appealing! But what if I told you there are clever, time-saving ways to tackle those chores, leaving you with more time to enjoy the things you actually love?
Throughout history, people have sought out ways to make household tasks more efficient. From ancient Roman bathhouses meticulously maintained by slaves to the Victorian era’s obsession with cleanliness, the desire for a tidy home has always been present. While we may not have the same resources as those eras, we *do* have access to a wealth of knowledge and DIY ingenuity!
That’s where these cleaning tricks for easier chores come in. I’m going to share some of my favorite hacks that will revolutionize your cleaning routine. Forget spending your entire weekend scrubbing grout – these tips will help you clean smarter, not harder. Whether you’re a busy parent, a student juggling studies and a social life, or simply someone who values their free time, these DIY solutions will help you reclaim your weekends and enjoy a cleaner, happier home. Get ready to ditch the drudgery and embrace a more efficient, enjoyable cleaning experience!
DIY Cleaning Hacks for Easier Chores: My Secret Weapons!
Okay, friends, let’s be honest: cleaning isn’t exactly anyone’s favorite pastime. But what if I told you there were ways to make it faster, easier, and even…dare I say…a little bit fun? I’ve compiled some of my absolute favorite DIY cleaning hacks that have seriously revolutionized my cleaning routine. Get ready to ditch the harsh chemicals and embrace some clever, cost-effective solutions!
Cleaning Your Microwave Like a Pro (Without Scrubbing!)
This is a game-changer, trust me. No more endless scrubbing to get rid of splattered food!
What you’ll need:
* 1 cup of water
* 1/4 cup of white vinegar (or lemon juice)
* Microwave-safe bowl
* Clean cloth or sponge
Step-by-step instructions:
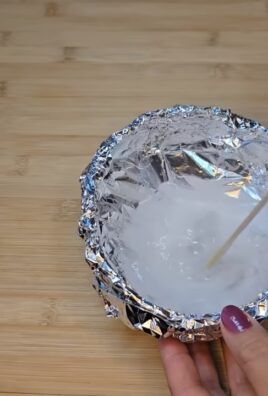
1. Mix the solution: In your microwave-safe bowl, combine the water and vinegar (or lemon juice). The vinegar helps loosen grime, and the lemon juice adds a fresh scent.
2. Microwave it: Place the bowl in the microwave and heat on high for 5-7 minutes. You want the solution to boil and create steam inside the microwave.
3. Let it sit: Don’t open the microwave door immediately! Let the steam work its magic for another 5-10 minutes. This is crucial for loosening all the stuck-on food.
4. Wipe it clean: Carefully remove the bowl (it will be hot!). Use a clean cloth or sponge to easily wipe away all the loosened grime. You’ll be amazed at how effortlessly it comes off!
5. Final touches: For any stubborn spots, you can dip your cloth in the remaining solution and give them a little extra attention.
Unclogging Drains Naturally (Say Goodbye to Harsh Chemicals!)
Clogged drains are the worst! But before you reach for those harsh chemical drain cleaners, try this natural and effective method.
What you’ll need:
* 1 cup of baking soda
* 2 cups of boiling water
* 1 cup of white vinegar
Step-by-step instructions:
1. Pour in the baking soda: Carefully pour one cup of baking soda down the clogged drain. Try to get as much of it down the drain as possible.
2. Add the vinegar: Next, slowly pour one cup of white vinegar down the drain. You’ll notice a fizzing reaction – that’s exactly what you want!
3. Let it fizz: Let the baking soda and vinegar mixture fizz and work its magic for about 30 minutes. This reaction helps to break down the clog.
4. Flush with boiling water: After 30 minutes, carefully pour two cups of boiling water down the drain. This will help flush away the loosened clog.
5. Repeat if necessary: If the drain is still clogged, repeat the process. For really stubborn clogs, you might need to repeat it a couple of times.
Cleaning Your Shower Head for Better Water Pressure
A clogged shower head can seriously impact your shower experience. Mineral buildup can restrict water flow and make your shower less enjoyable. Here’s how to fix it!
What you’ll need:
* White vinegar
* Plastic bag (gallon-sized works best)
* Rubber band or twist tie
* Old toothbrush (optional)
Step-by-step instructions:
1. Fill the bag with vinegar: Pour enough white vinegar into the plastic bag to completely submerge your shower head.
2. Attach the bag: Carefully position the bag over the shower head, ensuring that the shower head is fully immersed in the vinegar. Secure the bag tightly with a rubber band or twist tie.
3. Soak overnight: Let the shower head soak in the vinegar overnight (or for at least a few hours). This allows the vinegar to dissolve the mineral buildup.
4. Remove and rinse: Remove the bag and discard the vinegar. Turn on the shower and let the water run for a few minutes to flush out any remaining vinegar and loosened debris.
5. Scrub if needed: If there’s still some stubborn buildup, use an old toothbrush to gently scrub the shower head.
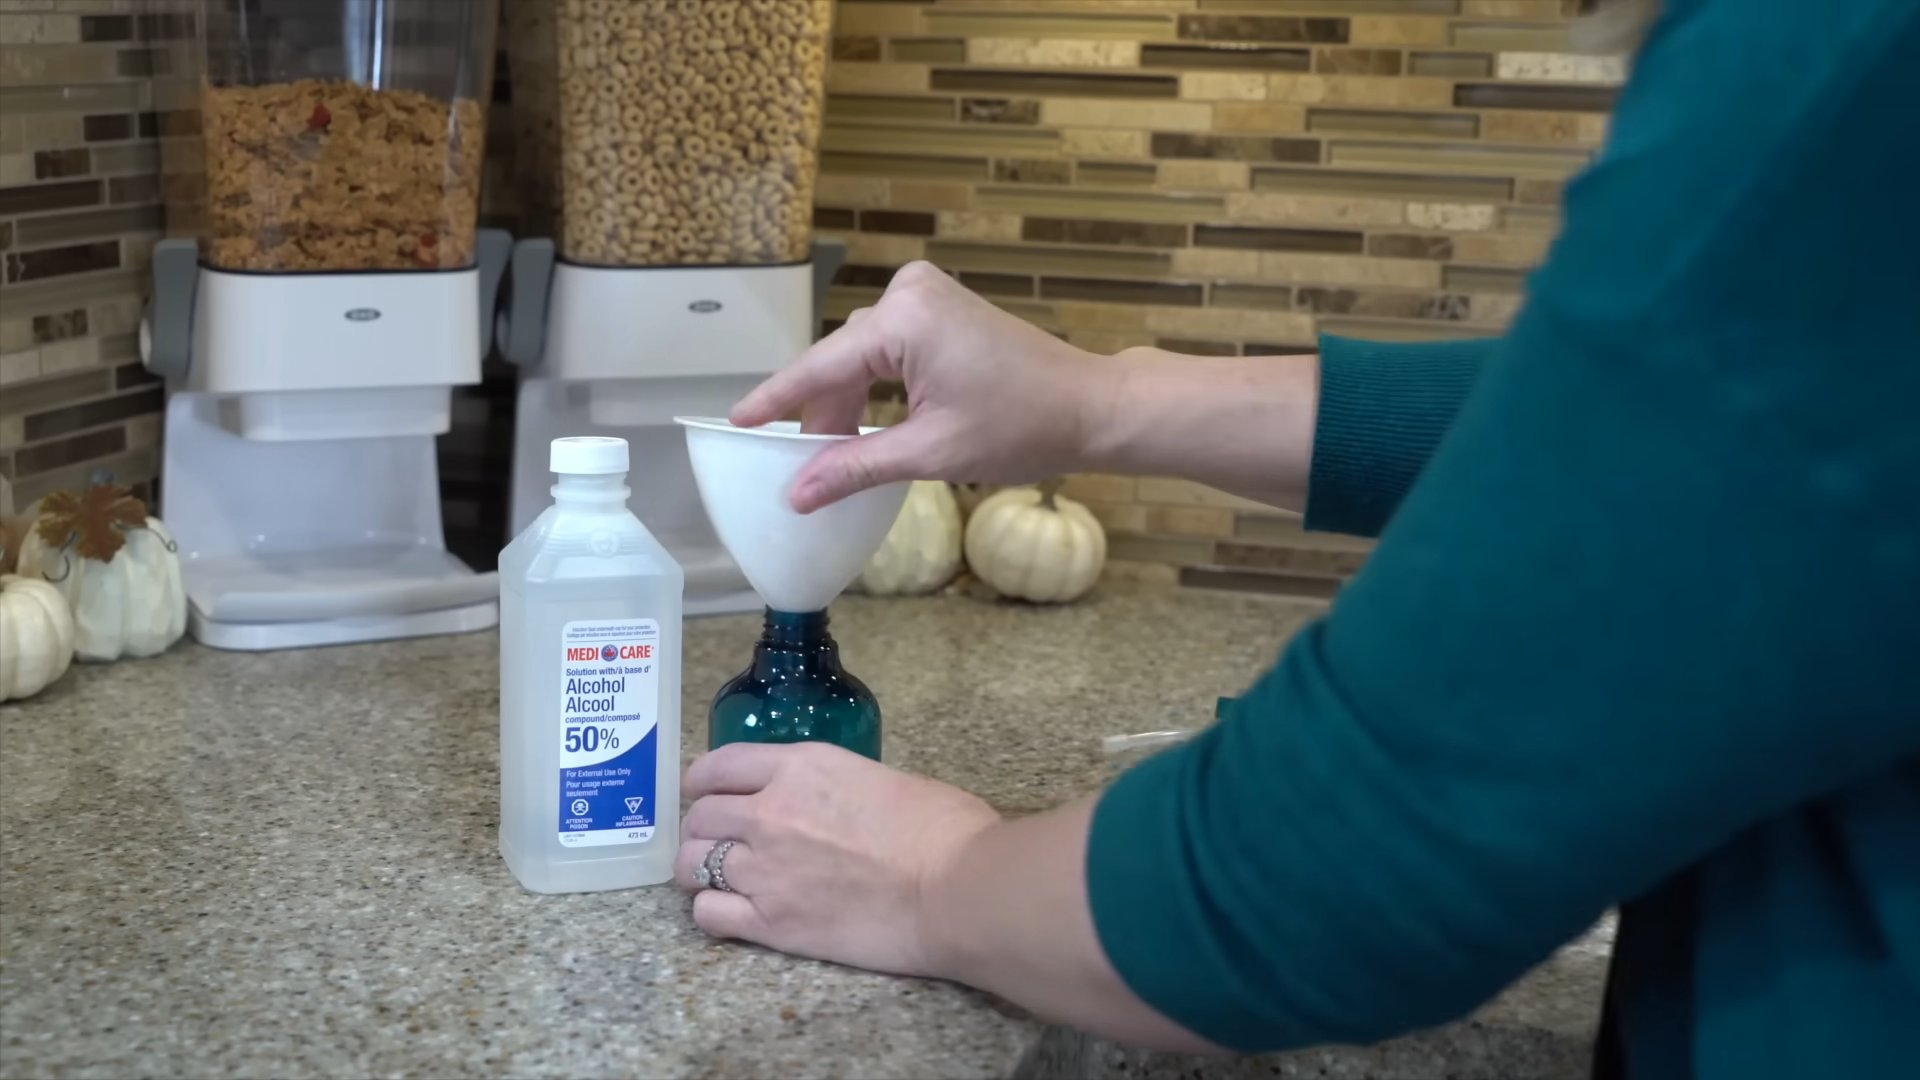
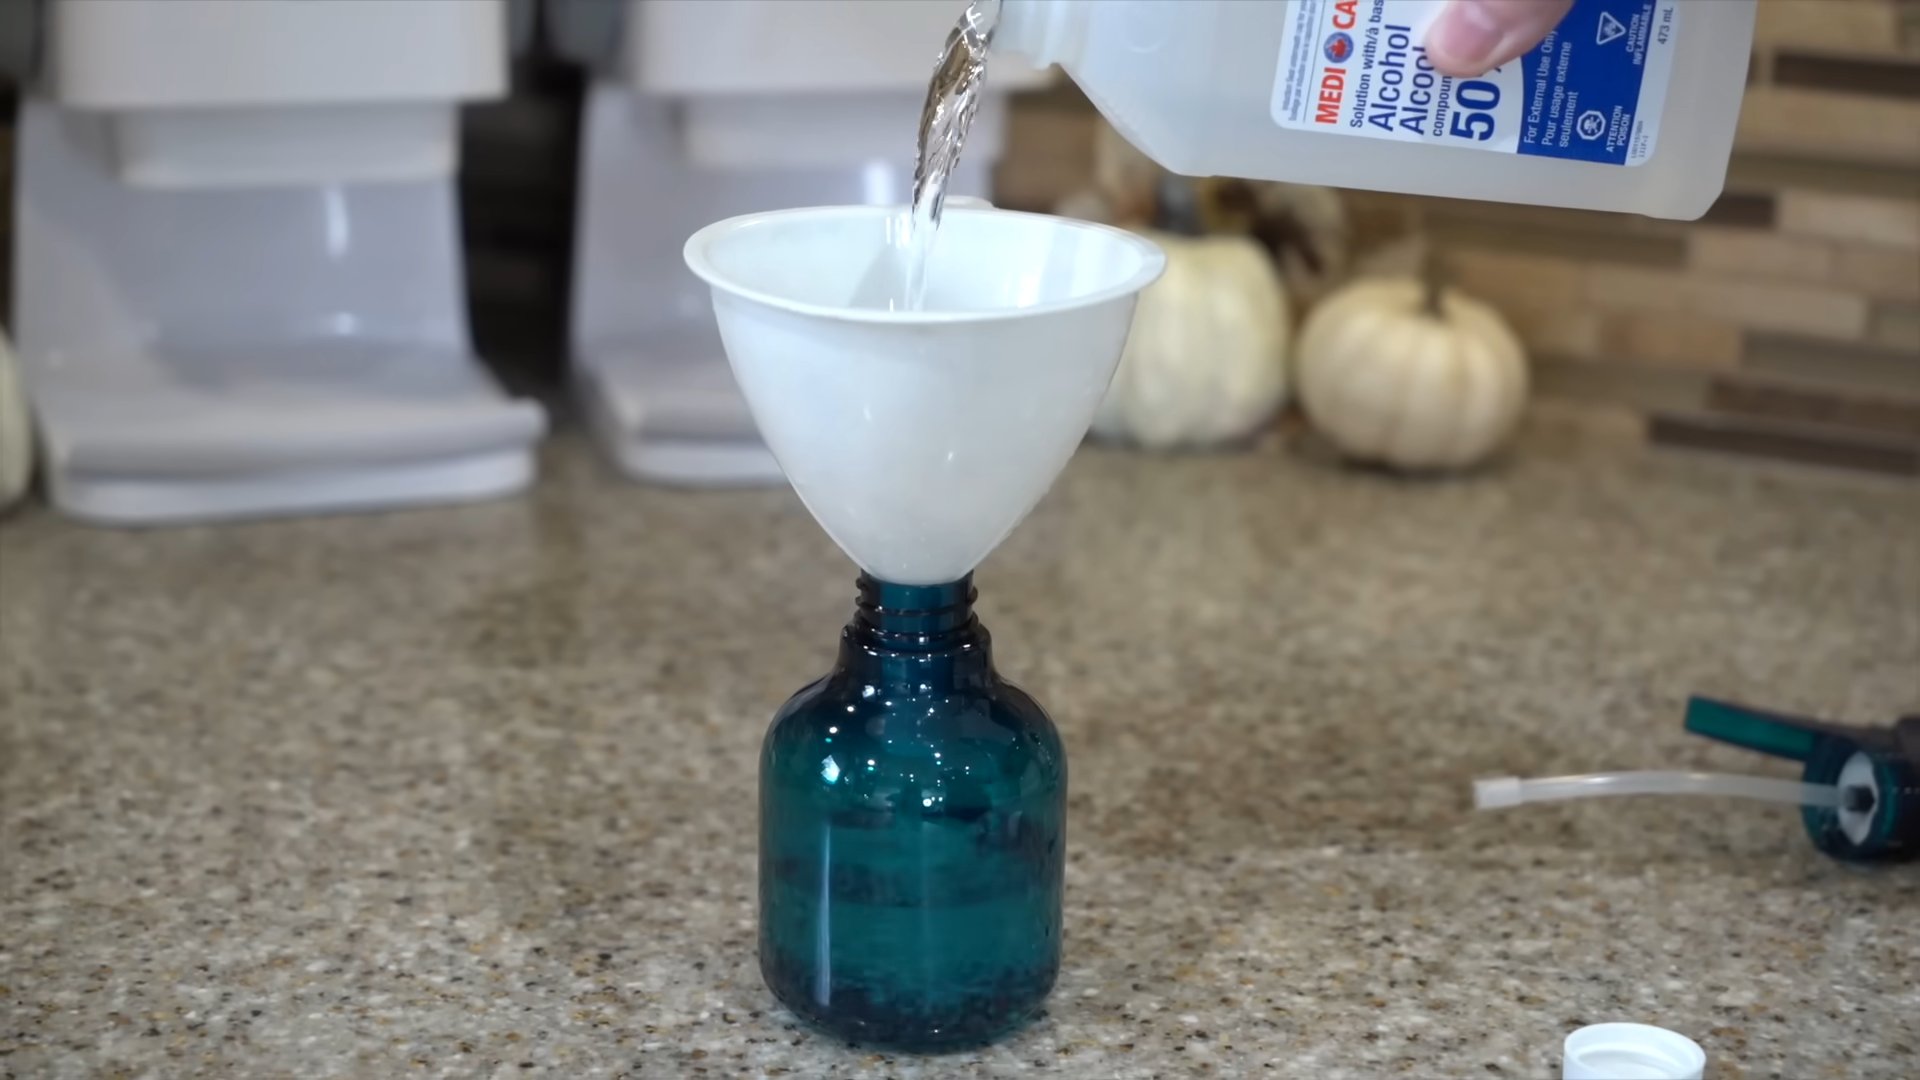
Making Your Own All-Purpose Cleaner (Save Money and Reduce Waste!)
Why buy expensive all-purpose cleaners when you can easily make your own with just a few simple ingredients? This recipe is effective, eco-friendly, and smells amazing!
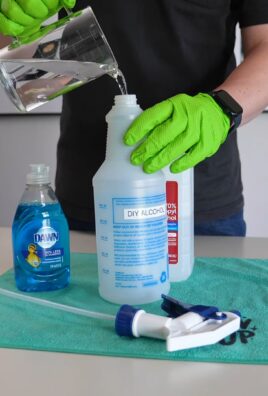
What you’ll need:
* Spray bottle
* 1/4 cup white vinegar
* 1 tablespoon baking soda
* Water
* 10-15 drops of your favorite essential oil (optional, but I love lemon, lavender, or tea tree)
Step-by-step instructions:
1. Combine ingredients: In your spray bottle, add the white vinegar and baking soda. Be prepared for a little fizzing!
2. Add water: Slowly fill the rest of the spray bottle with water.
3. Add essential oils (optional): If you’re using essential oils, add 10-15 drops to the mixture.
4. Shake well: Close the spray bottle and shake well to combine all the ingredients.
5. Use and enjoy: Your all-purpose cleaner is ready to use! Spray it on surfaces and wipe clean with a cloth or sponge.
Cleaning Your Oven Without Harsh Chemicals (The Baking Soda Paste Method)
Oven cleaning is notoriously dreaded, but this baking soda paste method makes it much easier and avoids those harsh chemical fumes.
What you’ll need:
* Baking soda
* Water
* Spatula or scraper
* Spray bottle
* Vinegar
* Clean cloths or sponges
Step-by-step instructions:
1. Prepare the oven: Remove the oven racks and any loose debris.
2. Make the baking soda paste: In a bowl, mix together baking soda and water to form a thick paste. You want it to be spreadable but not too runny.
3. Apply the paste: Spread the baking soda paste all over the inside of your oven, avoiding the heating elements. Be generous with the paste, especially on areas with baked-on grease and grime.
4. Let it sit overnight: This is the key! Let the baking soda paste sit in your oven overnight (or for at least 12 hours). This allows the baking soda to break down the grease and grime.
5. Scrape away the paste: The next day, use a spatula or scraper to remove as much of the dried baking soda paste as possible.
6. Spray with vinegar: Fill a spray bottle with vinegar and spray it all over the inside of your oven. The vinegar will react with any remaining baking soda, creating a fizzing action that helps to loosen any remaining grime.
7. Wipe clean: Use clean cloths or sponges to wipe away the remaining paste and vinegar. You may need to rinse your cloths frequently.
8. Replace the racks: Once the oven is clean and dry, replace the oven racks.
Freshening Your Mattress (Baking Soda Magic!)
Mattresses can harbor dust mites, odors, and allergens. This simple baking soda trick will freshen your mattress and help you sleep better.
What you’ll need:
* Baking soda
* Sieve or strainer
* Vacuum cleaner with upholstery attachment
* Essential oils (optional, for added fragrance)
Step-by-step instructions:
1. Strip the bed: Remove all bedding, including sheets, blankets, and mattress protectors.
2. Sprinkle baking soda: Generously sprinkle baking soda over the entire surface of your mattress. Use a sieve or strainer to ensure an even distribution.
3. Add essential oils (optional): If you want to add a fresh scent, mix a few drops of your favorite essential oil (like lavender or eucalyptus) with the baking soda before sprinkling it on the mattress.
4. Let it sit: Let the baking soda sit on the mattress for at least 30 minutes, or even better, for a few hours. This allows the baking soda to absorb odors and moisture.
5. Vacuum thoroughly: Use a vacuum cleaner with an upholstery attachment to thoroughly vacuum the entire surface of the mattress. Make sure to get into all the crevices and seams.
6. Flip and repeat: Flip the mattress over and repeat the process on the other side.
Cleaning Blinds Easily (No More Dusting Nightmares!)
Cleaning blinds can be a tedious task, but this simple hack makes it much easier.
What you’ll need:
* Old sock
* White vinegar
* Water
* Spray bottle
* Bucket
Step-by-step instructions:
1. Prepare the cleaning solution: In a bucket, mix
Conclusion
So, there you have it! This simple yet incredibly effective DIY cleaning trick is more than just a shortcut; it’s a game-changer for anyone looking to simplify their cleaning routine and reclaim their precious time. We’ve all been there, staring down a mountain of chores, feeling overwhelmed and unmotivated. But with this method, you can tackle even the most daunting cleaning tasks with renewed energy and efficiency.
Why is this DIY cleaning trick a must-try? Because it’s cost-effective, using ingredients you likely already have in your pantry. It’s environmentally friendly, reducing your reliance on harsh chemicals and disposable cleaning products. And most importantly, it works! It delivers sparkling clean results without requiring hours of back-breaking labor.
But the beauty of this DIY approach lies in its adaptability. Feel free to experiment with variations to suit your specific needs and preferences. For instance, if you’re dealing with particularly stubborn grime, try adding a tablespoon of baking soda to the mixture for extra scrubbing power. Or, if you prefer a more fragrant cleaning experience, infuse your solution with a few drops of your favorite essential oil, like lemon, lavender, or eucalyptus. Just be sure to test the solution on an inconspicuous area first to ensure it doesn’t damage the surface.
Another variation you might consider is adjusting the ratio of ingredients depending on the type of surface you’re cleaning. For delicate surfaces like marble or granite, you may want to dilute the solution further to prevent any potential damage. Conversely, for heavily soiled areas, you can increase the concentration of the cleaning agents for a more potent effect.
Don’t be afraid to get creative and personalize this DIY cleaning trick to make it your own. The possibilities are endless!
We’re confident that once you try this method, you’ll wonder how you ever cleaned without it. It’s a simple, effective, and sustainable way to keep your home sparkling clean and inviting.
So, what are you waiting for? Gather your supplies, mix up a batch of this amazing cleaning solution, and prepare to be amazed. We encourage you to try this DIY cleaning trick and share your experience with us. Let us know what variations you tried, what surfaces you cleaned, and what results you achieved. Your feedback will not only help us improve this guide but also inspire others to embrace the power of DIY cleaning.
Share your before-and-after photos, your tips and tricks, and your overall impressions in the comments section below. We can’t wait to hear from you! Let’s create a community of cleaning enthusiasts who are passionate about simplifying their lives and creating a healthier, happier home environment. Remember, a clean home is a happy home, and with this DIY cleaning trick, you’re one step closer to achieving that goal. Embrace the simplicity, embrace the effectiveness, and embrace the joy of a sparkling clean home! This **DIY cleaning trick** is your new best friend.
Frequently Asked Questions
What exactly makes this DIY cleaning trick so effective?
The effectiveness of this DIY cleaning trick stems from the synergistic action of its ingredients. Typically, these recipes combine a degreasing agent (like dish soap or vinegar), a disinfectant (like hydrogen peroxide or rubbing alcohol), and a boosting agent (like baking soda or lemon juice). The degreaser breaks down grease and grime, the disinfectant kills bacteria and germs, and the boosting agent enhances the cleaning power and adds a pleasant scent. This combination tackles a wide range of cleaning challenges, leaving surfaces clean, sanitized, and refreshed. The beauty lies in the simplicity and the readily available nature of the ingredients. You’re essentially creating a powerful, multi-purpose cleaner without the harsh chemicals found in many commercial products.
Can I use this DIY cleaning solution on all surfaces?
While this DIY cleaning solution is generally safe for most surfaces, it’s always a good idea to test it on an inconspicuous area first, especially on delicate materials like marble, granite, or wood. Avoid using it on surfaces that are sensitive to acids, such as unsealed grout or natural stone. For these surfaces, a milder solution of soap and water is usually the best option. Also, be cautious when using vinegar on rubber or certain plastics, as it can cause degradation over time. Always read the manufacturer’s instructions for your specific surfaces before using any cleaning product, DIY or commercial.
How long does the DIY cleaning solution last?
The shelf life of your DIY cleaning solution depends on the ingredients you use. Solutions containing water and organic ingredients like lemon juice or essential oils are more prone to bacterial growth and should be used within a week or two. Solutions containing vinegar or alcohol, which have natural preservative properties, can last longer, up to a month or two. To maximize the shelf life of your solution, store it in a clean, airtight container in a cool, dark place. If you notice any changes in color, odor, or consistency, discard the solution and make a fresh batch. It’s always best to make smaller batches of the solution to ensure that you’re using a fresh and effective cleaner.
What are some common mistakes to avoid when making and using this DIY cleaning solution?
One common mistake is using the wrong proportions of ingredients. Too much of one ingredient can make the solution ineffective or even damage surfaces. Always follow the recipe carefully and measure ingredients accurately. Another mistake is mixing incompatible ingredients. For example, never mix bleach with vinegar or ammonia, as this can create toxic fumes. Also, avoid using hot water when mixing the solution, as this can cause some ingredients to react prematurely. When using the solution, avoid spraying it directly onto electrical outlets or appliances. Instead, spray it onto a cloth and then wipe the surface. Finally, always rinse surfaces thoroughly after cleaning to remove any residue.
Can I add essential oils to this DIY cleaning solution? If so, which ones are best?
Yes, adding essential oils to your DIY cleaning solution is a great way to enhance its scent and add extra cleaning power. Many essential oils have antibacterial, antiviral, and antifungal properties, making them a natural and effective addition to your cleaning routine. Some of the best essential oils for cleaning include lemon, tea tree, lavender, eucalyptus, peppermint, and orange. Lemon essential oil is a powerful degreaser and has a refreshing scent. Tea tree oil is a potent antibacterial and antifungal agent. Lavender oil has a calming scent and is effective against bacteria and viruses. Eucalyptus oil is a natural disinfectant and has a refreshing, invigorating scent. Peppermint oil is a natural insect repellent and has a cooling, refreshing scent. When adding essential oils to your cleaning solution, start with a few drops and adjust to your preference. Be sure to use pure, therapeutic-grade essential oils for the best results.
Is this DIY cleaning trick safe for pets and children?
While this DIY cleaning trick is generally safer than using harsh chemical cleaners, it’s still important to take precautions when using it around pets and children. Keep the cleaning solution out of reach of children and pets. Avoid spraying it directly onto surfaces that pets or children may lick or chew. If you’re using essential oils, be sure to choose pet-safe options, as some essential oils can be toxic to animals. After cleaning, rinse surfaces thoroughly to remove any residue. If you’re concerned about potential allergic reactions, test the solution on a small area first. Always supervise children when they’re helping with cleaning and teach them about the importance of safety.
How does this DIY cleaning trick compare to commercial cleaning products?
This DIY cleaning trick offers several advantages over commercial cleaning products. It’s more cost-effective, as you’re using ingredients you likely already have on hand. It’s more environmentally friendly, as you’re reducing your reliance on harsh chemicals and disposable packaging. It’s also more customizable, as you can adjust the ingredients to suit your specific needs and preferences. However, commercial cleaning products are often formulated with specific cleaning tasks in mind and may be more effective at tackling certain types of grime or stains. They also often contain surfactants and other ingredients that enhance their cleaning power. Ultimately, the best choice depends on your individual needs and priorities. If you’re looking for a cost-effective, environmentally friendly, and customizable cleaning solution, this DIY cleaning trick is a great option. If you need a more specialized cleaner for a specific task, a commercial product may be a better choice.

Leave a Comment