
Container strawberries! Just the thought conjures images of juicy, sun-ripened berries bursting with flavor, right? Imagine stepping outside your door and plucking a handful of these sweet treats, all grown by your own hand. Forget those bland, store-bought berries – we’re talking about a taste explosion that only comes from homegrown goodness.
Growing strawberries at home isn’t just a modern trend; it’s a practice with roots stretching back centuries. From the wild strawberries enjoyed by ancient Romans to the carefully cultivated varieties of 18th-century Europe, people have always cherished these delightful fruits. And now, with limited space becoming the norm, container strawberries offer a fantastic solution for urban gardeners and anyone looking to bring a touch of nature to their balcony, patio, or even windowsill.
But let’s be honest, sometimes getting those containers to yield a bountiful harvest can feel like a challenge. That’s where this DIY guide comes in! I’m going to share some simple yet effective tricks and hacks that will transform your container strawberry growing experience. We’ll cover everything from choosing the right container and soil to mastering watering techniques and pest control. Why struggle with lackluster results when you can unlock the secrets to a thriving strawberry patch, right at your fingertips? Let’s get started and turn your container into a strawberry paradise!
DIY Strawberry Tower: A Vertical Garden for Sweet Success
Hey there, fellow gardening enthusiasts! Are you dreaming of juicy, homegrown strawberries but short on space? Well, I’ve got the perfect solution for you: a DIY strawberry tower! This vertical garden is not only a space-saver but also a beautiful addition to any balcony, patio, or small garden. Plus, it’s a super fun project to tackle. Let’s get started!
What You’ll Need
Before we dive in, let’s gather all the necessary materials. Trust me, having everything ready beforehand will make the process much smoother.
* A large plastic container: Think big! A 55-gallon plastic drum or a large, sturdy storage container will work best. The taller the container, the more strawberries you can grow. Make sure it’s food-grade plastic, just to be safe.
* Smaller plastic pots or cups: You’ll need a bunch of these – the number depends on the size of your container and how many strawberries you want to plant. I usually aim for about 20-30.
* Potting soil: Use a high-quality potting mix specifically formulated for containers. This will provide the necessary nutrients and drainage for your strawberry plants.
* Strawberry plants: Choose everbearing varieties for a continuous harvest throughout the growing season. I personally love ‘Seascape’ and ‘Albion’ for their delicious flavor and productivity.
* Drill with various sized drill bits: This is essential for creating drainage holes and planting holes in your container.
* Utility knife or jigsaw: For cutting larger holes in the container. Be careful!
* Landscape fabric or burlap: This will help prevent soil from washing out of the planting holes.
* Gravel or small stones: For drainage at the bottom of the container.
* Measuring tape or ruler: To ensure even spacing of the planting holes.
* Gloves: To protect your hands.
* Safety glasses: Always a good idea when using power tools.
* Watering can or hose: For watering your strawberry tower.
Building Your Strawberry Tower: Step-by-Step Instructions
Okay, now for the fun part! Follow these steps carefully, and you’ll have your very own strawberry tower in no time.
1. Prepare the Container:
* Clean the container: Give your large plastic container a good scrub with soap and water to remove any dirt or debris.
* Drill drainage holes: Drill several drainage holes (about 1/2 inch in diameter) in the bottom of the container. This is crucial for preventing waterlogging, which can lead to root rot.
* Add drainage layer: Pour a layer of gravel or small stones (about 2-3 inches deep) into the bottom of the container. This will further improve drainage.
2. Mark and Cut Planting Holes:
* Plan your layout: Decide how you want to arrange your planting holes. I like to stagger them in rows, creating a visually appealing spiral pattern.
* Mark the holes: Use a measuring tape or ruler to mark the locations of your planting holes. Aim for holes that are about 4-6 inches apart, both vertically and horizontally. The size of the hole should be slightly smaller than the diameter of your small plastic pots or cups. This will ensure a snug fit.
* Cut the holes: Using a utility knife or jigsaw, carefully cut out the marked holes. Be extra cautious when using these tools! If you’re using a utility knife, score the plastic several times before cutting all the way through.
3. Prepare the Planting Holes:
* Line the holes: Cut pieces of landscape fabric or burlap that are slightly larger than the planting holes. This will act as a barrier to prevent soil from washing out.
* Attach the fabric: Secure the fabric to the inside of each planting hole using a small amount of glue or by simply tucking it in. The goal is to create a little pocket that will hold the soil in place.
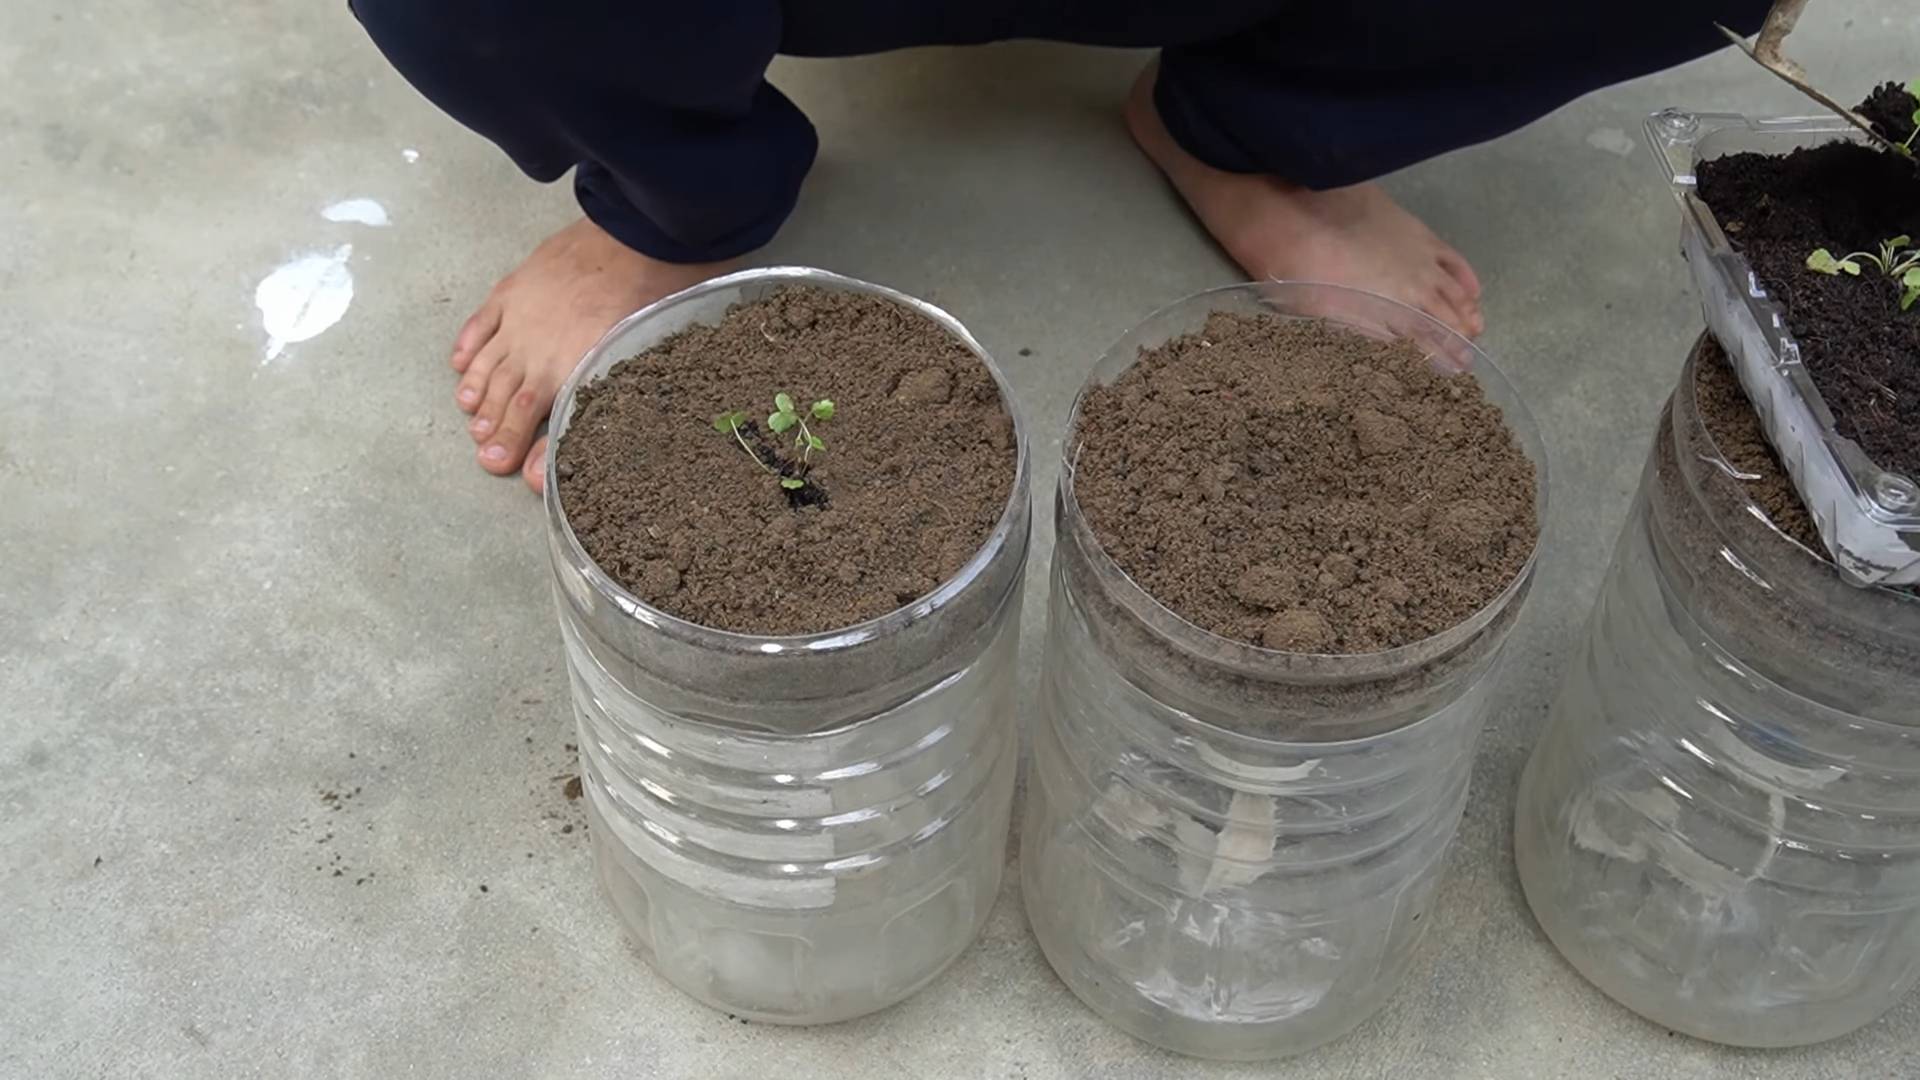
4. Start Filling the Container:
* Add potting soil: Begin filling the container with potting soil, up to the level of the first row of planting holes.
* Tamp down the soil: Gently tamp down the soil to remove any air pockets. This will help prevent the soil from settling too much later on.
5. Plant the Strawberries in the Holes:
* Prepare the strawberry plants: Gently remove the strawberry plants from their nursery pots. Loosen the roots slightly to encourage them to spread out.
* Plant in the holes: Carefully insert each strawberry plant into a planting hole, making sure the crown of the plant (where the stems meet the roots) is level with the edge of the hole.
* Add more soil: Fill in any gaps around the plant with potting soil.
6. Continue Filling and Planting:
* Repeat steps 4 and 5: Continue adding potting soil, tamping it down, and planting strawberry plants in each row of holes until you reach the top of the container.
* Plant on top: Plant several strawberry plants on the top of the container as well. This will maximize your growing space.
7. Water Thoroughly:
* Water deeply: Once all the plants are in place, water the strawberry tower thoroughly until water drains out of the bottom. This will help settle the soil and ensure the plants get a good start.
Maintaining Your Strawberry Tower: Tips for Success
Now that your strawberry tower is complete, it’s important to provide proper care to ensure a bountiful harvest. Here are some tips to keep your plants happy and healthy:
* Watering: Strawberries need consistent moisture, especially when grown in containers. Water your strawberry tower regularly, especially during hot, dry weather. Check the soil moisture by sticking your finger into the soil – if it feels dry an inch or two below the surface, it’s time to water. Avoid overwatering, as this can lead to root rot.
* Fertilizing: Feed your strawberry plants with a balanced fertilizer every 2-3 weeks during the growing season. Look for a fertilizer that is specifically formulated for strawberries or other fruiting plants. Follow the instructions on the fertilizer package carefully.
* Sunlight: Strawberries need at least 6-8 hours of sunlight per day to produce a good crop. Place your strawberry tower in a sunny location where it will receive plenty of light.
* Pruning: Remove any dead or yellowing leaves regularly to keep your plants healthy and prevent the spread of disease. You can also prune away runners (long, trailing stems) to encourage the plants to focus their energy on producing fruit.
* Pest Control: Keep an eye out for common strawberry pests, such as aphids, slugs, and spider mites. If you notice any pests, treat them promptly with an appropriate insecticide or organic pest control method.
* Winter Protection: In colder climates, you’ll need to protect your strawberry tower from freezing temperatures. You can wrap the container with burlap or move it to a sheltered location, such as a garage or shed.
Troubleshooting Common Issues
Even with the best care, you might encounter some challenges along the way. Here are some common issues and how to address them:
* Yellowing Leaves: This could be a sign of overwatering, nutrient deficiency, or pest infestation. Check the soil moisture, fertilize your plants, and inspect them for pests.
* Lack of Fruit: This could be due to insufficient sunlight, poor pollination, or nutrient deficiency. Make sure your plants are getting enough sunlight, consider hand-pollinating the flowers, and fertilize your plants regularly.
* Root Rot: This is caused by overwatering and poor drainage. Make sure your container has adequate drainage holes and avoid overwatering. If you suspect root rot, you may need to repot your plants in fresh soil.
* Small or Misshapen Fruit: This could be due to poor pollination, nutrient deficiency, or water stress. Ensure proper pollination, fertilize your plants, and water them consistently.
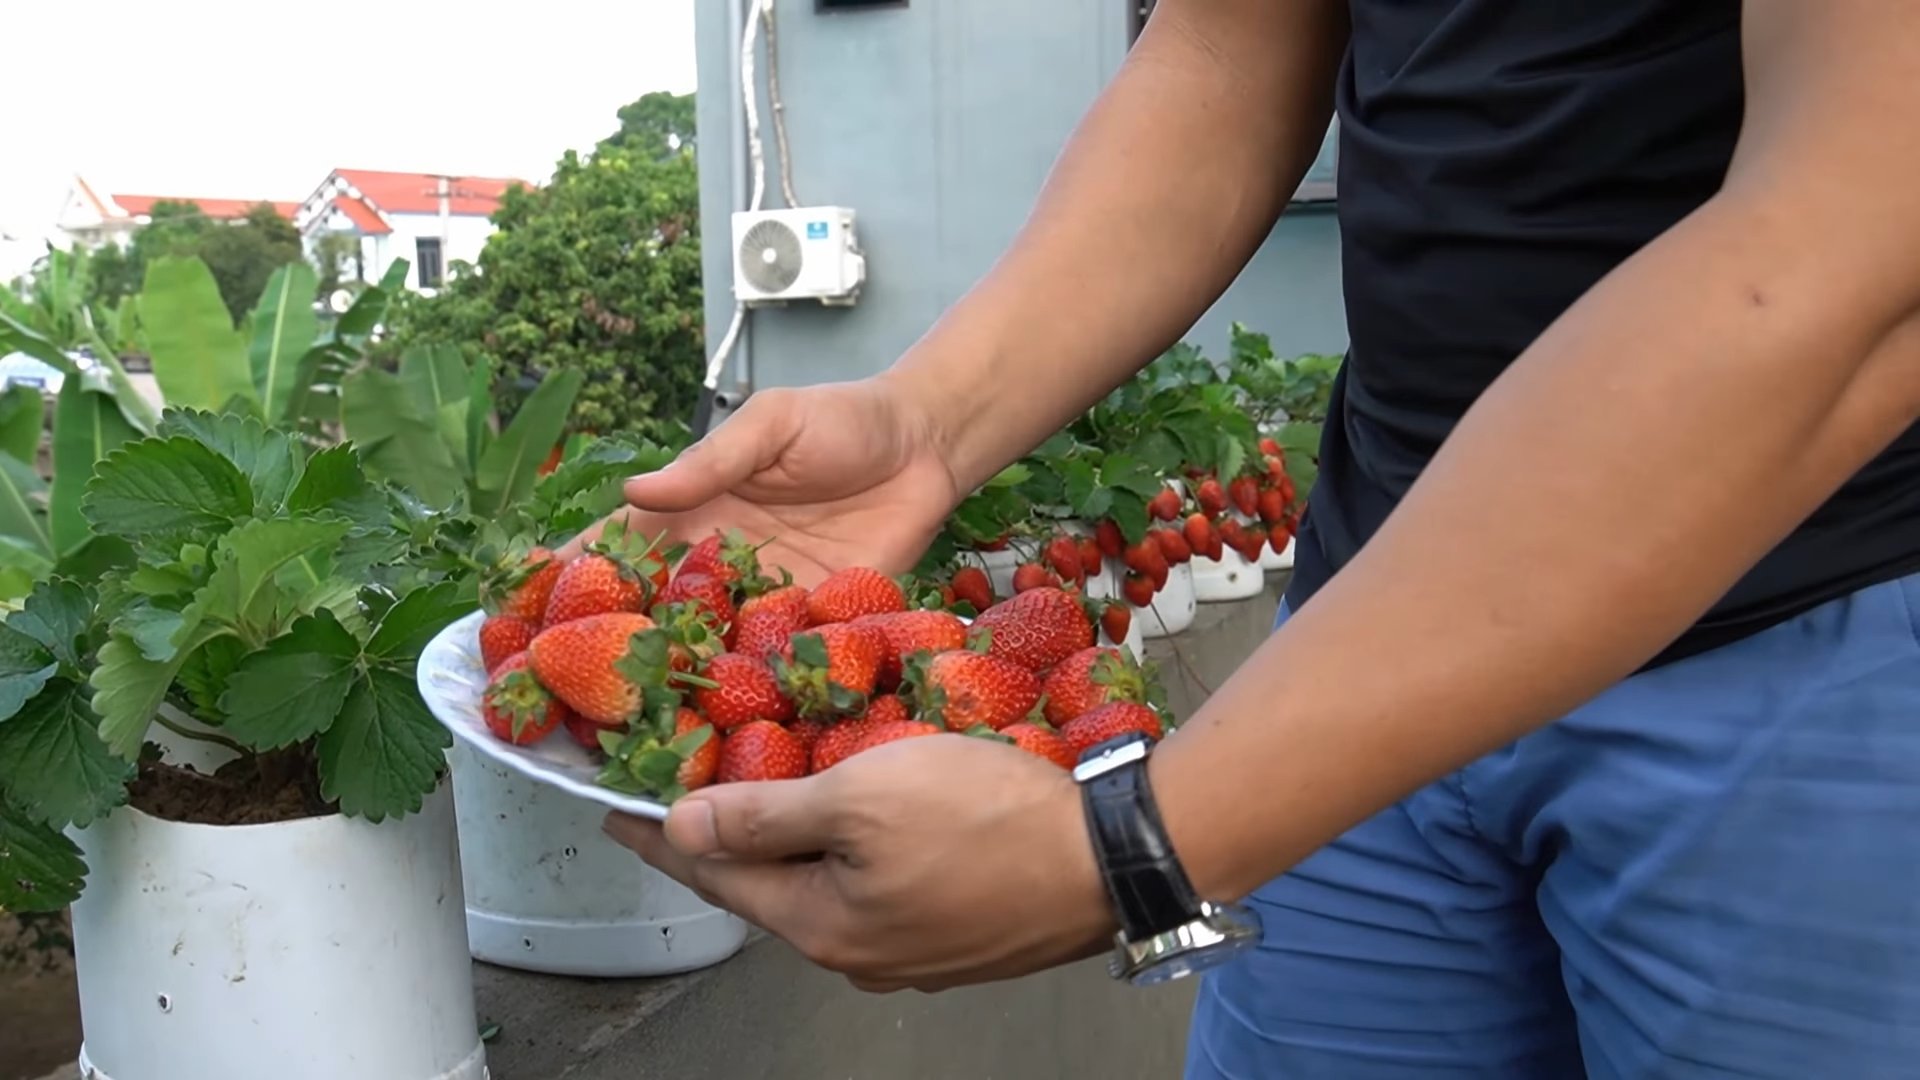
Enjoying Your Harvest
The best part of growing your own strawberries is, of course, enjoying the delicious fruit! Harvest your strawberries when they are fully ripe and red. Gently pluck them from the plant, being careful not to damage the stems. Freshly picked strawberries are best enjoyed right away, but you can also store them in the refrigerator for a few days.
And there you have it! Your very own DIY strawberry tower, bursting with delicious, homegrown goodness. I hope you found this guide helpful and inspiring. Happy gardening!
Conclusion
So, there you have it! Growing your own strawberries in containers isn’t just a fun project; it’s a gateway to enjoying the freshest, most flavorful berries imaginable, right from your own balcony, patio, or even windowsill. Forget those bland, often disappointing supermarket strawberries. With this simple DIY trick, you’re taking control of the entire process, from soil to sunshine, ensuring a harvest bursting with sweetness and vibrant color.
Why is this a must-try? Because it’s accessible, even for those with limited space or gardening experience. You don’t need acres of land to enjoy the taste of homegrown goodness. Container gardening allows you to bring the farm to your home, offering a rewarding experience that connects you to the food you eat. Plus, it’s incredibly satisfying to watch those tiny plants blossom and transform into juicy, red jewels.
But the benefits extend beyond just taste and convenience. Growing your own strawberries in containers is also a sustainable choice. You’re reducing your reliance on commercially grown produce, which often involves long-distance transportation and potentially harmful pesticides. You can choose organic soil and fertilizers, ensuring that your berries are as healthy as they are delicious.
Looking for variations? Absolutely! Experiment with different strawberry varieties to find your favorites. Some are sweeter, some are larger, and some are more resistant to pests. Try alpine strawberries for a delicate, wild flavor, or everbearing varieties for a continuous harvest throughout the season. You can also get creative with your container choices. Use hanging baskets for a cascading display of berries, or repurpose old buckets and tubs for a rustic, eco-friendly look. Consider companion planting. Marigolds can deter pests, while basil can enhance the flavor of your strawberries.
Don’t be afraid to get your hands dirty and experiment. Gardening is a journey of learning and discovery, and there’s no right or wrong way to do it. The most important thing is to have fun and enjoy the process.
We wholeheartedly encourage you to try this DIY trick for growing container strawberries. It’s a simple, rewarding, and delicious way to connect with nature and enjoy the fruits (literally!) of your labor. And once you’ve tasted your first homegrown strawberry, you’ll never want to go back to store-bought again.
So, grab your containers, soil, and strawberry plants, and get ready to embark on a berry-licious adventure! We’re confident that you’ll be amazed at how easy and rewarding it is to grow your own strawberries.
Finally, we’d love to hear about your experience! Share your photos, tips, and stories with us in the comments below. Let’s create a community of strawberry enthusiasts and inspire others to discover the joy of homegrown goodness. Happy gardening!
Frequently Asked Questions (FAQ)
What is the best type of container to use for growing strawberries?
The ideal container for growing strawberries should be at least 12 inches in diameter and 8 inches deep. This provides enough space for the roots to grow and spread. You can use various materials, including plastic pots, terracotta pots, hanging baskets, or even repurposed containers like buckets or tubs. Ensure the container has drainage holes to prevent waterlogging, which can lead to root rot. Strawberry pots, specifically designed with multiple pockets, are also a popular choice, allowing you to grow several plants in a single container. Consider the material’s ability to retain moisture; terracotta dries out faster than plastic, so you might need to water more frequently. Ultimately, the best container is one that suits your aesthetic preferences and provides adequate space and drainage for your strawberry plants to thrive.
How often should I water my container strawberries?
Watering frequency depends on several factors, including the weather, the type of container, and the soil composition. Generally, you should water your container strawberries when the top inch of soil feels dry to the touch. During hot, sunny weather, you may need to water daily, while in cooler or cloudy conditions, you can water every other day. Avoid overwatering, as this can lead to root rot. Ensure the water drains freely from the drainage holes. A good rule of thumb is to water deeply until you see water draining out of the bottom of the container. Mulching around the plants can help retain moisture and reduce the need for frequent watering. Check the soil moisture regularly, especially during fruiting, as strawberries need consistent moisture to produce juicy, flavorful berries.
What kind of soil is best for container strawberries?
Strawberries thrive in well-draining, slightly acidic soil with a pH between 5.5 and 6.5. A good potting mix specifically formulated for fruits and vegetables is an excellent choice. You can also create your own mix by combining equal parts of potting soil, compost, and perlite or vermiculite. Compost provides essential nutrients, while perlite or vermiculite improves drainage and aeration. Avoid using garden soil, as it can be too heavy and compact, hindering root growth. Ensure the soil is rich in organic matter to provide the necessary nutrients for healthy growth and abundant fruit production. Consider adding a slow-release fertilizer to the soil at planting time to provide a steady supply of nutrients throughout the growing season.
How much sunlight do container strawberries need?
Strawberries need at least 6-8 hours of direct sunlight per day to produce a bountiful harvest. Choose a location that receives ample sunlight throughout the day. If you live in a particularly hot climate, some afternoon shade can be beneficial to prevent the plants from overheating. Insufficient sunlight can result in smaller berries and reduced yields. Observe your plants regularly and adjust their location if necessary to ensure they are receiving adequate sunlight. If you are growing strawberries indoors, you may need to supplement with grow lights to provide the necessary light intensity.
How do I fertilize my container strawberries?
Fertilizing is crucial for healthy growth and abundant fruit production. Start by incorporating a slow-release fertilizer into the soil at planting time. Throughout the growing season, fertilize every 2-4 weeks with a balanced liquid fertilizer diluted to half strength. Look for a fertilizer with a higher phosphorus content to promote flowering and fruiting. Avoid over-fertilizing, as this can lead to excessive foliage growth at the expense of fruit production. During the dormant season, reduce or eliminate fertilization. Organic options like compost tea or fish emulsion are also excellent choices. Always follow the instructions on the fertilizer label and avoid applying fertilizer to dry soil.
How do I protect my container strawberries from pests and diseases?
Regularly inspect your plants for signs of pests or diseases. Common pests include aphids, spider mites, and slugs. You can control aphids and spider mites with insecticidal soap or neem oil. Slugs can be handpicked or trapped using beer traps. To prevent fungal diseases, ensure good air circulation around the plants and avoid overwatering. Remove any dead or diseased leaves promptly. Consider using organic fungicides if necessary. Bird netting can protect your berries from being eaten by birds. Companion planting with marigolds can help deter pests. Maintaining healthy plants through proper watering, fertilization, and sunlight exposure is the best defense against pests and diseases.
Can I grow strawberries in containers indoors?
Yes, you can grow strawberries in containers indoors, but it requires providing them with the right conditions. Ensure they receive at least 6-8 hours of direct sunlight per day, either from a sunny window or with the help of grow lights. Use a well-draining potting mix and water regularly, allowing the soil to dry slightly between waterings. Maintain a consistent temperature and humidity level. Hand-pollinate the flowers using a small brush to ensure fruit production. Choose everbearing varieties, as they are more likely to produce fruit indoors. With proper care, you can enjoy fresh strawberries even during the winter months.
How do I overwinter my container strawberries?
Overwintering container strawberries depends on your climate. In mild climates, you can simply leave the containers outdoors, providing some protection from frost. In colder climates, you can move the containers to a sheltered location, such as a garage or shed, where they will be protected from freezing temperatures. Water sparingly during the winter months, allowing the soil to dry out slightly. In early spring, move the containers back outdoors and resume regular watering and fertilization. You can also mulch around the plants to provide extra insulation. Alternatively, you can transplant the strawberries into the ground for the winter and then replant them in containers in the spring.

Leave a Comment