
Crystal Clear Window Cleaning: Who doesn’t love the feeling of sunlight streaming through sparkling clean windows? But let’s be honest, achieving that streak-free shine can feel like an impossible task. I’ve been there, battling stubborn grime and frustrating streaks, wondering if perfectly clean windows were just a myth.
The desire for clean windows isn’t new. Throughout history, different cultures have valued cleanliness and light. From ancient Roman bathhouses with their expansive windows to the meticulously cleaned windows of Victorian-era homes, the pursuit of clarity has always been a part of creating a comfortable and inviting space.
But why is crystal clear window cleaning so important today? Beyond aesthetics, clean windows allow more natural light into your home, boosting your mood and even saving on energy bills. Plus, let’s face it, a sparkling view just makes everything feel a little brighter! That’s why I’m sharing my favorite DIY tricks and hacks for achieving professional-quality results without breaking the bank. Get ready to say goodbye to streaks and hello to sunshine!
DIY Crystal Clear Window Cleaning: My Secret Weapon!
Okay, let’s face it, nobody *loves* cleaning windows. But streaky, grimy windows can really bring down the look of your whole house. I’ve tried countless window cleaners, and honestly, nothing beats my homemade solution. It’s cheap, effective, and uses ingredients you probably already have! Get ready for windows so clear, you’ll think they’ve disappeared!
What You’ll Need: The Arsenal of Clean
Before we dive in, let’s gather our supplies. This is crucial for a smooth and efficient cleaning process. Trust me, you don’t want to be running around mid-clean looking for a missing ingredient!
* Spray Bottle: A sturdy spray bottle is essential. I prefer one with an adjustable nozzle so I can switch between a fine mist and a more concentrated stream.
* White Vinegar: This is the star of the show! Vinegar’s acidity cuts through grime and grease like nobody’s business.
* Distilled Water: Using distilled water is key to avoiding streaks. Tap water often contains minerals that can leave residue behind.
* Dish Soap (Optional): A tiny amount of dish soap can help break down stubborn dirt. I recommend using a clear, unscented variety to minimize streaks.
* Microfiber Cloths: Ditch the paper towels! Microfiber cloths are lint-free and super absorbent, making them perfect for streak-free cleaning. You’ll want at least two – one for washing and one for drying.
* Bucket (Optional): If you’re tackling a lot of windows, a bucket filled with your cleaning solution can be helpful.
* Squeegee (Optional): For large windows or mirrors, a squeegee can give you a professional-looking finish.
* Ladder or Step Stool (If Needed): Safety first! Make sure you can comfortably reach all parts of your windows.
* Old Towel or Drop Cloth: Protect your window sills and floors from drips.
Mixing the Magic Potion: The Cleaning Solution Recipe
This is where the magic happens! The proportions are important, so pay attention. I’ve tweaked this recipe over the years to get it just right.
1. Combine Ingredients: In your spray bottle, combine equal parts white vinegar and distilled water. I usually start with 1 cup of each.
2. Add Dish Soap (Optional): If you’re using dish soap, add only a tiny drop – seriously, just one or two drops! Too much soap will create suds and leave streaks.
3. Shake Well: Secure the spray bottle lid and shake vigorously to combine all the ingredients.
The Window Cleaning Process: Step-by-Step to Sparkling
Now for the fun part! Follow these steps for windows that shine.
1. Prepare the Area: Lay down your old towel or drop cloth to protect your window sills and floors.
2. Pre-Clean (If Necessary): If your windows are particularly dirty (think bird droppings or mud splatters), give them a quick pre-clean with a damp cloth or brush to remove any loose debris. This will prevent you from just smearing the dirt around.
3. Spray the Window: Generously spray the window with your homemade cleaning solution. Make sure to cover the entire surface.
4. Wipe with a Microfiber Cloth: Using a clean microfiber cloth, wipe the window thoroughly, applying gentle pressure to remove dirt and grime. Work from top to bottom, overlapping each stroke.
5. Dry with a Clean Microfiber Cloth: Now, grab your second clean, dry microfiber cloth and wipe the window dry. Again, work from top to bottom, overlapping each stroke. This is the key to streak-free results!
6. Squeegee (Optional): If you’re using a squeegee, overlap each stroke by about an inch. Wipe the squeegee blade clean after each stroke with a clean microfiber cloth.
7. Inspect and Touch Up: Step back and admire your work! If you see any streaks or spots, lightly dampen a clean microfiber cloth with your cleaning solution and touch them up.
8. Repeat for All Windows: Repeat steps 3-7 for all your windows.
Tackling Tough Stains: When Extra Help is Needed
Sometimes, you’ll encounter stubborn stains that require a little extra effort. Don’t worry, I’ve got you covered!
* Hard Water Stains: For hard water stains, try soaking a cloth in undiluted white vinegar and applying it to the stain for a few minutes before wiping clean.
* Bug Splatter: A paste of baking soda and water can help loosen dried-on bug splatter. Apply the paste to the stain, let it sit for a few minutes, and then wipe clean.
* Grease: For greasy stains, try using a slightly stronger dish soap solution. Just be sure to rinse thoroughly to avoid streaks.
Tips and Tricks for Window Cleaning Success: My Pro Secrets!
Over the years, I’ve learned a few tricks that can make window cleaning even easier and more effective.
* Clean on a Cloudy Day: Avoid cleaning windows in direct sunlight, as the sun can cause the cleaning solution to dry too quickly, leading to streaks. A cloudy day is ideal.
* Use a Ladder Safely: If you need to use a ladder, make sure it’s stable and properly positioned. Never overreach, and always have someone spot you.
* Wash Your Microfiber Cloths Regularly: Dirty microfiber cloths can actually spread dirt around, so wash them regularly in hot water with a mild detergent. Avoid using fabric softener, as it can reduce their absorbency.
* Don’t Forget the Screens: While you’re cleaning your windows, don’t forget the screens! You can remove them and wash them with a brush and soapy water, or simply wipe them down with a damp cloth.
* Clean Your Window Tracks: Window tracks can accumulate dirt and debris over time. Use a small brush or vacuum cleaner attachment to clean them out.
* Preventative Measures: Consider applying a water-repellent treatment to your windows to help prevent future staining.
* Clean from the Inside Out: Start by cleaning the inside of your windows first. This will help you identify any problem areas on the outside.
* Use a Magic Eraser: For really stubborn spots, a magic eraser can work wonders. Just be sure to test it in an inconspicuous area first to make sure it doesn’t damage the glass.
* Vinegar Smell: Don’t worry about the vinegar smell! It dissipates quickly. If you’re really sensitive to the smell, you can add a few drops of your favorite essential oil to the cleaning solution. Lemon or lavender are good choices.
* Practice Makes Perfect: The more you clean your windows, the better you’ll get at it! Don’t be discouraged if you don’t get perfect results the first time. Just keep practicing, and you’ll be a window cleaning pro in no time.
Maintaining Your Sparkling Windows: Keeping the Shine Alive
Once you’ve achieved crystal clear windows, you’ll want to keep them that way! Here are a few tips for maintaining your sparkling windows:
* Regular Cleaning: Clean your windows at least once a month to prevent dirt and grime from building up.
* Spot Cleaning: Address any spots or stains as soon as you notice them.
* Protect from the Elements: If possible, protect your windows from the elements by installing awnings or overhangs.
* Trim Landscaping: Keep trees and shrubs trimmed away from your windows to prevent them from scratching the glass.
Troubleshooting: Common Window Cleaning Problems and Solutions
Even with the best techniques, you might encounter some common window cleaning problems. Here’s how to troubleshoot them:
* Streaks: Streaks are usually caused by using too much soap, not drying the windows properly, or using dirty microfiber cloths. Make sure you’re using the right amount of soap, drying the windows thoroughly with a clean microfiber cloth, and washing your cloths regularly.
* Smears: Smears are often caused by using a dirty cleaning solution or not pre-cleaning the windows properly. Make sure your cleaning solution is clean and that you’re pre-cleaning the windows to remove any loose debris.
* Water Spots: Water spots are caused by hard water. Use distilled water in your cleaning solution to prevent water spots.
* Hazy Film: A hazy film can be caused by using too much cleaning solution or not rinsing the windows properly. Use a moderate amount of cleaning solution and rinse the windows thoroughly with clean water.
With a little bit of effort and the right techniques, you can achieve crystal clear windows that will make your home look its best. So, grab your supplies and get ready to transform your windows from dull to dazzling! Happy cleaning!
Conclusion
So, there you have it! Achieving crystal clear windows doesn’t require expensive commercial cleaners or hiring a professional. This simple, cost-effective DIY window cleaning solution is a game-changer for anyone looking to brighten their home and enjoy sparkling views. Forget streaks, smudges, and lingering chemical smells. This method utilizes readily available ingredients, making it not only budget-friendly but also environmentally conscious.
Why is this DIY trick a must-try? Because it delivers professional-quality results without the professional price tag. It’s quick, easy, and customizable to your specific needs. The vinegar cuts through grime and grease, while the dish soap provides a gentle cleaning action. The water acts as a carrier, ensuring even distribution and easy rinsing. The optional essential oils add a pleasant fragrance, transforming your window cleaning chore into a more enjoyable experience.
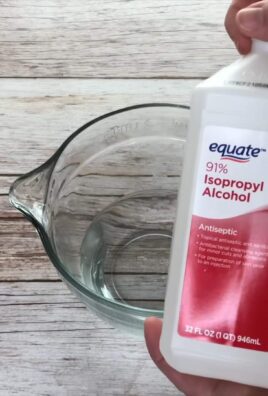
But the beauty of this DIY window cleaning solution lies in its versatility. Feel free to experiment with variations to find what works best for you. For instance, if you have hard water, consider using distilled water for an even streak-free finish. If you’re dealing with particularly stubborn stains, pre-treat them with a paste of baking soda and water before applying the cleaning solution. For those who prefer a more natural approach, you can substitute the dish soap with a few drops of castile soap. And if you’re looking for an extra boost of cleaning power, add a tablespoon of rubbing alcohol to the mix.
Remember, the key to success is in the application. Use a clean microfiber cloth or squeegee for optimal results. Avoid cleaning your windows on a hot, sunny day, as the solution may dry too quickly and leave streaks. And don’t be afraid to experiment with different techniques to find what works best for you. Some people prefer to spray the solution directly onto the window, while others prefer to apply it with a sponge or cloth.
We’re confident that once you try this DIY window cleaning solution, you’ll never go back to store-bought cleaners again. It’s a simple, effective, and affordable way to achieve crystal clear windows that will transform your home.
So, what are you waiting for? Gather your ingredients, grab your cleaning supplies, and get ready to experience the joy of sparkling clean windows. We encourage you to try this DIY trick and share your experience with us. Let us know what variations you tried, what challenges you encountered, and what tips you discovered along the way. Your feedback will help us refine this recipe and make it even better for everyone. Share your before-and-after photos on social media using #DIYWindowCleaning and inspire others to ditch the chemicals and embrace the power of homemade cleaning solutions. We can’t wait to see your sparkling windows!
Frequently Asked Questions (FAQ)
1. What type of vinegar should I use for this DIY window cleaning solution?
White distilled vinegar is the best choice for cleaning windows. It’s inexpensive, readily available, and its acidity effectively cuts through grime and grease without leaving behind any residue. Avoid using other types of vinegar, such as apple cider vinegar or balsamic vinegar, as they may contain sugars or other compounds that can leave streaks on your windows.
2. Can I use any type of dish soap?
While most dish soaps will work, it’s best to use a clear, non-concentrated dish soap. Avoid using dish soaps that contain added moisturizers or fragrances, as these can leave a film on your windows. A small amount of dish soap is all you need – too much can create excessive suds and make it difficult to rinse the windows clean.
3. Is it safe to use this DIY window cleaning solution on tinted windows?
Yes, this DIY window cleaning solution is generally safe to use on tinted windows. However, it’s always a good idea to test it on a small, inconspicuous area first to ensure that it doesn’t damage the tint. Avoid using abrasive cleaners or scrub brushes on tinted windows, as these can scratch or damage the tint film.
4. How often should I clean my windows?
The frequency of window cleaning depends on various factors, such as your location, the weather conditions, and the amount of dirt and grime that accumulates on your windows. In general, it’s recommended to clean your windows at least twice a year – once in the spring and once in the fall. However, if you live in a dusty or polluted area, you may need to clean them more frequently.
5. What’s the best way to dry my windows after cleaning them?
The best way to dry your windows after cleaning them is to use a clean, dry microfiber cloth or a squeegee. Microfiber cloths are highly absorbent and won’t leave behind any lint or streaks. Squeegees are also effective at removing water and leaving a streak-free finish. Overlap each stroke slightly and wipe the blade clean after each pass. If you’re using a cloth, buff the windows dry in a circular motion.
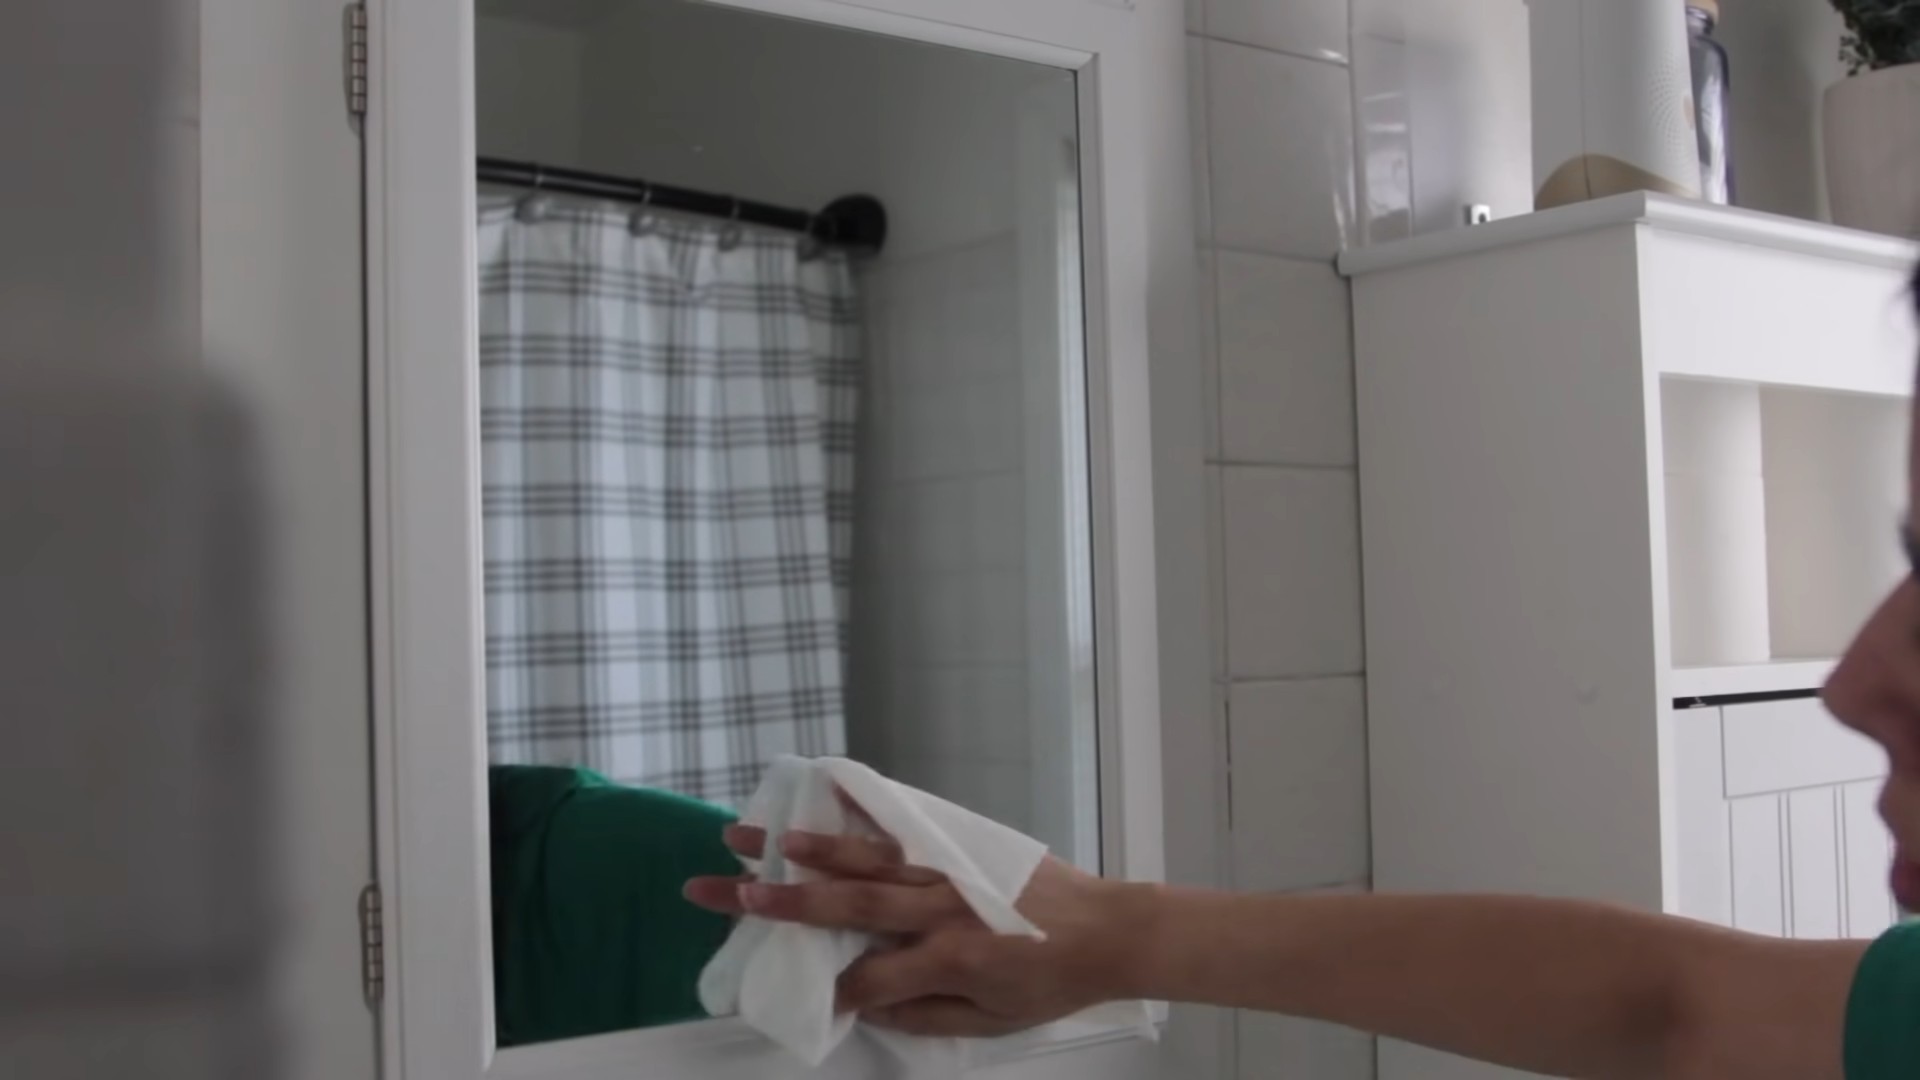
6. Can I use this DIY window cleaning solution on mirrors and glass shower doors?
Yes, this DIY window cleaning solution is also excellent for cleaning mirrors and glass shower doors. The vinegar helps to remove water spots and soap scum, leaving them sparkling clean. Simply spray the solution onto the surface, wipe it clean with a microfiber cloth, and dry it with a clean cloth or squeegee.
7. What if I don’t have vinegar? Can I substitute it with something else?
While vinegar is the most effective ingredient for cutting through grime and grease, you can try substituting it with lemon juice. Lemon juice is also acidic and has cleaning properties. Use the same amount of lemon juice as you would vinegar in the recipe. However, keep in mind that lemon juice may not be as effective as vinegar for removing stubborn stains.
8. My windows are really dirty. Will this DIY solution be strong enough?
For extremely dirty windows, you might need to pre-treat them before using the DIY solution. You can do this by wiping them down with a damp cloth to remove loose dirt and debris. For stubborn stains, try making a paste of baking soda and water and applying it to the affected areas. Let it sit for a few minutes, then wipe it off before cleaning the entire window with the DIY solution.
9. Can I add essential oils to the cleaning solution? What are the benefits?
Yes, adding a few drops of essential oils to the cleaning solution can add a pleasant fragrance and provide additional cleaning benefits. Some popular essential oils for cleaning include lemon, lavender, tea tree, and eucalyptus. Lemon essential oil has antibacterial and degreasing properties, while lavender essential oil has a calming scent. Tea tree essential oil is a natural disinfectant, and eucalyptus essential oil has a refreshing aroma. Add only a few drops of essential oil, as too much can leave a residue on your windows.
10. Is this DIY window cleaning solution safe for the environment?
Yes, this DIY window cleaning solution is much safer for the environment than commercial window cleaners. It uses natural, biodegradable ingredients that won’t harm plants, animals, or waterways. Commercial window cleaners often contain harsh chemicals that can pollute the environment and pose health risks. By making your own window cleaner, you’re reducing your environmental footprint and creating a healthier home.
Leave a Comment