
Dawn dish soap hacks – who knew such a humble household staple could be a secret weapon in your home and garden? I certainly didn’t, until I started digging! For generations, Dawn has been trusted for its grease-cutting power in the kitchen, but its uses extend far beyond the sink. Think of it as a multi-purpose marvel, ready to tackle everything from pesky pests to stubborn stains.
The history of soap in gardening actually stretches back centuries, with early farmers using simple lye soaps to combat insects. Today, we have Dawn, a readily available and relatively gentle option. But why should you, the modern gardener, care about Dawn dish soap hacks? Well, imagine a world where aphids don’t devour your prize-winning roses, where your tools are sparkling clean, and where you can even create your own weed killer without harsh chemicals. That’s the power we’re unlocking today!
This DIY guide is packed with simple, effective, and budget-friendly tricks that will transform the way you approach gardening. I’m going to show you how to harness the cleaning and degreasing properties of Dawn to solve common gardening problems, saving you time, money, and a whole lot of frustration. So, grab your bottle of Dawn, and let’s get started on these amazing DIY projects!
Growing Sweet Potatoes at Home: A Beginner’s Guide
Okay, sweet potato lovers, listen up! I’m going to walk you through everything you need to know to grow your own delicious sweet potatoes right at home. It’s easier than you think, and the reward of harvesting your own homegrown goodness is totally worth it. Let’s get started!
Choosing Your Sweet Potato Variety
First things first, you need to decide what kind of sweet potato you want to grow. There are tons of varieties out there, each with its own unique flavor, color, and texture. Here are a few popular choices:
* Beauregard: This is probably the most common variety you’ll find. It has reddish-purple skin and orange flesh, and it’s known for its sweet flavor and moist texture. It’s also a reliable producer.
* Jewel: Similar to Beauregard, Jewel sweet potatoes have reddish-orange skin and deep orange flesh. They’re also sweet and moist, and they store well.
* Garnet: These sweet potatoes have deep red skin and vibrant orange flesh. They’re a bit drier than Beauregard and Jewel, but they have a rich, sweet flavor.
* Japanese Sweet Potato (Muraski): If you’re looking for something a little different, try Japanese sweet potatoes. They have purple skin and white flesh that turns golden when cooked. They’re less sweet than orange varieties and have a slightly nutty flavor.
* Okinawan Sweet Potato: Another purple-skinned variety, Okinawan sweet potatoes have purple flesh and a subtly sweet flavor. They’re also packed with antioxidants.
Once you’ve picked your variety, you’ll need to get your hands on some “slips.”
What are Sweet Potato Slips?
Sweet potato slips are basically sprouts that grow from a mature sweet potato. You can buy them online or from a local nursery, or you can easily grow your own! Growing your own slips is a fun project, and it’s a great way to save money.
Growing Your Own Sweet Potato Slips
Here’s how to grow your own sweet potato slips:
1. Choose a Healthy Sweet Potato: Select a mature, healthy sweet potato from the grocery store or your garden. Look for one that’s free from blemishes and soft spots. Organic sweet potatoes are a good choice, as they’re less likely to be treated with sprout inhibitors.
2. Prepare the Sweet Potato: There are two main methods for sprouting a sweet potato:
* Water Method: Suspend the sweet potato in a jar or glass of water, with the bottom half submerged. You can use toothpicks to hold it in place.
* Soil Method: Bury the sweet potato horizontally in a container filled with moist potting mix, leaving the top exposed.
3. Provide Warmth and Light: Place the jar or container in a warm, sunny location. A temperature of around 75-85°F (24-29°C) is ideal.
4. Maintain Moisture: If you’re using the water method, change the water every few days. If you’re using the soil method, keep the soil consistently moist but not soggy.
5. Wait for Sprouts: After a few weeks, you should start to see sprouts (slips) emerging from the sweet potato.
6. Harvest the Slips: Once the slips are 6-8 inches long, gently twist or cut them off the sweet potato.
7. Root the Slips: Place the slips in a jar of water, making sure the bottom inch or two is submerged. In a few days, they should start to develop roots.
8. Plant the Slips: Once the roots are about an inch long, they’re ready to be planted in your garden!
Preparing Your Garden Bed
Sweet potatoes need plenty of sunshine and well-drained soil to thrive. Here’s how to prepare your garden bed:
1. Choose a Sunny Location: Select a spot in your garden that receives at least 6-8 hours of direct sunlight per day.
2. Improve the Soil: Sweet potatoes prefer loose, sandy loam soil. If your soil is heavy clay, amend it with compost, aged manure, or other organic matter to improve drainage and aeration.
3. Create Raised Beds (Optional): Raised beds are a great way to improve drainage and warm the soil, which is especially beneficial in cooler climates.
4. Fertilize the Soil: Sweet potatoes don’t need a lot of fertilizer, but a light application of a balanced fertilizer (like 10-10-10) can help them get off to a good start. Avoid using fertilizers that are high in nitrogen, as this can promote leafy growth at the expense of tuber development.
5. Space the Plants: Plant the slips 12-18 inches apart in rows that are 3-4 feet apart. This will give them plenty of room to spread out.
Planting Your Sweet Potato Slips
Now for the fun part – planting your sweet potato slips!
1. Water the Slips: Before planting, soak the slips in water for a few hours to rehydrate them.
2. Dig Holes: Dig holes that are deep enough to accommodate the roots of the slips.
3. Plant the Slips: Gently place the slips in the holes and cover the roots with soil. Make sure the base of the stem is just above the soil surface.
4. Water Thoroughly: Water the newly planted slips thoroughly to help them settle in.
5. Mulch (Optional): Mulching around the plants with straw, hay, or wood chips can help retain moisture, suppress weeds, and regulate soil temperature.
Caring for Your Sweet Potato Plants
Once your sweet potato plants are in the ground, here’s how to care for them:
1. Water Regularly: Water the plants regularly, especially during dry spells. Sweet potatoes need consistent moisture to develop healthy tubers.
2. Weed Regularly: Keep the garden bed free of weeds, which can compete with the sweet potato plants for nutrients and water.
3. Fertilize Lightly (Optional): If your plants are growing slowly, you can give them a light feeding of a balanced fertilizer.
4. Control Pests and Diseases: Sweet potatoes are generally pest-resistant, but they can be susceptible to certain pests and diseases, such as sweet potato weevils and fungal diseases. Monitor your plants regularly and take action if you notice any problems.
5. Vine Management: Sweet potato vines can grow quite long and sprawling. You can prune them back to keep them under control, but be careful not to remove too much foliage, as this can reduce tuber production. You can also train the vines to grow up a trellis or fence.
Harvesting Your Sweet Potatoes
The moment you’ve been waiting for! Here’s how to harvest your sweet potatoes:
1. Timing is Key: Sweet potatoes are typically ready to harvest about 90-120 days after planting. The best time to harvest is before the first frost, as frost can damage the tubers.
2. Look for Signs of Maturity: The leaves of the sweet potato plants will start to turn yellow and die back when the tubers are mature.
3. Dig Carefully: Use a garden fork or shovel to carefully dig up the sweet potatoes. Be careful not to damage the tubers. Start digging a foot or so away from the plant to avoid spearing the sweet potatoes.
4. Cure the Sweet Potatoes: Curing sweet potatoes is essential for developing their sweetness and improving their storage life. To cure them, place the freshly harvested sweet potatoes in a warm, humid place (around 80-85°F and 85-90% humidity) for 7-10 days. A greenhouse, sunroom, or even a warm garage can work well.
5. Store the Sweet Potatoes: After curing, store the sweet potatoes in a cool, dry, and dark place (around 55-60°F). They should keep for several months.
Troubleshooting
Even with the best planning, things can sometimes go wrong. Here are a few common problems you might encounter when growing sweet potatoes, and how to fix them:
* Yellowing Leaves: This could be a sign of nutrient deficiency, overwatering, or underwatering. Check the soil moisture and fertilize if necessary.
* Slow Growth: This could be due to poor soil, lack of sunlight, or cool temperatures. Make sure your plants are getting enough sunlight and that the soil is well-drained.
* Small Tubers: This could be caused by overcrowding, lack of water, or poor soil. Thin out the plants if necessary, water regularly, and amend the soil with compost.
* Pest Problems: Monitor your plants regularly for pests and take action if you notice any problems.
* Rotting Tubers: This could be caused
Conclusion
So, there you have it! This simple yet incredibly effective Dawn dish soap hack is a game-changer for tackling a multitude of household challenges. From banishing stubborn grease stains on your favorite clothes to creating a gentle yet powerful cleaning solution for your car, the versatility of Dawn is truly remarkable. We’ve explored how this humble blue liquid can extend far beyond the kitchen sink, offering eco-friendly and budget-conscious alternatives to harsh chemical cleaners.
Why is this a must-try? Because it simplifies your life. Imagine replacing a cabinet full of specialized cleaning products with one bottle of Dawn. Think of the money you’ll save, the space you’ll reclaim, and the peace of mind knowing you’re using a safer, less toxic option around your family and pets. This isn’t just about cleaning; it’s about streamlining your routine and making your home a healthier, happier place.
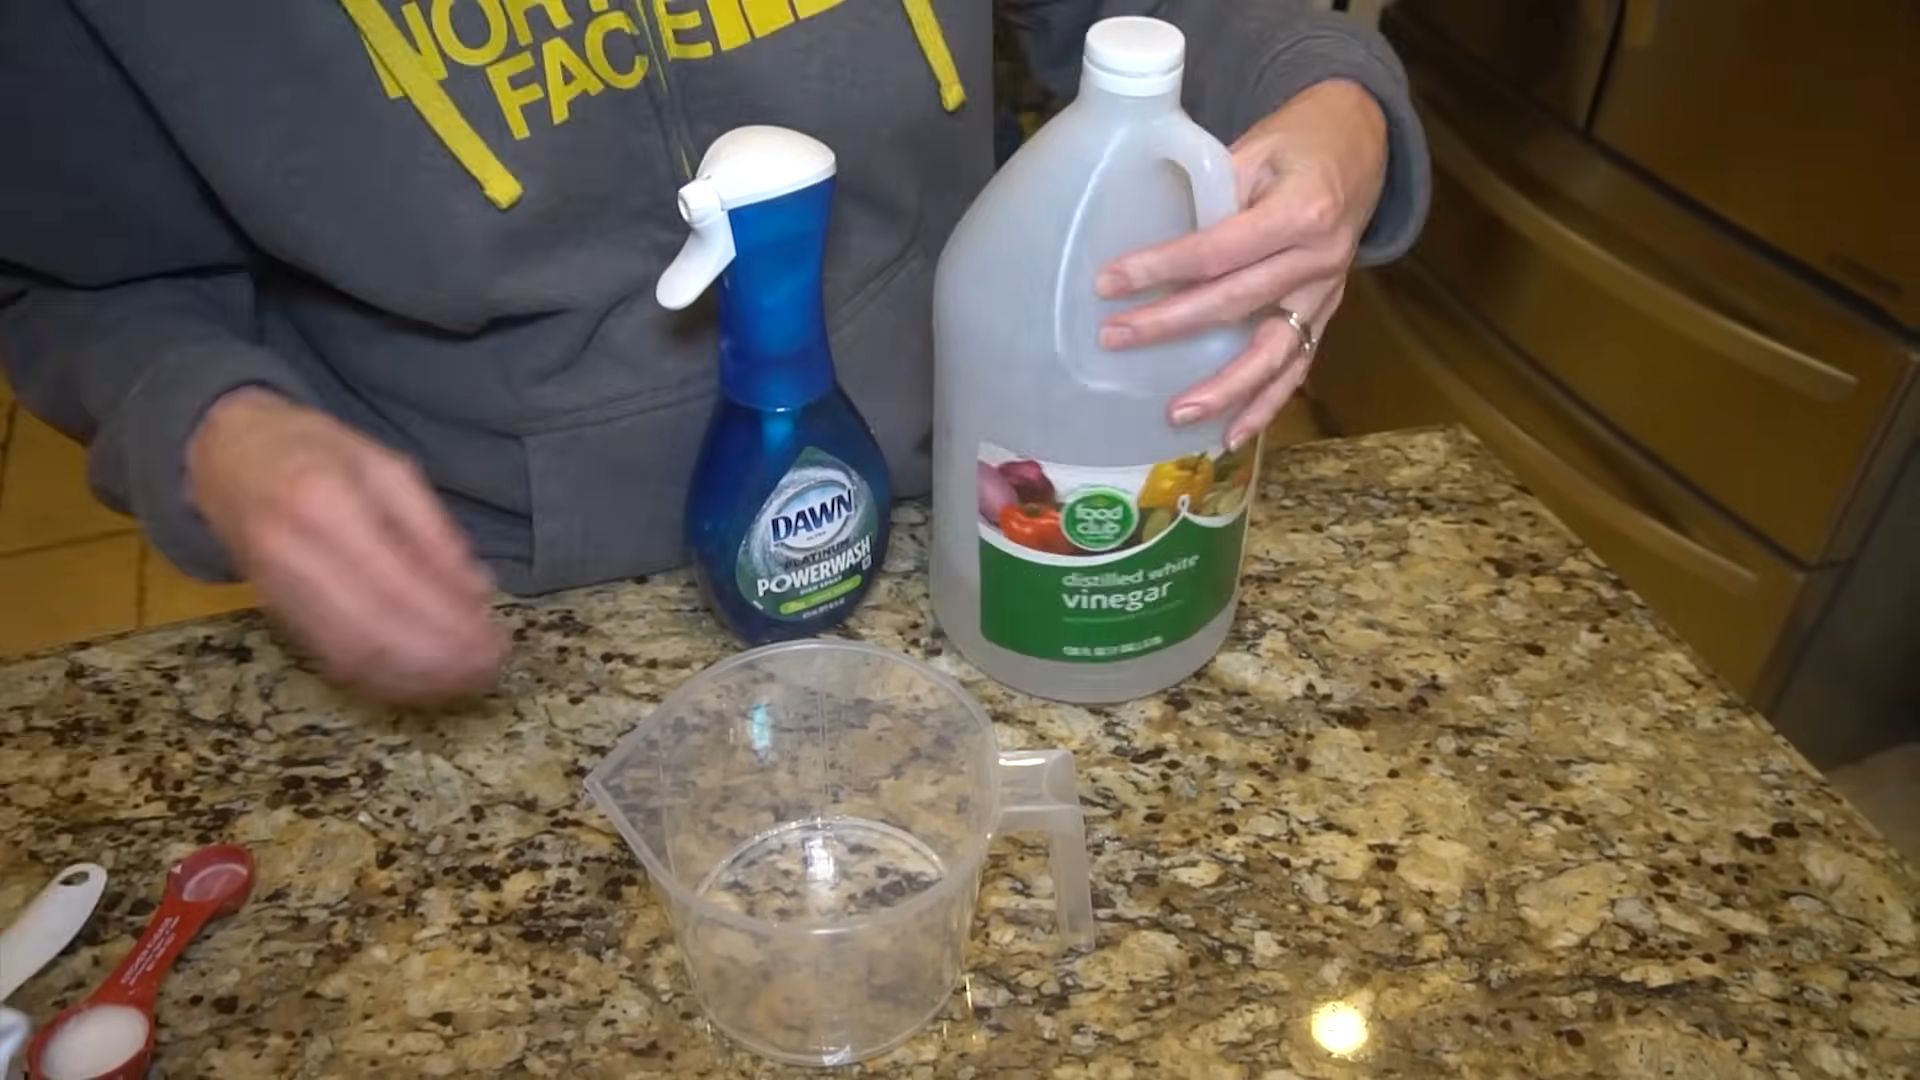
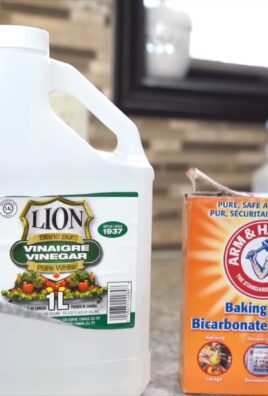
But the possibilities don’t stop there! Feel free to experiment with variations to suit your specific needs. For instance, if you’re dealing with particularly stubborn stains, try pre-treating them with a paste of Dawn and baking soda before washing. Or, if you’re looking for a natural pest control solution for your garden, dilute Dawn with water and spray it on affected plants (always test a small area first!). You can even add a few drops of essential oil, like lavender or lemon, to your Dawn solution for a pleasant, natural fragrance.
We’ve covered a range of applications, from cleaning your jewelry to removing pesky fruit flies. Remember the importance of diluting the Dawn properly, especially when using it on delicate surfaces or plants. A little goes a long way, and you want to avoid any potential damage.
Ultimately, the best way to discover the full potential of this Dawn dish soap hack is to try it yourself. We’re confident that you’ll be amazed by the results. So, grab a bottle of Dawn, put on your cleaning gloves, and get ready to experience the magic.
We’re eager to hear about your experiences! Did you discover a new and innovative use for Dawn? Did you tweak one of our suggestions to make it even better? Share your tips, tricks, and success stories in the comments below. Let’s build a community of Dawn enthusiasts and unlock even more of its hidden potential. Your feedback is invaluable, and it helps us all learn and grow together. Don’t be shy – let us know how this simple hack has transformed your cleaning routine! We encourage you to share this article with your friends and family so they can benefit from the power of Dawn too. Let’s spread the word and make cleaning easier and more sustainable for everyone.
Frequently Asked Questions (FAQs)
Is Dawn dish soap safe to use on all surfaces?
While Dawn is generally considered safe and gentle, it’s always best to test it on an inconspicuous area first, especially when cleaning delicate surfaces like painted walls, wood furniture, or certain types of fabrics. Dilution is key. Using too much Dawn can leave a residue or potentially damage the surface. For example, when cleaning wood, use a very diluted solution and wipe it dry immediately. For painted surfaces, test a small area in a closet or behind furniture before cleaning the entire surface. Avoid using Dawn on porous materials like unsealed grout, as it can be difficult to rinse out completely. When in doubt, consult the manufacturer’s instructions for the surface you’re cleaning.
Can I use any brand of dish soap for these hacks, or does it have to be Dawn?
While other dish soaps may work to some extent, Dawn is often recommended due to its specific formulation and grease-cutting properties. It’s known for being effective yet gentle, making it a versatile choice for various cleaning tasks. Other brands may contain harsher chemicals or additives that could damage certain surfaces or be less effective at removing grease and grime. If you choose to use a different brand, be sure to read the label carefully and test it on a small, hidden area before applying it to a larger surface. Look for dish soaps that are specifically designed for grease-cutting and are labeled as gentle or mild.
How do I dilute Dawn dish soap properly for different cleaning tasks?
The proper dilution ratio depends on the specific task. For general cleaning, a good starting point is to mix a few drops of Dawn with a cup of water. For tougher jobs, like removing grease stains from clothing, you can use a slightly more concentrated solution. For delicate surfaces, use a very diluted solution – perhaps just a drop or two in a large bowl of water. When using Dawn as a pest control solution for plants, dilute it even further to avoid damaging the foliage. A general guideline is to start with a weaker solution and gradually increase the concentration until you achieve the desired results. Always rinse thoroughly after cleaning with Dawn to remove any residue.
Is Dawn dish soap safe for pets?
Dawn is often used to clean animals, especially during oil spills, because it’s considered relatively gentle. However, it’s important to use it sparingly and rinse thoroughly to prevent skin irritation. Avoid getting Dawn in your pet’s eyes, ears, or mouth. If your pet has sensitive skin or allergies, consult with your veterinarian before using Dawn. There are also pet-specific shampoos available that are formulated to be gentle and safe for animals. While Dawn can be helpful in certain situations, it’s not a substitute for regular pet grooming and veterinary care.
Can Dawn dish soap remove hard water stains?
Dawn can help loosen and remove some hard water stains, especially when combined with other cleaning agents like vinegar or baking soda. The grease-cutting properties of Dawn can break down the mineral deposits that cause hard water stains, making them easier to wipe away. For stubborn hard water stains, you may need to soak the affected area with a solution of Dawn and vinegar for several minutes before scrubbing. A scrub brush or sponge can help remove the stains more effectively. Rinse thoroughly after cleaning to prevent any residue from forming. For severe hard water stains, you may need to use a specialized hard water stain remover.
How can I use Dawn dish soap to get rid of fruit flies?
To create a fruit fly trap using Dawn, fill a small bowl or jar with apple cider vinegar. Add a few drops of Dawn dish soap to the vinegar and gently stir. The vinegar attracts the fruit flies, and the Dawn breaks the surface tension of the liquid, causing the flies to sink and drown. Place the trap near where you’ve seen fruit flies. Replace the solution every few days or when it becomes full of flies. This is a simple and effective way to control fruit fly infestations without using harsh chemicals.
Does Dawn dish soap expire?
While Dawn dish soap doesn’t have a specific expiration date, its effectiveness may decrease over time. The ingredients can start to separate or degrade, making it less effective at cutting grease and cleaning. To ensure optimal performance, it’s best to use Dawn within a few years of purchase. Store Dawn in a cool, dry place away from direct sunlight to prolong its shelf life. If you notice any changes in the color, consistency, or scent of the dish soap, it may be time to replace it.


Leave a Comment