
DIY Grape Growing Setup: Unleash Your Inner Vintner! Ever dreamt of plucking juicy, sun-ripened grapes straight from your own backyard? Imagine the satisfaction of crafting homemade jams, jellies, or even venturing into the world of winemaking with grapes you nurtured yourself. It sounds idyllic, right? Well, it’s more achievable than you might think! This article is your ultimate guide to creating your very own DIY grape growing setup, transforming your garden into a miniature vineyard.
Grape cultivation boasts a rich history, dating back thousands of years to ancient civilizations like the Egyptians and Romans. Grapes weren’t just a food source; they were deeply intertwined with culture, religion, and even medicine. Today, while large-scale vineyards dominate the market, the joy of growing your own grapes remains a deeply rewarding experience.
But why should you bother with a DIY grape growing setup? Let’s face it, store-bought grapes can be expensive and often lack the intense flavor of homegrown varieties. Plus, knowing exactly where your food comes from and how it was grown offers unparalleled peace of mind. Whether you’re a seasoned gardener or a complete beginner, this guide will provide you with simple, step-by-step instructions and clever hacks to create a thriving grape-growing environment, regardless of your space or budget. Get ready to embark on a fruitful adventure!
DIY Grape Growing Setup: From Seedling to Sweet Harvest!
Hey there, fellow gardening enthusiasts! I’m super excited to share my experience building a DIY grape growing setup. Growing your own grapes can seem intimidating, but trust me, with a little planning and elbow grease, you can enjoy delicious, homegrown grapes right in your backyard. This guide will walk you through every step, from choosing the right spot to building a sturdy trellis. Let’s get started!
Choosing the Right Grape Variety and Location
Before we even think about building anything, we need to consider what kind of grapes you want to grow and where they’ll thrive. This is crucial for success!
* Grape Variety: Research grape varieties that are well-suited to your climate. Consider factors like cold hardiness, disease resistance, and desired use (table grapes, wine grapes, juice grapes). Local nurseries are a fantastic resource for this! I personally went with a ‘Reliance’ seedless grape because it’s known for its hardiness and sweet flavor.
* Sunlight: Grapes need at least 6-8 hours of direct sunlight per day. Choose a location that gets plenty of sun exposure.
* Soil: Grapes prefer well-drained soil. Avoid areas where water tends to pool after rain. A slightly acidic to neutral pH (6.0-7.0) is ideal. I recommend doing a soil test to determine your soil’s pH and nutrient levels. You can easily find soil testing kits at most garden centers.
* Air Circulation: Good air circulation helps prevent fungal diseases. Avoid planting grapes in low-lying areas or areas with poor airflow.
* Space: Grape vines need room to grow! Consider the mature size of the variety you choose and provide adequate spacing between vines. Generally, allow 8-10 feet between vines in a row and 10-12 feet between rows.
Building a Sturdy Trellis: The Backbone of Your Grapevine
Grapes are climbing plants, so a strong trellis is essential to support their growth and fruit production. There are many trellis designs you can choose from, but I’ll show you how to build a simple and effective wire trellis.
Materials You’ll Need:
* Treated Wood Posts: 4×4 inch treated lumber, 8 feet long (number depends on the length of your row; space posts 8-10 feet apart). I used 4 posts for my 30-foot row.
* Concrete Mix: For setting the posts.
* Heavy-Gauge Wire: 12-gauge galvanized steel wire is a good choice.
* Wire Tensioners (Turnbuckles): To tighten the wires.
* Wire Staples or U-nails: To secure the wire to the posts.
* Eye Bolts: To attach the wire to the end posts.
* Tools: Post hole digger, level, measuring tape, hammer, wire cutters, pliers, wrench, safety glasses, gloves.
Step-by-Step Instructions:
1. Mark Post Locations: Use your measuring tape to mark the locations for your posts. Remember to space them 8-10 feet apart. The end posts are especially important, so make sure they are extra sturdy.
2. Dig Post Holes: Use a post hole digger to dig holes that are at least 2 feet deep. The deeper the hole, the more stable your trellis will be.
3. Set the Posts: Place the posts in the holes and use a level to ensure they are plumb (perfectly vertical).
4. Pour Concrete: Mix the concrete according to the manufacturer’s instructions and pour it into the holes around the posts. Use a trowel to smooth the surface of the concrete.
5. Let the Concrete Cure: Allow the concrete to cure for at least 48 hours before proceeding. This is crucial for the posts to be firmly set.
6. Install Eye Bolts (End Posts Only): Drill holes through the end posts near the top and bottom. Insert eye bolts and tighten them securely. These will serve as anchor points for your wires.
7. Attach Wire Tensioners: Attach wire tensioners (turnbuckles) to the eye bolts on one end post. These will allow you to tighten the wires later.
8. String the Wires: Run the wire through the eye bolts on the opposite end post and then back through the wire tensioners. You’ll want at least two wires, one at about 3 feet above the ground and another at about 5 feet.
9. Secure the Wires to Intermediate Posts: Use wire staples or U-nails to secure the wires to the intermediate posts. Be careful not to drive the staples in too tightly, as this can damage the wire.
10. Tighten the Wires: Use a wrench to tighten the wire tensioners until the wires are taut. Be careful not to overtighten, as this can put too much stress on the posts.
11. Test the Trellis: Give the trellis a good shake to make sure it’s sturdy. If anything seems loose, tighten it up.
Planting Your Grape Seedlings
Now that your trellis is built, it’s time to plant your grape seedlings!
Materials You’ll Need:
* Grape Seedlings: Purchase healthy grape seedlings from a reputable nursery.
* Shovel or Spade: For digging planting holes.
* Compost or Well-Rotted Manure: To improve soil fertility.
* Watering Can or Hose: For watering the seedlings.
* Mulch: To help retain moisture and suppress weeds. I like to use wood chips.
* Optional: Rooting Hormone: To encourage root growth.
Step-by-Step Instructions:
1. Prepare the Planting Holes: Dig planting holes that are slightly wider and deeper than the root ball of your grape seedlings.
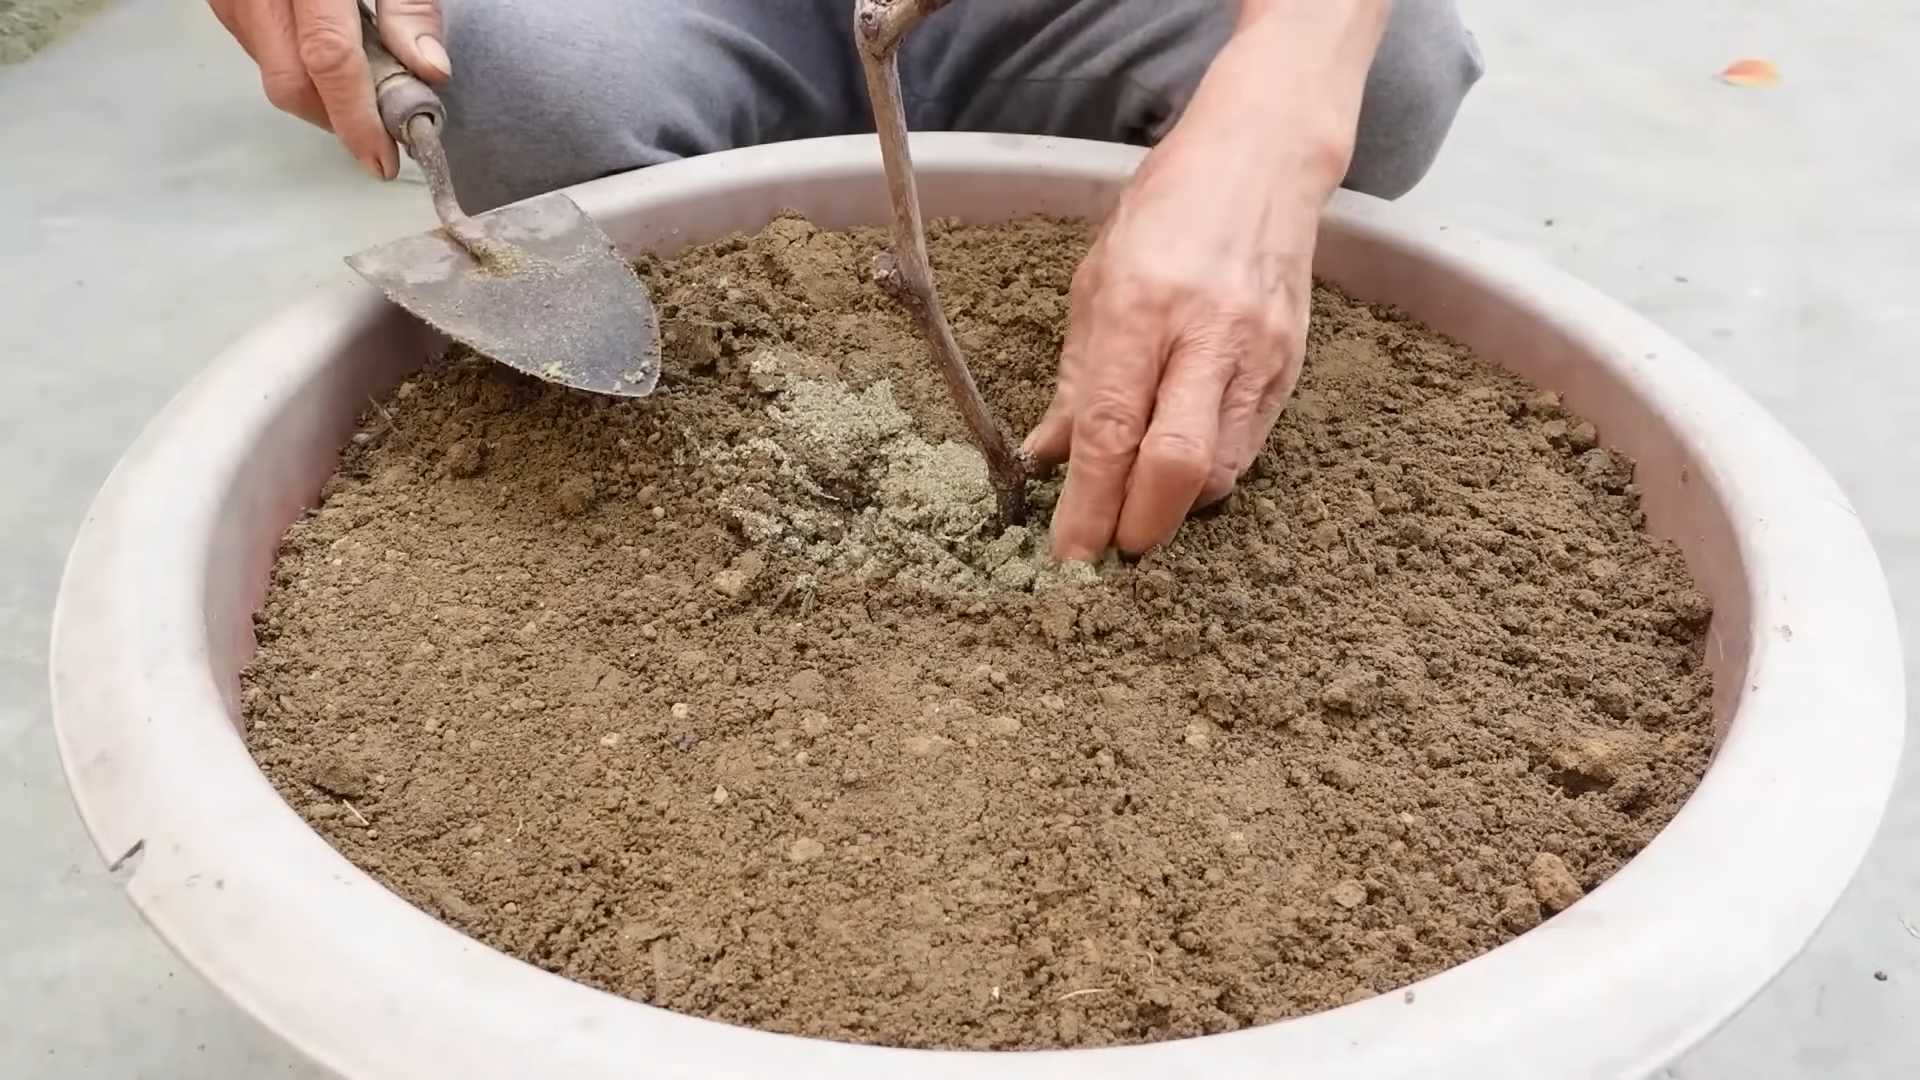
2. Amend the Soil: Mix compost or well-rotted manure into the soil you removed from the planting holes. This will improve soil fertility and drainage.
3. Remove Seedlings from Containers: Gently remove the grape seedlings from their containers, being careful not to damage the roots. If the roots are circling the pot, gently loosen them before planting.
4. Plant the Seedlings: Place the seedlings in the planting holes, ensuring that the top of the root ball is level with the surrounding soil.
5. Backfill the Holes: Backfill the holes with the amended soil, gently firming it around the roots.
6. Water Thoroughly: Water the seedlings thoroughly after planting.
7. Mulch Around the Seedlings: Apply a layer of mulch around the seedlings to help retain moisture and suppress weeds. Keep the mulch a few inches away from the base of the stem to prevent rot.
8. Initial Pruning: Prune back the newly planted vine to one or two of the strongest shoots. This encourages strong root development.
Training Your Grapevine: Shaping for Success
Training your grapevine is crucial for maximizing fruit production and maintaining a manageable shape. There are several training systems you can choose from, but I’ll focus on the single-trunk cordon system, which is relatively easy to manage.
Key Principles of Training:
* Establish a Strong Trunk: The first year is all about establishing a strong, straight trunk.
* Develop Cordons: Cordons are the horizontal arms that extend from the trunk along the trellis wires.
* Spur Pruning: Grapes produce fruit on new growth that arises from one-year-old wood. Spur pruning involves cutting back the previous year’s growth to short spurs, each with 2-3 buds.
Year 1: Establishing the Trunk
1. Select the Strongest Shoot: Choose the strongest, most upright shoot on your newly planted grapevine.
2. Remove Other Shoots: Remove all other shoots that are growing from the base of the plant.
3. Tie the Shoot to a Stake: Use soft twine or plant ties to tie the selected shoot to a stake that is driven into the ground near the plant. This will help support the shoot as it grows.
4. Continue Tying: As the shoot grows, continue tying it to the stake, ensuring that it grows straight and upright.
5. Pinch Off Side Shoots: Pinch off any side shoots that develop along the main shoot. This will encourage the plant to focus its energy on growing a strong trunk.
6. Cut Back at the End of the Season: At the end of the first growing season, cut back the main shoot to about 2-3 feet above the ground. This will encourage the plant to branch out and develop cordons in the following year.
Year 2: Developing Cordons
1. Select Two Strong Shoots: In the spring of the second year, select two strong shoots that are growing from the top of the trunk. These
Conclusion
So, there you have it! Building your own DIY grape growing setup isn’t just a fun project; it’s a gateway to enjoying the unparalleled satisfaction of harvesting your own delicious grapes. Forget the store-bought varieties that often lack the vibrant flavor and freshness of homegrown produce. With a little effort and ingenuity, you can create a thriving vineyard right in your backyard, balcony, or even on a sunny patio.
This DIY approach offers several compelling advantages. First and foremost, it allows you to tailor the setup to your specific space and needs. Whether you have a sprawling garden or a compact urban balcony, you can adapt the design to maximize grape production. Secondly, it’s a cost-effective alternative to purchasing pre-made grape arbors or trellises. By repurposing materials and embracing DIY techniques, you can save money while creating a unique and personalized growing environment. Finally, and perhaps most importantly, it empowers you to control the growing process from start to finish, ensuring that your grapes are cultivated with care and free from harmful chemicals.
But the beauty of this DIY project lies in its versatility. Feel free to experiment with different materials and designs to create a setup that reflects your personal style and preferences. Consider using reclaimed wood for a rustic aesthetic, or opt for sleek metal pipes for a more modern look. You can also incorporate decorative elements such as climbing roses or flowering vines to enhance the visual appeal of your grape growing area.
Variations to Consider:
* Vertical Gardening: If space is limited, explore vertical gardening techniques. Train your grapevines to climb up a wall or fence using a trellis system. This is an excellent option for balconies and small patios.
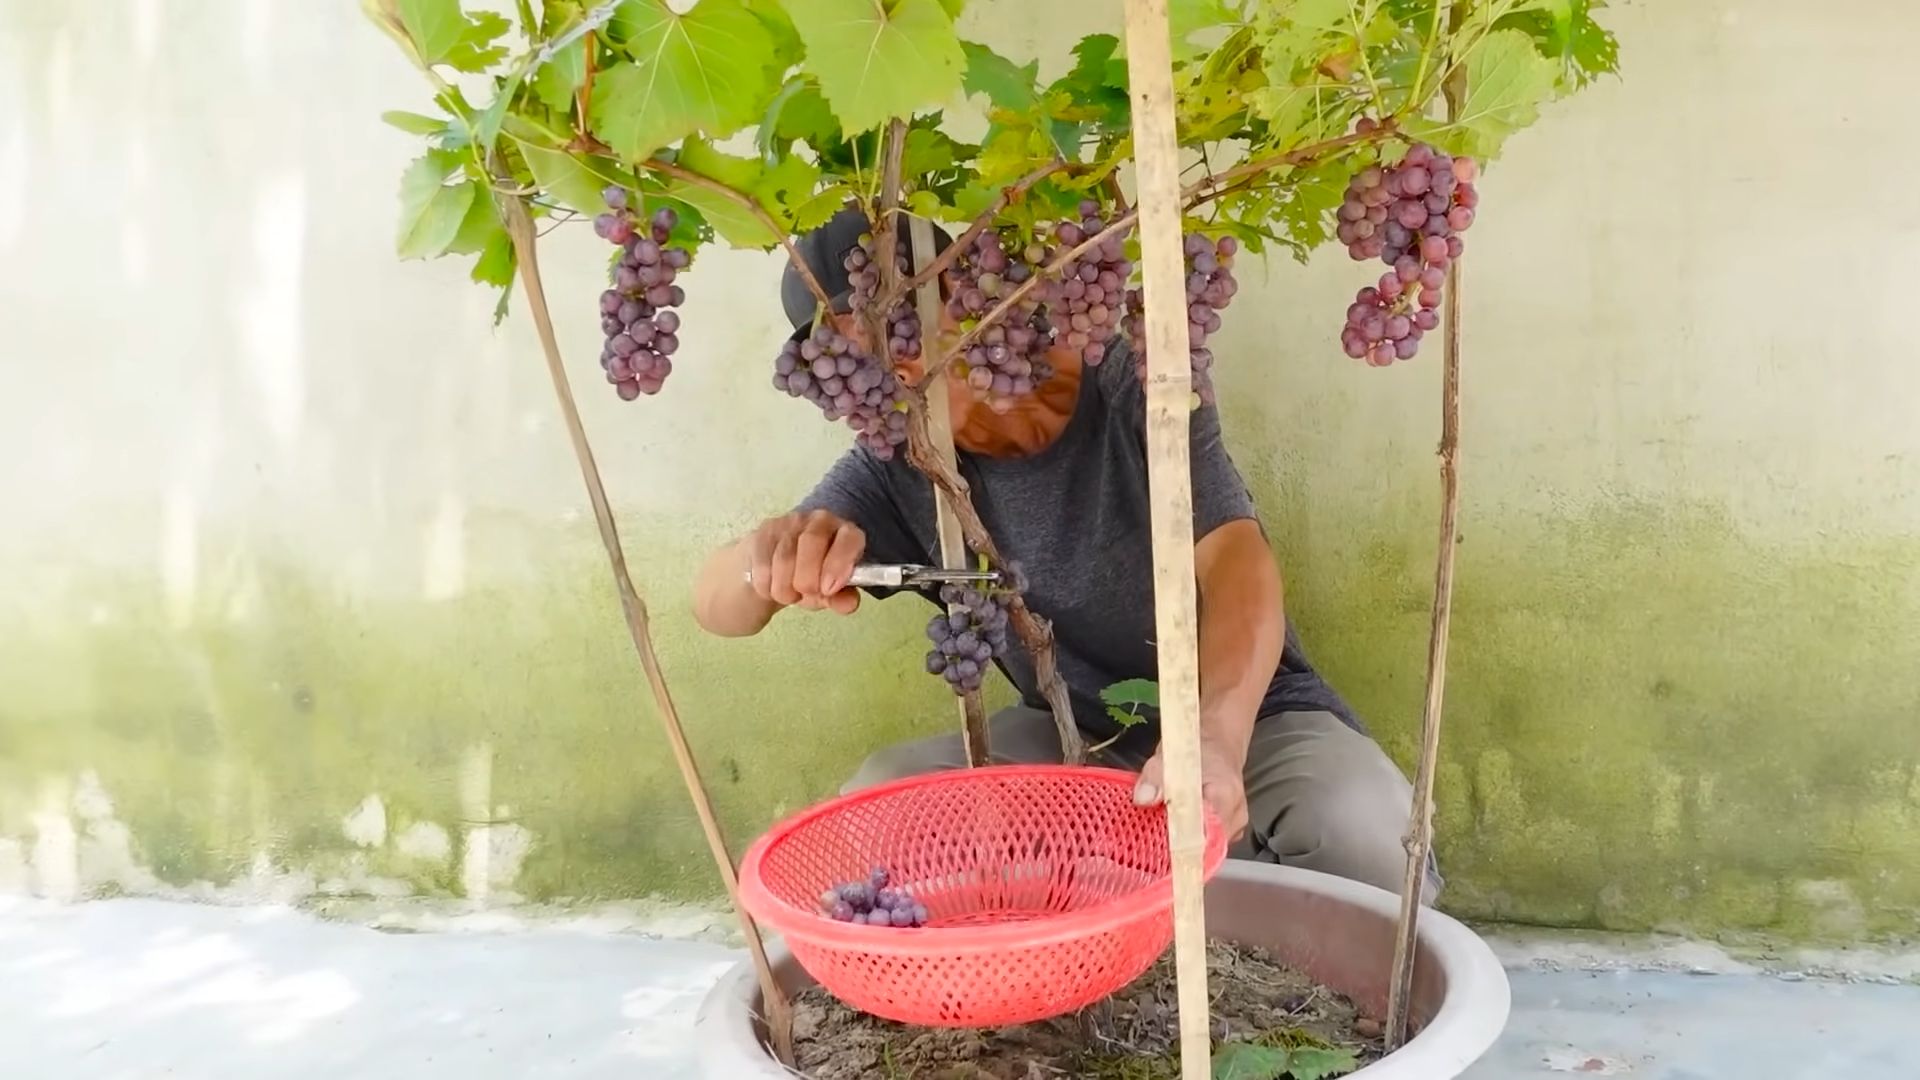
* Container Gardening: For those without access to a garden, container gardening is a viable alternative. Choose large, well-draining pots and select grape varieties that are suitable for container growing.
* Hydroponics: For the adventurous gardener, consider experimenting with hydroponics. This method involves growing grapes in a nutrient-rich solution without soil.
* Grafting: Learn about grafting different grape varieties onto hardy rootstock to improve disease resistance and fruit production.
Don’t be afraid to get creative and personalize your DIY grape growing setup. The possibilities are endless!
We wholeheartedly encourage you to embark on this rewarding DIY adventure. Imagine the joy of plucking ripe, juicy grapes from your own vines, knowing that you nurtured them from start to finish. Share your experiences with us! We’d love to see photos of your DIY grape growing setups and hear about your successes and challenges. Your insights could inspire other aspiring grape growers to take the plunge and experience the magic of homegrown grapes. So, grab your tools, gather your materials, and get ready to create your own thriving vineyard. Happy growing! Remember, the key to successful grape cultivation lies in patience, observation, and a genuine love for the process. With a little dedication, you’ll be enjoying the fruits (literally!) of your labor in no time. This DIY grape growing setup is a game changer!
Frequently Asked Questions (FAQ)
What type of grapes are best for a DIY setup?
The best type of grapes for your DIY setup depends on your climate, space, and personal preferences. For beginners, disease-resistant varieties like Concord, Niagara, and Reliance are excellent choices. These grapes are relatively easy to grow and produce abundant yields. If you live in a warmer climate, consider varieties like Thompson Seedless or Flame Seedless. For container gardening, dwarf or compact varieties like Pixie Grapes are ideal. Research the specific grape varieties that thrive in your region and choose those that align with your growing conditions and taste preferences. Also, consider the intended use of the grapes – are you planning to eat them fresh, make juice, or produce wine? This will help you narrow down your options.
How much sunlight do grapes need?
Grapes require at least 6-8 hours of direct sunlight per day to thrive. Sunlight is essential for photosynthesis, which is the process by which plants convert light energy into chemical energy for growth and fruit production. Choose a location for your DIY grape growing setup that receives ample sunlight throughout the day. If you live in a particularly hot climate, some afternoon shade may be beneficial to prevent sunburn on the grapes. Monitor the amount of sunlight your grapevines are receiving and adjust their position if necessary. Insufficient sunlight can lead to poor fruit production and reduced flavor.
What kind of soil is best for growing grapes?
Grapes prefer well-draining soil with a slightly acidic to neutral pH (between 6.0 and 7.0). Good drainage is crucial to prevent root rot, which is a common problem for grapevines. Amend heavy clay soils with organic matter such as compost or well-rotted manure to improve drainage and aeration. Sandy soils may need to be amended with organic matter to improve water retention. Before planting, conduct a soil test to determine the pH and nutrient levels. Adjust the soil pH if necessary by adding lime to raise the pH or sulfur to lower it. Fertilize your grapevines with a balanced fertilizer that is specifically formulated for grapes.
How often should I water my grapevines?
Water your grapevines deeply and regularly, especially during dry periods. The frequency of watering will depend on the climate, soil type, and age of the vines. Young grapevines require more frequent watering than established vines. As a general rule, water your grapevines when the top inch of soil feels dry to the touch. Avoid overwatering, as this can lead to root rot. During the growing season, water deeply once or twice a week. Reduce watering during the dormant season. Consider using a drip irrigation system to deliver water directly to the roots of the grapevines.
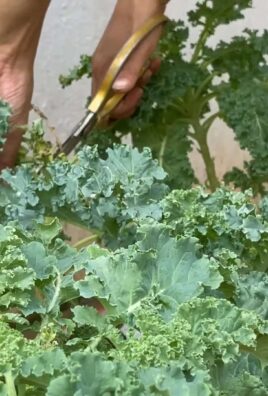
How do I prune my grapevines?
Pruning is essential for maintaining the health and productivity of your grapevines. Pruning helps to remove dead or diseased wood, improve air circulation, and encourage fruit production. The best time to prune grapevines is during the dormant season, typically in late winter or early spring before new growth begins. There are several different pruning methods, but the most common is the spur pruning method. This involves cutting back the previous year’s growth to leave only a few buds on each spur. Research the specific pruning requirements for your grape variety and follow a consistent pruning schedule.
How do I protect my grapes from pests and diseases?
Grapes are susceptible to a variety of pests and diseases, including aphids, Japanese beetles, powdery mildew, and black rot. To protect your grapes, practice good sanitation by removing fallen leaves and debris from around the vines. Monitor your grapevines regularly for signs of pests or diseases. If you detect any problems, take action immediately. There are several organic and conventional methods for controlling pests and diseases. Consider using insecticidal soap or neem oil to control aphids and other insect pests. Apply a fungicide to prevent or treat powdery mildew and black rot. Choose disease-resistant grape varieties to minimize the risk of disease problems.
Can I grow grapes in containers?
Yes, you can grow grapes in containers, but it’s important to choose the right grape variety and container size. Dwarf or compact grape varieties like Pixie Grapes are best suited for container gardening. Choose a large container that is at least 20 gallons in size. The container should have drainage holes to prevent waterlogging. Use a well-draining potting mix that is specifically formulated for containers. Place the container in a sunny location that receives at least 6-8 hours of direct sunlight per day. Water the grapevines regularly and fertilize them with a balanced fertilizer. Prune the grapevines regularly to maintain their shape and size.
How long does it take for grapevines to produce fruit?
Grapevines typically take 2-3 years to produce fruit after planting. The first year is focused on establishing the root system and vegetative growth. In the second year, the grapevines may produce a small amount of fruit. The third year is when the grapevines typically begin to produce a significant crop. Be patient and provide your grapevines with proper care and attention. With time, you’ll be rewarded with an abundant harvest of delicious grapes. Remember that proper pruning and fertilization are crucial for maximizing fruit production.


Leave a Comment