
DIY Plastic Garden: Transform Trash into Treasure and Grow Your Own Green Oasis!
Have you ever looked at a pile of discarded plastic bottles and thought, “There has to be a better use for this”? Well, you’re in luck! I’m here to show you how to turn that potential landfill fodder into a thriving, vibrant DIY plastic garden. For generations, resourceful gardeners have found innovative ways to repurpose materials, and this is just the modern, eco-friendly twist on that tradition. Think of it as a fusion of sustainability and self-sufficiency – a way to reduce waste while cultivating your own little piece of paradise.
Why should you embrace this DIY trick? Because it’s not just about saving money (although that’s a definite perk!). It’s about taking control of your food source, connecting with nature, and making a positive impact on the environment. In today’s world, where space is often limited and concerns about food security are growing, creating a DIY plastic garden offers a practical and rewarding solution. Plus, it’s incredibly satisfying to watch something beautiful and useful grow from what was once considered waste. So, let’s dive in and discover the amazing possibilities that await!
DIY Plastic Bottle Garden: A Thrifty and Eco-Friendly Project
Hey there, fellow garden enthusiasts! Are you looking for a fun, budget-friendly, and eco-conscious way to add some greenery to your life? Well, look no further! I’m going to walk you through creating your very own garden using recycled plastic bottles. It’s a fantastic project for all ages and skill levels, and it’s a great way to reduce waste while beautifying your space.
What You’ll Need
Before we dive in, let’s gather our supplies. The beauty of this project is that you probably already have most of what you need lying around!
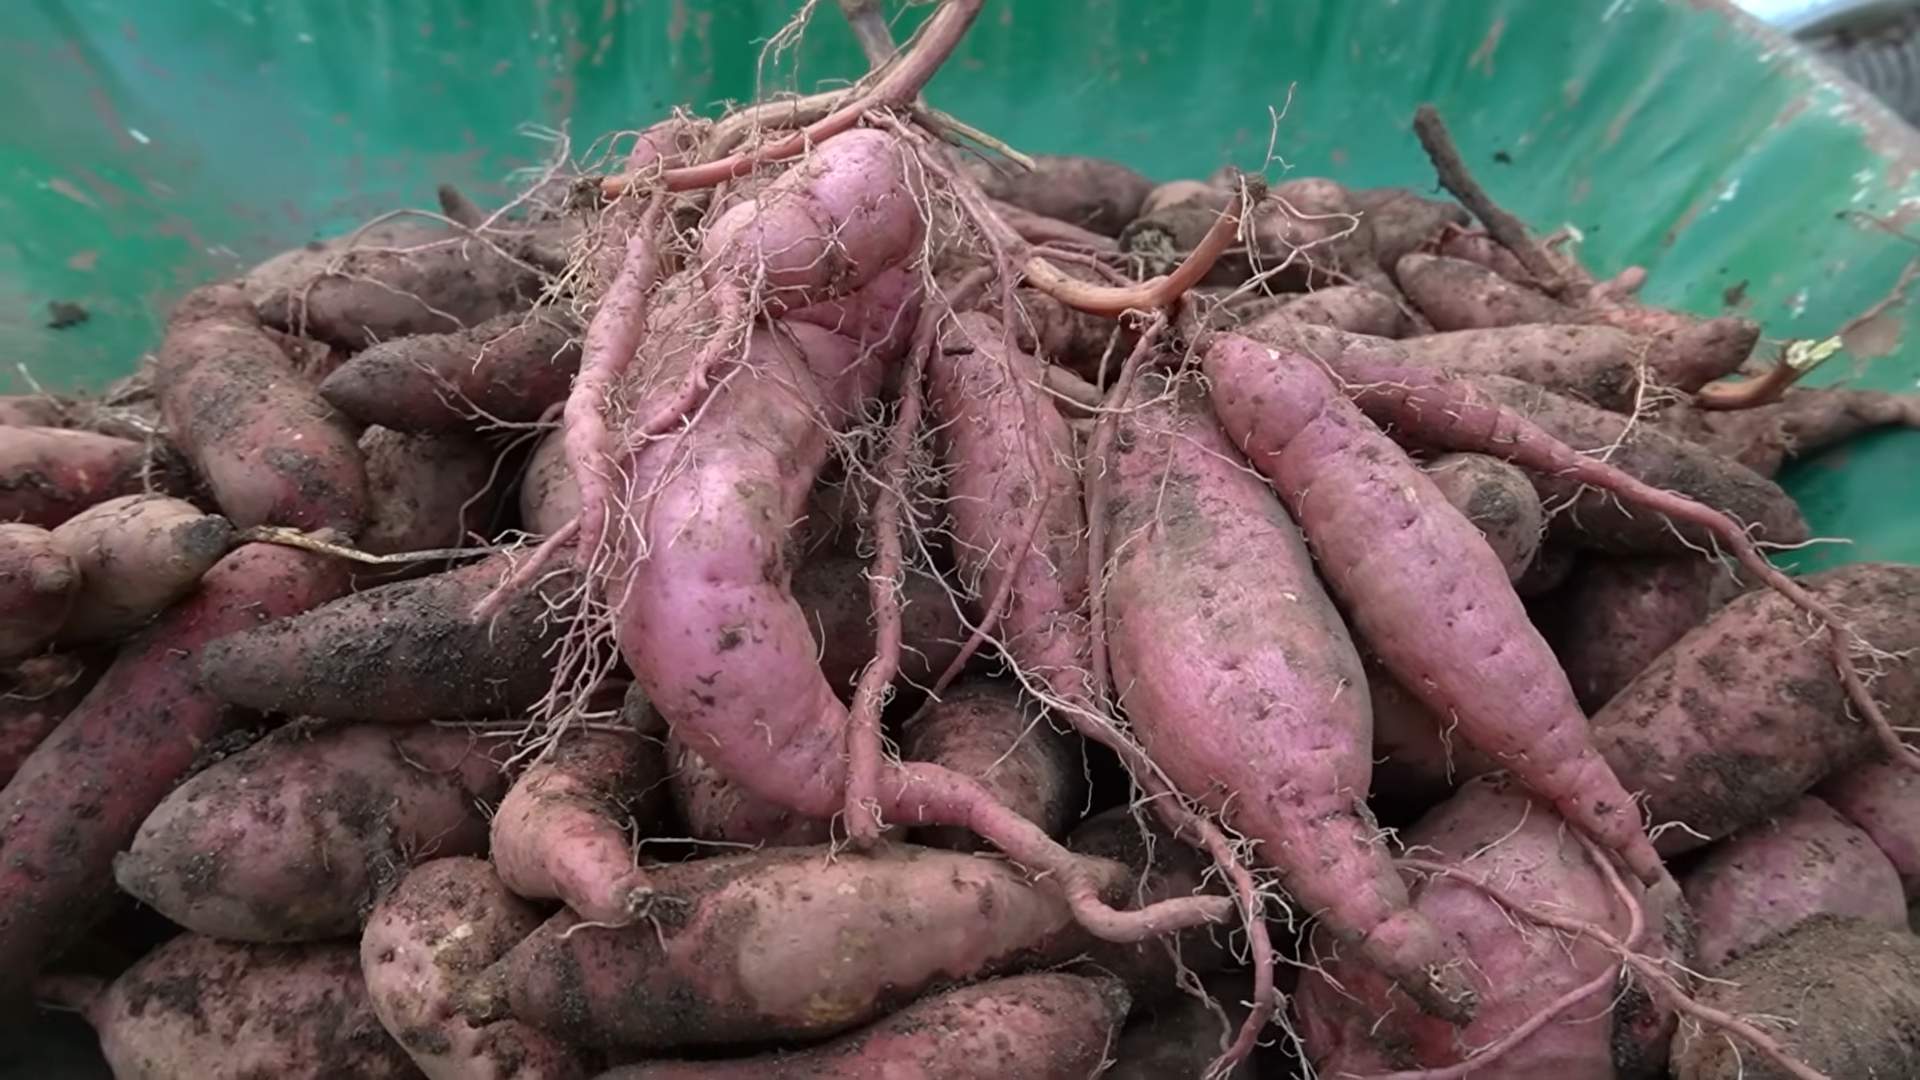
* Plastic Bottles: The star of the show! Any size or shape will work, but I recommend using a variety for visual interest. Think soda bottles, water bottles, juice containers – the more, the merrier! Make sure they’re clean and dry.
* Scissors or a Craft Knife: For cutting the plastic bottles. Be careful and always cut away from yourself. A craft knife might be easier for some cuts, but scissors work just fine too.
* Soil: Good quality potting soil is essential for healthy plant growth.
* Plants or Seeds: Choose plants that are suitable for the amount of sunlight your garden will receive. Herbs, succulents, strawberries, and small flowers are all great options.
* Water: For watering your plants, of course!
* Optional:
* Paint and Brushes: To decorate your bottles and add a personal touch. Acrylic paint works best.
* Markers: For labeling your plants.
* String or Wire: If you want to create a hanging garden.
* Gravel or Small Stones: For drainage at the bottom of the bottles.
* Gloves: To keep your hands clean while working with soil.
* Safety Glasses: To protect your eyes when cutting the plastic.
* Sandpaper: To smooth out any rough edges after cutting.
Preparing the Plastic Bottles
This is where the transformation begins! We’re going to turn those discarded bottles into mini-planters.
1. Clean and Dry: Make sure your plastic bottles are thoroughly cleaned and completely dry. Remove any labels and sticky residue. A little soap and water usually does the trick.
2. Cutting the Bottles: There are several ways you can cut the bottles, depending on the type of garden you want to create. Here are a few options:
* Horizontal Planters: This is the most common method.
1. Decide where you want to cut the bottle. Usually, cutting it in half or slightly above the halfway point works well.
2. Carefully use your scissors or craft knife to cut around the bottle.
3. Smooth out any rough edges with sandpaper.
4. You can use either the top or bottom half of the bottle as a planter. If using the top half, you’ll need to invert it into the bottom half to create a self-watering system (more on that later!).
* Vertical Planters: This method is great for hanging gardens or creating a wall of plants.
1. Cut a rectangular or oval opening in the side of the bottle, large enough to plant your seedlings.
2. Make sure the opening is facing upwards when the bottle is hanging.
3. You’ll also need to create drainage holes in the bottom of the bottle.
* Self-Watering Planters: This is a clever way to keep your plants watered for longer.
1. Cut the bottle in half horizontally.
2. Drill a small hole in the bottle cap.
3. Invert the top half of the bottle into the bottom half.
4. Thread a cotton rope or strip of fabric through the hole in the cap, allowing it to dangle into the water reservoir in the bottom half. The rope will wick water up to the soil.
3. Drainage Holes: Regardless of which method you choose, it’s crucial to create drainage holes in the bottom of your planters. This prevents the soil from becoming waterlogged, which can lead to root rot. Use scissors, a craft knife, or even a hot nail to create a few small holes.
4. Decorating (Optional): Now comes the fun part! If you want to add some personality to your garden, decorate your plastic bottles with paint, markers, or any other craft supplies you have on hand. Get creative! You can paint them bright colors, add patterns, or even create little characters. Let the paint dry completely before moving on to the next step.
Planting Your Garden
Alright, we’ve got our planters ready, now it’s time to get our hands dirty!
1. Add Drainage Material (Optional): If you’re using gravel or small stones, place a layer at the bottom of each planter. This will further improve drainage and prevent the soil from becoming compacted.
2. Fill with Soil: Carefully fill each planter with potting soil, leaving about an inch of space at the top.
3. Plant Your Seeds or Seedlings:
* Seeds: Follow the instructions on your seed packet for planting depth and spacing. Gently press the seeds into the soil and cover them with a thin layer of soil.
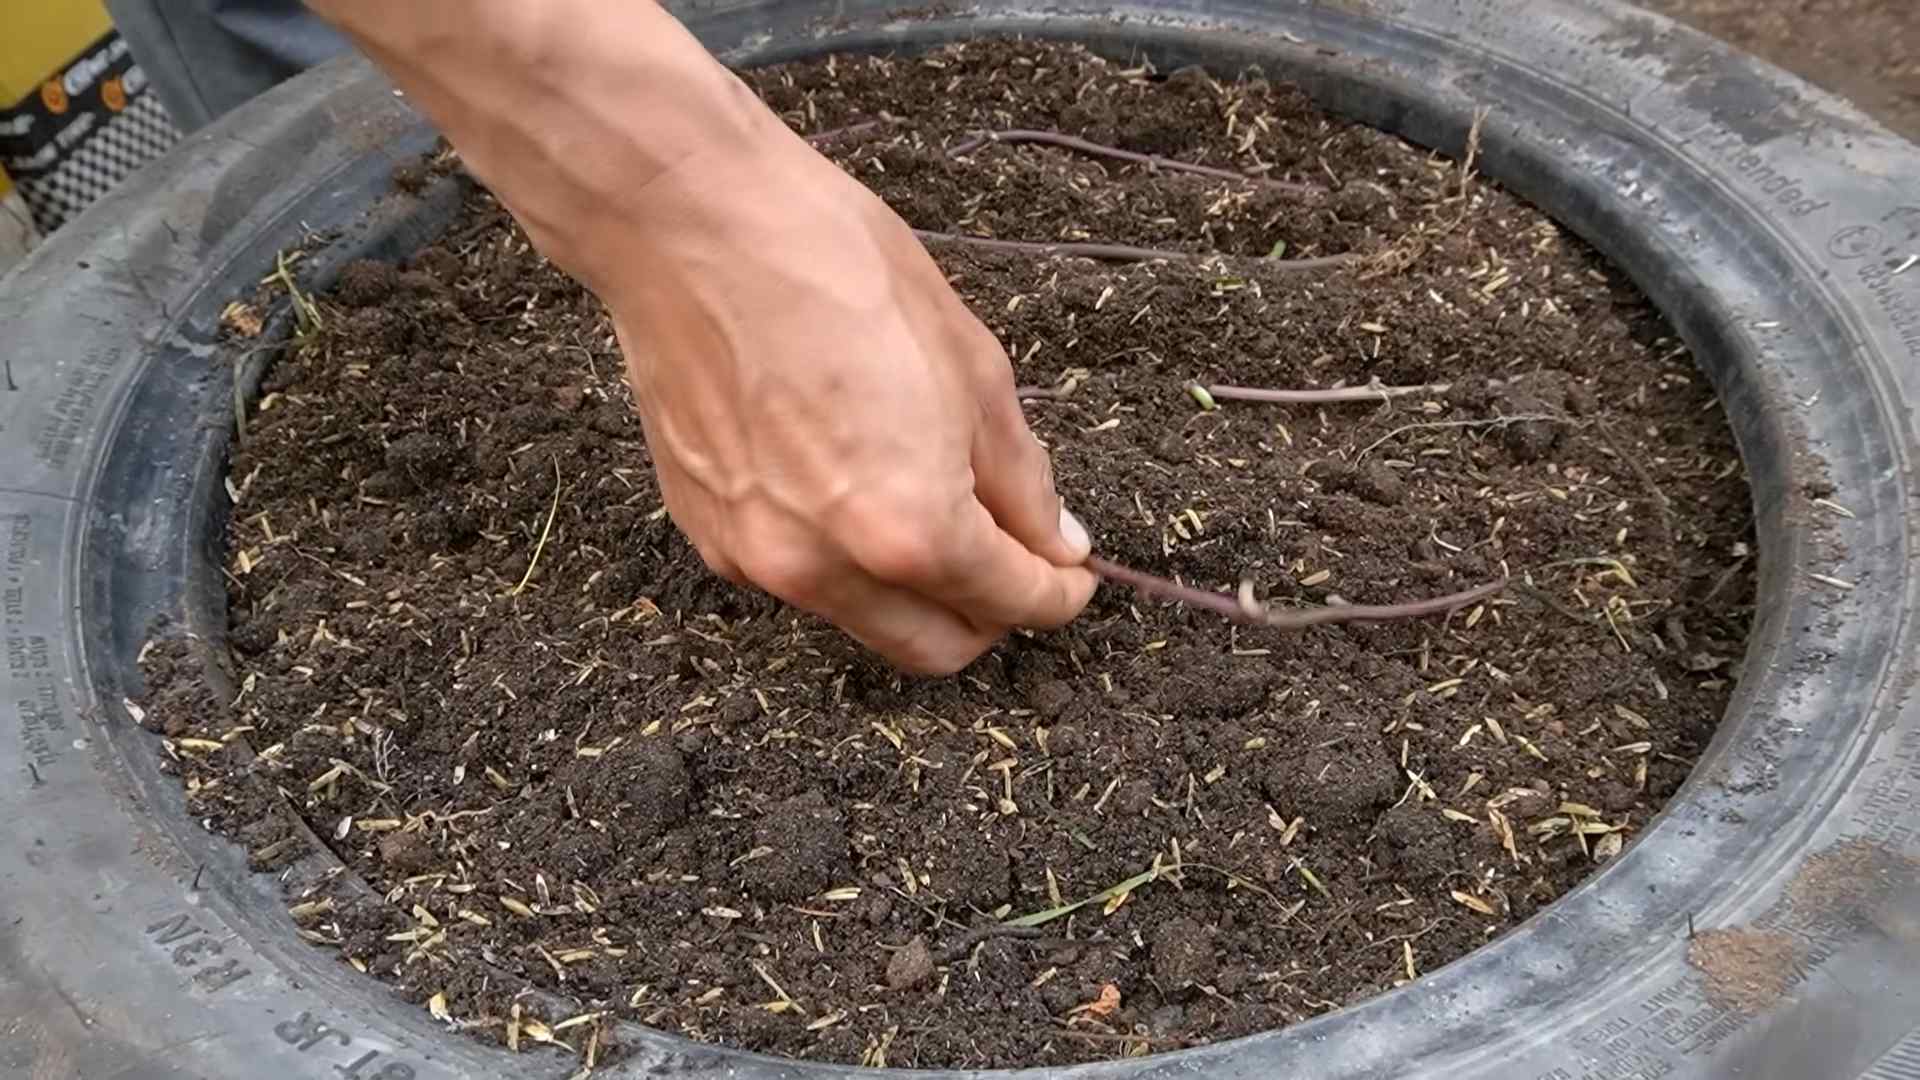
* Seedlings: Dig a small hole in the soil large enough to accommodate the root ball of your seedling. Gently remove the seedling from its container and place it in the hole. Backfill with soil and gently pat it down.
4. Water Thoroughly: After planting, water your plants thoroughly until the water drains out of the drainage holes.
5. Label Your Plants (Optional): Use markers or labels to identify your plants. This is especially helpful if you’re growing a variety of herbs or vegetables.
Creating Different Garden Styles
The beauty of this project is its versatility. You can create a variety of garden styles using plastic bottles. Here are a few ideas:
* Hanging Garden:
1. Use vertical planters with openings cut in the sides.
2. Create holes near the top of the bottles.
3. Thread string or wire through the holes to create hangers.
4. Hang your planters from a balcony, fence, or even indoors.
* Vertical Wall Garden:
1. Use vertical planters.
2. Attach the planters to a wall or fence using screws, nails, or strong adhesive.
3. Arrange the planters in a visually appealing pattern.
* Indoor Herb Garden:
1. Use horizontal planters or self-watering planters.
2. Place the planters on a windowsill or under a grow light.
3. Grow your favorite herbs, such as basil, mint, and parsley.
* Succulent Garden:
1. Succulents are drought-tolerant and perfect for plastic bottle gardens.
2. Use well-draining soil specifically formulated for succulents.
3. Arrange a variety of succulents in your planters for a visually stunning display.
Caring for Your Plastic Bottle Garden
Now that your garden is planted, it’s important to provide proper care to ensure healthy growth.
* Watering: Water your plants regularly, but avoid overwatering. Check the soil moisture by sticking your finger into the soil. If it feels dry, it’s time to water.
* Sunlight: Place your garden in a location that receives adequate sunlight. Most plants need at least six hours of sunlight per day.
* Fertilizing: Fertilize your plants every few weeks with a balanced liquid fertilizer.
* Pruning: Prune your plants regularly to encourage bushier growth and remove any dead or dying leaves.
* Pest Control: Keep an eye out for pests and diseases. Treat any problems promptly with organic pest control methods.
Troubleshooting
Even with the best care, you might encounter some challenges along the way. Here are a few common problems and how to fix them:
* Yellowing Leaves: This could be a sign of overwatering, underwatering, or nutrient deficiency. Adjust your watering schedule and fertilize your plants if necessary.
* Leggy Growth: This indicates that your plants aren’t getting enough sunlight. Move them to a sunnier location or provide supplemental lighting.
* Root Rot: This is caused by overwatering and poor drainage. Make sure your planters have adequate drainage holes and avoid overwatering.
* Pests: Common pests include aphids, spider mites, and whiteflies. Treat infestations with insecticidal soap or neem oil.
Why I Love This Project
I’m so passionate about this project because it’s not just about gardening; it’s about sustainability and creativity. It’s a fantastic way to:
* Reduce Waste: By repurposing plastic bottles, you’re diverting them from landfills and reducing your environmental impact.
Conclusion
So, there you have it! Transforming discarded plastic into a thriving garden isn’t just a clever upcycling project; it’s a powerful statement about sustainability and resourcefulness. This DIY plastic garden method offers a multitude of benefits, from reducing landfill waste and saving money on expensive gardening supplies to creating a unique and personalized outdoor space. It’s a win-win for you and the environment.
But why is this DIY trick a must-try? Beyond the obvious environmental advantages, consider the sheer versatility. You’re not limited to a specific size or shape. Need a raised bed for herbs? Plastic bottles can do that. Want a vertical garden for strawberries? Plastic containers are your answer. The possibilities are truly endless, limited only by your imagination and the amount of plastic you have on hand.
Furthermore, this method is incredibly accessible. You don’t need specialized tools or advanced gardening knowledge. If you can cut plastic and fill it with soil, you can create a thriving garden. It’s a fantastic project for families, teaching children about recycling and the importance of caring for the environment. It’s also a rewarding activity for seasoned gardeners looking for a sustainable and cost-effective way to expand their green space.
Looking for variations? Consider painting your plastic containers to add a splash of color and personality to your garden. Use different types of plastic to create a textured effect. Incorporate drainage holes strategically to prevent waterlogging. Experiment with different soil mixtures to optimize growth for specific plants. You can even use plastic bottles to create a simple irrigation system, further reducing water waste.
Another exciting variation is to create a miniature greenhouse using larger plastic containers. This is perfect for starting seeds early in the season or protecting delicate plants from harsh weather conditions. Simply cut a large plastic container in half, invert the top half over the bottom half, and secure it with tape or clips. You’ll have a mini-greenhouse that’s both functional and visually appealing.
Don’t be afraid to get creative and personalize your DIY plastic garden to suit your specific needs and preferences. The beauty of this project lies in its adaptability and the freedom it offers to experiment and innovate.
We strongly encourage you to give this DIY trick a try. Gather your discarded plastic, unleash your creativity, and transform it into a beautiful and productive garden. We’re confident that you’ll be amazed by the results.
And most importantly, we want to hear about your experience! Share your photos, tips, and challenges in the comments section below. Let’s build a community of eco-conscious gardeners who are passionate about transforming waste into wonder. Together, we can make a positive impact on the environment, one plastic bottle at a time. Let us know what plants you decided to grow, what challenges you faced, and any unique solutions you came up with. Your insights will inspire others to embark on their own DIY plastic garden journey.
Remember, every small effort counts. By embracing sustainable practices like this, we can collectively create a greener and more sustainable future for generations to come. So, get started today and let your garden bloom with purpose!
Frequently Asked Questions (FAQ)
What types of plastic are safe to use for a DIY plastic garden?
The best types of plastic to use are those labeled with recycling codes 1 (PET or PETE), 2 (HDPE), and 5 (PP). These plastics are generally considered food-safe and are less likely to leach harmful chemicals into the soil. Avoid using plastics labeled with recycling codes 3 (PVC), 6 (PS), and 7 (Other), as these may contain potentially harmful substances. Always thoroughly clean any plastic containers before using them for gardening. If you are concerned about potential leaching, consider lining the containers with a layer of landscape fabric or using them for plants that are not intended for consumption.
How do I ensure proper drainage in my plastic container garden?
Proper drainage is crucial to prevent waterlogging and root rot. Drill several drainage holes in the bottom of your plastic containers before adding soil. The size and number of holes will depend on the size of the container and the type of plants you are growing. For smaller containers, 3-4 holes that are about ¼ inch in diameter should be sufficient. For larger containers, you may need to drill more holes or use larger diameter holes. You can also add a layer of gravel or pebbles to the bottom of the container to improve drainage.
What type of soil should I use for my DIY plastic garden?
The best type of soil to use is a well-draining potting mix specifically formulated for container gardening. Avoid using garden soil, as it can become compacted in containers and restrict drainage. You can also amend your potting mix with compost or other organic matter to improve its fertility and water-holding capacity. Consider the specific needs of the plants you are growing when selecting your soil mix. Some plants prefer acidic soil, while others prefer alkaline soil.
How do I protect my plants from overheating in plastic containers?
Plastic containers can heat up quickly in direct sunlight, which can damage plant roots. To protect your plants from overheating, consider painting the containers a light color to reflect sunlight. You can also wrap the containers with burlap or other insulating material. Another option is to place the containers in a shaded area during the hottest part of the day. Regular watering is also essential to keep the soil cool and moist.
How often should I water my plants in a DIY plastic garden?
The frequency of watering will depend on several factors, including the type of plants you are growing, the weather conditions, and the type of soil you are using. Generally, you should water your plants when the top inch of soil feels dry to the touch. Avoid overwatering, as this can lead to root rot. Check the soil moisture regularly and adjust your watering schedule accordingly. During hot and dry weather, you may need to water your plants more frequently.
Can I grow vegetables in a DIY plastic garden?
Yes, you can absolutely grow vegetables in a DIY plastic garden! Many vegetables thrive in containers, including tomatoes, peppers, cucumbers, lettuce, and herbs. Choose varieties that are well-suited to container gardening and provide them with adequate sunlight, water, and nutrients. Be sure to select containers that are large enough to accommodate the mature size of the plants.
How do I fertilize my plants in a DIY plastic garden?
Container-grown plants require regular fertilization because the nutrients in the soil are quickly depleted. Use a balanced fertilizer specifically formulated for container gardening. Follow the instructions on the fertilizer label carefully. You can also use organic fertilizers, such as compost tea or fish emulsion. Fertilize your plants every 2-4 weeks during the growing season.
How do I prevent pests and diseases in my DIY plastic garden?
Regularly inspect your plants for signs of pests or diseases. Remove any affected leaves or plants immediately. You can also use organic pest control methods, such as insecticidal soap or neem oil. Ensure that your plants have adequate air circulation to prevent fungal diseases. Avoid overwatering, as this can create a favorable environment for pests and diseases.
What do I do with my DIY plastic garden at the end of the growing season?
At the end of the growing season, remove any dead or diseased plants from your containers. Clean the containers thoroughly with soap and water. You can store the containers for reuse next season or recycle them if they are no longer needed. Consider composting the soil from your containers to enrich your garden soil.
Is a DIY plastic garden safe for growing food?
Yes, a DIY plastic garden can be safe for growing food, provided you use the correct types of plastic and take precautions to minimize potential leaching. As mentioned earlier, use plastics labeled with recycling codes 1, 2, and 5. Thoroughly clean the containers before use. If you are concerned about leaching, line the containers with landscape fabric or use them for non-edible plants. Monitor your plants for any signs of stress or discoloration, which could indicate a problem with the soil or the plastic. By following these guidelines, you can enjoy fresh, homegrown produce from your DIY plastic garden with peace of mind.
Leave a Comment