
Easy Beet Harvesting – sounds like a dream, right? I know, I know, sometimes gardening feels more like a battle than a blissful escape. But trust me, with a few clever tricks, you can transform your beet-growing experience from frustrating to fantastic! For centuries, beets have been a staple in diets across the globe, from the ancient Romans who valued them for their medicinal properties to the vibrant borscht of Eastern European cuisine. They’re packed with nutrients and add a beautiful pop of color to any dish.
But let’s be honest, knowing when and how to harvest those ruby-red treasures can be a bit of a mystery. Pulling them too early means sacrificing size and flavor, while waiting too long can result in tough, woody roots. That’s where these DIY harvesting hacks come in! I’m going to share some simple, effective techniques that will ensure you get the most delicious and tender beets possible. No more guesswork, no more wasted crops – just perfectly harvested beets ready for your favorite recipes. So, grab your gardening gloves, and let’s dive into the secrets of easy beet harvesting!
Easy Beet Harvesting: A DIY Guide to Bumper Crops!
Okay, fellow garden enthusiasts! Let’s talk beets. Those earthy, vibrant root vegetables are a joy to grow, but knowing when and how to harvest them can be a little tricky. Fear not! I’m here to share my tried-and-true method for easy beet harvesting, ensuring you get the most delicious and usable beets from your garden. This isn’t just about pulling them out of the ground; it’s about maximizing your yield and minimizing damage.
When to Harvest Your Beets
Timing is everything! Harvesting beets at the right time will make a world of difference in their flavor and texture.
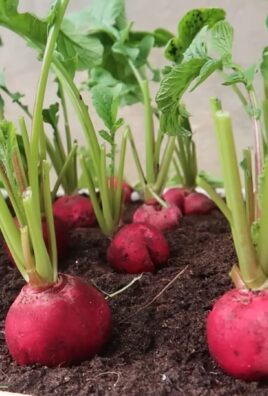
* Size Matters (Sort Of): While you can technically harvest beets at any size, the ideal size is usually between 1-3 inches in diameter. Larger beets can become woody and less flavorful. I usually start checking them when they’re about the size of a golf ball.
* Days to Maturity: Check your seed packet! Most beet varieties mature in 50-70 days. This is a good guideline, but always observe your plants.
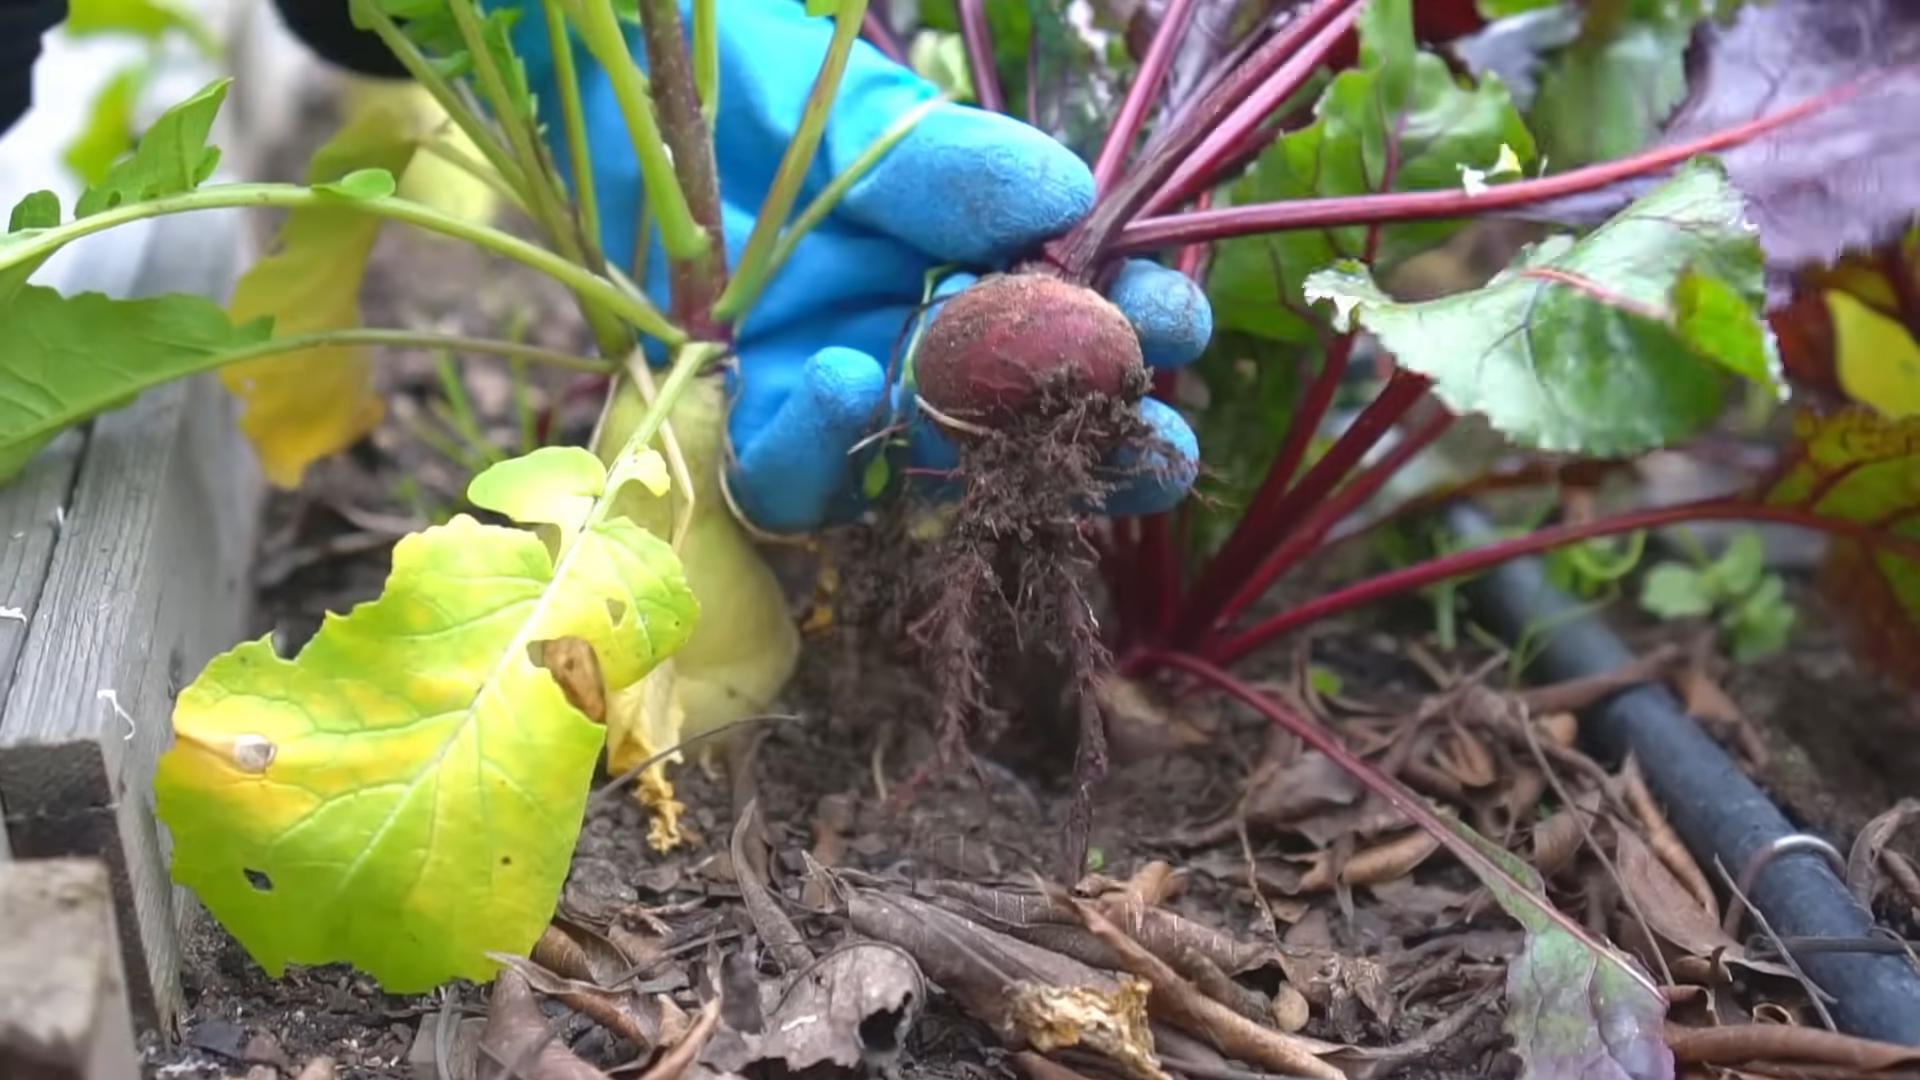
* Shoulder Check: The “shoulder” of the beet (the part that peeks out of the soil) is a great indicator. If it’s looking plump and colorful, it’s likely ready.
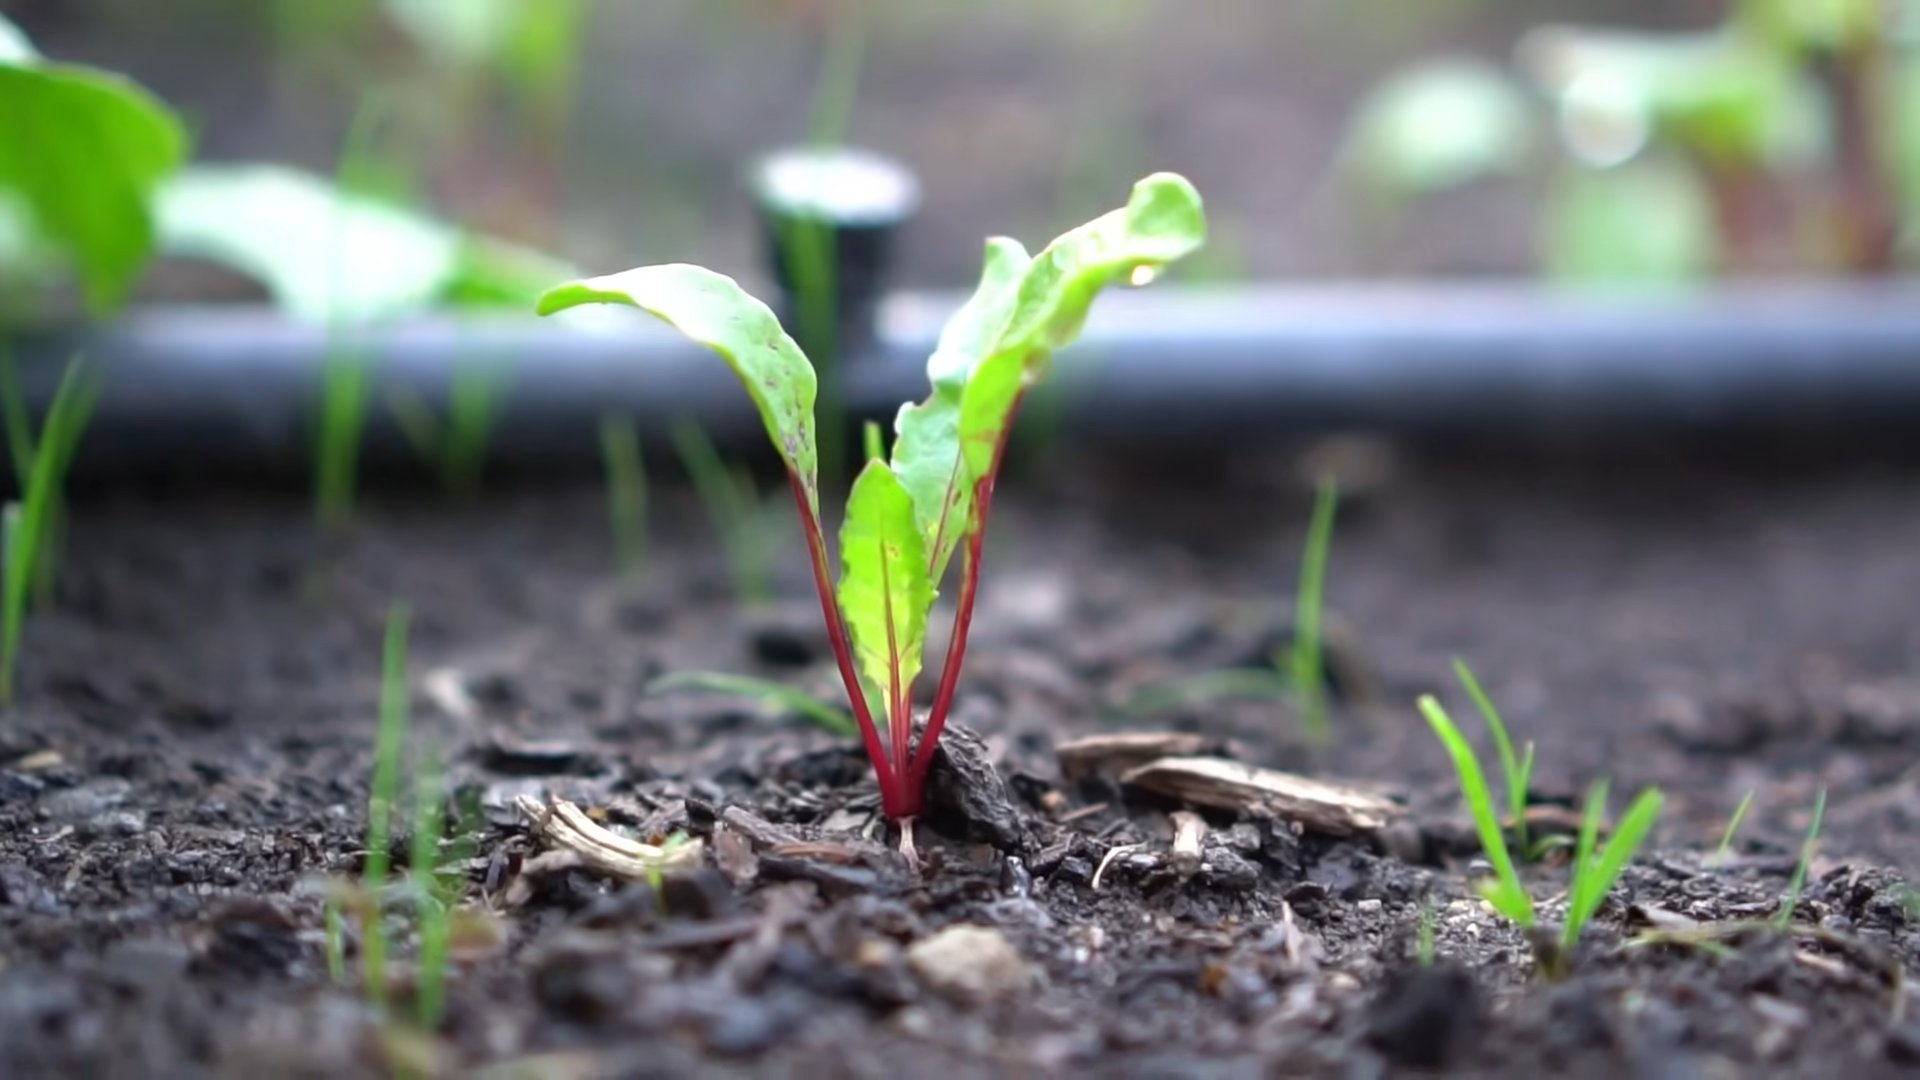
* Don’t Forget the Greens! Beet greens are edible and delicious! You can harvest them throughout the growing season, but be careful not to take too many at once, as this can stunt the beet’s growth.
Tools You’ll Need
Having the right tools makes the job so much easier and prevents unnecessary damage to your precious beets.
* Garden Fork or Trowel: A garden fork is my preferred tool for loosening the soil around the beets. A trowel works too, especially if you only have a few to harvest.
* Gloves: Protect your hands from dirt and potential irritants.
* Sharp Knife or Pruning Shears: For trimming the beet greens.
* Bucket or Basket: To collect your harvested beets.
* Water Hose with a Gentle Spray Nozzle: For washing off the dirt.
The Harvesting Process: Step-by-Step
Alright, let’s get our hands dirty! Here’s my step-by-step guide to harvesting beets the easy way.
1. Loosen the Soil: This is the most crucial step! Using your garden fork, gently loosen the soil around the beets. Insert the fork about 4-6 inches away from the beet and gently lift upwards. Work your way around the beet, loosening the soil on all sides. Be careful not to puncture the beet itself! If you’re using a trowel, insert it into the soil at an angle and gently pry upwards.
2. Gently Pull or Lift: Once the soil is loosened, grasp the beet greens near the base of the beet. Gently pull upwards with a twisting motion. If the beet is stubborn, don’t force it! Loosen the soil a bit more and try again. You might need to use the garden fork to gently lift the beet from underneath while pulling on the greens.
3. Trim the Greens: Using your sharp knife or pruning shears, trim the beet greens about 1-2 inches above the beet. This prevents the greens from drawing moisture and nutrients away from the beet during storage. Don’t throw those greens away! They’re delicious sautéed, steamed, or added to salads.
4. Remove Excess Soil: Gently brush off any excess soil from the beets. Avoid washing them at this stage, as moisture can promote spoilage. If the soil is really caked on, you can gently tap the beets against each other to dislodge it.
5. Inspect for Damage: Take a close look at your harvested beets. Discard any that are severely damaged or show signs of disease. Minor blemishes are usually fine.
6. Curing (Optional but Recommended): Curing helps to toughen the beet skins and improve their storage life. To cure your beets, lay them out in a single layer in a cool, dry, and well-ventilated place for about a week. Avoid direct sunlight.
7. Washing and Storing: Only wash your beets right before you’re ready to use them. To store them, place them in a plastic bag or container in the refrigerator. They should last for several weeks. If you didn’t cure them, use them sooner rather than later.
Harvesting Beet Greens
As I mentioned earlier, beet greens are a fantastic bonus! Here’s how to harvest them without harming your beet crop.
* Outer Leaves First: Always harvest the outer leaves first, leaving the inner leaves to continue growing.
* Don’t Overdo It: Never remove more than 1/3 of the leaves at a time. This can weaken the plant and reduce beet production.
* Cut, Don’t Pull: Use your sharp knife or pruning shears to cut the leaves about 1-2 inches above the base of the plant. This prevents damage to the beet.
* Wash and Store: Wash the beet greens thoroughly and store them in a plastic bag in the refrigerator. They’re best used within a few days.
Troubleshooting Common Harvesting Issues
Sometimes, things don’t go exactly as planned. Here are some common issues you might encounter and how to deal with them.
* Beets are Too Small: If your beets are consistently small, it could be due to several factors:
* Crowding: Beets need space to grow. Thin your seedlings early to ensure they have enough room.
* Poor Soil: Beets prefer well-drained soil that is rich in organic matter. Amend your soil with compost before planting.
* Lack of Sunlight: Beets need at least 6 hours of sunlight per day.
* Insufficient Watering: Beets need consistent moisture, especially during hot weather.
* Beets are Woody: Woody beets are usually a sign that they were left in the ground too long. Harvest them earlier next time.
* Beets are Cracked: Cracked beets can be caused by inconsistent watering. Try to maintain even moisture levels in the soil.
* Beets are Difficult to Pull: If your beets are difficult to pull, it’s likely because the soil is too compacted. Loosen the soil thoroughly before harvesting.
Using Your Harvest: Beyond the Beetroot
Now that you’ve got a beautiful harvest of beets, what do you do with them? The possibilities are endless!
* Roasted Beets: Roasting brings out the natural sweetness of beets. Simply toss them with olive oil, salt, and pepper, and roast at 400°F (200°C) until tender.
* Beet Salad: Combine roasted or boiled beets with goat cheese, walnuts, and a balsamic vinaigrette for a delicious and colorful salad.
* Beet Soup (Borscht): A classic Eastern European soup made with beets, cabbage, and other vegetables.
* Pickled Beets: A great way to preserve your beet harvest.
* Beet Greens: Sautéed with garlic and olive oil, steamed, or added to soups and stews.
* Beet Juice: A healthy and refreshing drink.
Tips for a Bumper Beet Crop Next Year
Want to ensure an even better beet harvest next year? Here are a few tips:
* Choose the Right Variety: Different beet varieties have different characteristics. Choose one that is well-suited to your climate and growing conditions.
* Prepare Your Soil: Beets prefer well-drained soil that is rich in organic matter. Amend your soil with compost before planting.
* Plant at the Right Time: Beets are a cool-season crop. Plant them in early spring or late summer.
* Thin Your Seedlings: Thin your seedlings early to ensure they have enough room to grow.
* Water Regularly: Beets need consistent moisture, especially during hot weather.
* Fertilize Sparingly: Beets don’t need a lot of fertilizer. A light feeding of compost tea or a balanced fertilizer is usually sufficient.
* Control Pests and Diseases: Keep an eye out for pests and diseases and take action promptly if you spot any problems.
So there you have it! My complete guide to easy beet harvesting. With a little bit of knowledge and effort, you can enjoy a bountiful harvest of delicious and nutritious beets from your own garden. Happy gardening!
Conclusion
So, there you have it! Mastering easy beet harvesting doesn’t require fancy tools or years of experience. It’s about understanding the signs, employing the right techniques, and treating your beets with the care they deserve. This simple DIY trick, focusing on gentle loosening and careful lifting, can truly transform your harvest from a back-breaking chore into a rewarding experience. Imagine pulling up plump, vibrant beets, knowing you’ve nurtured them from seed to table with your own hands.
Why is this a must-try? Because it minimizes damage. Bruised or broken beets are more susceptible to rot and won’t store as well. This method ensures you get the most out of your hard work, extending the shelf life of your harvest and reducing waste. Plus, it’s incredibly satisfying! There’s a unique joy in gently coaxing these root vegetables from the earth, knowing you’ve done it right.
But don’t stop there! Experiment with variations to suit your specific garden conditions. If your soil is particularly compacted, try using a garden fork instead of a trowel to loosen the soil around the beets. For larger beet varieties, you might need to use both hands to gently pull them free. And if you’re harvesting in dry conditions, a little watering the day before can make the process even easier.
Consider these additional tips for maximizing your beet harvest:
* Succession Planting: Plant beets every few weeks for a continuous supply throughout the growing season.
* Leaf Harvest: Don’t forget the beet greens! They’re delicious and nutritious. Harvest them while the beets are still growing, but be careful not to remove too many at once, as this can stunt the growth of the root.
* Storage: After harvesting, remove the beet greens, leaving about an inch of stem. Gently brush off any excess soil (don’t wash them until you’re ready to use them). Store the beets in a cool, dark, and humid place, such as a root cellar or refrigerator crisper drawer, in a perforated plastic bag or container filled with slightly damp sand or sawdust.
We’re confident that this DIY trick will make your beet harvesting easier and more enjoyable. But the real test is in the doing! We encourage you to try it out in your own garden and see the difference it makes. And most importantly, share your experience with us! Let us know what worked for you, what challenges you faced, and any variations you discovered. Your feedback will help us refine this method and make it even better for everyone. Post your photos and stories on our social media pages using #EasyBeetHarvesting or leave a comment on our website. We can’t wait to hear from you! Happy harvesting!
Frequently Asked Questions (FAQ)
When is the best time to harvest my beets?
The ideal time to harvest beets depends on the variety and your personal preference. Generally, beets are ready to harvest when the roots are 1-3 inches in diameter. You can check the size by gently brushing away some soil around the base of the plant. Larger beets can be harvested, but they may become tough and woody. Also, check the seed packet or plant tag for specific maturity dates for your beet variety. Don’t forget to consider the weather; harvesting before a hard frost is always a good idea.
What if my soil is very compacted and the beets are difficult to pull out?
Compacted soil can definitely make beet harvesting a challenge. If you’re struggling to loosen the soil with a trowel, try using a garden fork. Insert the fork a few inches away from the beet and gently rock it back and forth to loosen the soil around the entire root. You can also try watering the area thoroughly a day or two before harvesting to soften the soil. Adding organic matter, like compost, to your soil can improve its structure and drainage over time, making future harvests easier.
Can I harvest beet greens even if I’m not ready to harvest the beets themselves?
Absolutely! Beet greens are a delicious and nutritious addition to salads, stir-fries, and other dishes. You can harvest them throughout the growing season, even before the beets are fully mature. However, it’s important to avoid removing too many leaves at once, as this can weaken the plant and affect the growth of the root. A good rule of thumb is to never remove more than one-third of the leaves at any given time. Choose the outer, more mature leaves for harvesting, leaving the inner leaves to continue growing.
How should I store my harvested beets to keep them fresh?
Proper storage is key to extending the shelf life of your harvested beets. First, remove the beet greens, leaving about an inch of stem attached to the root. Gently brush off any excess soil, but avoid washing the beets until you’re ready to use them. Store the beets in a cool, dark, and humid place, such as a root cellar or refrigerator crisper drawer. Place them in a perforated plastic bag or container filled with slightly damp sand or sawdust to help maintain humidity. Stored properly, beets can last for several months.
What are some common problems I might encounter when harvesting beets, and how can I solve them?
One common problem is accidentally damaging the beets during harvesting. This can happen if you’re too rough when pulling them out of the ground. To avoid this, always loosen the soil around the beets before attempting to pull them. Another problem is finding that the beets are too small or underdeveloped. This could be due to a variety of factors, such as poor soil, insufficient watering, or overcrowding. Make sure your beets are planted in well-drained soil that is rich in organic matter. Water them regularly, especially during dry periods. And thin out the seedlings to give them enough space to grow. Finally, pests and diseases can also affect beet growth. Monitor your plants regularly for signs of problems and take appropriate action to control them.
What are some creative ways to use my beet harvest beyond just roasting them?
Beets are incredibly versatile and can be used in a wide variety of dishes. Beyond roasting, try pickling them for a tangy snack or side dish. You can also grate them raw into salads for a vibrant color and crunchy texture. Beet juice is a popular ingredient in smoothies and other healthy drinks. And don’t forget about the beet greens! They can be sautéed, steamed, or added to soups and stews. You can even use beet juice as a natural food coloring for cakes, frostings, and other desserts. Get creative and experiment with different ways to incorporate beets into your meals!

Leave a Comment