
Easy Homegrown Melons: Imagine biting into a juicy, sweet melon, bursting with flavor, knowing you grew it yourself right in your backyard! Sounds idyllic, right? Well, it’s more achievable than you might think! For centuries, cultivating melons has been a symbol of abundance and prosperity, from ancient Egyptian paintings depicting watermelons to the elaborate melon gardens of the French aristocracy. But you don’t need to be royalty or an expert gardener to enjoy the fruits (or rather, melons!) of your labor.
Many people shy away from growing melons, believing they require vast amounts of space and specialized knowledge. That’s where this DIY guide comes in! I’m here to debunk those myths and show you simple, effective tricks and hacks to achieve easy homegrown melons, even if you have limited space or a less-than-green thumb. We’ll explore everything from choosing the right varieties for your climate to clever container gardening techniques and pest control strategies.
Why is this DIY so important? Because nothing beats the taste of a freshly picked, sun-ripened melon, and knowing you nurtured it from seed to harvest is incredibly rewarding. Plus, growing your own produce reduces your carbon footprint and ensures you’re eating healthy, pesticide-free food. So, let’s dive in and unlock the secrets to cultivating delicious, easy homegrown melons that will impress your friends and family and fill your summer with sweet, juicy goodness!
Growing Melons at Home: A Beginner’s Guide to Sweet Success
Hey there, fellow gardening enthusiasts! I’m so excited to share my secrets for growing delicious, juicy melons right in your own backyard. Forget those bland, store-bought melons – nothing beats the taste of a homegrown, sun-ripened beauty. It might seem intimidating, but trust me, with a little planning and effort, you can be enjoying your own melon harvest in no time.
Choosing Your Melon Variety
Before we get our hands dirty, let’s talk about choosing the right melon for your garden. Not all melons are created equal, and some are better suited for certain climates and growing conditions than others.
* Consider your climate: Watermelons and cantaloupes generally need a long, warm growing season (think 70-90 days). If you live in a cooler climate, look for varieties with shorter maturity times. Honeydew melons typically require even longer and hotter summers.
* Think about space: Melons are vining plants, meaning they spread out. Watermelons especially can take up a lot of room. If you have limited space, consider bush or dwarf varieties. Cantaloupes are generally more manageable in smaller gardens.
* Pick your favorites: Ultimately, choose the melons you enjoy eating the most! Do some research on different varieties within each type (watermelon, cantaloupe, honeydew) to find ones that sound appealing. Look for disease-resistant varieties to minimize potential problems.
Some popular and reliable choices include:
* Watermelon: ‘Sugar Baby’ (early maturing, compact), “Crimson Sweet” (classic flavor, good size), ‘Blacktail Mountain’ (cold-tolerant).
* Cantaloupe: ‘Athena’ (disease-resistant, sweet flavor), ‘Hales Best Jumbo’ (classic cantaloupe), ‘Minnesota Midget’ (small, early maturing).
* Honeydew: ‘Honey Dew Green Flesh’ (classic honeydew), ‘Temptation’ (early maturing).
Preparing Your Melon Patch
Melons are heavy feeders, meaning they need nutrient-rich soil to thrive. Proper soil preparation is crucial for a successful harvest.
* Sunlight is key: Melons need at least 6-8 hours of direct sunlight per day. Choose a location in your garden that gets plenty of sun.
* Well-drained soil: Melons don’t like soggy feet. Make sure your soil drains well. If you have heavy clay soil, amend it with compost, aged manure, or other organic matter to improve drainage.
* Soil testing: Ideally, you should test your soil to determine its pH and nutrient levels. Melons prefer a slightly acidic to neutral soil pH (around 6.0-7.0). Amend the soil as needed based on the test results.
* Adding organic matter: Incorporate plenty of compost, aged manure, or other organic matter into the soil. This will improve drainage, aeration, and nutrient content. I usually add a generous layer (2-3 inches) and work it in well.
* Creating mounds or hills: Planting melons on slightly raised mounds or hills can improve drainage and warm the soil faster in the spring. This is especially helpful in cooler climates.
Planting Your Melon Seeds or Transplants
You can start melon seeds indoors or direct sow them in the garden, depending on your climate and the length of your growing season.
* Starting seeds indoors: Start seeds indoors about 3-4 weeks before the last expected frost. Use peat pots or biodegradable pots to minimize root disturbance when transplanting. Sow 2-3 seeds per pot, about 1 inch deep. Keep the soil moist and warm (around 70-80°F). Once the seedlings emerge, thin them to one plant per pot.
* Direct sowing: If you have a long growing season, you can direct sow melon seeds in the garden after the last frost. Make sure the soil is warm (at least 60°F). Sow seeds about 1 inch deep, spacing them according to the variety’s recommendations.
* Transplanting seedlings: Harden off your seedlings by gradually exposing them to outdoor conditions for a week before transplanting. Choose a cloudy day to transplant to minimize stress. Dig a hole slightly larger than the pot, gently remove the seedling, and plant it at the same depth it was growing in the pot. Space plants according to the variety’s recommendations.
* Spacing: Watermelons generally need 2-4 feet between plants, while cantaloupes and honeydews can be spaced 1-2 feet apart. Bush varieties can be planted closer together.
* Watering after planting: Water the newly planted seedlings thoroughly to help them settle in.
Caring for Your Melon Plants
Once your melon plants are established, it’s important to provide them with the care they need to thrive.
* Watering: Melons need consistent moisture, especially during fruit development. Water deeply and regularly, especially during dry spells. Avoid overhead watering, which can promote fungal diseases. Drip irrigation is ideal.
* Fertilizing: Feed your melon plants regularly with a balanced fertilizer. I like to use a fertilizer that’s higher in phosphorus and potassium, which are important for fruit development. Follow the instructions on the fertilizer label. You can also side-dress your plants with compost or aged manure.
* Weeding: Keep the area around your melon plants free of weeds. Weeds compete with melons for water and nutrients. Mulching can help suppress weeds and retain moisture.
* Pest and disease control: Keep an eye out for common melon pests like aphids, squash bugs, and cucumber beetles. Use organic pest control methods like insecticidal soap or neem oil to control these pests. Prevent fungal diseases by providing good air circulation and avoiding overhead watering.
* Supporting the fruit: As the melons grow larger, you may need to support them to prevent them from rotting on the ground. You can use melon cradles, pieces of wood, or even old flower pots to elevate the fruit.
* Pruning (optional): Some gardeners prune their melon vines to encourage larger fruit. If you choose to prune, remove some of the side shoots and leaves to improve air circulation and direct the plant’s energy towards fruit production.
Pollination: Helping Your Melons Set Fruit
Melons are pollinated by insects, primarily bees. If you’re not seeing many bees in your garden, you may need to hand-pollinate your melon flowers.
* Identifying male and female flowers: Male flowers appear first and have a long, thin stem. Female flowers have a small, immature melon at the base of the flower.
* Hand-pollinating: In the morning, when the flowers are open, use a small paintbrush or cotton swab to collect pollen from a male flower. Then, gently transfer the pollen to the stigma (the center part) of a female flower.
* Timing: Hand-pollinate for a few days to ensure that the female flowers are successfully pollinated.
Harvesting Your Melons: The Sweet Reward
Knowing when to harvest your melons is crucial for getting the best flavor.
* Watermelons: Look for these signs of ripeness:
* The tendril closest to the melon turns brown and dries up.
* The spot where the melon rests on the ground (the “ground spot”) turns from white to yellow.
* The melon sounds dull and hollow when you thump it.
* Cantaloupes: Look for these signs of ripeness:
* The melon slips easily from the vine with a gentle tug.
* The skin turns from green to tan or yellow.
* The melon has a sweet, musky aroma.
* Honeydews: Look for these signs of ripeness:
* The skin turns from green to creamy white or yellow.
* The blossom end (the opposite end from the stem) is slightly soft and springy.
* The melon has a slightly sweet aroma.
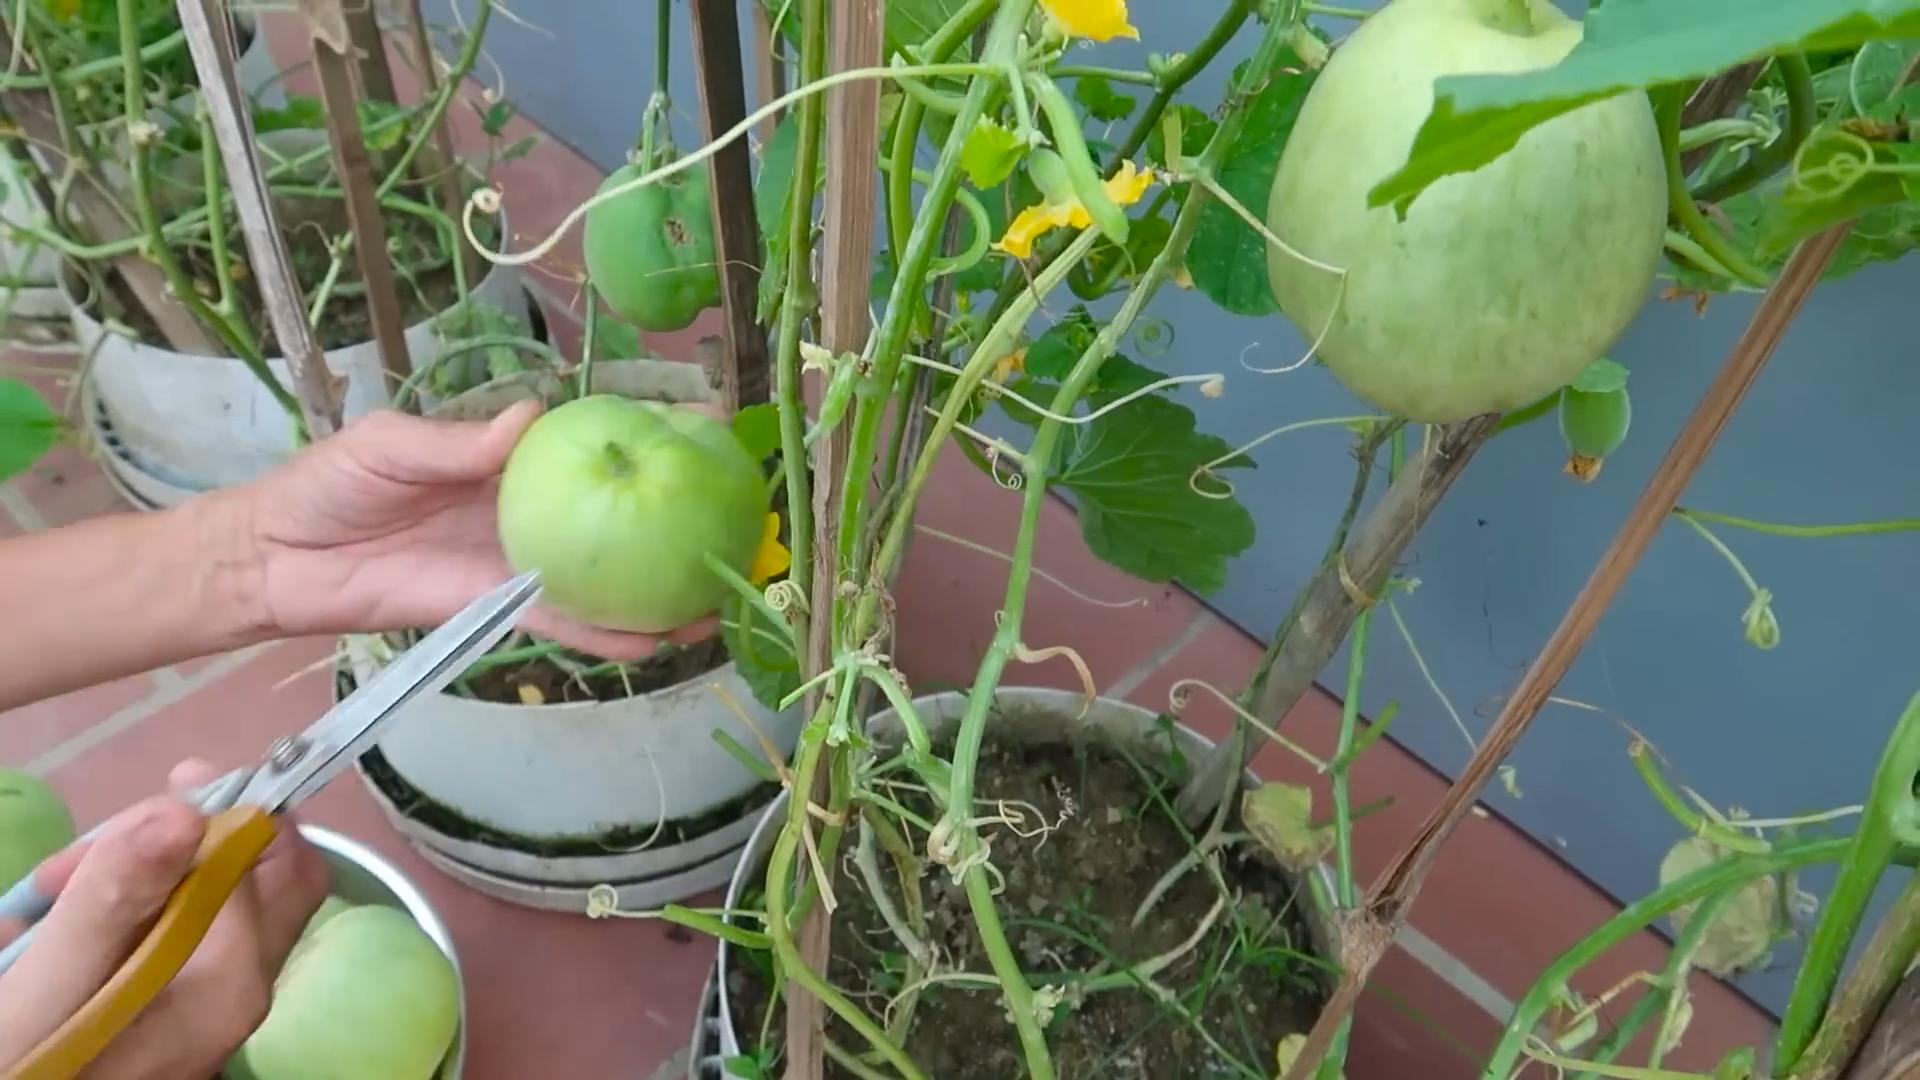
* Harvesting: Use a sharp knife or pruners to cut the melon from the vine, leaving a short stem attached.
Enjoying Your Homegrown Melons
Congratulations! You’ve successfully grown your own melons. Now it’s time to enjoy the fruits (or rather, melons) of your labor.
* Storing: Store whole melons in a cool, dry place. Cut melons should be refrigerated.
* Serving: Melons are delicious on their own, but they can also be used in salads, smoothies, and other recipes.
* Sharing: Don’t forget to share your bounty with friends and family!
Growing melons at home is a rewarding experience. With a little patience and effort, you can enjoy the taste of fresh, homegrown melons all summer long. Happy gardening!
Conclusion
So, there you have it! Growing your own melons at home, even if you don’t have acres of farmland, is entirely within reach. This DIY trick, focusing on maximizing sunlight and providing consistent moisture, is a game-changer for anyone dreaming of vine-ripened sweetness straight from their backyard. Forget those bland, store-bought melons that lack flavor and character. With a little effort and this simple method, you can cultivate juicy, aromatic melons that will impress your family and friends.
Why is this a must-try? Because it empowers you to control the quality and freshness of your food. You know exactly what went into growing your melons – no mystery pesticides or long-distance transportation. Plus, there’s an undeniable satisfaction in nurturing a plant from seed to harvest, witnessing the miracle of nature unfold right before your eyes. The taste of a homegrown melon, bursting with sunshine and flavor, is simply unparalleled.
Don’t be afraid to experiment! Try different melon varieties to discover your favorites. Cantaloupe, honeydew, watermelon – the possibilities are endless. Consider using companion planting techniques to deter pests and attract beneficial insects. Marigolds, for example, are known to repel nematodes, while basil can help keep away aphids. You can also explore vertical gardening methods to save space and create a visually stunning display. Think trellises or even hanging baskets for smaller melon varieties.
For those in cooler climates, starting your melon seeds indoors a few weeks before the last frost is highly recommended. This gives your seedlings a head start and ensures a longer growing season. And remember, consistent watering is key, especially during fruit development. A soaker hose or drip irrigation system can be a lifesaver, delivering water directly to the roots and minimizing water waste.
We’re confident that this DIY trick for **easy homegrown melons** will transform your gardening experience. It’s a simple, effective, and rewarding way to enjoy the taste of summer all season long.
Now, it’s your turn! We encourage you to give this method a try and share your results with us. Post photos of your homegrown melons on social media using #HomegrownMelons and tag us so we can see your amazing creations. We can’t wait to hear about your experiences and learn from your successes (and even your challenges!). Happy gardening!
Frequently Asked Questions (FAQ)
Q: What kind of soil is best for growing melons?
A: Melons thrive in well-drained, fertile soil that is rich in organic matter. A sandy loam soil is ideal, as it allows for good drainage and aeration. Before planting, amend your soil with compost or well-rotted manure to improve its fertility and drainage. The ideal soil pH for melons is between 6.0 and 6.8. You can test your soil pH with a simple soil testing kit available at most garden centers. If your soil is too acidic, you can add lime to raise the pH. If it’s too alkaline, you can add sulfur to lower it.
Q: How much sunlight do melons need?
A: Melons are sun-loving plants and require at least 6-8 hours of direct sunlight per day to produce sweet, flavorful fruit. Choose a planting location that receives full sun throughout the day. If you live in a particularly hot climate, some afternoon shade may be beneficial to prevent the plants from overheating.
Q: How often should I water my melon plants?
A: Melons need consistent moisture, especially during fruit development. Water deeply and regularly, aiming to keep the soil consistently moist but not waterlogged. A good rule of thumb is to water when the top inch of soil feels dry to the touch. Avoid overhead watering, as this can promote fungal diseases. Instead, use a soaker hose or drip irrigation system to deliver water directly to the roots. During periods of drought or extreme heat, you may need to water more frequently.
Q: How do I know when my melons are ripe?
A: Determining when a melon is ripe can be tricky, but there are a few telltale signs to look for. For cantaloupes, the stem should slip easily from the vine with a gentle tug. The skin should also have a distinct aroma and a slightly softened texture. For watermelons, look for a dull thud when you tap the melon. The underside of the melon, where it rests on the ground, should also turn from white to a creamy yellow color. Honeydew melons are ripe when the skin turns a pale yellow color and the blossom end is slightly soft to the touch.
Q: What are some common pests and diseases that affect melons?
A: Melons can be susceptible to a variety of pests and diseases, including aphids, squash bugs, cucumber beetles, powdery mildew, and fusarium wilt. Regularly inspect your plants for signs of infestation or disease. If you spot any problems, take action immediately. Insecticidal soap or neem oil can be effective for controlling aphids and other insect pests. Fungicides can be used to treat fungal diseases like powdery mildew. Crop rotation and choosing disease-resistant varieties can also help prevent problems.
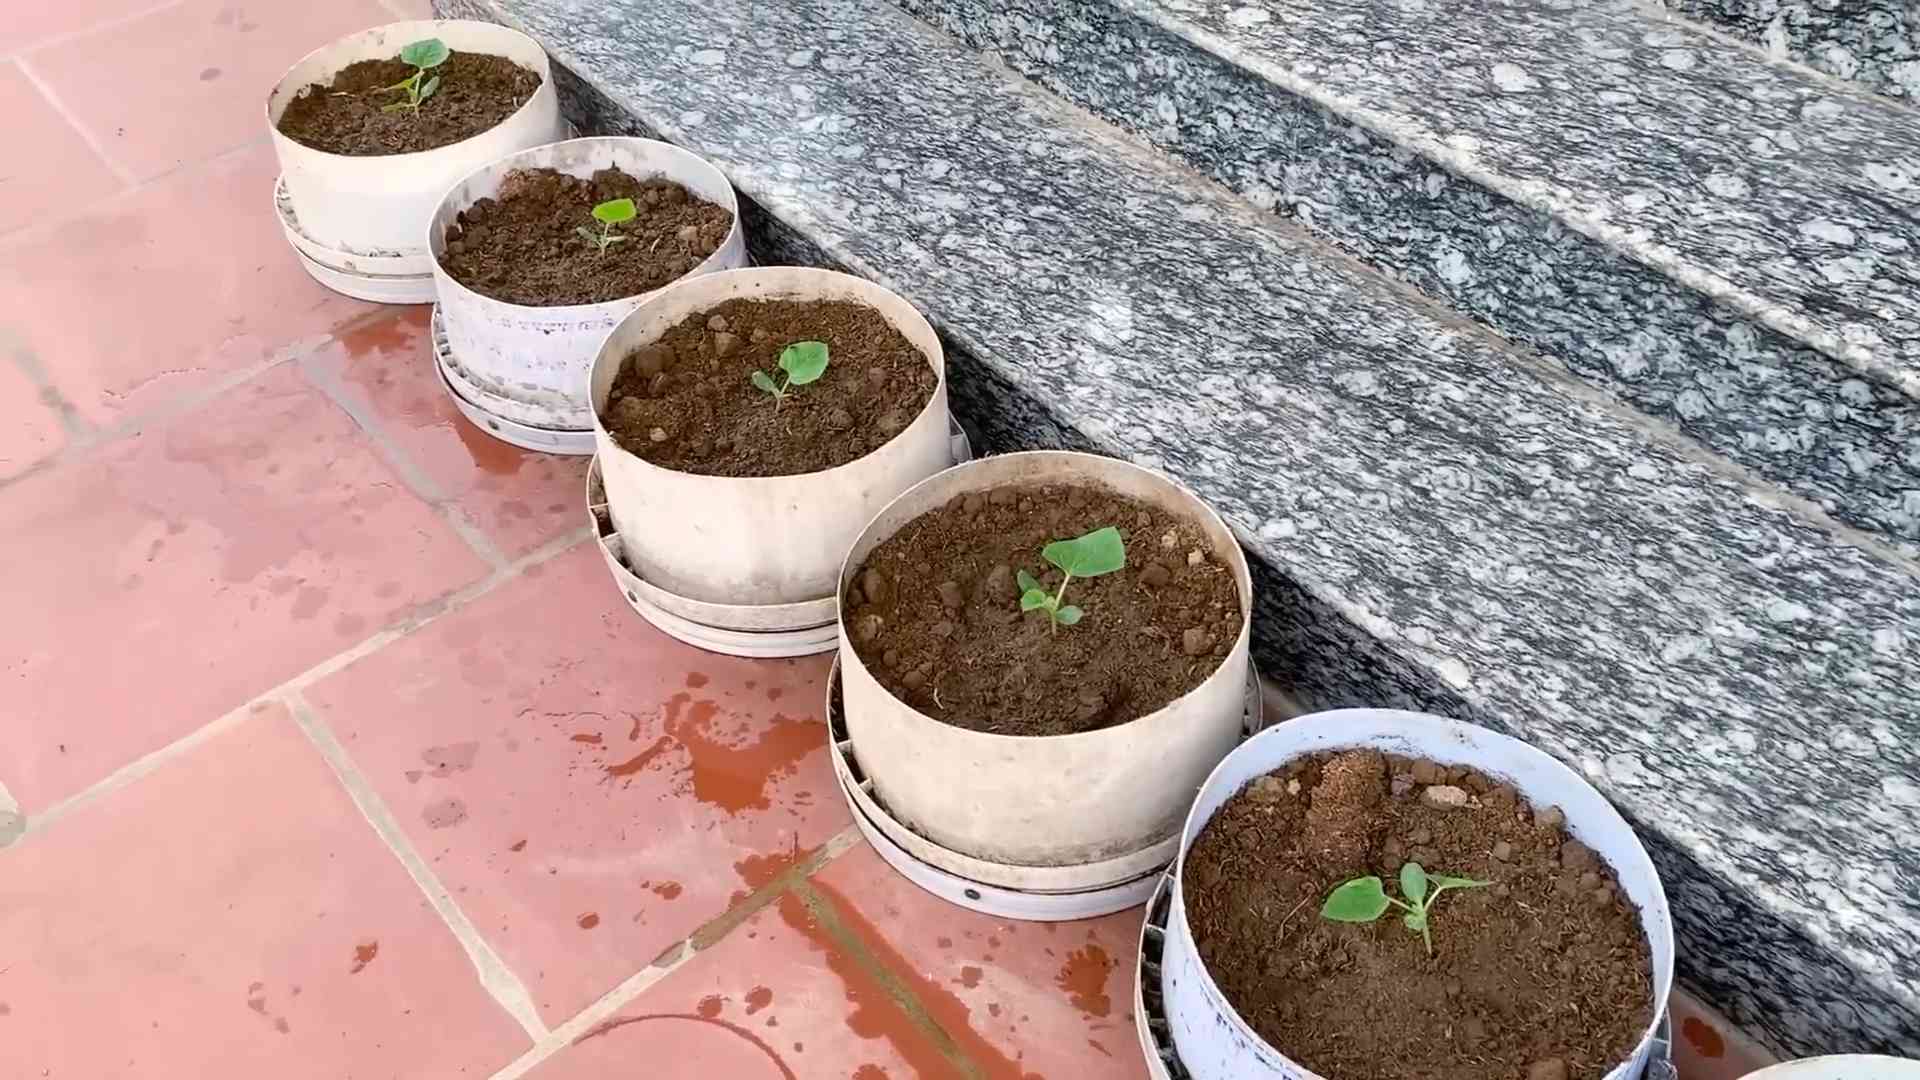
Q: Can I grow melons in containers?
A: Yes, you can grow melons in containers, but you’ll need to choose a large container (at least 20 gallons) and select a smaller melon variety, such as a bush-type watermelon or a personal-sized cantaloupe. Make sure the container has drainage holes and use a high-quality potting mix. Container-grown melons will need more frequent watering and fertilization than those grown in the ground. You may also need to provide support for the vines, such as a trellis or stake.
Q: How do I fertilize my melon plants?
A: Melons are heavy feeders and benefit from regular fertilization. Before planting, incorporate compost or well-rotted manure into the soil. During the growing season, fertilize every 2-3 weeks with a balanced fertilizer, such as a 10-10-10 or a fertilizer specifically formulated for vegetables. Avoid over-fertilizing, as this can lead to excessive foliage growth and reduced fruit production.
Q: Can I save seeds from my homegrown melons?
A: Yes, you can save seeds from your homegrown melons, but keep in mind that hybrid varieties may not produce true-to-type offspring. To save seeds, allow the melon to fully ripen on the vine. Scoop out the seeds and rinse them thoroughly to remove any pulp. Spread the seeds out on a paper towel to dry completely. Once dry, store the seeds in an airtight container in a cool, dark place.
Q: What are some good companion plants for melons?
A: Companion planting can help deter pests, attract beneficial insects, and improve the overall health of your melon plants. Some good companion plants for melons include marigolds, basil, nasturtiums, and radishes. Marigolds repel nematodes, basil repels aphids, nasturtiums attract beneficial insects, and radishes deter cucumber beetles. Avoid planting melons near potatoes, as they can compete for nutrients.

Leave a Comment