
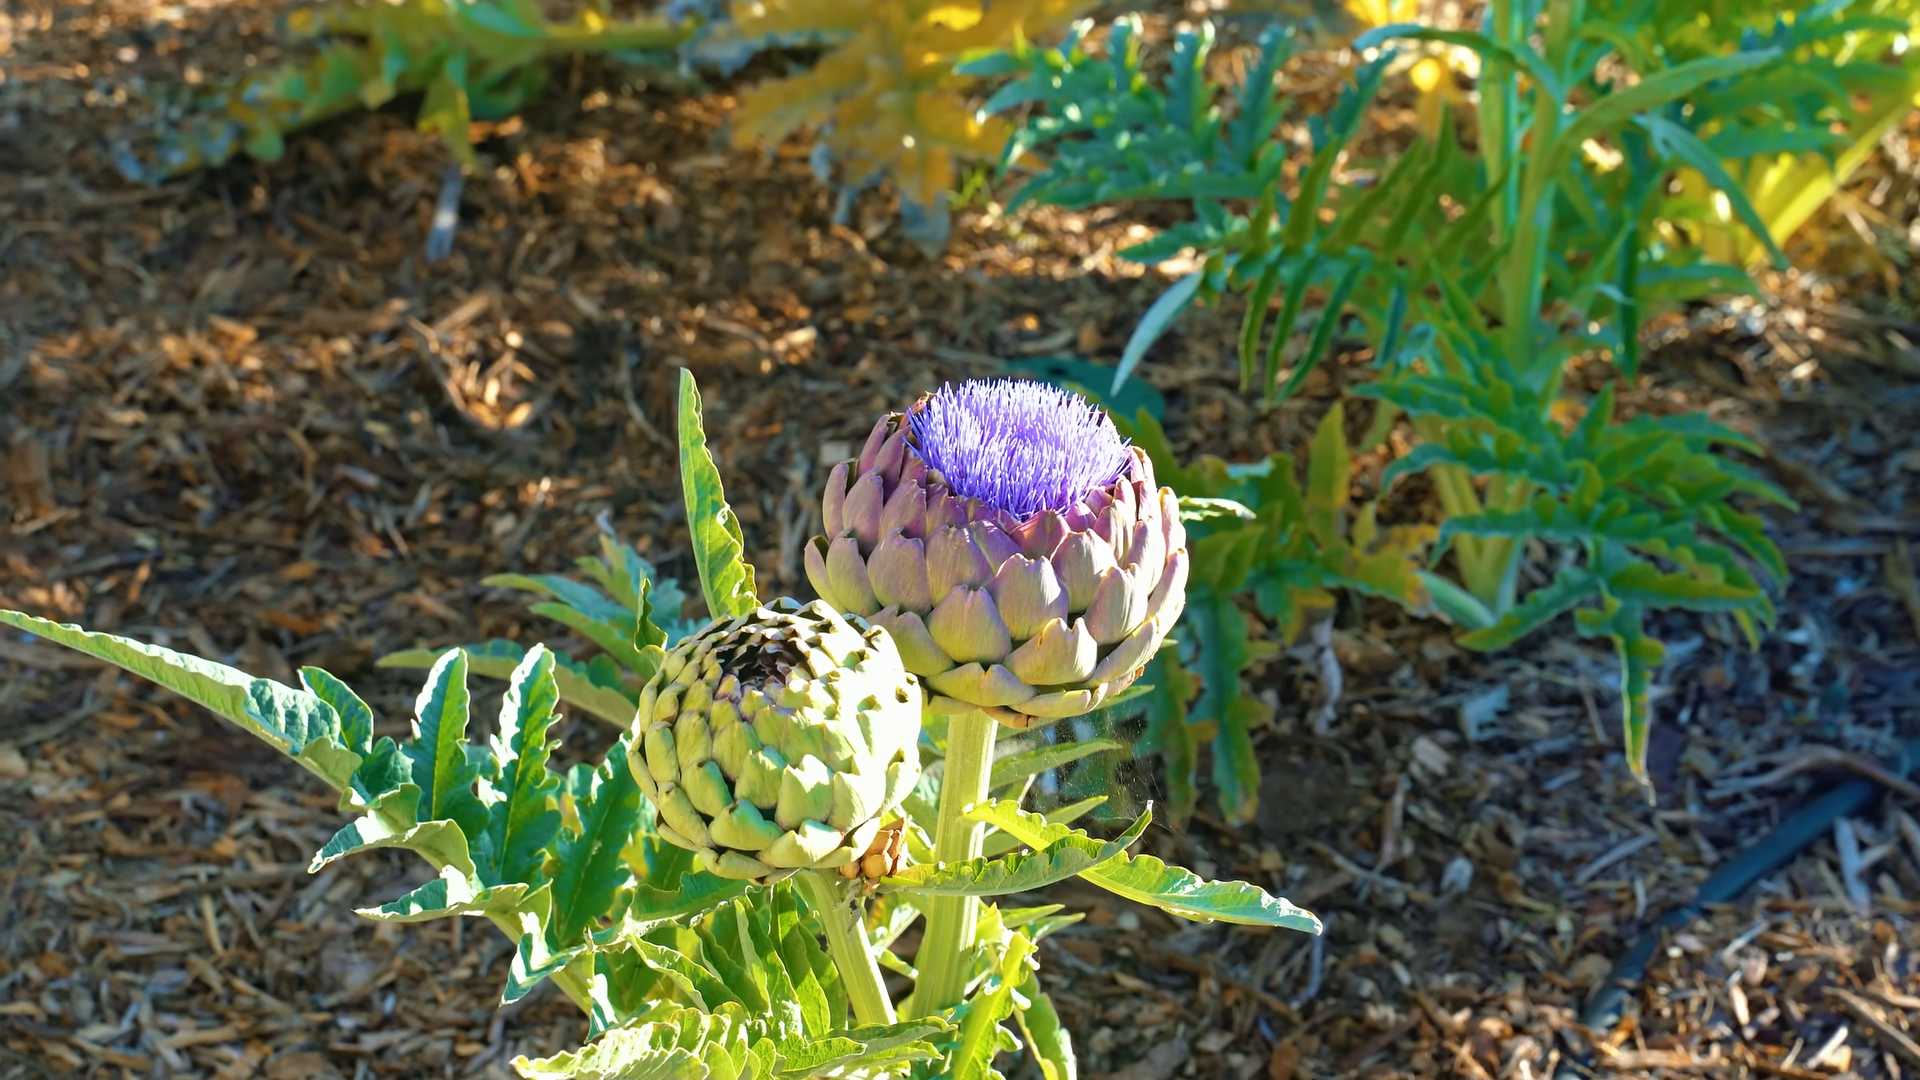
Grow Artichokes at Home? Absolutely! Imagine stepping into your backyard and harvesting your very own spiky treasures, ready to be steamed, grilled, or dipped in delicious aioli. It sounds like a dream, right? Well, it doesn’t have to be! For centuries, artichokes have been prized for their unique flavor and nutritional benefits, gracing tables from the Mediterranean to California. Their journey from wild thistle to culinary delicacy is a fascinating one, and now, you can be a part of that story.
But let’s be honest, the idea of growing artichokes can seem a little intimidating. They look exotic, and you might think they require a green thumb of expert proportions. That’s where this DIY guide comes in! I’m here to demystify the process and show you that with a few simple tricks and hacks, you can successfully grow artichokes at home, even if you’re a beginner gardener. We’ll cover everything from choosing the right variety for your climate to protecting your plants from pests.
Why bother with all this effort? Because nothing beats the taste of homegrown produce, and the satisfaction of nurturing a plant from seedling to harvest is incredibly rewarding. Plus, artichokes are packed with antioxidants and fiber, making them a healthy and delicious addition to your diet. So, grab your gardening gloves, and let’s get started on this exciting adventure!
Expert Cleaning Secrets: DIY Hacks for a Sparkling Home
Okay, let’s dive into some of my favorite expert cleaning secrets that you can easily do yourself! I’m all about making cleaning easier and more effective, so I’m sharing some tried-and-true DIY hacks that will leave your home sparkling. Get ready to ditch those harsh chemicals and embrace some natural, budget-friendly solutions!
Cleaning Your Microwave Like a Pro
Microwaves can get seriously gross, seriously fast. Splatters, spills, and lingering odors 鈥?it’s a breeding ground for yuck! But don’t worry, this method is super simple and requires minimal effort.
What you’ll need:
* 1 cup of water
* 1 tablespoon of white vinegar or lemon juice
* Microwave-safe bowl
* Clean sponge or cloth
Step-by-step instructions:
1. Combine water and vinegar (or lemon juice): In your microwave-safe bowl, mix the water and vinegar (or lemon juice). The vinegar or lemon juice helps to loosen grime and neutralize odors.
2. Microwave the mixture: Place the bowl in the microwave and heat it on high for 5-7 minutes. The goal is to get the mixture boiling and create steam inside the microwave.
3. Let it sit: Once the timer goes off, DO NOT open the microwave door immediately. Let the steam work its magic for another 3-5 minutes. This allows the steam to loosen all the stuck-on food particles.
4. Wipe it down: Carefully remove the bowl (it will be hot!). Use your clean sponge or cloth to wipe down the interior of the microwave. You’ll be amazed at how easily the grime comes off!
5. Clean the turntable: Don’t forget to remove and wash the turntable with warm, soapy water. Dry it thoroughly before placing it back in the microwave.
Deep Cleaning Your Shower Head
Hard water deposits can clog your shower head, reducing water pressure and making your shower less enjoyable. This simple hack will restore your shower head to its former glory.
What you’ll need:
* White vinegar
* Plastic bag (gallon-sized works best)
* Rubber band or twist tie
* Old toothbrush
Step-by-step instructions:
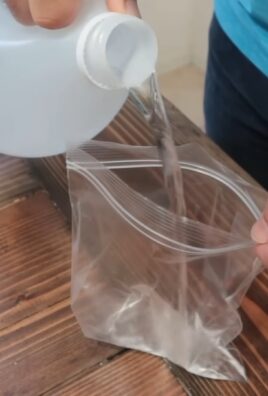
1. Fill the bag with vinegar: Pour enough white vinegar into the plastic bag to completely submerge the shower head.
2. Attach the bag to the shower head: Carefully position the bag over the shower head, ensuring that the entire head is submerged in the vinegar.
3. Secure the bag: Use a rubber band or twist tie to tightly secure the bag around the shower head’s neck. Make sure it’s snug enough to prevent leaks.
4. Soak overnight: Let the shower head soak in the vinegar overnight (or for at least several hours). This allows the vinegar to dissolve the mineral deposits.
5. Remove the bag and scrub: Remove the bag and discard the vinegar. Use an old toothbrush to scrub away any remaining mineral deposits.
6. Rinse thoroughly: Turn on the shower and let the water run for a few minutes to flush out any remaining vinegar and loosened debris.
Reviving Your Grout
Dirty grout can make even the cleanest tiles look dingy. This DIY grout cleaner is effective and uses ingredients you probably already have at home.
What you’ll need:
* Baking soda
* White vinegar
* Spray bottle
* Old toothbrush or grout brush
* Water
Step-by-step instructions:
1. Make a baking soda paste: In a small bowl, mix baking soda with a little water to form a thick paste.
2. Apply the paste to the grout: Use your fingers or a small spatula to apply the baking soda paste to the dirty grout lines.
3. Spray with vinegar: Fill a spray bottle with white vinegar and spray it directly onto the baking soda paste. The vinegar will react with the baking soda, creating a fizzing action that helps to lift dirt and grime.
4. Let it sit: Allow the mixture to sit for 5-10 minutes.
5. Scrub the grout: Use an old toothbrush or grout brush to scrub the grout lines thoroughly.
6. Rinse with water: Rinse the area with clean water to remove the baking soda and vinegar residue. You can use a damp sponge or cloth to wipe away any remaining residue.
7. Repeat if necessary: For heavily soiled grout, you may need to repeat the process.
Cleaning Your Mattress
We spend a significant portion of our lives in bed, so keeping our mattresses clean is essential for hygiene and overall health. This simple method will help you freshen up your mattress and eliminate dust mites and odors.
What you’ll need:
* Vacuum cleaner with upholstery attachment
* Baking soda
* Essential oil (optional, for fragrance)
* Sieve or shaker
Step-by-step instructions:
1. Vacuum the mattress: Use the upholstery attachment of your vacuum cleaner to thoroughly vacuum the entire surface of the mattress, including the sides. This will remove loose dust, dirt, and debris.
2. Sprinkle with baking soda: In a bowl, mix baking soda with a few drops of your favorite essential oil (optional). The essential oil will add a pleasant fragrance to your mattress.
3. Apply the baking soda mixture: Use a sieve or shaker to evenly sprinkle the baking soda mixture over the entire surface of the mattress.
4. Let it sit: Allow the baking soda to sit on the mattress for at least 30 minutes, or preferably several hours. The baking soda will absorb odors and moisture.
5. Vacuum again: Use the upholstery attachment of your vacuum cleaner to thoroughly vacuum the mattress again, removing all of the baking soda.
6. Flip the mattress: Flip the mattress over and repeat the process on the other side.
Unclogging Drains Naturally
Chemical drain cleaners can be harsh and damaging to your pipes. This natural method is a safer and more environmentally friendly alternative.
What you’ll need:
* 1 cup baking soda
* 2 cups boiling water
* 1 cup white vinegar
Step-by-step instructions:
1. Pour baking soda down the drain: Carefully pour one cup of baking soda down the clogged drain.
2. Pour boiling water down the drain: Slowly pour two cups of boiling water down the drain, following the baking soda.
3. Let it sit: Allow the baking soda and boiling water to sit in the drain for about 5-10 minutes.
4. Pour vinegar down the drain: Pour one cup of white vinegar down the drain.
5. Cover the drain: Cover the drain with a plug or cloth to prevent the fizzing action from escaping.
6. Let it sit again: Allow the mixture to sit in the drain for at least 30 minutes, or preferably overnight.
7. Flush with hot water: Flush the drain with hot water for several minutes to clear any remaining debris.
Cleaning Burnt Food from Pots and Pans
Burnt food can be a nightmare to remove from pots and pans. This simple trick will help you loosen the burnt residue and make cleaning a breeze.
What you’ll need:
* Water
* Dish soap
* Baking soda
* Scrubbing sponge or pad
Step-by-step instructions:
1. Fill the pot/pan with water: Fill the burnt pot or pan with enough water to cover the burnt food residue.
2. Add dish soap: Add a squirt of dish soap to the water.
3. Boil the mixture: Bring the water and dish soap mixture to a boil on the stovetop.
4. Add baking soda: Once the mixture is boiling, add a few tablespoons of baking soda.
5. Simmer for 15-20 minutes: Reduce the heat and let the mixture simmer for 15-20 minutes, stirring occasionally.
6. Let it cool: Remove the pot or pan from the heat and let it cool slightly.
7. Scrub the residue: Use a scrubbing sponge or pad to scrub away the loosened burnt food residue. You may need to use a little elbow grease, but the burnt food should come off much easier than before.
8. Wash as usual: Wash the pot or pan as usual with soap and water.
Cleaning Your Cutting Boards
Cutting boards, especially wooden ones, can harbor bacteria. Here’s how to keep them clean and sanitized.
What you’ll need:
* Lemon
* Coarse salt (sea salt or kosher salt)
* Clean cloth or sponge
Step-by-step instructions:
1. Sprinkle salt on the cutting board
Conclusion
So, there you have it! Growing artichokes at home isn’t just a gardening project; it’s an investment in delicious, homegrown goodness. Forget those overpriced, often-wilted artichokes at the grocery store. Imagine stepping into your backyard and harvesting plump, vibrant globes bursting with flavor. This DIY approach puts you in control, allowing you to cultivate the freshest, most flavorful artichokes imaginable.
Why is this a must-try? Because it’s more rewarding than you might think. Beyond the satisfaction of nurturing a plant from seedling to harvest, you’re gaining access to a culinary delicacy that’s often out of reach for many. Plus, artichoke plants are stunning additions to any garden, boasting architectural foliage that adds a touch of Mediterranean charm. They’re not just food; they’re a statement piece!
Consider these variations to personalize your artichoke-growing journey:
* **Variety is the Spice of Life:** Experiment with different artichoke varieties. ‘Green Globe’ is a classic, but ‘Violetta’ offers a beautiful purple hue and slightly sweeter flavor. ‘Imperial Star’ is known for its early yields, perfect for shorter growing seasons.
* **Container Gardening:** If you’re short on space, don’t despair! Artichokes can thrive in large containers. Just ensure adequate drainage and plenty of sunlight.
* **Companion Planting:** Enhance your artichoke patch by planting beneficial companions like marigolds (to deter pests) and legumes (to fix nitrogen in the soil).
* **Flavor Infusions:** As you learn to **grow artichokes at home**, consider experimenting with different cooking methods and flavor pairings. Try grilling them with lemon and garlic, steaming them with herbs, or stuffing them with breadcrumbs and cheese. The possibilities are endless!
Don’t be intimidated by the perceived difficulty. With a little patience and the right guidance, anyone can successfully cultivate these delectable thistles. The taste of a homegrown artichoke, freshly picked and prepared with love, is an experience you won’t soon forget.
We wholeheartedly encourage you to embark on this rewarding gardening adventure. Take the plunge, get your hands dirty, and experience the joy of growing your own artichokes. And most importantly, share your journey with us! We’d love to hear about your successes, challenges, and favorite artichoke recipes. Post pictures of your thriving plants, share your tips and tricks, and let’s create a community of passionate home artichoke growers. Happy gardening!
Frequently Asked Questions (FAQ)
What is the best time to plant artichokes?
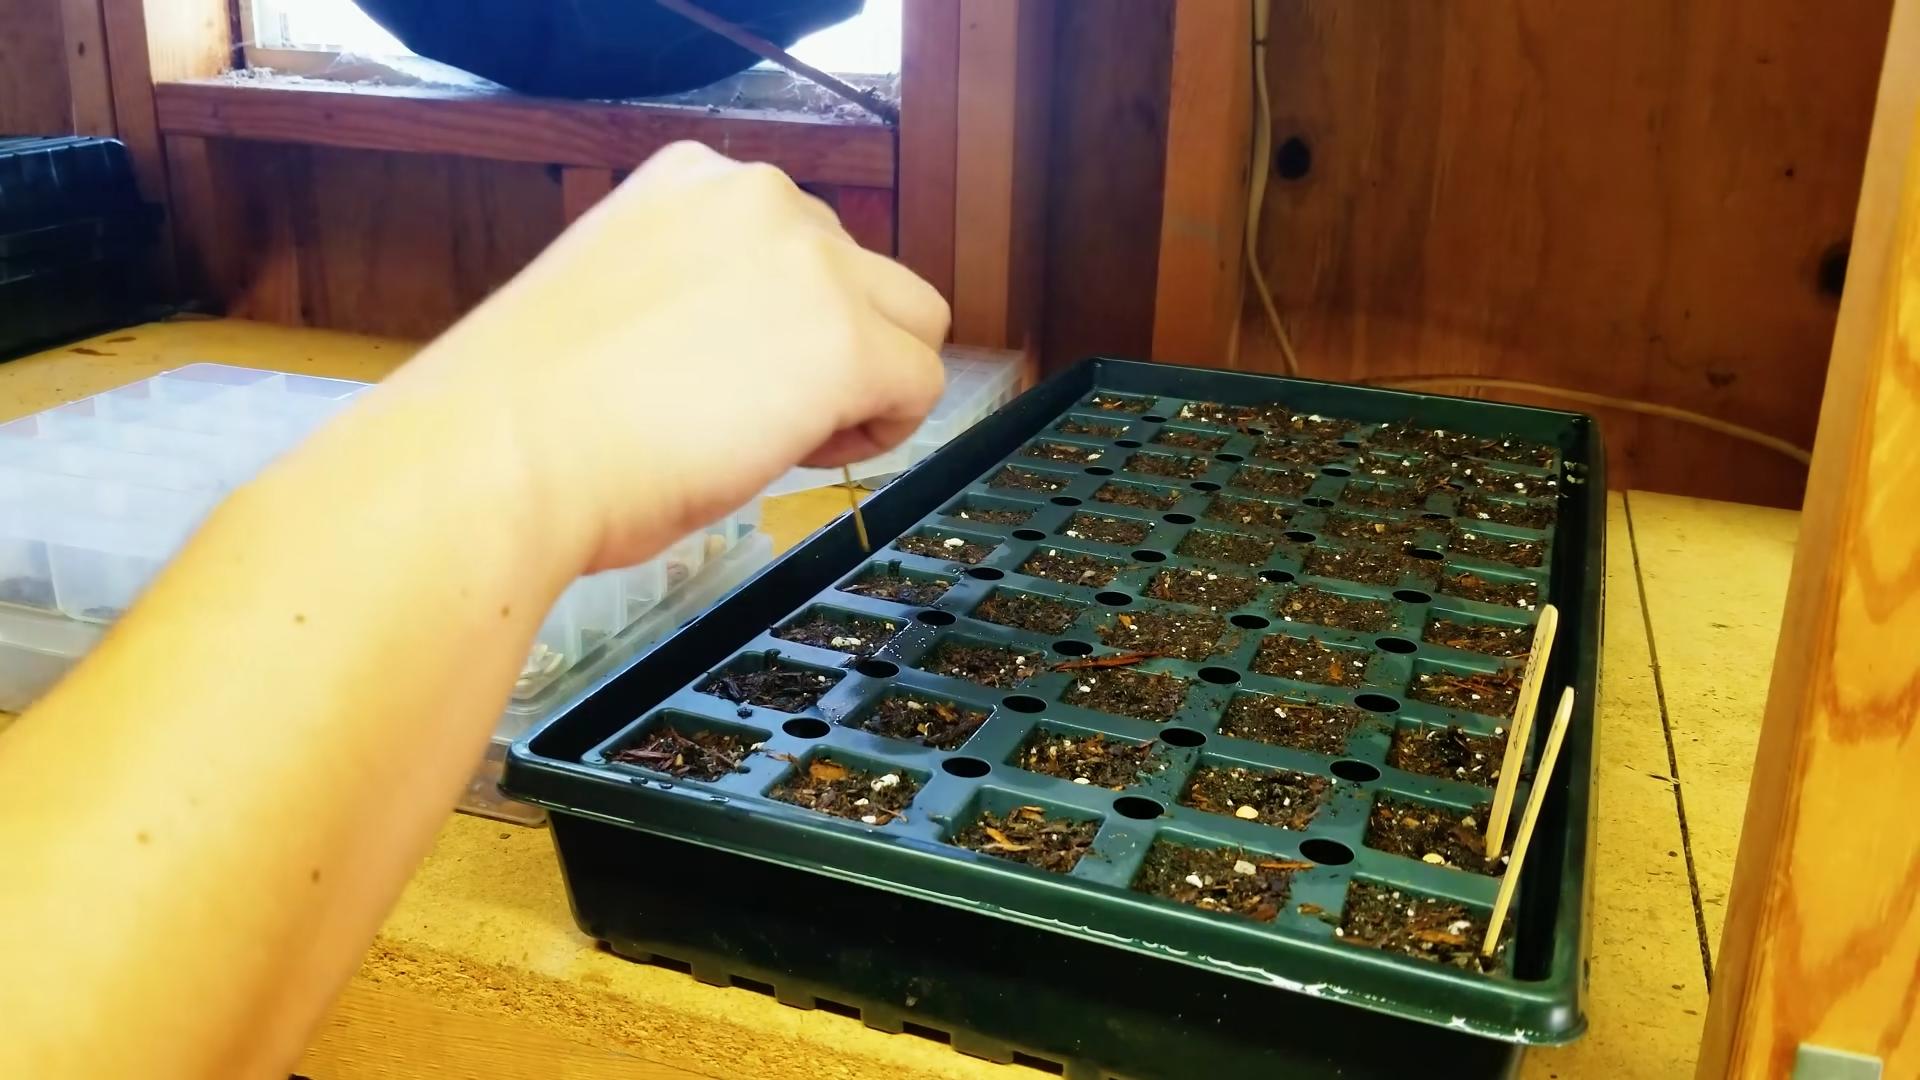
The ideal time to plant artichokes depends on your climate. In regions with mild winters (zones 7-10), you can plant artichokes in the fall for a spring harvest. In colder climates (zones 6 and below), it’s best to start seeds indoors 8-10 weeks before the last expected frost and transplant them outdoors in the spring after the danger of frost has passed. This gives the plants a head start and allows them to establish themselves before the heat of summer.
How much sunlight do artichokes need?
Artichokes are sun-loving plants and require at least 6-8 hours of direct sunlight per day to thrive. Insufficient sunlight can lead to weak growth, reduced yields, and smaller artichoke buds. Choose a planting location that receives ample sunlight throughout the day. If you’re growing artichokes in containers, make sure to position them in a sunny spot.
What kind of soil is best for growing artichokes?
Artichokes prefer well-draining, fertile soil that is rich in organic matter. The ideal soil pH is between 6.0 and 7.0. Before planting, amend the soil with compost, aged manure, or other organic materials to improve drainage, fertility, and water retention. Avoid planting artichokes in heavy clay soil, as this can lead to root rot. If your soil is heavy clay, consider growing artichokes in raised beds or containers with a well-draining potting mix.
How often should I water artichokes?
Artichokes need consistent moisture, especially during hot, dry weather. Water deeply and regularly, ensuring that the soil remains consistently moist but not waterlogged. Avoid overhead watering, as this can promote fungal diseases. Use a soaker hose or drip irrigation to water the plants at the base. During periods of heavy rainfall, reduce watering frequency to prevent overwatering.
How do I fertilize artichokes?
Artichokes are heavy feeders and benefit from regular fertilization. Apply a balanced fertilizer (e.g., 10-10-10) at planting time and then every 4-6 weeks throughout the growing season. You can also side-dress the plants with compost or aged manure. Avoid over-fertilizing, as this can lead to excessive foliage growth at the expense of bud production.
When are artichokes ready to harvest?
Artichokes are typically ready to harvest in the spring or early summer, depending on the variety and your climate. The buds are ready to harvest when they are plump, firm, and have tightly closed scales. The size of the bud will vary depending on the variety. To harvest, cut the stem about 2-3 inches below the bud using a sharp knife.
How do I overwinter artichokes in cold climates?
In regions with cold winters, artichokes need protection to survive. After the first frost, cut the plants back to about 6 inches above the ground. Cover the plants with a thick layer of mulch, such as straw, leaves, or pine needles. You can also construct a temporary cold frame or hoop house to provide additional protection. In very cold climates, you may need to dig up the plants and store them in a cool, dark, and frost-free location until spring.
What are some common pests and diseases that affect artichokes?
Artichokes can be susceptible to several pests and diseases, including aphids, artichoke plume moths, snails, slugs, and powdery mildew. Regularly inspect your plants for signs of pests or diseases. Control aphids with insecticidal soap or neem oil. Use snail and slug bait to protect the plants from these pests. Prevent powdery mildew by providing good air circulation and avoiding overhead watering.
Can I grow artichokes from seed?
Yes, you can grow artichokes from seed, but it’s important to choose a variety that is known to come true from seed. Start seeds indoors 8-10 weeks before the last expected frost. Transplant the seedlings outdoors in the spring after the danger of frost has passed. Keep in mind that artichokes grown from seed may not produce buds in the first year.
How long do artichoke plants live?
Artichoke plants are perennials, meaning they can live for several years. However, their productivity tends to decline after 3-5 years. To maintain a healthy and productive artichoke patch, it’s recommended to replace the plants every few years. You can propagate new plants from root divisions or by starting new plants from seed. Learning how to **grow artichokes at home** is a skill that will provide you with fresh produce for years to come.


Leave a Comment