
Fast Dill Harvest: Who doesn’t love the fresh, bright taste of dill? I know I do! Imagine snipping fragrant sprigs right from your own backyard, ready to elevate your summer salads, creamy dips, or even a simple grilled fish. But let’s be honest, waiting for dill to mature can feel like watching paint dry. That’s where this DIY guide comes in – I’m going to share some clever tricks to achieve a fast dill harvest, so you can enjoy that delicious flavor sooner than you think!
Dill has been cherished for centuries, with evidence of its cultivation dating back to ancient Egypt and Rome. It wasn’t just a culinary herb; dill was also valued for its medicinal properties and even used in rituals. Today, while we might not be warding off evil spirits with it, the desire for fresh, homegrown dill remains strong.
In our busy lives, who has time to wait weeks for herbs to mature? This DIY guide is perfect for anyone who wants to maximize their garden’s output and enjoy the freshest possible ingredients. Whether you’re a seasoned gardener or just starting out, these simple hacks will help you achieve a bountiful and, most importantly, a fast dill harvest. Get ready to unlock the secrets to quicker growth and enjoy the delightful taste of homegrown dill in all your favorite dishes!
Fast Dill Harvest: A DIY Guide to Maximizing Your Yield
Okay, dill lovers, let’s talk about getting the most out of your dill plants! I’ve been growing dill for years, and I’ve learned a few tricks to ensure a continuous and abundant harvest. Forget waiting for the whole plant to mature – we’re going to focus on harvesting strategically for fresh dill all season long. This guide will walk you through everything you need to know, from understanding dill growth to the best harvesting techniques.
Understanding Dill Growth and Harvesting Windows
Before we dive into the how-to, let’s quickly cover some dill basics. Dill (Anethum graveolens) is an annual herb, meaning it completes its life cycle in one growing season. It’s relatively easy to grow, but understanding its growth pattern is key to a successful harvest.
* Leaf Production: Dill primarily produces leaves early in its growth cycle. These leaves are what we’re after for fresh use.
* Bolting: As the weather warms up, dill tends to “bolt,” meaning it sends up a flower stalk. Once this happens, leaf production slows down, and the flavor of the leaves can become bitter.
* Seed Production: After flowering, dill produces seeds. Dill seeds are also useful for cooking and pickling.
* Harvesting Windows: The best time to harvest dill leaves is before the plant starts to bolt. However, even after bolting, you can still harvest leaves, just be mindful of the flavor. You can also harvest the seeds once they mature and turn brown.
Tools You’ll Need
* Sharp scissors or pruning shears: A clean cut is essential for healthy plant growth.
* Basket or container: To collect your freshly harvested dill.
* Gloves (optional): Dill sap can sometimes irritate sensitive skin.
Harvesting Dill Leaves: The Cut-and-Come-Again Method
This is my favorite method for harvesting dill because it encourages continuous growth and provides a steady supply of fresh leaves. It’s all about strategic snipping!
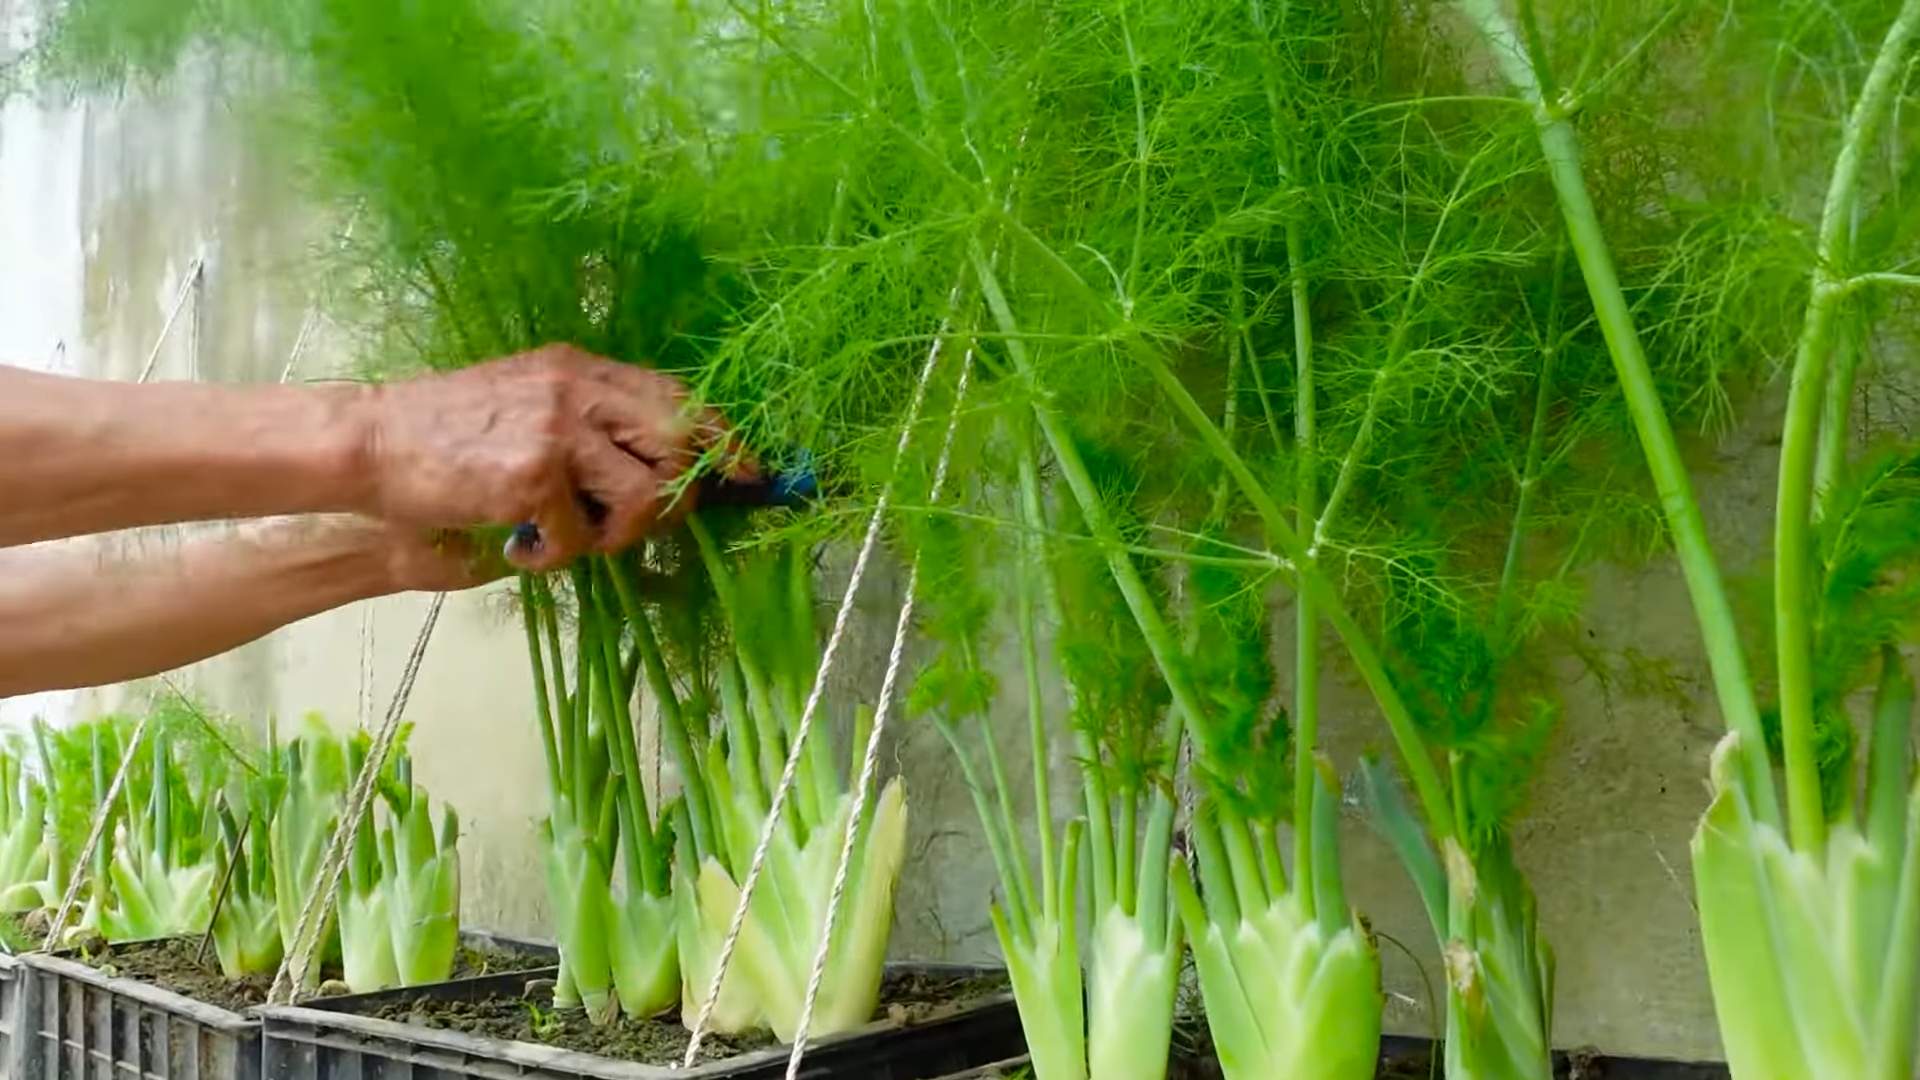
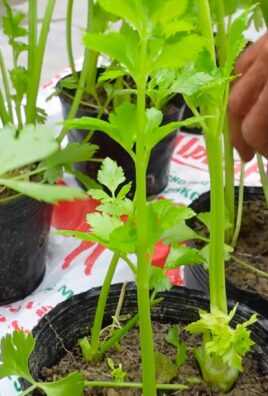
1. Identify Mature Stems: Look for stems that are at least 6-8 inches tall and have plenty of healthy, green leaves. These are the prime candidates for harvesting.
2. Cut Above a Leaf Node: Using your sharp scissors or pruning shears, cut the stem about 1-2 inches above a leaf node (the point where leaves grow out of the stem). This encourages the plant to produce new growth from that node.
3. Don’t Take Too Much: Avoid cutting more than one-third of the plant at a time. This will stress the plant and slow down its growth.
4. Focus on Outer Stems: Prioritize harvesting from the outer stems of the plant. This allows the inner stems to continue growing and maturing.
5. Regular Harvesting: Harvest dill leaves every week or two to encourage continuous growth. The more you harvest, the more the plant will produce!
6. Remove Yellowing Leaves: As you harvest, remove any yellowing or damaged leaves. This will help to keep the plant healthy and prevent the spread of disease.
Harvesting Dill Seeds: A Guide to Seed Saving
If you’re interested in saving dill seeds for future planting or culinary use, here’s how to do it:
1. Allow Flowers to Mature: Let the dill flowers bloom and then dry out on the plant. The seed heads will turn brown and the seeds will become visible.
2. Check for Seed Maturity: Gently rub the seed heads between your fingers. If the seeds easily fall off, they are ready to harvest.
3. Cut the Seed Heads: Using your scissors or pruning shears, cut the seed heads from the plant.
4. Dry the Seed Heads: Place the seed heads in a paper bag or on a screen in a well-ventilated area. Allow them to dry completely for several weeks.
5. Separate the Seeds: Once the seed heads are dry, you can separate the seeds by gently rubbing them between your hands or by shaking the seed heads in a bag.
6. Clean the Seeds: Remove any debris from the seeds by using a sieve or by winnowing them in a gentle breeze.
7. Store the Seeds: Store the clean, dry seeds in an airtight container in a cool, dark place. Dill seeds can remain viable for several years if stored properly.
Extending Your Dill Harvest: Tips and Tricks
Want to keep that dill coming all season long? Here are a few extra tips:
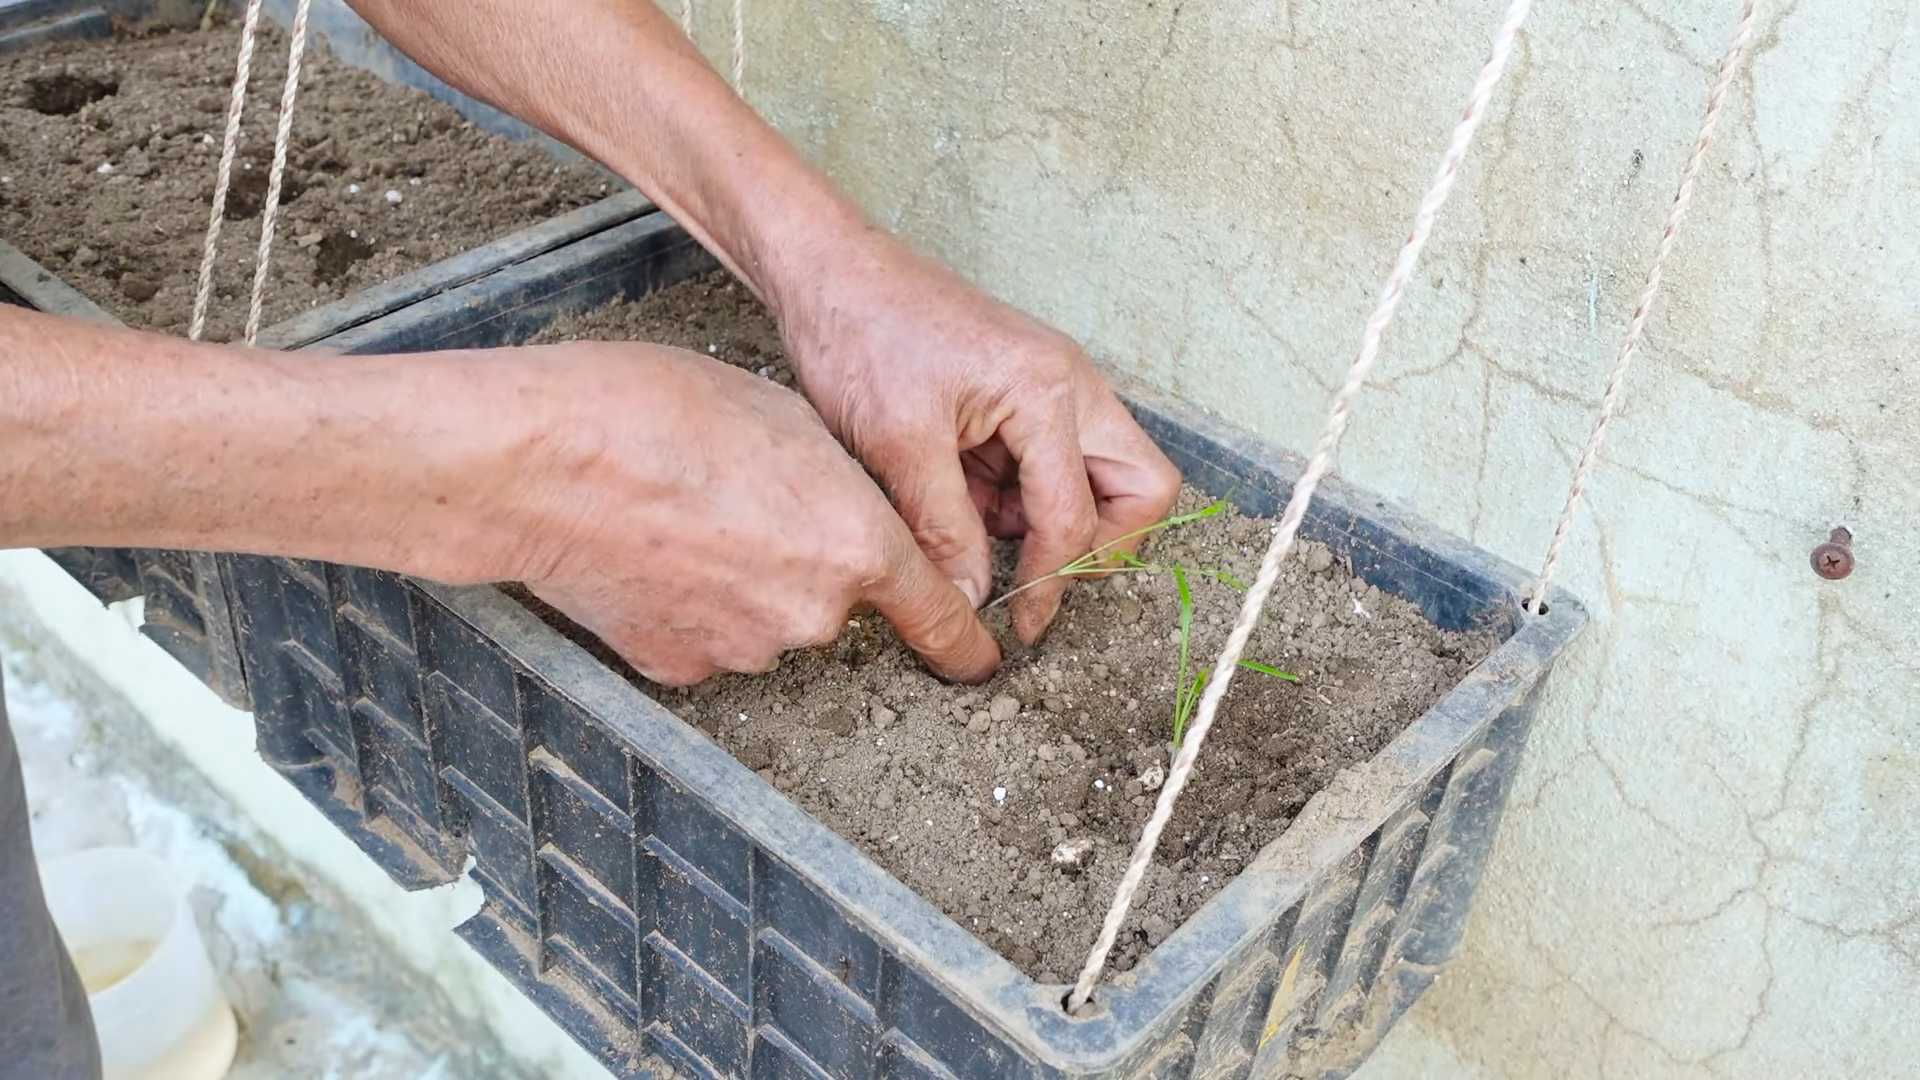
* Succession Planting: Plant dill seeds every few weeks to ensure a continuous supply of fresh dill.
* Choose Bolt-Resistant Varieties: Some dill varieties are more resistant to bolting than others. Look for varieties like ‘Fernleaf’ or ‘Dukat’ if you live in a warm climate.
* Provide Shade: Dill prefers full sun, but in hot climates, providing some afternoon shade can help to prevent bolting.
* Water Regularly: Dill needs consistent moisture to thrive. Water deeply whenever the soil feels dry to the touch.
* Fertilize Sparingly: Dill doesn’t need a lot of fertilizer. A light feeding of compost or a balanced fertilizer in the spring is usually sufficient.
* Pinch Off Flower Buds: If you see flower buds forming, pinch them off to encourage leaf production. This will delay bolting and extend your harvest.
* Consider Container Gardening: Growing dill in containers allows you to move the plants to a cooler location if the weather gets too hot.
Using Your Freshly Harvested Dill
Now for the best part – enjoying your fresh dill! Here are just a few ideas:
* Salads: Add chopped dill to salads for a fresh, herbaceous flavor.
* Dips: Dill is a classic ingredient in dips like tzatziki and dill dip.
* Fish: Dill pairs perfectly with fish, especially salmon.
* Potatoes: Add dill to mashed potatoes, potato salad, or roasted potatoes.
* Pickles: Dill is an essential ingredient in homemade pickles.
* Soups: Add dill to soups for a bright, fresh flavor.
* Eggs: Dill is a delicious addition to scrambled eggs, omelets, and frittatas.
* Infused Oils and Vinegars: Preserve the flavor of dill by infusing it into oils and vinegars.
Troubleshooting Common Dill Problems
Even with the best care, you might encounter a few problems when growing dill. Here are some common issues and how to address them:
* Aphids: These tiny pests can suck the sap from dill plants. Spray them off with a strong stream of water or use insecticidal soap.
* Caterpillars: Caterpillars can munch on dill leaves. Handpick them off the plants or use Bacillus thuringiensis (Bt), a natural insecticide.
* Powdery Mildew: This fungal disease can cause a white, powdery coating on dill leaves. Improve air circulation around the plants and avoid overhead watering. You can also use a fungicide if necessary.
* Bolting: As mentioned earlier, bolting is a common problem with dill. Choose bolt-resistant varieties, provide shade, and pinch off flower buds to delay bolting.
Dill Companion Planting
Dill is a great companion plant for many vegetables and herbs. Here are a few of its best companions:
* Cabbage Family: Dill repels cabbage moths and other pests that attack cabbage, broccoli, and cauliflower.
* Cucumbers: Dill attracts beneficial insects that prey on cucumber pests.
* Lettuce: Dill can help to protect lettuce from aphids.
* Onions: Dill can help to repel onion flies.
* Tomatoes: While opinions vary, some gardeners believe dill can improve tomato growth and flavor.
Avoid planting dill near carrots, as they can inhibit each other’s growth.
Drying Dill for Later Use
If you have more dill than you can use fresh, you can dry it for later use. Here’s how:
1. Harvest Fresh Dill: Harvest dill leaves in the morning after the dew has dried.
2. Rinse and Dry: Rinse the dill leaves gently and pat them dry with a paper towel.
3. Bundle the Stems: Tie the dill stems together with twine.
4. Hang to Dry: Hang the bundles of dill upside down in a cool, dark, and well-ventilated area.
5. Drying Time: The dill will take about 1-3 weeks to dry completely. It’s ready when the leaves are brittle and crumble easily.
6. Store the Dried Dill: Once the dill is dry, crumble the leaves and store them in an airtight container in a cool, dark place.
You can also dry dill in a dehydrator or in the oven on a very low setting. Just be sure to monitor it closely to prevent it from burning.
Freezing Dill for Long-
Conclusion
So, there you have it! The secret to a fast dill harvest, right at your fingertips. This isn’t just about getting dill; it’s about reclaiming control over your kitchen, reducing waste, and experiencing the unparalleled satisfaction of using freshly harvested herbs in your cooking. Forget those limp, sad-looking bunches from the grocery store that wilt before you even get them home. With this simple DIY trick, you’ll have vibrant, flavorful dill whenever you need it.
Why is this a must-try? Because it’s efficient, cost-effective, and incredibly rewarding. Imagine the burst of fresh dill in your next batch of creamy cucumber salad, the aromatic lift it gives to your salmon, or the vibrant green garnish it provides for your potato salad. This method allows you to harvest only what you need, ensuring peak flavor and minimizing spoilage. No more throwing away half a bunch of dill because it went bad before you could use it all!
But the beauty of this technique lies in its adaptability. Feel free to experiment!
* Try different containers: While we’ve focused on using readily available materials, you can adapt this to any container that suits your needs and aesthetic. Consider using repurposed plastic containers, terracotta pots, or even a dedicated herb garden planter.
* Vary the soil: While a standard potting mix works well, you can tailor the soil to your specific dill variety. Some varieties prefer slightly acidic soil, while others thrive in more alkaline conditions. Research your specific dill and adjust accordingly.
* Explore different dill varieties: From the classic ‘Bouquet’ dill to the feathery ‘Fernleaf’ variety, each type offers a unique flavor profile. Experiment with different varieties to find your favorite and discover new culinary possibilities.
* Consider companion planting: Dill is a great companion plant for many vegetables, including cucumbers, tomatoes, and lettuce. Planting dill near these vegetables can help deter pests and improve their overall health.
This method isn’t just for dill, either! While we’ve focused on achieving a fast dill harvest, the principles can be applied to other herbs as well. Think about using this technique for parsley, cilantro, or even basil. The key is to provide the right environment for the herb to thrive, including adequate sunlight, well-draining soil, and consistent watering.
We are confident that this DIY trick will revolutionize the way you approach fresh herbs. It’s a game-changer for home cooks, gardening enthusiasts, and anyone who appreciates the vibrant flavors of fresh, homegrown ingredients.
So, what are you waiting for? Give it a try! We’re eager to hear about your experiences. Share your photos, tips, and variations in the comments below. Let’s build a community of dill-loving enthusiasts and unlock the full potential of this amazing herb. Don’t forget to tag us in your social media posts using #FastDillHarvest and show off your bountiful harvests! We can’t wait to see what you create. Happy harvesting!
Frequently Asked Questions (FAQ)
What kind of soil is best for growing dill?
Dill thrives in well-draining soil that is slightly acidic to neutral (pH 6.0-7.5). A good quality potting mix is generally sufficient, but you can amend it with compost or other organic matter to improve drainage and fertility. Avoid heavy clay soils, as they can become waterlogged and lead to root rot. If you’re planting dill directly in the ground, consider adding sand or perlite to improve drainage.
How much sunlight does dill need?
Dill requires at least 6 hours of direct sunlight per day to thrive. If you’re growing dill indoors, place it near a sunny window or use a grow light to supplement natural light. Insufficient sunlight can result in leggy growth and reduced flavor. Rotate the plant regularly to ensure even exposure to sunlight.
How often should I water dill?
Water dill regularly, especially during hot, dry weather. The soil should be kept consistently moist, but not waterlogged. Allow the top inch of soil to dry out slightly between waterings. Overwatering can lead to root rot, while underwatering can cause the plant to wilt and dry out. Check the soil moisture regularly and adjust your watering schedule accordingly.
When is the best time to harvest dill?
You can start harvesting dill leaves as soon as the plant is a few inches tall. For the most intense flavor, harvest dill leaves before the plant flowers. Once the plant flowers, the leaves will become more bitter. To harvest dill seeds, wait until the seed heads turn brown and dry. Cut the seed heads off the plant and allow them to dry completely before separating the seeds.
How do I store fresh dill?
Fresh dill is best used immediately after harvesting. However, you can store it in the refrigerator for a few days. To store dill, wrap it loosely in a damp paper towel and place it in a plastic bag or container. You can also freeze dill for longer storage. To freeze dill, chop it finely and place it in ice cube trays with water or olive oil. Once frozen, transfer the dill cubes to a freezer bag or container.
Can I grow dill indoors?
Yes, dill can be grown indoors, provided it receives enough sunlight or artificial light. Choose a pot that is at least 6 inches deep and fill it with well-draining potting mix. Place the pot near a sunny window or use a grow light to supplement natural light. Water regularly and fertilize occasionally with a balanced fertilizer.
What are some common pests and diseases that affect dill?
Dill is generally resistant to pests and diseases, but it can be susceptible to aphids, spider mites, and powdery mildew. Aphids and spider mites can be controlled with insecticidal soap or neem oil. Powdery mildew can be prevented by ensuring good air circulation and avoiding overhead watering. If powdery mildew does occur, treat it with a fungicide.
Can I save dill seeds for next year?
Yes, you can save dill seeds for next year. Allow the seed heads to dry completely on the plant. Once the seed heads are dry, cut them off the plant and separate the seeds. Store the seeds in an airtight container in a cool, dry place. Dill seeds can remain viable for several years if stored properly.
Is dill a good companion plant?
Yes, dill is a good companion plant for many vegetables, including cucumbers, tomatoes, lettuce, and onions. Dill can help deter pests such as aphids and cabbage moths. It can also attract beneficial insects such as ladybugs and lacewings, which prey on other pests. Avoid planting dill near carrots, as it can inhibit their growth.
How can I encourage a faster dill harvest?
The key to a fast dill harvest is providing the plant with optimal growing conditions. This includes plenty of sunlight, well-draining soil, consistent watering, and occasional fertilization. You can also try starting dill seeds indoors a few weeks before the last frost to get a head start on the growing season. Regularly harvesting dill leaves will also encourage the plant to produce more foliage.
Leave a Comment