
Grow Basil From Seed and unlock a world of fresh, aromatic flavors right in your own home! Imagine stepping outside your door and snipping off vibrant, fragrant basil leaves to add to your pasta sauce, pesto, or summer salad. Sounds dreamy, right? Well, it’s totally achievable, even if you don’t have a sprawling garden.
Basil, with its rich history stretching back to ancient civilizations, has been prized for centuries not only for its culinary uses but also for its medicinal properties. From ancient Egyptians using it in embalming rituals to its symbolic association with love and good fortune in Italian culture, basil has always held a special place in our hearts and homes. But let’s be honest, buying fresh basil from the store can be expensive, and it often wilts before you even get a chance to use it all. That’s where the magic of DIY comes in!
In this article, I’m going to share my favorite tips and tricks for successfully grow basil from seed indoors or outdoors. Whether you’re a seasoned gardener or a complete beginner, I’ll guide you through every step of the process, from selecting the right seeds to nurturing your seedlings and harvesting your bountiful crop. Get ready to ditch the store-bought basil and enjoy the satisfaction of growing your own delicious, fragrant herbs. Let’s get started!
Growing Basil From Seed: A Beginner’s Guide
Hey there, fellow plant enthusiasts! I’m so excited to share my tried-and-true method for growing basil from seed. There’s nothing quite like the fresh, aromatic flavor of homegrown basil, and starting from seed is surprisingly easy and rewarding. Trust me, even if you don’t have a green thumb, you can do this!
Why Grow Basil From Seed?
Before we dive in, let’s talk about why starting from seed is a great option:
* Cost-effective: A packet of basil seeds is much cheaper than buying established plants.
* Variety: You’ll have access to a wider range of basil varieties, from classic Genovese to lemon basil and Thai basil.
* Control: You have complete control over the growing conditions from the very beginning, ensuring healthy, robust plants.
* Satisfaction: There’s a special kind of satisfaction that comes from nurturing a plant from a tiny seed to a thriving herb.
What You’ll Need
Here’s a list of everything you’ll need to get started:
* Basil seeds: Choose your favorite variety! I personally love Genovese for pesto and Thai basil for stir-fries.
* Seed starting trays or small pots: These should have drainage holes.
* Seed starting mix: This is a light, sterile soil mix specifically designed for seedlings. Don’t use garden soil, as it can be too heavy and contain pathogens.
* Spray bottle: For gently watering the seeds.
* Clear plastic wrap or a humidity dome: To create a humid environment for germination.
* Warm location: Basil needs warmth to germinate.
* Grow lights (optional): If you don’t have a sunny windowsill, grow lights can provide the necessary light.
* Small labels and a marker: To keep track of your basil varieties.
* Small trowel or spoon: For transplanting seedlings.
Getting Started: Sowing Your Basil Seeds
Now for the fun part! Here’s how to sow your basil seeds:
1. Prepare your seed starting trays or pots: Fill each tray or pot with seed starting mix, leaving about half an inch of space at the top. Gently tap the tray or pot to settle the soil.
2. Moisten the soil: Use your spray bottle to thoroughly moisten the seed starting mix. You want it to be damp, but not soggy.
3. Sow the seeds: Sprinkle 2-3 basil seeds on the surface of the soil in each cell or pot. Basil seeds are tiny, so be careful not to overcrowd them.
4. Cover the seeds lightly: Sprinkle a very thin layer of seed starting mix over the seeds, just enough to cover them.
5. Water gently: Use your spray bottle to gently water the seeds again. Be careful not to dislodge the seeds.
6. Create a humid environment: Cover the seed starting tray or pots with clear plastic wrap or a humidity dome. This will help to keep the soil moist and create a warm, humid environment that’s ideal for germination.
7. Place in a warm location: Basil seeds need warmth to germinate. Place the seed starting tray or pots in a warm location, such as on top of a refrigerator or near a heat vent. The ideal temperature is between 70-80°F (21-27°C).
8. Provide light: Once the seeds germinate, they’ll need light. If you don’t have a sunny windowsill, use grow lights. Place the lights a few inches above the seedlings and keep them on for 14-16 hours per day.
Caring for Your Basil Seedlings
Once your basil seeds have germinated (usually within 5-10 days), it’s time to start caring for your seedlings.
1. Remove the plastic wrap or humidity dome: Once the seedlings emerge, remove the plastic wrap or humidity dome to allow for air circulation.
2. Water regularly: Keep the soil consistently moist, but not soggy. Water when the top inch of soil feels dry to the touch. Use your spray bottle to water gently, avoiding wetting the leaves.
3. Provide adequate light: Basil seedlings need plenty of light to grow strong and healthy. If you’re using grow lights, keep them on for 14-16 hours per day. If you’re using a windowsill, make sure it gets at least 6 hours of direct sunlight per day.
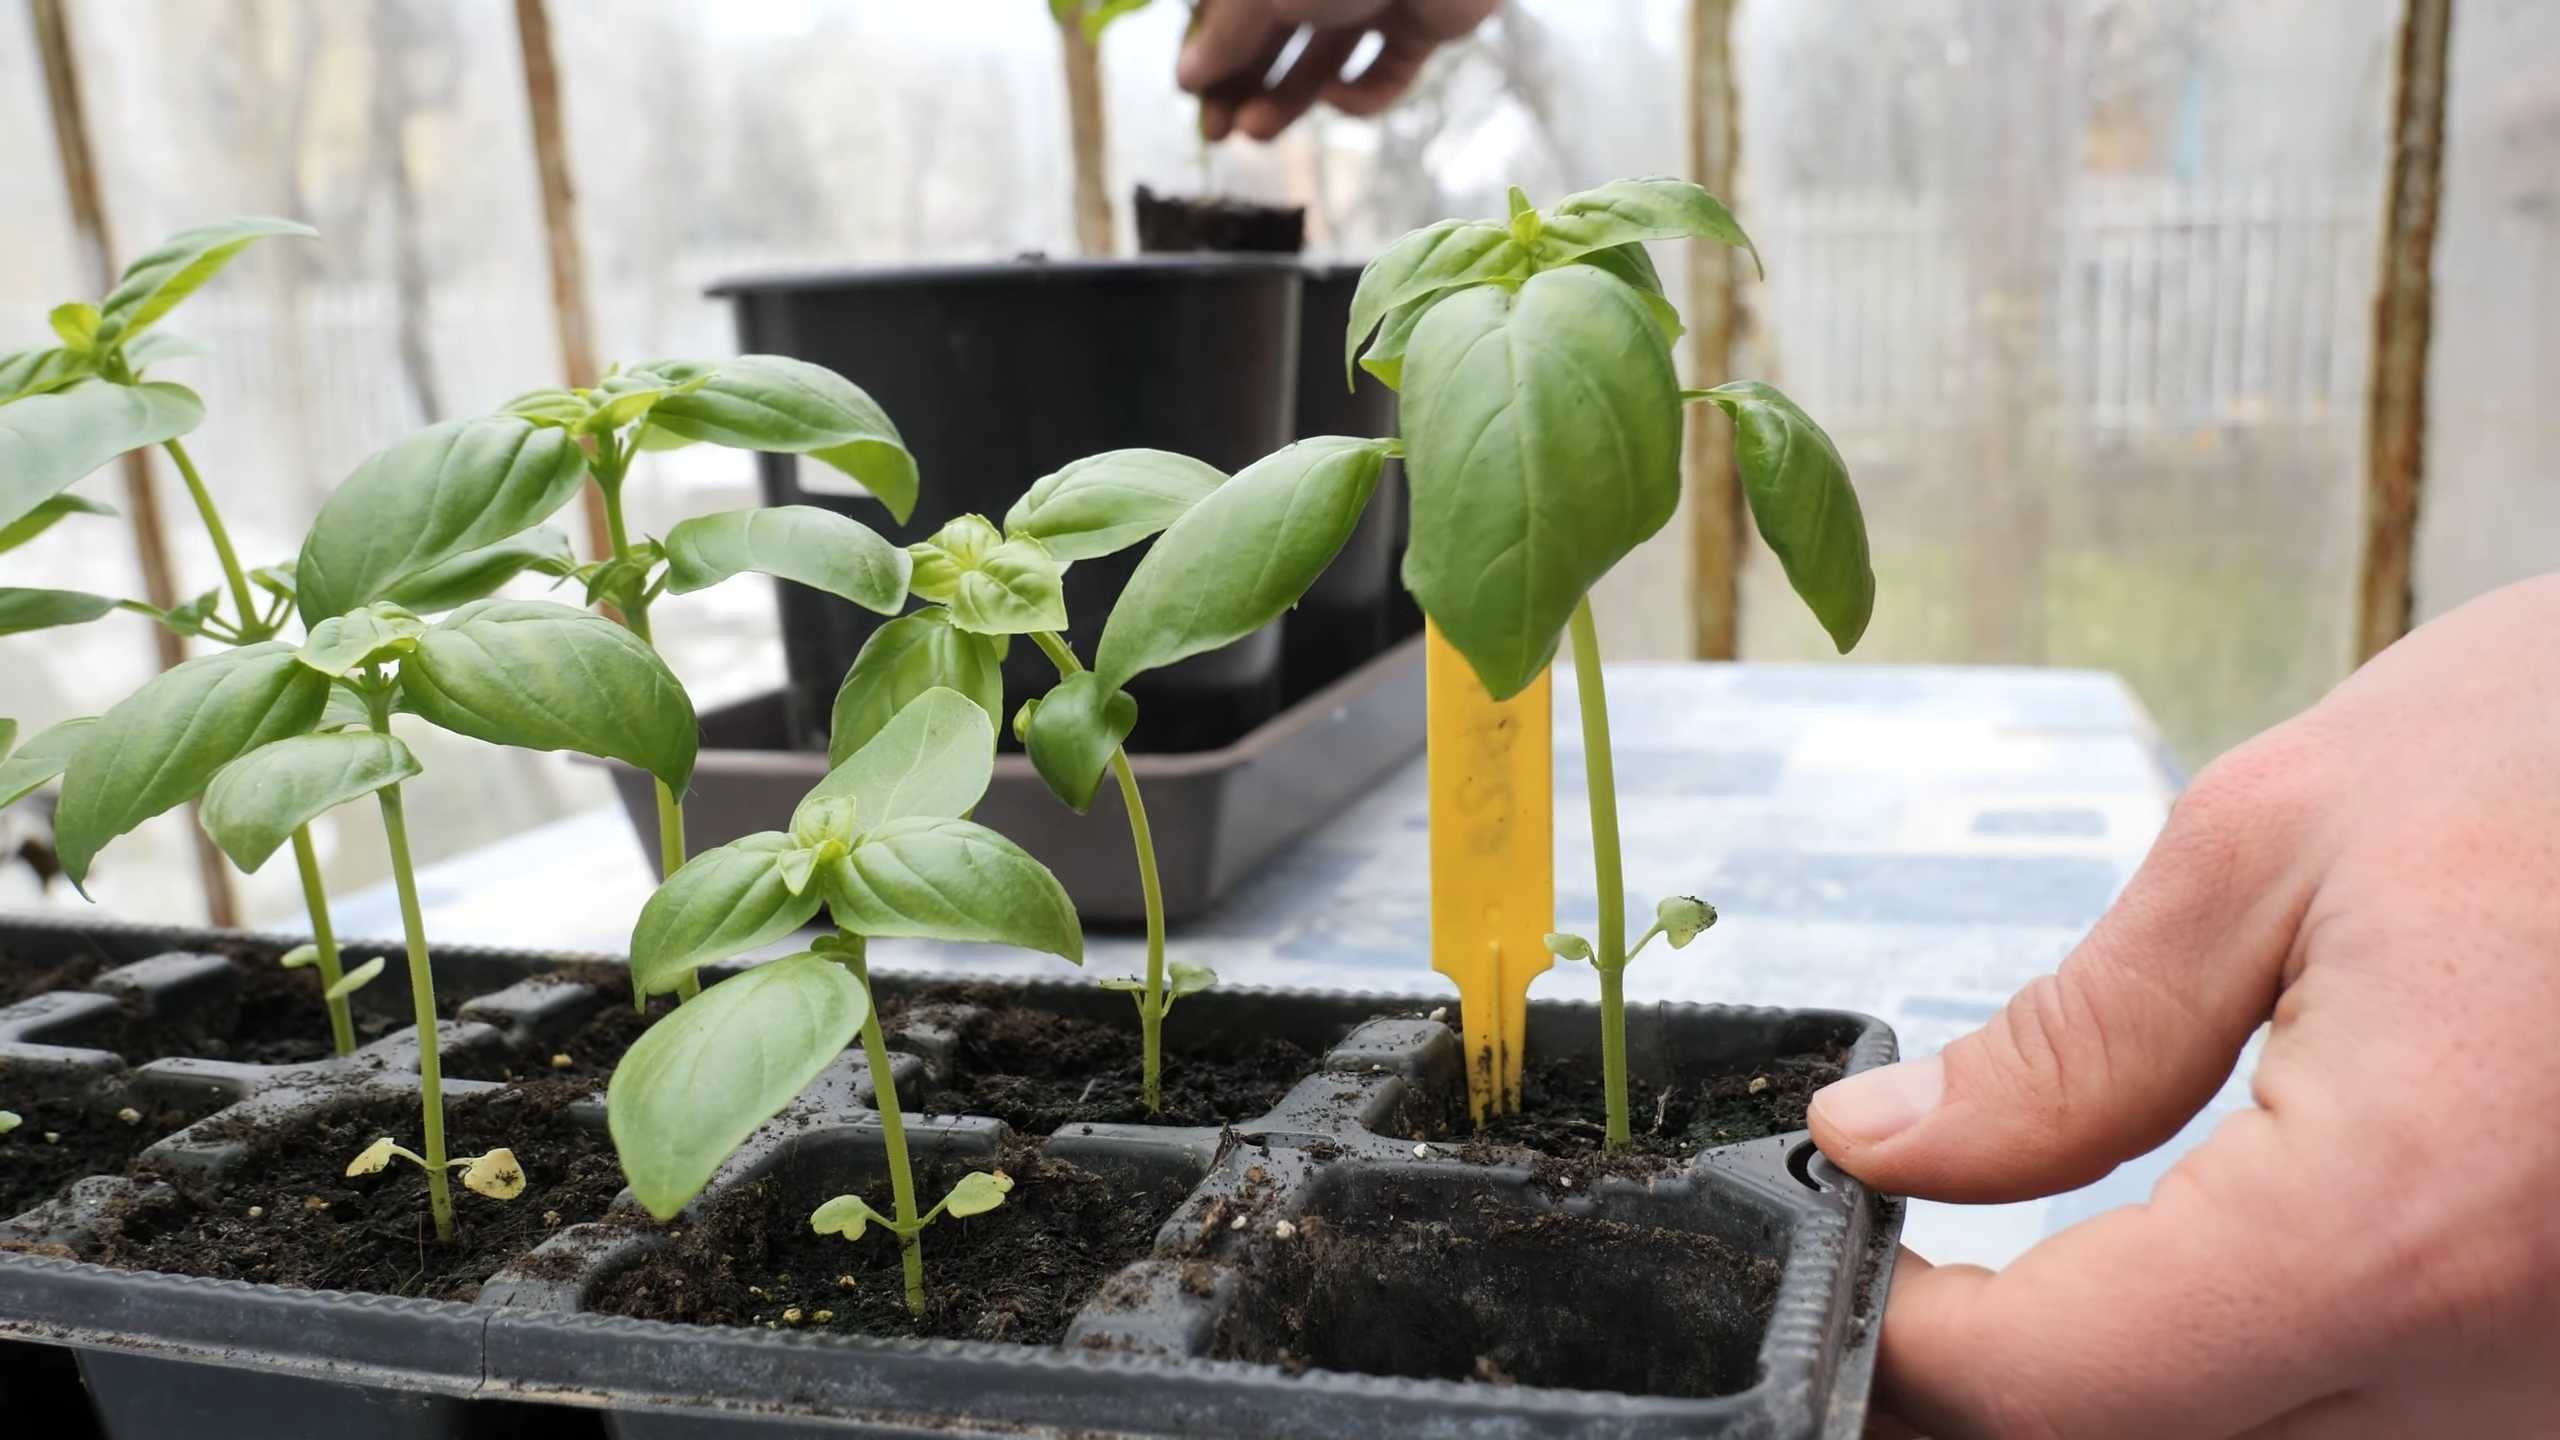
4. Thin the seedlings: Once the seedlings have their first set of true leaves (the leaves that look like miniature basil leaves), thin them out so that there’s only one seedling per cell or pot. Use small scissors to snip off the weaker seedlings at the soil line. Don’t pull them out, as this can disturb the roots of the remaining seedling.
5. Fertilize lightly: Once the seedlings have their second set of true leaves, you can start fertilizing them lightly with a diluted liquid fertilizer. Follow the instructions on the fertilizer label. I like to use a balanced fertilizer, such as 10-10-10.
Transplanting Your Basil Seedlings
Once your basil seedlings are about 2-3 inches tall and have several sets of true leaves, it’s time to transplant them into larger pots or into your garden.
1. Harden off the seedlings: Before transplanting your basil seedlings outdoors, you’ll need to harden them off. This means gradually exposing them to outdoor conditions over a period of 7-10 days. Start by placing the seedlings outdoors in a sheltered location for a few hours each day, gradually increasing the amount of time they spend outdoors. This will help them to acclimate to the sun, wind, and temperature changes.
2. Choose a sunny location: Basil thrives in full sun, so choose a location in your garden that gets at least 6 hours of direct sunlight per day.
3. Prepare the soil: Basil prefers well-drained soil that’s rich in organic matter. Amend your garden soil with compost or other organic matter before planting.
4. Dig a hole: Dig a hole that’s slightly larger than the root ball of the seedling.
5. Remove the seedling from the pot: Gently remove the seedling from its pot, being careful not to damage the roots. If the roots are tightly bound, gently loosen them with your fingers.
6. Plant the seedling: Place the seedling in the hole and backfill with soil. Gently firm the soil around the base of the plant.
7. Water thoroughly: Water the seedling thoroughly after planting.
8. Space properly: Space your basil plants 12-18 inches apart to allow for adequate air circulation.
Caring for Your Transplanted Basil Plants
Once your basil plants are transplanted, here’s how to care for them:
1. Water regularly: Basil needs consistent moisture, especially during hot weather. Water when the top inch of soil feels dry to the touch.
2. Fertilize regularly: Fertilize your basil plants every 2-3 weeks with a balanced liquid fertilizer.
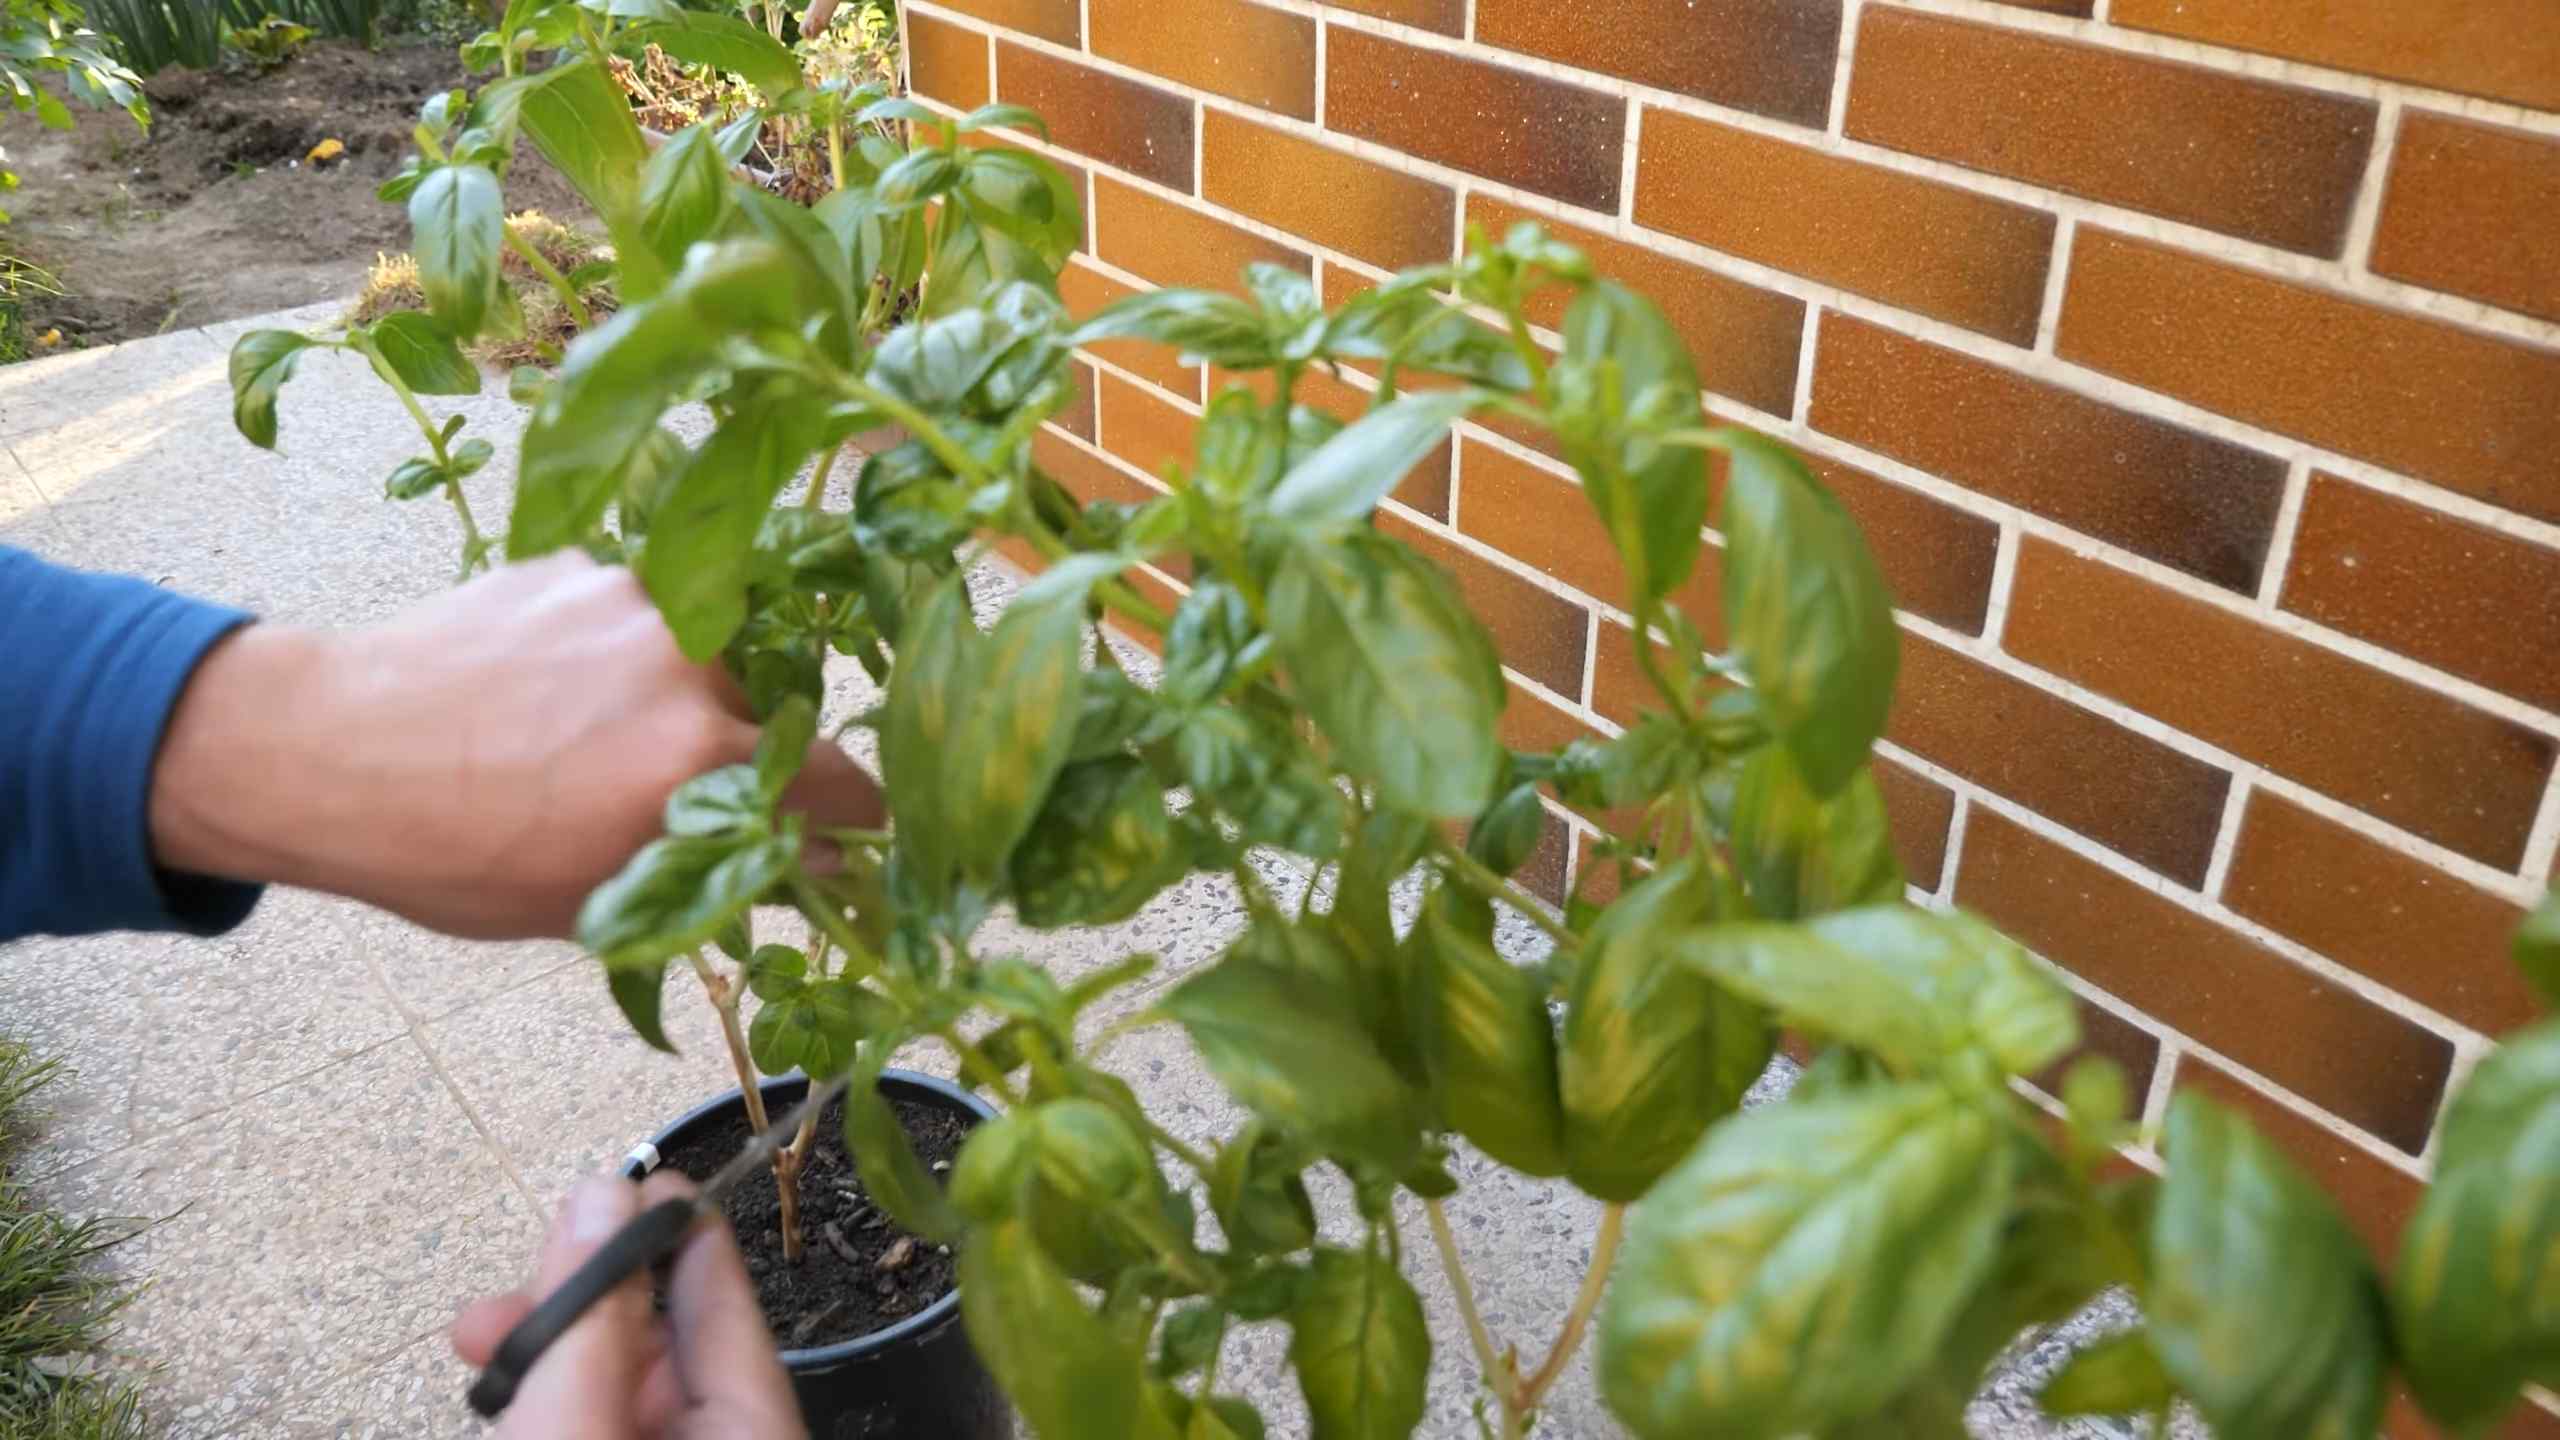
3. Pinch off flower buds: To encourage bushy growth and prevent the plants from going to seed, pinch off any flower buds that appear.
4. Harvest regularly: Harvest basil leaves regularly to encourage new growth. Simply snip off the leaves with scissors or your fingers. Start harvesting from the top of the plant and work your way down.
5. Protect from pests and diseases: Basil is generally pest-resistant, but it can be susceptible to aphids, spider mites, and fungal diseases. Inspect your plants regularly for signs of pests or diseases and take action if necessary.
Troubleshooting
Here are a few common problems you might encounter when growing basil from seed and how to fix them:
* Seeds not germinating: Make sure the soil is warm and moist. Basil seeds need warmth to germinate. Also, make sure the seeds are fresh.
* Seedlings damping off: Damping off is a fungal disease that can kill seedlings. To prevent damping off, use a sterile seed starting mix and avoid overwatering.
* Yellowing leaves: Yellowing leaves can be a sign of nutrient deficiency. Fertilize your plants with a balanced liquid fertilizer.
* Leggy seedlings: Leggy seedlings are tall and spindly. This is usually caused by insufficient light. Provide more light by using grow lights or moving the seedlings to a sunnier location.
Enjoy Your Homegrown Basil!
And that’s it! You’ve successfully grown basil from seed. Now you can enjoy the fresh, aromatic flavor of homegrown basil in all your favorite dishes. I love using it in pesto, pasta sauces, salads, and even cocktails. Happy gardening!
Conclusion
So, there you have it! Growing basil from seed isn’t just a gardening project; it’s an investment in flavor, freshness, and a deeper connection to your food. We’ve walked through the simple steps, from selecting the right seeds and preparing your soil to nurturing those tiny sprouts into vibrant, fragrant plants.
Why is this DIY trick a must-try? Because store-bought basil, while convenient, simply can’t compare to the intense aroma and robust flavor of homegrown. Plus, you have complete control over the growing process, ensuring your basil is free from unwanted pesticides and chemicals. Imagine the satisfaction of snipping fresh leaves right before adding them to your pasta sauce, pesto, or caprese salad. It’s a culinary game-changer!
But the benefits extend beyond the kitchen. Growing basil is a therapeutic activity, a chance to connect with nature and de-stress. Watching those seeds germinate and flourish is incredibly rewarding, and the vibrant green foliage adds a touch of beauty to your home or garden.
Don’t be afraid to experiment! Consider different varieties of basil to add even more depth to your culinary creations. Thai basil, with its anise-like flavor, is perfect for Asian-inspired dishes. Lemon basil adds a citrusy zing to salads and drinks. Purple basil brings a beautiful color and a slightly peppery taste to your recipes. You can even try growing basil indoors year-round with the help of a grow light.
Ready to embark on your basil-growing adventure? We encourage you to give this DIY trick a try. It’s easier than you might think, and the rewards are well worth the effort. Start small, be patient, and don’t be afraid to learn from your mistakes. Every gardener, no matter how experienced, has faced challenges along the way.
Once you’ve harvested your first batch of homegrown basil, we’d love to hear about your experience! Share your tips, tricks, and photos in the comments below. Let’s create a community of basil-loving gardeners and inspire others to discover the joy of growing their own herbs. Remember, the freshest, most flavorful basil is the basil you grow yourself. So, grab some seeds, get your hands dirty, and prepare to be amazed by the magic of growing basil from seed.
Frequently Asked Questions (FAQ)
1. What is the best time of year to start basil seeds?
The best time to start basil seeds is typically 6-8 weeks before the last expected frost in your area. Basil is a warm-weather herb and is sensitive to cold temperatures. Starting seeds indoors allows you to get a head start on the growing season. If you live in a warmer climate with mild winters, you can start seeds directly outdoors after the threat of frost has passed. Check your local weather forecasts and planting guides for specific dates in your region.
2. What kind of soil is best for growing basil from seed?
Basil thrives in well-draining soil that is rich in organic matter. A good potting mix for starting seeds should be light and airy, allowing for good root development. You can also amend your garden soil with compost or other organic materials to improve its fertility and drainage. Aim for a soil pH between 6.0 and 7.5 for optimal basil growth. Avoid heavy clay soils, as they can become waterlogged and hinder root growth.
3. How often should I water my basil seedlings?
Basil seedlings need consistent moisture to thrive, but avoid overwatering, which can lead to root rot. Water the seedlings when the top inch of soil feels dry to the touch. Use a gentle watering can or spray bottle to avoid disturbing the delicate seedlings. Ensure that the containers have drainage holes to prevent water from accumulating at the bottom. As the seedlings grow larger, you may need to water them more frequently, especially during hot weather.
4. How much sunlight do basil seedlings need?
Basil seedlings require plenty of sunlight to grow strong and healthy. Aim for at least 6-8 hours of direct sunlight per day. If you are starting seeds indoors, place them near a sunny window or use a grow light to provide adequate light. Rotate the seedlings regularly to ensure that they receive even light exposure on all sides. Insufficient sunlight can result in leggy, weak seedlings.
5. When should I transplant my basil seedlings outdoors?
Transplant your basil seedlings outdoors after the last expected frost and when the soil has warmed up to at least 60°F (15°C). Harden off the seedlings by gradually exposing them to outdoor conditions for a week or two before transplanting. Choose a sunny location with well-draining soil. Space the seedlings about 12-18 inches apart to allow for adequate growth. Water the seedlings thoroughly after transplanting.
6. How do I harvest basil leaves?
Harvest basil leaves regularly to encourage bushier growth. Pinch or cut off the top sets of leaves, just above a leaf node (where leaves grow from the stem). This will encourage the plant to produce more side shoots and leaves. Avoid harvesting more than one-third of the plant at a time. You can harvest basil leaves throughout the growing season, from the time the plant is young until it starts to flower.
7. What are some common problems when growing basil from seed?
Some common problems when growing basil from seed include damping off (a fungal disease that affects seedlings), overwatering, underwatering, insufficient sunlight, and pests such as aphids and slugs. To prevent damping off, use a sterile potting mix and avoid overwatering. Ensure that the seedlings receive adequate sunlight and ventilation. Inspect the plants regularly for pests and take appropriate measures to control them.
8. Can I grow basil indoors year-round?
Yes, you can grow basil indoors year-round with the help of a grow light. Choose a sunny location near a window and supplement with a grow light for at least 12-14 hours per day. Use a well-draining potting mix and water regularly. Fertilize the plants every few weeks with a balanced liquid fertilizer. Prune the plants regularly to encourage bushier growth.
9. How do I store fresh basil leaves?
There are several ways to store fresh basil leaves. You can wrap them in a damp paper towel and store them in a plastic bag in the refrigerator for a few days. Alternatively, you can freeze basil leaves by blanching them in boiling water for a few seconds, then plunging them into ice water. Drain the leaves and freeze them in a single layer on a baking sheet before transferring them to a freezer bag. You can also make basil pesto and freeze it for later use.
10. What are some creative ways to use homegrown basil?
Homegrown basil can be used in a variety of culinary applications. Use it to make pesto, add it to pasta sauces, salads, soups, and pizzas. Infuse olive oil with basil for a flavorful dressing or marinade. Use basil to garnish cocktails and other beverages. You can also dry basil leaves for later use in cooking. Experiment with different varieties of basil to add unique flavors to your dishes.

Leave a Comment