
Grow Cabbage in Your Garden – sounds intimidating, right? But trust me, it’s easier than you think! Imagine stepping outside your back door and harvesting fresh, crisp cabbage for your coleslaw or a hearty winter stew. Forget those bland, overpriced heads at the grocery store; with a few simple tricks, you can cultivate your own delicious cabbage right at home.
Cabbage has a rich history, dating back thousands of years. From ancient Rome, where it was prized for its medicinal properties, to medieval Europe, where it was a staple food, cabbage has nourished civilizations. Today, it remains a beloved vegetable worldwide, and I’m here to show you how to easily grow cabbage in your garden, no matter your experience level.
Why should you bother with this DIY project? Well, for starters, homegrown cabbage tastes infinitely better than store-bought. Plus, you’ll know exactly what went into growing it – no harmful pesticides or mystery ingredients. More importantly, learning these simple hacks will empower you to become a more self-sufficient gardener, saving you money and providing you with fresh, healthy produce. So, let’s dive in and unlock the secrets to a thriving cabbage patch!
Growing Cabbage: A Beginner’s Guide to a Bountiful Harvest
Hey there, fellow garden enthusiasts! I’m so excited to share my experiences and tips on growing cabbage. It’s a rewarding vegetable to cultivate, and with a little know-how, you can enjoy fresh, homegrown cabbage in your meals. Let’s dive in!
Choosing the Right Cabbage Variety
Before we get our hands dirty, let’s talk about cabbage varieties. There’s a whole world of cabbages out there, each with its own unique characteristics. Picking the right one for your climate and preferences is key.
* **Early Varieties:** These mature quickly (around 60-70 days) and are great for short growing seasons. Examples include ‘Golden Acre’ and ‘Early Jersey Wakefield’.
* **Mid-Season Varieties:** These take a bit longer (70-90 days) and offer good yields. ‘Copenhagen Market’ and ‘Savoy Ace’ are popular choices.
* **Late Varieties:** These need the longest time to mature (over 90 days) and are often used for storage. ‘Danish Ballhead’ and ‘January King’ are good options.
* **Savoy Cabbages:** These have crinkled leaves and a milder flavor. ‘Savoy Ace’ is a reliable choice.
* **Red Cabbages:** These add a pop of color to your garden and have a slightly peppery taste. ‘Red Acre’ is a classic.
Consider your local climate, the amount of space you have, and your personal taste preferences when making your selection. I personally love growing ‘Golden Acre’ for its early harvest and sweet flavor.
Preparing the Soil
Cabbage thrives in rich, well-drained soil. Before planting, it’s crucial to prepare the soil properly.
* **Soil Testing:** I always recommend starting with a soil test. This will tell you the pH level and nutrient content of your soil. Cabbage prefers a pH between 6.0 and 7.0.
* **Amending the Soil:** Based on your soil test results, amend the soil with compost, aged manure, or other organic matter. This will improve drainage, fertility, and water retention. I usually add a generous amount of compost to my cabbage patch.
* **Fertilizing:** Cabbage is a heavy feeder, so it needs plenty of nutrients. Incorporate a balanced fertilizer (like 10-10-10) into the soil before planting. Follow the instructions on the fertilizer package for application rates.
* **Sunlight:** Choose a location that receives at least 6 hours of sunlight per day. Cabbage needs plenty of sunshine to grow properly.
Starting Cabbage Seeds Indoors (Optional)
While you can direct sow cabbage seeds, I prefer to start them indoors, especially for early varieties. This gives them a head start and protects them from pests and harsh weather.
1. **Sowing the Seeds:** About 6-8 weeks before the last expected frost, sow the seeds in seed trays or small pots filled with seed-starting mix. Plant the seeds about ¼ inch deep.
2. **Providing Light and Warmth:** Keep the soil moist and provide plenty of light. A grow light is ideal, but a sunny windowsill can also work. Maintain a temperature of around 70-75°F (21-24°C).
3. **Thinning the Seedlings:** Once the seedlings have emerged, thin them to one plant per cell or pot.
4. **Hardening Off:** Before transplanting the seedlings outdoors, you need to harden them off. This means gradually exposing them to outdoor conditions over a period of 1-2 weeks. Start by placing them in a sheltered spot for a few hours each day, gradually increasing the time and exposure to sunlight and wind.
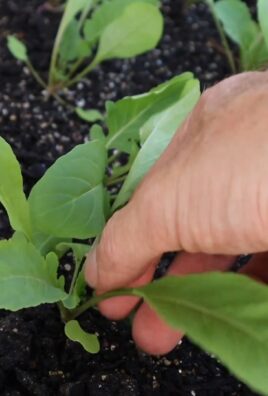
Transplanting Cabbage Seedlings
Once the seedlings are hardened off and the danger of frost has passed, it’s time to transplant them into the garden.
1. **Preparing the Planting Holes:** Dig holes that are slightly larger than the root balls of the seedlings. Space the holes 12-18 inches apart for smaller varieties and 18-24 inches apart for larger varieties.
2. **Planting the Seedlings:** Gently remove the seedlings from their containers and place them in the holes. Make sure the top of the root ball is level with the soil surface.
3. **Watering Thoroughly:** Water the seedlings thoroughly after planting. This will help them settle in and establish their roots.
4. **Mulching:** Apply a layer of mulch around the plants to help retain moisture, suppress weeds, and regulate soil temperature. I like to use straw or shredded leaves.
Direct Sowing Cabbage Seeds
If you prefer to direct sow cabbage seeds, you can do so in the spring or fall, depending on your climate.
1. **Preparing the Soil:** Prepare the soil as described above.
2. **Sowing the Seeds:** Sow the seeds about ½ inch deep and 1-2 inches apart in rows.
3. **Thinning the Seedlings:** Once the seedlings have emerged, thin them to the desired spacing (12-24 inches apart).
4. **Watering Regularly:** Keep the soil consistently moist until the seedlings are established.
Caring for Your Cabbage Plants
Once your cabbage plants are in the ground, it’s important to provide them with proper care.
* **Watering:** Cabbage needs consistent moisture, especially during hot, dry weather. Water deeply and regularly, aiming for about 1 inch of water per week.
* **Fertilizing:** Side-dress the plants with a nitrogen-rich fertilizer every 2-3 weeks. This will help them grow quickly and produce large heads. I use fish emulsion or compost tea.
* **Weeding:** Keep the area around the plants free of weeds. Weeds compete with cabbage for water and nutrients.
* **Pest Control:** Cabbage is susceptible to several pests, including cabbage worms, cabbage loopers, and aphids. Inspect your plants regularly and take action if you see any signs of infestation. I like to use organic pest control methods, such as handpicking pests, using insecticidal soap, or applying Bacillus thuringiensis (Bt).
* **Disease Prevention:** Cabbage can also be affected by diseases, such as black rot and clubroot. To prevent diseases, choose disease-resistant varieties, practice crop rotation, and avoid overhead watering.
Dealing with Common Cabbage Pests
Let’s face it, pests are a gardener’s nemesis. Cabbage, unfortunately, attracts a few unwanted guests. Here’s how I tackle the most common ones:
* **Cabbage Worms and Loopers:** These are the larvae of butterflies and moths. They munch on the leaves, leaving holes. The best way to control them is to handpick them off the plants or use Bt. You can also cover your plants with row covers to prevent the adults from laying eggs.
* **Aphids:** These tiny insects suck the sap from the leaves, causing them to curl and distort. You can control aphids by spraying them with insecticidal soap or releasing beneficial insects like ladybugs.
* **Cabbage Root Maggots:** These larvae feed on the roots of cabbage plants, causing them to wilt and die. To prevent cabbage root maggots, use row covers or apply diatomaceous earth around the base of the plants.
Harvesting Your Cabbage
The time to harvest your cabbage depends on the variety and the growing conditions. Generally, cabbage is ready to harvest when the heads are firm and solid.
1. **Checking for Firmness:** Gently squeeze the head of the cabbage. If it feels firm and solid, it’s ready to harvest.
2. **Cutting the Head:** Use a sharp knife to cut the head from the stem, leaving a few outer leaves attached.
3. **Storing Your Cabbage:** Cabbage can be stored in a cool, dry place for several weeks. I like to wrap the heads in newspaper and store them in the refrigerator.
Enjoying Your Homegrown Cabbage
Now comes the best part – enjoying the fruits (or vegetables!) of your labor. Cabbage is incredibly versatile and can be used in a variety of dishes.
* **Raw:** Shredded cabbage is a great addition to salads and slaws.
* **Cooked:** Cabbage can be boiled, steamed, stir-fried, or roasted. It’s a key ingredient in dishes like cabbage rolls, sauerkraut, and corned beef and cabbage.
* **Fermented:** Cabbage can be fermented to make sauerkraut or kimchi.
I hope this guide has inspired you to grow your own cabbage. It’s a rewarding experience, and you’ll be amazed at the flavor of homegrown cabbage. Happy gardening!
Conclusion
So, there you have it! Growing your own cabbage isn’t just about saving money at the grocery store; it’s about connecting with nature, enjoying the satisfaction of nurturing something from seed to table, and savoring the unparalleled flavor of freshly harvested produce. This DIY trick – starting your cabbage indoors – is a game-changer, especially for those with shorter growing seasons or those eager to get a head start. It significantly increases your chances of a successful harvest, protecting your delicate seedlings from early pests and unpredictable weather.
Think of the possibilities! Imagine crisp, vibrant cabbage leaves transformed into tangy sauerkraut, creamy coleslaw, or hearty stuffed cabbage rolls. Picture the pride you’ll feel serving a meal featuring cabbage you cultivated yourself. This isn’t just about growing vegetables; it’s about creating memories and fostering a deeper appreciation for the food we eat.
But don’t stop there! Experiment with different varieties of cabbage. Try growing red cabbage for its striking color and slightly peppery flavor, or savoy cabbage for its crinkled leaves and delicate texture. Consider succession planting, starting new seedlings every few weeks, to ensure a continuous harvest throughout the growing season. You can even try companion planting, pairing your cabbage with herbs like rosemary or thyme to deter pests naturally.
This DIY trick for growing cabbage is a must-try for any home gardener, regardless of experience level. It’s simple, effective, and incredibly rewarding. Don’t be intimidated by the process; with a little patience and care, you’ll be harvesting your own delicious cabbage in no time.
We’re confident that this method will revolutionize your cabbage-growing experience. Now, it’s your turn! Give this DIY trick a try and share your results with us. We’d love to hear about your successes, your challenges, and any variations you discover along the way. Post pictures of your thriving cabbage plants, share your favorite cabbage recipes, and let’s build a community of cabbage-growing enthusiasts! Happy gardening!
Frequently Asked Questions (FAQ)
Why is starting cabbage indoors so important?
Starting cabbage indoors offers several key advantages, particularly for gardeners in regions with short growing seasons. Cabbage requires a relatively long growing period, and starting seeds indoors allows you to get a head start, ensuring that your plants have enough time to mature before the first frost. It also protects young, vulnerable seedlings from harsh weather conditions, such as late frosts, heavy rains, and intense sunlight, which can easily damage or kill them. Furthermore, indoor starting provides a controlled environment, minimizing the risk of pest infestations and diseases that can plague outdoor seedlings. By the time your cabbage seedlings are ready to be transplanted outdoors, they will be stronger, more resilient, and better equipped to thrive.
What kind of soil should I use for starting cabbage seeds indoors?
The ideal soil for starting cabbage seeds indoors is a lightweight, well-draining seed-starting mix. Avoid using garden soil, as it can be too heavy and may contain pathogens or weed seeds. Seed-starting mixes are specifically formulated to provide the optimal balance of moisture retention and drainage, promoting healthy root development. Look for mixes that contain ingredients like peat moss, vermiculite, and perlite. These materials help to create a porous structure that allows air to circulate around the roots, preventing them from becoming waterlogged. You can also make your own seed-starting mix by combining equal parts peat moss, vermiculite, and perlite.
How much light do cabbage seedlings need indoors?
Cabbage seedlings require plenty of light to grow strong and healthy. Ideally, they should receive at least 12-16 hours of light per day. If you don’t have a sunny windowsill that provides sufficient light, you’ll need to supplement with artificial lighting. Fluorescent grow lights or LED grow lights are excellent options. Position the lights a few inches above the seedlings and adjust the height as they grow to prevent them from becoming leggy. Leggy seedlings are tall and spindly, with weak stems, and are more susceptible to disease and damage. Rotate the seedlings regularly to ensure that they receive even light exposure on all sides.
When should I transplant my cabbage seedlings outdoors?
Transplant your cabbage seedlings outdoors when they are about 4-6 weeks old and have developed several sets of true leaves. Before transplanting, it’s essential to harden off the seedlings, gradually acclimating them to outdoor conditions. This process involves exposing them to increasing amounts of sunlight, wind, and temperature fluctuations over a period of 7-10 days. Start by placing the seedlings outdoors in a sheltered location for a few hours each day, gradually increasing the amount of time they spend outside. Choose a cloudy or overcast day for transplanting to minimize stress on the seedlings. Plant them in well-drained soil that is rich in organic matter. Space the plants according to the specific variety of cabbage you are growing, typically 12-24 inches apart.
What are some common pests and diseases that affect cabbage?
Cabbage is susceptible to several common pests and diseases, including cabbage worms, aphids, flea beetles, clubroot, and black rot. Cabbage worms are the larvae of cabbage white butterflies and can quickly defoliate your plants. Handpicking them off the plants or using Bacillus thuringiensis (Bt), a natural insecticide, can control them. Aphids are small, sap-sucking insects that can weaken plants and transmit diseases. Insecticidal soap or neem oil can effectively control aphid infestations. Flea beetles are tiny, jumping beetles that create small holes in the leaves. Row covers can prevent flea beetles from reaching your plants. Clubroot is a soilborne disease that causes swollen, distorted roots. Crop rotation and soil amendments can help prevent clubroot. Black rot is a bacterial disease that causes yellowing and blackening of the leaves. Using disease-free seeds and practicing good sanitation can help prevent black rot.
How often should I water my cabbage plants?
Cabbage plants need consistent moisture to thrive. Water them deeply and regularly, especially during dry periods. Aim to keep the soil consistently moist but not waterlogged. Mulching around the plants can help retain moisture and suppress weeds. The frequency of watering will depend on factors such as the weather, soil type, and plant size. Check the soil moisture regularly and water when the top inch feels dry to the touch. Avoid overhead watering, as it can promote fungal diseases. Instead, water at the base of the plants.
What kind of fertilizer should I use for cabbage?
Cabbage is a heavy feeder and benefits from regular fertilization. Use a balanced fertilizer that is rich in nitrogen, phosphorus, and potassium. Nitrogen promotes leafy growth, phosphorus supports root development, and potassium enhances overall plant health. Apply fertilizer according to the package instructions. You can also amend the soil with compost or other organic matter to provide a slow-release source of nutrients. Side-dressing with compost tea or fish emulsion can also provide a boost of nutrients during the growing season. Avoid over-fertilizing, as it can lead to excessive leafy growth at the expense of head formation.
How do I know when my cabbage is ready to harvest?
Cabbage is ready to harvest when the head is firm and solid to the touch. The size of the head will vary depending on the variety of cabbage you are growing. Check the seed packet or plant tag for information on the expected head size. To harvest, use a sharp knife to cut the head from the stem, leaving a few outer leaves attached. You can store harvested cabbage in the refrigerator for several weeks.
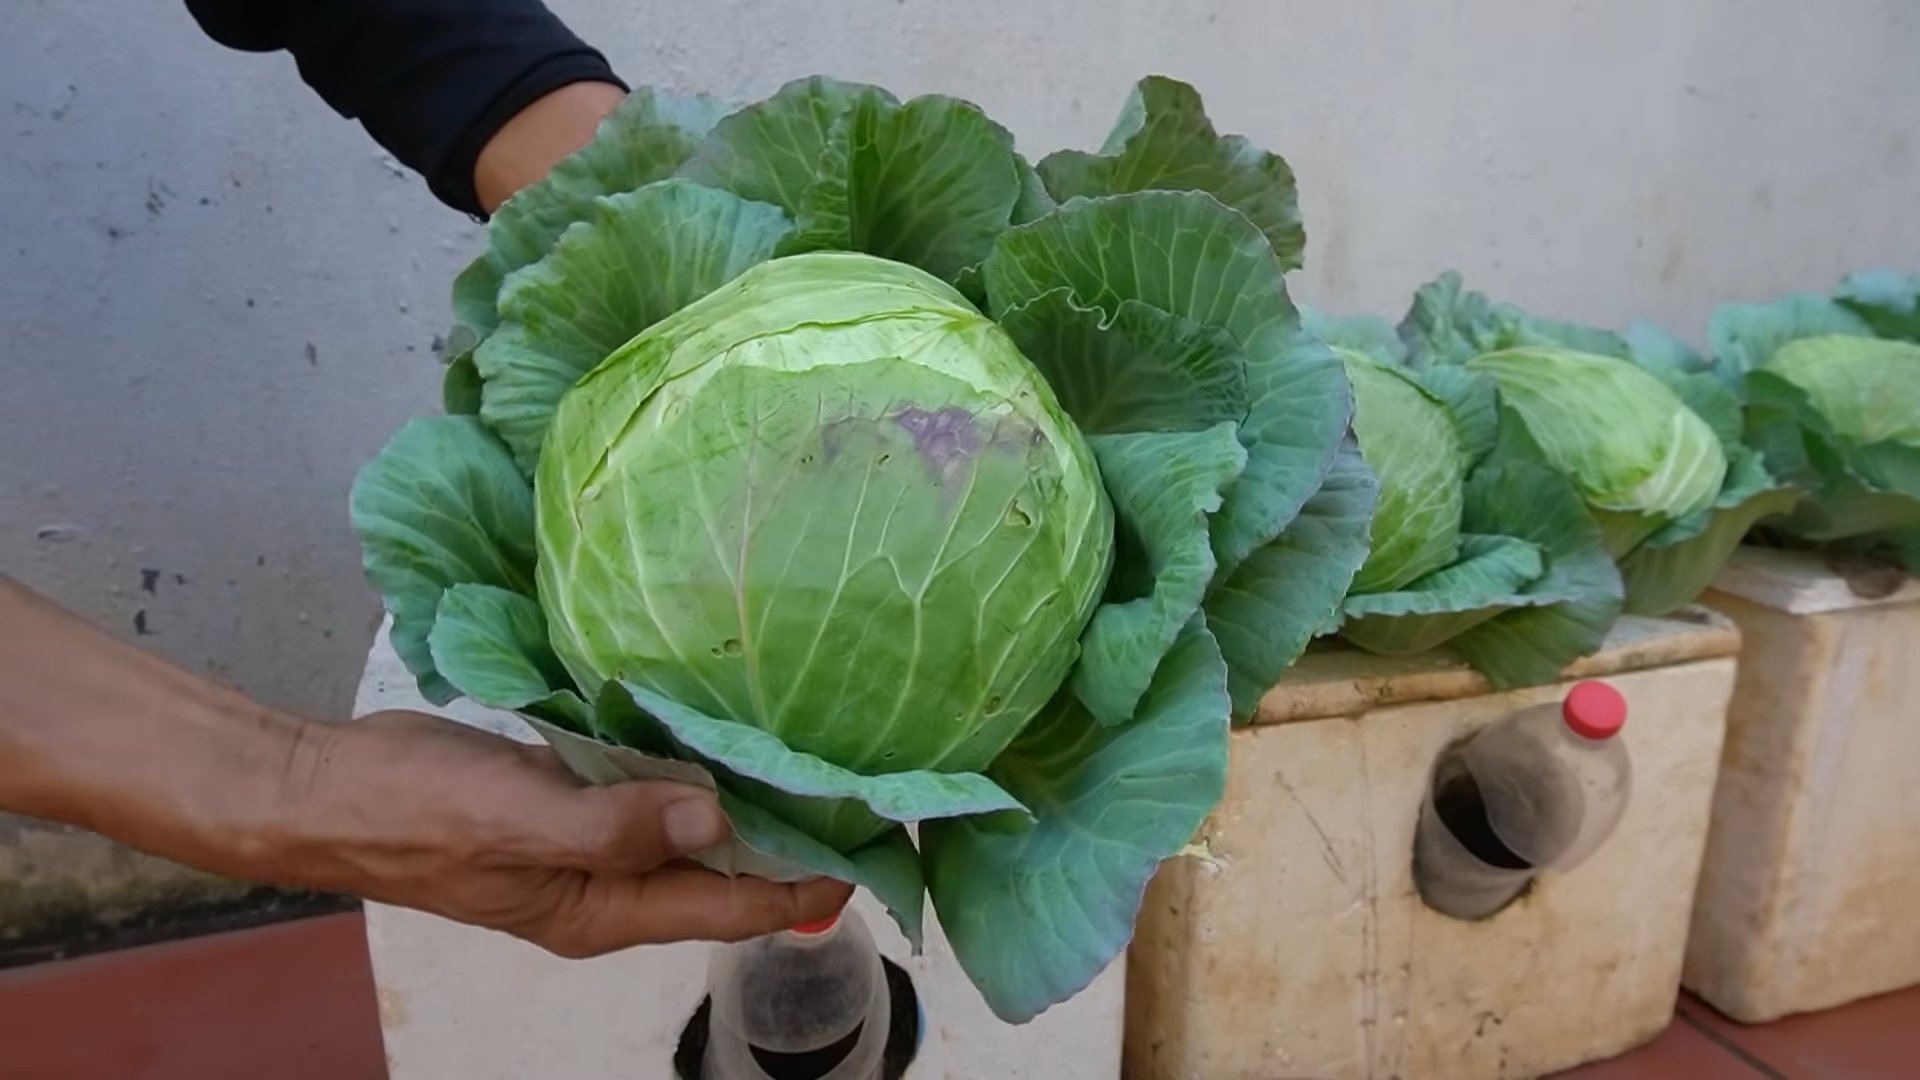
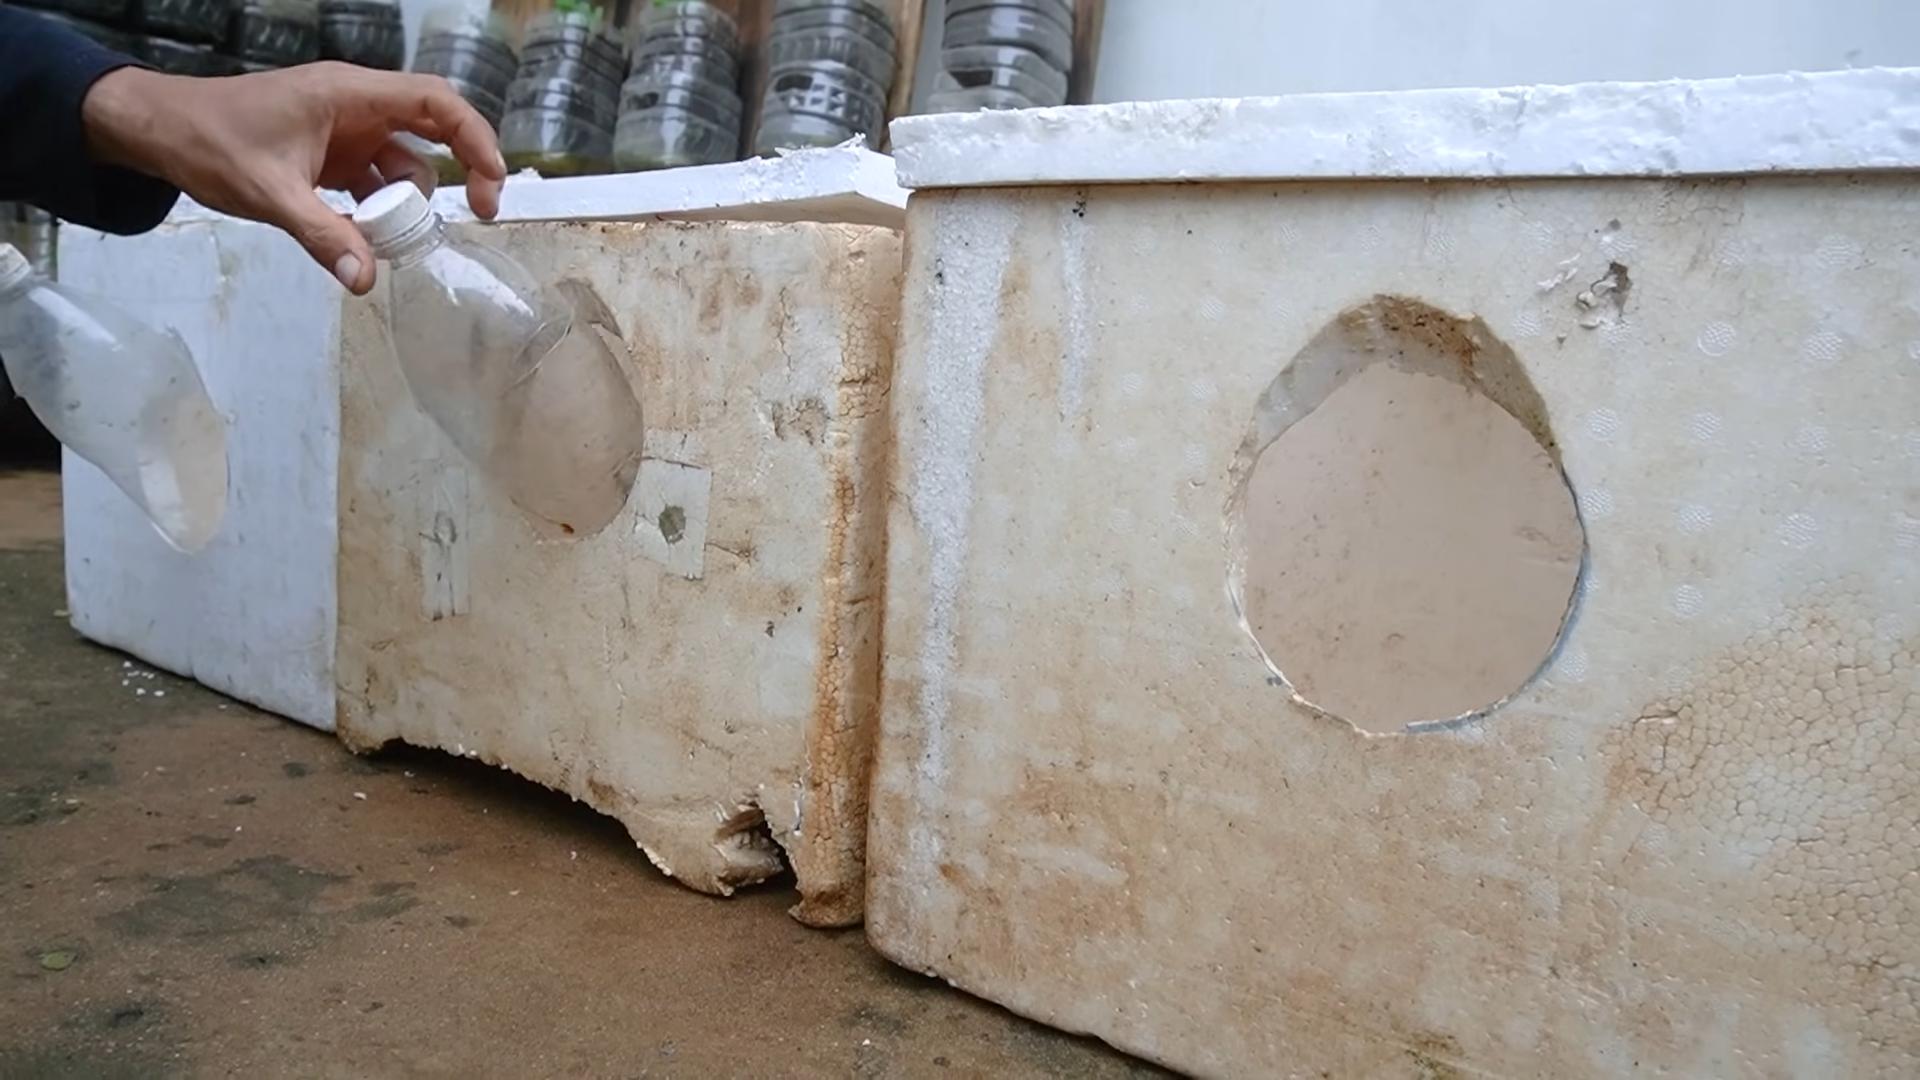
Can I grow cabbage in containers?
Yes, you can grow cabbage in containers, but you’ll need to choose a large container that is at least 12 inches in diameter and 12 inches deep. Use a well-draining potting mix and provide regular watering and fertilization. Container-grown cabbage may require more frequent watering than cabbage grown in the ground, as the soil in containers tends to dry out more quickly. Choose a sunny location for your container-grown cabbage.
What are some good companion plants for cabbage?
Companion planting can help deter pests, attract beneficial insects, and improve the overall health of your cabbage plants. Some good companion plants for cabbage include:
* **Aromatic herbs:** Rosemary, thyme, sage, and oregano can help repel cabbage moths and other pests.
* **Marigolds:** Marigolds are known for their pest-repelling properties and can help deter nematodes and other soil pests.
* **Nasturtiums:** Nasturtiums attract aphids away from cabbage plants, acting as a trap crop.
* **Dill:** Dill attracts beneficial insects, such as ladybugs and lacewings, which prey on aphids and other pests.
* **Onions and garlic:** Onions and garlic can help deter cabbage root flies.
Avoid planting cabbage near members of the nightshade family, such as tomatoes, peppers, and eggplants, as they can compete for nutrients and attract similar pests.
Leave a Comment