
Grow Carrots in Containers? Absolutely! Forget sprawling garden beds and back-breaking labor. I’m here to tell you that delicious, crunchy carrots are totally within reach, even if you only have a balcony, patio, or sunny windowsill. For centuries, carrots have been a staple in diets worldwide, with evidence suggesting their cultivation dates back to ancient Persia. But traditionally, growing them meant dedicating significant garden space.
But what if I told you there’s a much easier way? In today’s fast-paced world, not everyone has the time or space for a traditional garden. That’s where container gardening comes in! Learning how to grow carrots in containers is a game-changer. It allows you to enjoy fresh, homegrown produce without the commitment of a large garden. Plus, it’s incredibly satisfying to harvest your own vibrant orange (or purple, or yellow!) carrots, knowing you nurtured them from tiny seeds to tasty treats.
This DIY guide is packed with simple tricks and hacks to ensure your container carrot crop is a resounding success. We’ll cover everything from choosing the right container and soil to watering techniques and pest control. Get ready to ditch the store-bought carrots and embrace the joy of growing your own!
Grow Your Own Delicious Carrots in Containers: A Beginner’s Guide
Hey there, fellow gardening enthusiasts! Ever dreamt of pulling fresh, vibrant carrots straight from your own backyard (or balcony!)? Well, you don’t need acres of land to make that dream a reality. Growing carrots in containers is surprisingly easy and rewarding, even if you’re a complete beginner. I’m going to walk you through everything you need to know to get started.
Choosing the Right Container and Carrot Variety
Before we get our hands dirty, let’s talk about the essentials: the container and the carrot seeds.
* **Container Size:** This is crucial! Carrots need depth to grow properly. Choose a container that’s at least 12 inches deep, but ideally 18-24 inches. The wider the container, the more carrots you can grow. I personally love using large, rectangular planters, but round pots work just as well.
* **Drainage:** Excellent drainage is non-negotiable. Carrots hate soggy soil. Make sure your container has plenty of drainage holes at the bottom.
* **Material:** Plastic, terracotta, or even fabric pots are all suitable. I’ve had success with all three. Just keep in mind that terracotta pots dry out faster than plastic ones, so you might need to water more frequently.
* **Carrot Variety:** Not all carrots are created equal, especially when it comes to container gardening. Opt for shorter, rounder varieties like ‘Thumbelina,’ ‘Parisian,’ ‘Little Finger,’ or ‘Short n Sweet.’ These varieties are specifically bred to thrive in smaller spaces. While you *can* grow longer varieties, they might end up stunted or misshapen if the container isn’t deep enough.
Preparing the Perfect Soil Mix
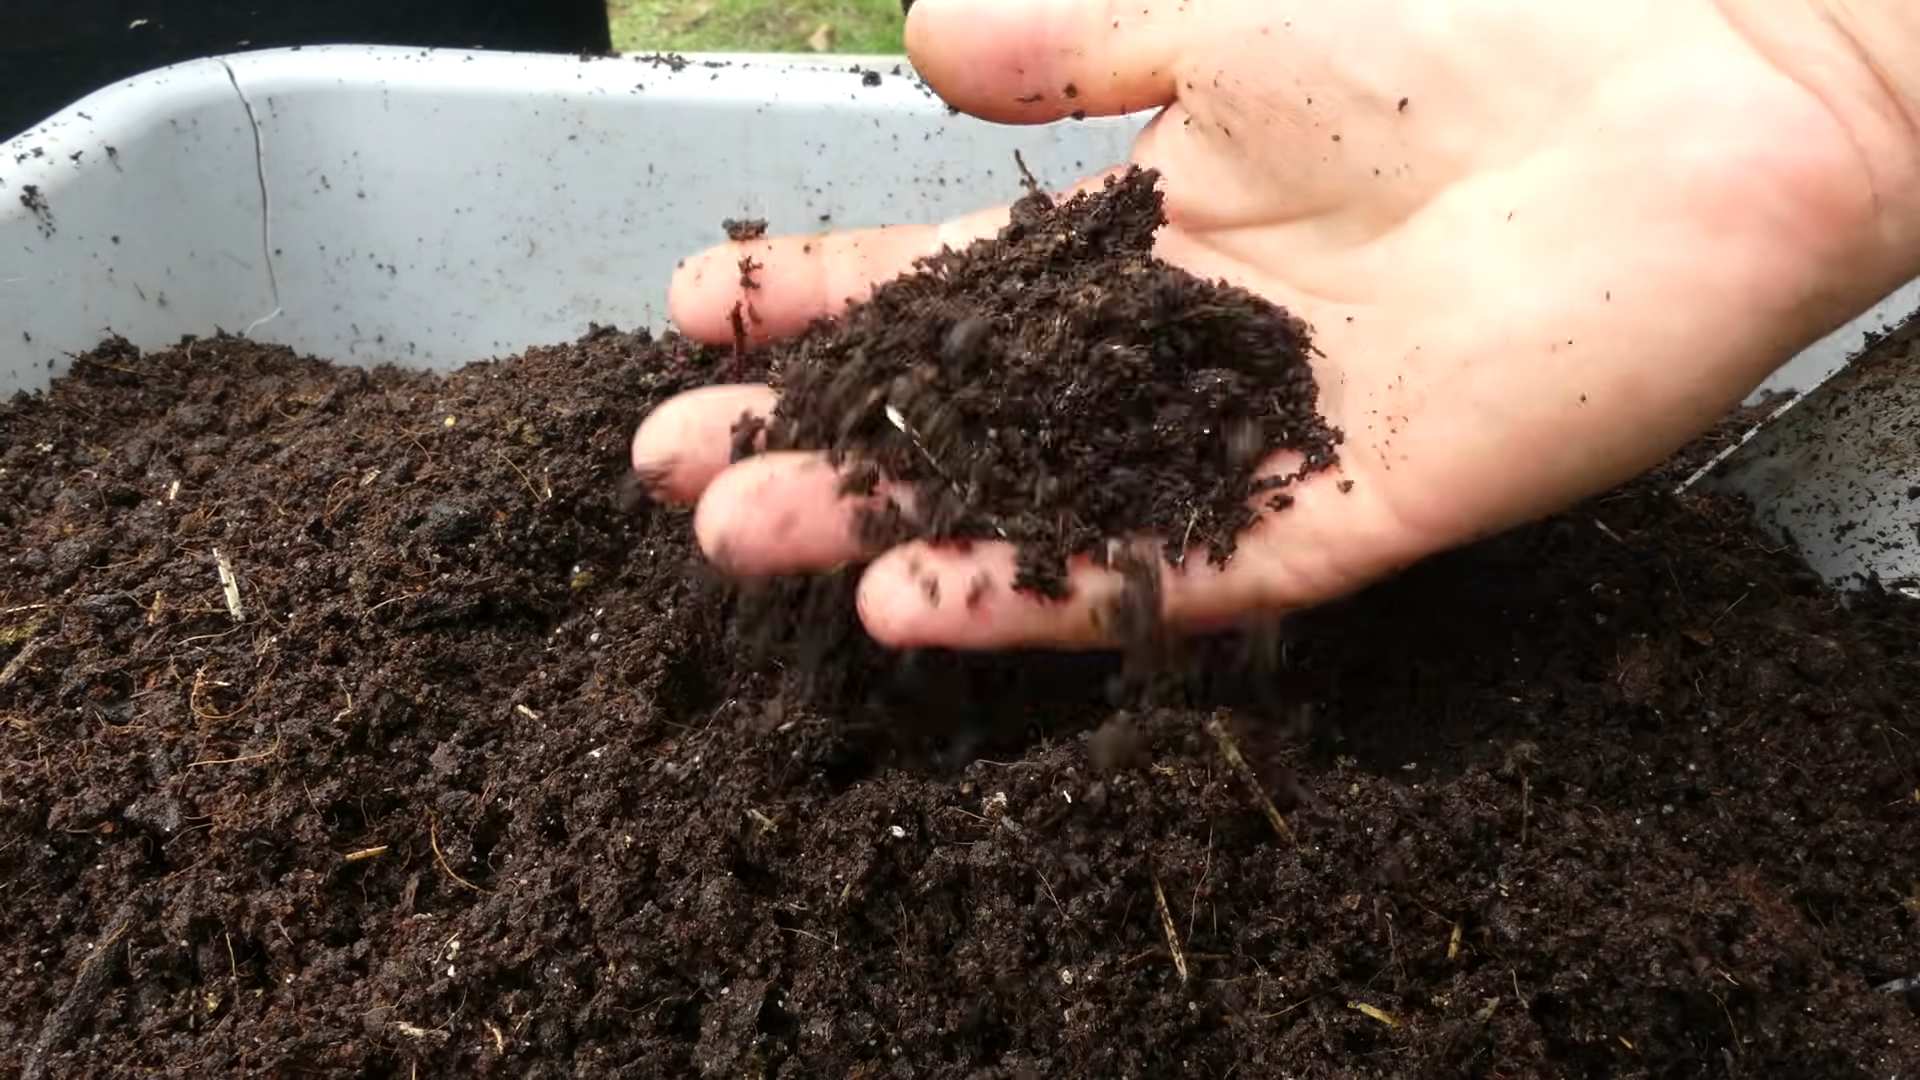
Carrots need loose, well-draining soil to develop properly. Heavy, compacted soil will result in short, stubby, and often forked carrots. Here’s my go-to soil mix recipe:
* **Equal parts:**
* Potting mix (not garden soil!)
* Compost (for nutrients and drainage)
* Sand (for even better drainage)
I usually mix this up in a large bucket or wheelbarrow until it’s light and fluffy. Avoid using garden soil directly in your containers, as it tends to compact and doesn’t drain well.
Planting Your Carrot Seeds
Alright, let’s get planting!
1. **Fill the Container:** Fill your chosen container with the soil mix, leaving about an inch or two of space at the top. Gently pat down the soil to remove any large air pockets.
2. **Water Thoroughly:** Water the soil until it’s evenly moist, but not soggy. This will help the seeds germinate.
3. **Sow the Seeds:** Carrot seeds are tiny, so it’s easy to over-sow. Sprinkle the seeds thinly across the surface of the soil. Aim for about 1/2 inch spacing between seeds. Don’t worry if you accidentally sow them too close together; we’ll thin them out later.
4. **Cover Lightly:** Cover the seeds with a very thin layer of soil (about 1/4 inch). You can also use vermiculite or sand for this.
5. **Water Gently:** Water the seeds again, using a gentle spray nozzle or watering can to avoid disturbing them.
6. **Label and Place:** Label your container with the carrot variety and the date you planted them. Place the container in a sunny location. Carrots need at least 6-8 hours of sunlight per day.
Caring for Your Carrot Seedlings
Now comes the waiting game! But don’t worry, there are a few things you can do to ensure your carrot seedlings thrive.
1. **Keep the Soil Moist:** The soil needs to stay consistently moist, but not waterlogged. Check the soil moisture daily and water as needed. A good rule of thumb is to water when the top inch of soil feels dry to the touch.
2. **Thinning:** This is a crucial step! Once your seedlings are about 1-2 inches tall, it’s time to thin them out. This means removing some of the seedlings to give the remaining ones enough space to grow. Gently pull out the weaker seedlings, leaving about 2-3 inches between each plant. Don’t be afraid to be ruthless! Crowded carrots will result in small, misshapen roots.
3. **Fertilizing:** Carrots are relatively light feeders, but they still benefit from occasional fertilization. I like to use a balanced liquid fertilizer diluted to half strength every 2-3 weeks. You can also add some compost tea to the soil.
4. **Weed Control:** Keep an eye out for weeds and remove them promptly. Weeds compete with your carrots for nutrients and water.
5. **Sunlight:** Ensure your carrots are getting enough sunlight. If you live in a particularly hot climate, you might need to provide some afternoon shade to prevent the soil from drying out too quickly.
Dealing with Pests and Diseases
Thankfully, carrots grown in containers are less susceptible to pests and diseases than those grown in the ground. However, there are a few things to watch out for:
* **Carrot Rust Flies:** These pesky flies lay their eggs near the base of the carrot plants, and the larvae burrow into the roots, causing damage. You can deter them by covering your containers with insect netting.
* **Aphids:** These tiny insects can suck the sap from your carrot leaves. You can control them by spraying them with a strong stream of water or using insecticidal soap.
* **Leaf Spot Diseases:** These fungal diseases can cause spots on the carrot leaves. To prevent them, avoid overhead watering and ensure good air circulation.
Harvesting Your Carrots
The moment you’ve been waiting for! Carrots are typically ready to harvest 60-80 days after planting, depending on the variety.
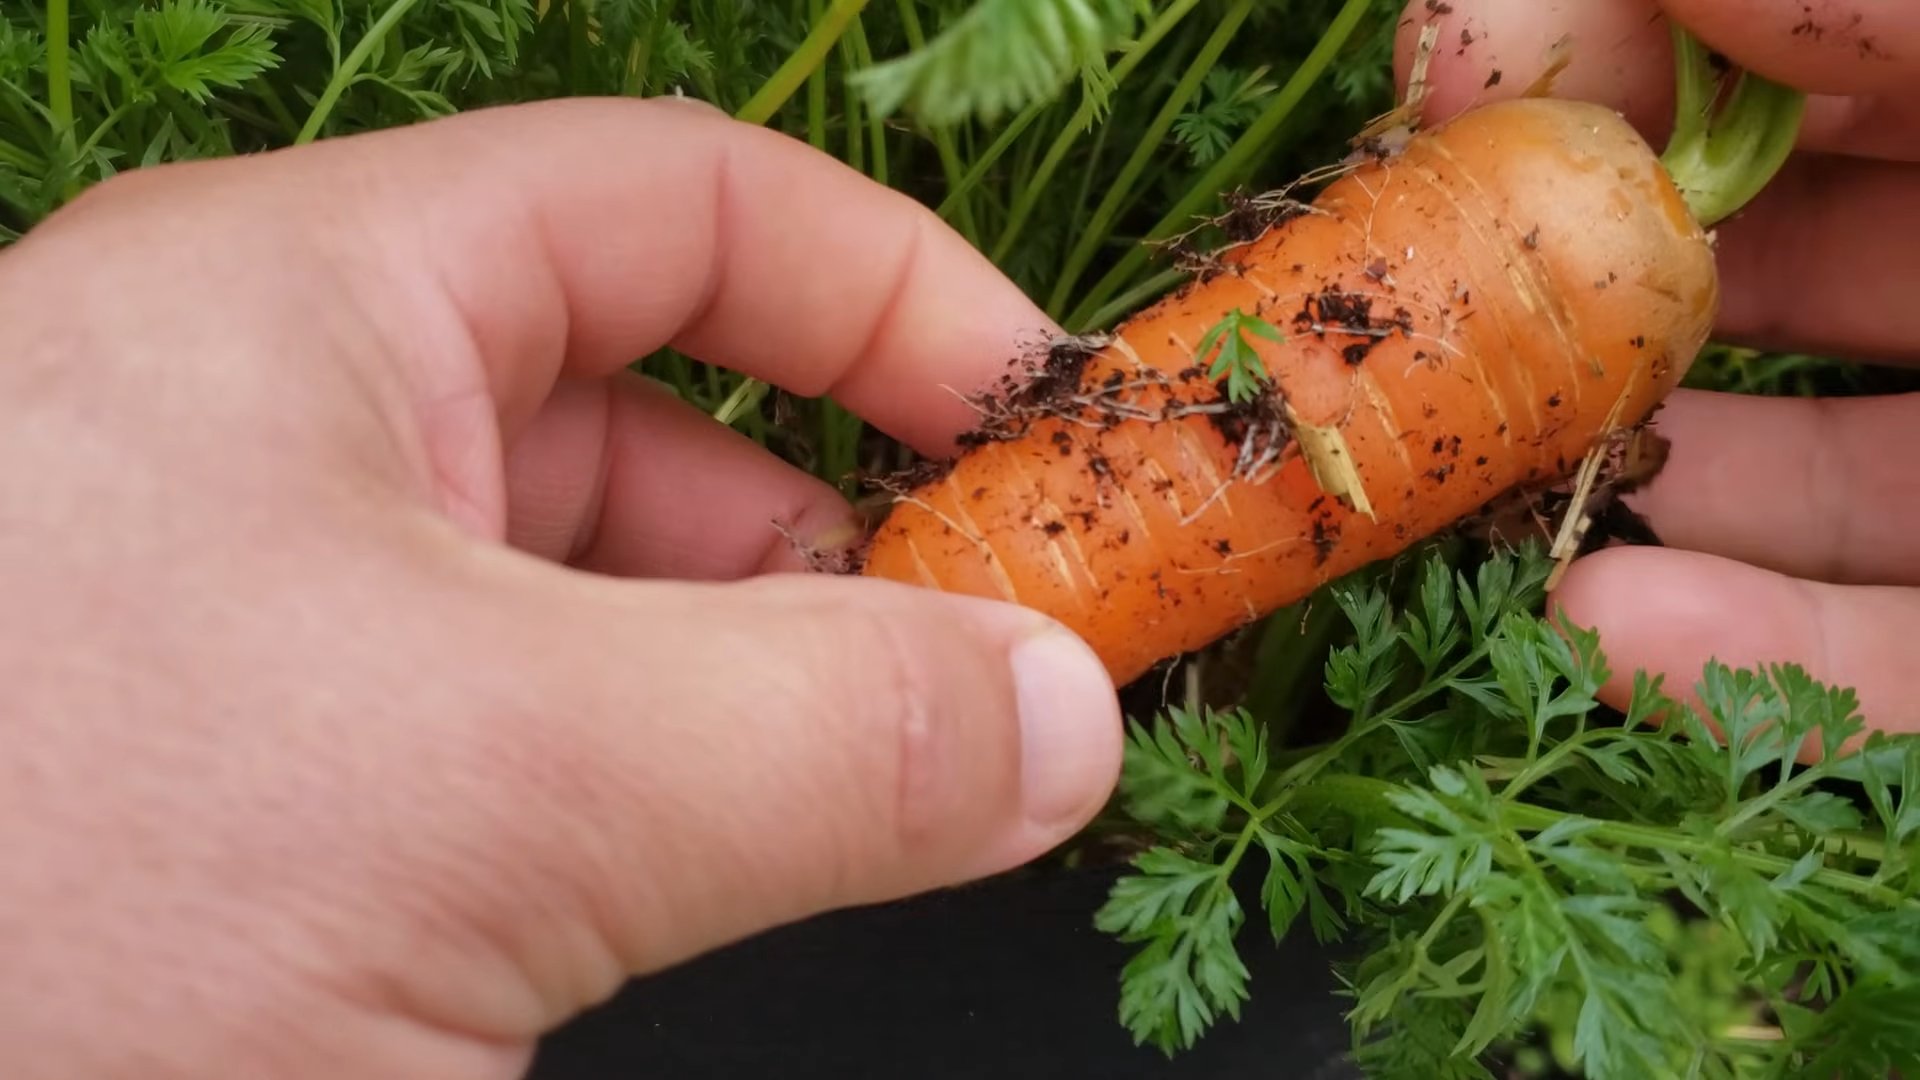
1. **Check for Size:** Gently brush away the soil around the base of the carrots to check their size. You can also gently pull on the tops to see if they’re ready.
2. **Loosen the Soil:** Before pulling the carrots, loosen the soil around them with a trowel or garden fork. This will make it easier to pull them out without breaking them.
3. **Pull Gently:** Grasp the carrot tops firmly and gently pull straight up. If the carrots are stubborn, wiggle them back and forth slightly.
4. **Wash and Enjoy:** Wash your freshly harvested carrots thoroughly and enjoy them raw, roasted, or in your favorite recipes!
Troubleshooting Common Problems
Even with the best care, you might encounter a few challenges along the way. Here are some common problems and how to fix them:
* **Carrots are small and stunted:** This could be due to several factors, including insufficient sunlight, poor soil, overcrowding, or lack of nutrients. Make sure your carrots are getting enough sunlight, thin them out properly, and fertilize them regularly.
* **Carrots are forked or misshapen:** This is usually caused by rocks or compacted soil. Remove any rocks from the soil and ensure it’s loose and well-draining.
* **Carrots are bitter:** This can be caused by inconsistent watering or hot weather. Water your carrots regularly and provide some afternoon shade during hot spells.
* **Carrot tops are wilting:** This could be due to underwatering, pests, or diseases. Check the soil moisture and look for signs of pests or diseases.
Extra Tips for Success
* **Succession Planting:** To enjoy a continuous harvest of carrots, sow new seeds every 2-3 weeks.
* **Companion Planting:** Plant carrots alongside other vegetables like onions, garlic, and rosemary. These plants can help deter pests.
* **Rotate Your Crops:** Avoid planting carrots in the same container year after year. This can help prevent soilborne diseases.
* **Have Fun!** Gardening should be enjoyable. Don’t be afraid to experiment and learn from your mistakes.
Growing carrots in containers is a fun and rewarding experience. With a little bit of care and attention, you can enjoy fresh, delicious carrots straight from your own home. Happy gardening!
Conclusion
So, there you have it! Growing carrots in containers isn’t just a gardening trend; it’s a genuinely rewarding and accessible way to enjoy fresh, homegrown produce, even if you’re short on space. We’ve walked through the essential steps, from selecting the right container and soil to nurturing your carrot seedlings and harvesting your vibrant crop.
But why is this DIY trick a must-try? Because it puts the power of fresh, delicious carrots directly into your hands. Forget the bland, often chemically treated carrots from the supermarket. Imagine the unparalleled flavor of a carrot pulled straight from your container, still warm from the sun, bursting with sweetness and earthy goodness. That’s the promise of container gardening.
Beyond the taste, growing carrots in containers offers unparalleled control. You dictate the soil quality, ensuring it’s loose, well-draining, and free from rocks that can hinder root development. You manage the watering schedule, preventing overwatering or underwatering, both of which can lead to stunted growth or split roots. You can even move your containers to optimize sunlight exposure, maximizing your yield.
And the best part? It’s incredibly versatile! Feel free to experiment with different carrot varieties. Nantes carrots are a classic choice, known for their cylindrical shape and sweet flavor, perfect for slicing and snacking. Round carrots, like Parisian carrots, are ideal for shallow containers and offer a unique, bite-sized treat. Consider rainbow carrots for a vibrant mix of colors and flavors that will add a touch of whimsy to your salads and roasted vegetable dishes.
Don’t be afraid to get creative with your container setup, either. While a standard pot works perfectly well, you can also repurpose old buckets, crates, or even grow bags. Just ensure your chosen container has adequate drainage holes to prevent waterlogging. Companion planting can also enhance your carrot growing experience. Marigolds deter nematodes, while onions and garlic repel carrot root flies. Basil is said to improve the flavor of carrots, making it a win-win companion.
Growing carrots in containers is more than just a gardening project; it’s an investment in your health, your taste buds, and your connection to nature. It’s a chance to learn, experiment, and enjoy the fruits (or rather, vegetables) of your labor.
So, what are you waiting for? Grab a container, some soil, and your favorite carrot seeds, and embark on this exciting gardening adventure. We’re confident that you’ll be amazed by the results.
We’re eager to hear about your experiences! Share your photos, tips, and challenges in the comments below. Let’s build a community of container carrot growers and inspire others to embrace the joy of homegrown produce. Happy gardening!
Frequently Asked Questions (FAQ)
What is the best size container for growing carrots?
The ideal container size depends on the carrot variety you choose. For shorter, round varieties like Parisian carrots, a container that is at least 6-8 inches deep is sufficient. However, for longer varieties like Nantes or Imperator carrots, you’ll need a container that is at least 12 inches deep, and preferably 18 inches or more. The wider the container, the more carrots you can grow. A good rule of thumb is to allow at least 2-3 inches of space between each carrot seed. Remember, adequate depth is crucial for proper root development and prevents stunted or misshapen carrots.
What type of soil is best for growing carrots in containers?
Carrots thrive in loose, well-draining soil that is rich in organic matter. Avoid heavy clay soils, as they can hinder root growth and lead to deformed carrots. A good potting mix specifically formulated for vegetables is an excellent choice. You can also create your own mix by combining equal parts of compost, peat moss (or coconut coir), and perlite or vermiculite. The compost provides essential nutrients, while the peat moss or coconut coir helps retain moisture, and the perlite or vermiculite improves drainage. Before planting, ensure the soil is free of rocks and debris, as these can also interfere with root development.
How often should I water my container carrots?
Watering frequency depends on several factors, including the weather, the size of your container, and the type of soil you’re using. Generally, you should water your carrots whenever the top inch of soil feels dry to the touch. Avoid overwatering, as this can lead to root rot. Water deeply and evenly, ensuring the entire root zone is moistened. During hot, dry weather, you may need to water your carrots daily. Mulching around the base of the plants can help retain moisture and reduce the need for frequent watering. A moisture meter can be a helpful tool for determining when your carrots need water.
How much sunlight do carrots need?
Carrots need at least 6-8 hours of direct sunlight per day to thrive. Choose a location for your container that receives ample sunlight throughout the day. If you live in a particularly hot climate, you may need to provide some afternoon shade to prevent the soil from drying out too quickly. If you’re growing carrots indoors, you’ll need to supplement with grow lights to provide adequate light. Rotate your containers regularly to ensure all sides of the plants receive equal sunlight exposure.
When should I harvest my container carrots?
The harvesting time depends on the carrot variety and your personal preference. Generally, carrots are ready to harvest when they reach the size specified on the seed packet. You can gently loosen the soil around the carrots and pull them out by the greens. If the soil is dry, water it thoroughly before harvesting to make it easier to pull the carrots. You can also harvest carrots at different stages of maturity, depending on your needs. Baby carrots can be harvested earlier, while larger carrots can be left in the ground for longer.
Why are my carrots small or misshapen?
Several factors can contribute to small or misshapen carrots. The most common causes include:
* **Poor soil:** Heavy, rocky, or compacted soil can hinder root development.
* **Insufficient sunlight:** Carrots need at least 6-8 hours of direct sunlight per day.
* **Overcrowding:** Carrots need adequate space to grow. Thin seedlings to ensure they are properly spaced.
* **Inadequate watering:** Carrots need consistent moisture to thrive.
* **Nutrient deficiencies:** Carrots need a balanced supply of nutrients, especially phosphorus and potassium.
* **Pests and diseases:** Carrot root flies and nematodes can damage the roots.
Can I grow carrots in containers indoors?
Yes, you can grow carrots in containers indoors, but you’ll need to provide adequate light. A sunny windowsill may not be sufficient, so you’ll likely need to supplement with grow lights. Choose a full-spectrum grow light and position it close to the plants. Follow the same guidelines for soil, watering, and fertilization as you would for outdoor container carrots. Indoor carrots may take longer to mature than outdoor carrots.
What are some common pests and diseases that affect container carrots?
Some common pests that affect container carrots include carrot root flies, aphids, and nematodes. Carrot root flies lay their eggs near the base of the plants, and the larvae burrow into the roots, causing damage. Aphids suck the sap from the leaves, weakening the plants. Nematodes are microscopic worms that can damage the roots. Diseases that can affect container carrots include leaf blight and root rot. To prevent pests and diseases, use healthy soil, provide good air circulation, and avoid overwatering. You can also use organic pest control methods, such as neem oil or insecticidal soap.
Can I reuse the soil from my container carrots?
You can reuse the soil from your container carrots, but it’s important to amend it with fresh compost and fertilizer to replenish the nutrients. You should also remove any roots or debris from the previous crop. If you suspect that the soil is contaminated with pests or diseases, it’s best to discard it and use fresh soil.
How do I store harvested carrots?
To store harvested carrots, remove the greens and wash the carrots thoroughly. Dry them completely and store them in a plastic bag in the refrigerator. Carrots can last for several weeks in the refrigerator. You can also freeze carrots for longer storage. To freeze carrots, blanch them in boiling water for a few minutes, then cool them in ice water. Drain them well and store them in freezer bags.
Leave a Comment