
Grow Celery in Backyard: Imagine stepping outside your back door and snipping fresh, crisp celery stalks for your salad, soup, or that perfect afternoon snack. Sounds idyllic, right? Well, it’s more achievable than you might think! For generations, resourceful gardeners have found clever ways to cultivate their own food, and celery, with its refreshing crunch, is no exception. While often perceived as a tricky vegetable to grow, I’m here to tell you that with a few simple DIY tricks and hacks, you can successfully grow celery in your backyard, no matter the size of your garden.
Why bother, you ask? Beyond the sheer satisfaction of harvesting your own produce, growing your own celery offers a flavor that store-bought varieties simply can’t match. Plus, you’ll know exactly what went into growing it – no mystery pesticides or long-distance transportation. In this article, I’ll share my favorite DIY methods for cultivating thriving celery plants, from seed starting to pest control, ensuring you have a bountiful harvest. Let’s ditch the grocery store celery and embark on this rewarding gardening adventure together!
Growing Celery From Kitchen Scraps: A Beginner’s Guide
Hey there, fellow gardening enthusiasts! Ever thought about turning your kitchen scraps into a thriving garden? Well, today, I’m going to show you how to grow celery from the base you’d normally toss in the compost. It’s a fun, easy, and surprisingly rewarding project that’ll give you fresh celery right in your backyard (or even on your balcony!).
What You’ll Need
Before we dive in, let’s gather our supplies. This is a pretty low-key project, so you probably have most of this stuff already:
* A celery stalk (the fresher, the better!)
* A shallow dish or bowl
* Water (tap water is fine)
* Potting soil
* A pot with drainage holes (at least 6 inches in diameter)
* A sunny spot (at least 6 hours of sunlight per day)
* Optional: Liquid fertilizer (for a little boost later on)
Phase 1: Rooting Your Celery Base
This is where the magic begins! We’re going to coax those dormant roots back to life.
1. Prepare the Celery Base: After you’ve used the celery stalks for cooking or snacking, don’t throw away the base! Cut off the bottom 2 inches of the celery stalk, making sure the base is intact. You want to keep the little nub where the roots used to be.
2. Place in Water: Put the celery base in your shallow dish or bowl. Add enough water to cover the bottom inch or so of the base. You don’t want to submerge the entire thing, just the bottom where the roots will emerge.
3. Find a Sunny Spot: Place the dish with the celery base on a windowsill or another location that receives plenty of sunlight. Sunlight is crucial for stimulating growth.
4. Change the Water Regularly: This is important! Change the water every day or two to prevent bacteria growth and keep the water fresh. This will encourage healthy root development.
5. Observe and Wait: Now comes the patience part. Over the next few days (usually 5-7 days), you should start to see small roots emerging from the bottom of the celery base. You might also notice new green shoots sprouting from the top. This is a great sign!
Phase 2: Planting Your Celery
Once you have a decent amount of roots, it’s time to move your celery to its new home in the soil.
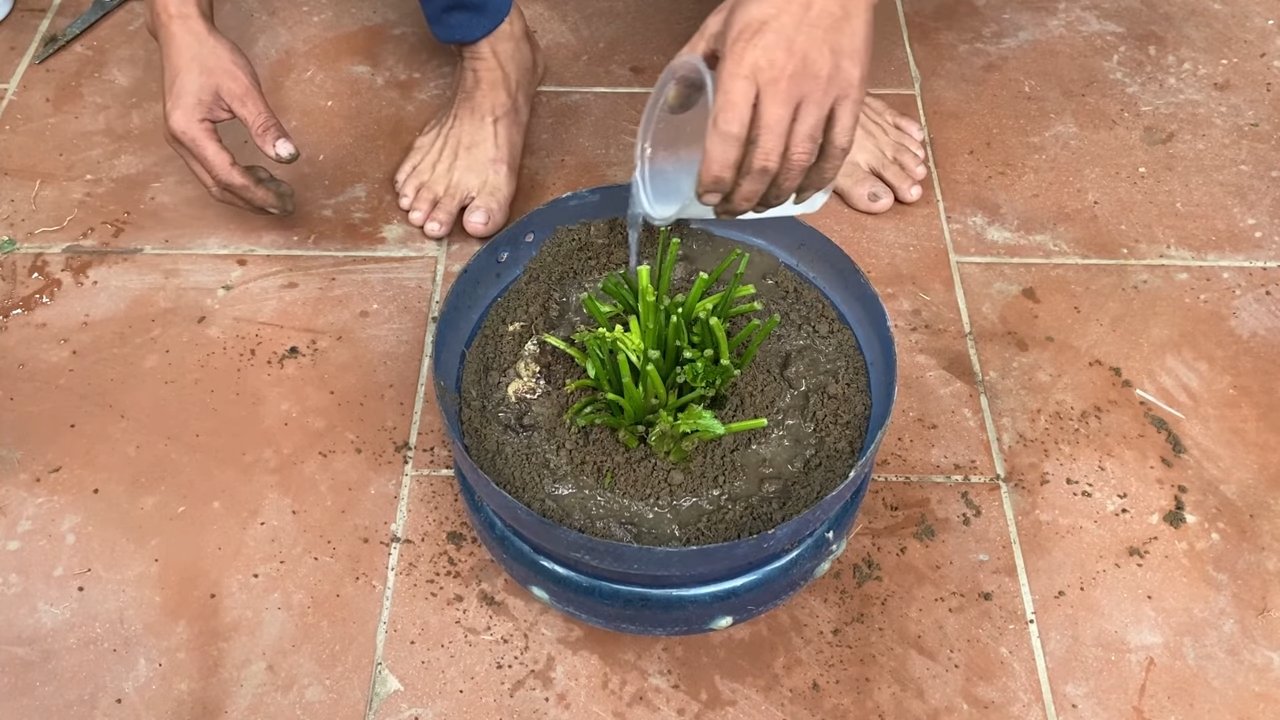
1. Prepare the Pot: Fill your pot with potting soil, leaving about an inch of space at the top. Make sure the soil is loose and well-draining. Celery likes moist soil, but it doesn’t like to sit in soggy conditions.
2. Create a Hole: Use your finger or a small trowel to create a hole in the center of the pot, large enough to accommodate the celery base and its roots.
3. Carefully Transplant: Gently remove the celery base from the water and carefully place it in the hole. Make sure the roots are spread out and not crammed together.
4. Cover with Soil: Fill the hole with soil, gently pressing down around the base of the celery. You want to bury the base up to where the green shoots start.
5. Water Thoroughly: Water the newly planted celery thoroughly until the water drains out of the bottom of the pot. This will help settle the soil and ensure the roots are well-hydrated.
Phase 3: Caring for Your Celery Plant
Now that your celery is planted, it’s time to give it the TLC it needs to thrive.
1. Sunlight: Celery loves sunlight, so make sure your plant is getting at least 6 hours of direct sunlight per day. If you’re growing it indoors, a sunny windowsill is ideal. If you’re growing it outdoors, choose a spot that gets plenty of sun.
2. Watering: Celery needs consistent moisture to grow well. Water your plant regularly, keeping the soil consistently moist but not waterlogged. Check the soil moisture by sticking your finger into the soil. If the top inch feels dry, it’s time to water.
3. Fertilizing (Optional): To give your celery a little boost, you can fertilize it every few weeks with a liquid fertilizer diluted to half strength. This will provide essential nutrients and encourage healthy growth.
4. Pest Control: Keep an eye out for pests like aphids or slugs. If you spot any, you can try spraying them off with a strong stream of water or using an organic pest control solution.
5. Blanching (Optional): If you prefer milder-tasting celery, you can blanch it a few weeks before harvesting. Blanching involves excluding light from the stalks, which reduces their bitterness. You can do this by wrapping the stalks with newspaper or cardboard, leaving the top exposed.
Phase 4: Harvesting Your Celery
After a few months of care, your celery should be ready to harvest!
1. When to Harvest: You can start harvesting celery when the stalks are at least 6 inches long and thick enough to eat. The exact time will depend on the variety of celery and your growing conditions.
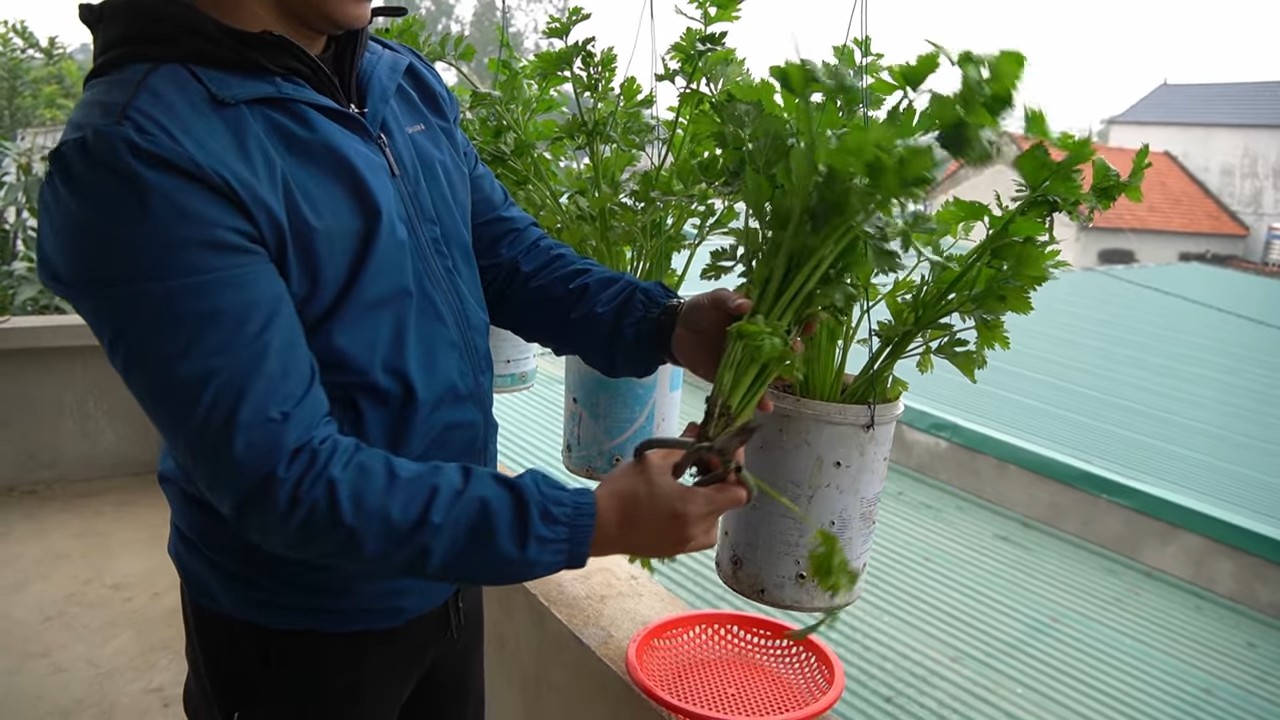
2. How to Harvest: To harvest, simply cut the outer stalks off at the base of the plant with a sharp knife. You can harvest individual stalks as needed, or you can harvest the entire plant at once.
3. Enjoy Your Harvest: Wash your freshly harvested celery and enjoy it in salads, soups, smoothies, or as a healthy snack!
Troubleshooting
Sometimes, things don’t go exactly as planned. Here are a few common issues you might encounter and how to fix them:
* Celery isn’t growing: Make sure your celery is getting enough sunlight and water. Also, check the soil to make sure it’s not compacted. If the soil is compacted, gently loosen it with a fork.
* Celery is turning yellow: This could be a sign of overwatering or underwatering. Check the soil moisture and adjust your watering accordingly. Yellowing can also be a sign of nutrient deficiency, so try fertilizing your plant.
* Celery is attracting pests: Regularly inspect your plant for pests and take action as soon as you spot them. You can try spraying them off with water or using an organic pest control solution.
Tips for Success
Here are a few extra tips to help you grow the best celery possible:
* Start with a healthy celery stalk: The fresher the celery stalk, the better the chances of success. Choose a stalk that is firm and crisp, with no signs of wilting or browning.
* Use well-draining soil: Celery needs moist soil, but it doesn’t like to sit in soggy conditions. Use a well-draining potting mix to prevent root rot.
* Provide consistent moisture: Celery needs consistent moisture to grow well. Water your plant regularly, keeping the soil consistently moist but not waterlogged.
* Protect from frost: Celery is sensitive to frost, so protect your plant if temperatures are expected to drop below freezing. You can cover it with a blanket or move it indoors.
* Be patient: Growing celery from a base takes time and patience. Don’t get discouraged if you don’t see results immediately. Just keep providing the right conditions, and your celery will eventually thrive.
Why Grow Celery From Scraps?
You might be wondering, “Why bother growing celery from scraps when I can just buy it at the store?” Well, there are several good reasons:
* It’s sustainable: Growing celery from scraps reduces food waste and helps you live a more sustainable lifestyle.
* It’s economical: You’re essentially getting free celery!
* It’s rewarding: There’s something incredibly satisfying about growing your own food, even if it’s just a small amount of celery.
* It’s a fun project: Growing celery from scraps is a fun and educational project for kids and adults alike.
So, there you have it! Everything you need to know to grow celery from kitchen scraps. Give it a try, and I think you’ll be surprised at how easy and rewarding it is. Happy gardening!
Conclusion
So, there you have it! Growing celery in your backyard isn’t just a whimsical gardening project; it’s a gateway to fresher, crisper, and more flavorful celery than you’ll ever find at the grocery store. We’ve walked you through the process, from selecting the right variety to nurturing your plants to a bountiful harvest. But why should you take the plunge and dedicate a little space in your garden to this often-overlooked vegetable?
The answer lies in the unparalleled taste and quality. Imagine snapping a stalk of celery straight from your garden, the vibrant green color practically radiating health, and the taste bursting with a refreshing, slightly peppery sweetness that store-bought celery simply can’t match. Plus, you control the growing environment, ensuring your celery is free from harmful pesticides and chemicals.
Beyond the superior flavor, growing your own celery offers a unique sense of accomplishment. There’s something deeply satisfying about nurturing a plant from seed (or even a repurposed celery base!) to a thriving, edible crop. It’s a connection to nature that’s both grounding and rewarding.
Don’t be afraid to experiment with different varieties of celery to find your favorite. ‘Utah Tall’ is a classic choice, known for its crisp stalks and robust flavor. ‘Golden Self-Blanching’ offers a milder taste and a beautiful golden hue. For a spicier kick, try ‘Redventure,’ a red celery variety with a distinctive flavor profile.
Consider companion planting to further enhance your celery’s growth and deter pests. Onions, garlic, and marigolds are excellent companions for celery, helping to keep away unwanted insects and improve soil health. You can also try interplanting with herbs like chamomile or dill, which are believed to attract beneficial insects.
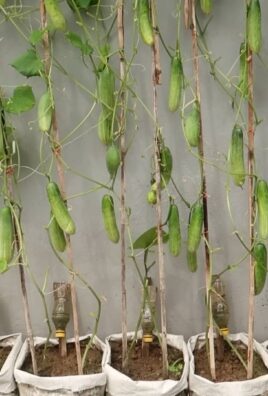
And if you’re feeling adventurous, why not try growing celery in containers? This is a great option for those with limited garden space or for those who want to keep their celery closer at hand. Just be sure to choose a large container with good drainage and provide your plants with plenty of sunlight and water.
We understand that gardening can sometimes feel daunting, but growing celery is a surprisingly accessible project, even for beginners. The key is to provide your plants with consistent moisture, rich soil, and plenty of sunlight. Don’t be discouraged if you encounter a few challenges along the way – every gardener learns through experience.
Growing celery in your backyard is more than just a gardening project; it’s an investment in your health, your taste buds, and your connection to the natural world. So, grab your gardening gloves, prepare your soil, and get ready to experience the joy of harvesting your own homegrown celery.
We’re eager to hear about your experiences! Share your tips, tricks, and photos of your homegrown celery on social media using #HomegrownCelery. Let’s create a community of celery enthusiasts and inspire others to discover the joys of growing their own food. Happy gardening!
Frequently Asked Questions (FAQ)
What is the best time of year to plant celery?
Celery is a cool-season crop, so the best time to plant it depends on your climate. In regions with mild winters, you can start seeds indoors in late winter or early spring and transplant them outdoors after the last frost. In areas with hot summers, it’s best to start seeds indoors in late summer or early fall and transplant them outdoors in early spring. The goal is to give the celery plants enough time to mature before the weather gets too hot or too cold. Celery thrives in temperatures between 60°F and 70°F (15°C and 21°C).
How much sunlight does celery need?
Celery needs at least six hours of sunlight per day to thrive. Choose a location in your garden that receives full sun for most of the day. If you live in a particularly hot climate, providing some afternoon shade can help prevent the plants from bolting (going to seed prematurely).
What kind of soil is best for growing celery?
Celery prefers rich, well-drained soil with a high organic matter content. Before planting, amend your soil with compost or well-rotted manure to improve its fertility and drainage. Celery also prefers a slightly acidic soil pH, ideally between 6.0 and 6.8. You can test your soil pH using a home testing kit and adjust it accordingly.
How often should I water my celery plants?
Celery needs consistent moisture to thrive. Water your plants deeply and regularly, especially during hot, dry weather. Aim to keep the soil consistently moist but not waterlogged. Mulching around the plants can help retain moisture and suppress weeds. A good rule of thumb is to water when the top inch of soil feels dry to the touch.
What are some common pests and diseases that affect celery?
Celery can be susceptible to several pests and diseases, including aphids, celery leaf miners, and celery blight. Regularly inspect your plants for signs of infestation or disease. Aphids can be controlled with insecticidal soap or neem oil. Celery leaf miners can be managed by removing and destroying infested leaves. Celery blight can be prevented by providing good air circulation and avoiding overhead watering. Consider using organic fungicides if blight becomes a persistent problem.
How do I harvest celery?
You can harvest celery when the stalks are at least 6-8 inches long and have reached the desired thickness. To harvest, simply cut the stalks at the base of the plant with a sharp knife. You can harvest individual stalks as needed or harvest the entire plant at once. After harvesting, store celery in the refrigerator for up to two weeks.
Can I grow celery from the base of store-bought celery?
Yes, you can! This is a fun and easy way to propagate celery. Simply cut off the base of a bunch of store-bought celery, leaving about 2 inches of the stalks attached. Place the base in a shallow dish of water, making sure the cut end is submerged. Place the dish in a sunny location and change the water every day. After a few days, you should see new roots and leaves emerging. Once the roots are well-developed, you can transplant the celery base into a pot or directly into your garden.
Why is my celery bitter?
Celery can become bitter if it’s stressed by heat, drought, or nutrient deficiencies. Ensure your plants receive consistent moisture, adequate sunlight, and fertile soil. Providing some afternoon shade during hot weather can also help prevent bitterness.
How can I blanch celery to make it milder?
Blanching celery involves excluding light from the stalks to reduce chlorophyll production, resulting in a milder flavor and a paler color. You can blanch celery by mounding soil around the stalks or by wrapping them with paper or cardboard. Start blanching about two weeks before harvest.
Is homegrown celery more nutritious than store-bought celery?
Generally, yes. Homegrown celery, especially if grown organically, tends to be more nutritious than store-bought celery. This is because it’s harvested at peak ripeness and hasn’t been subjected to long-distance transportation or storage, which can deplete nutrients. Plus, you have control over the growing conditions, ensuring your celery is free from harmful pesticides and chemicals.
Leave a Comment