
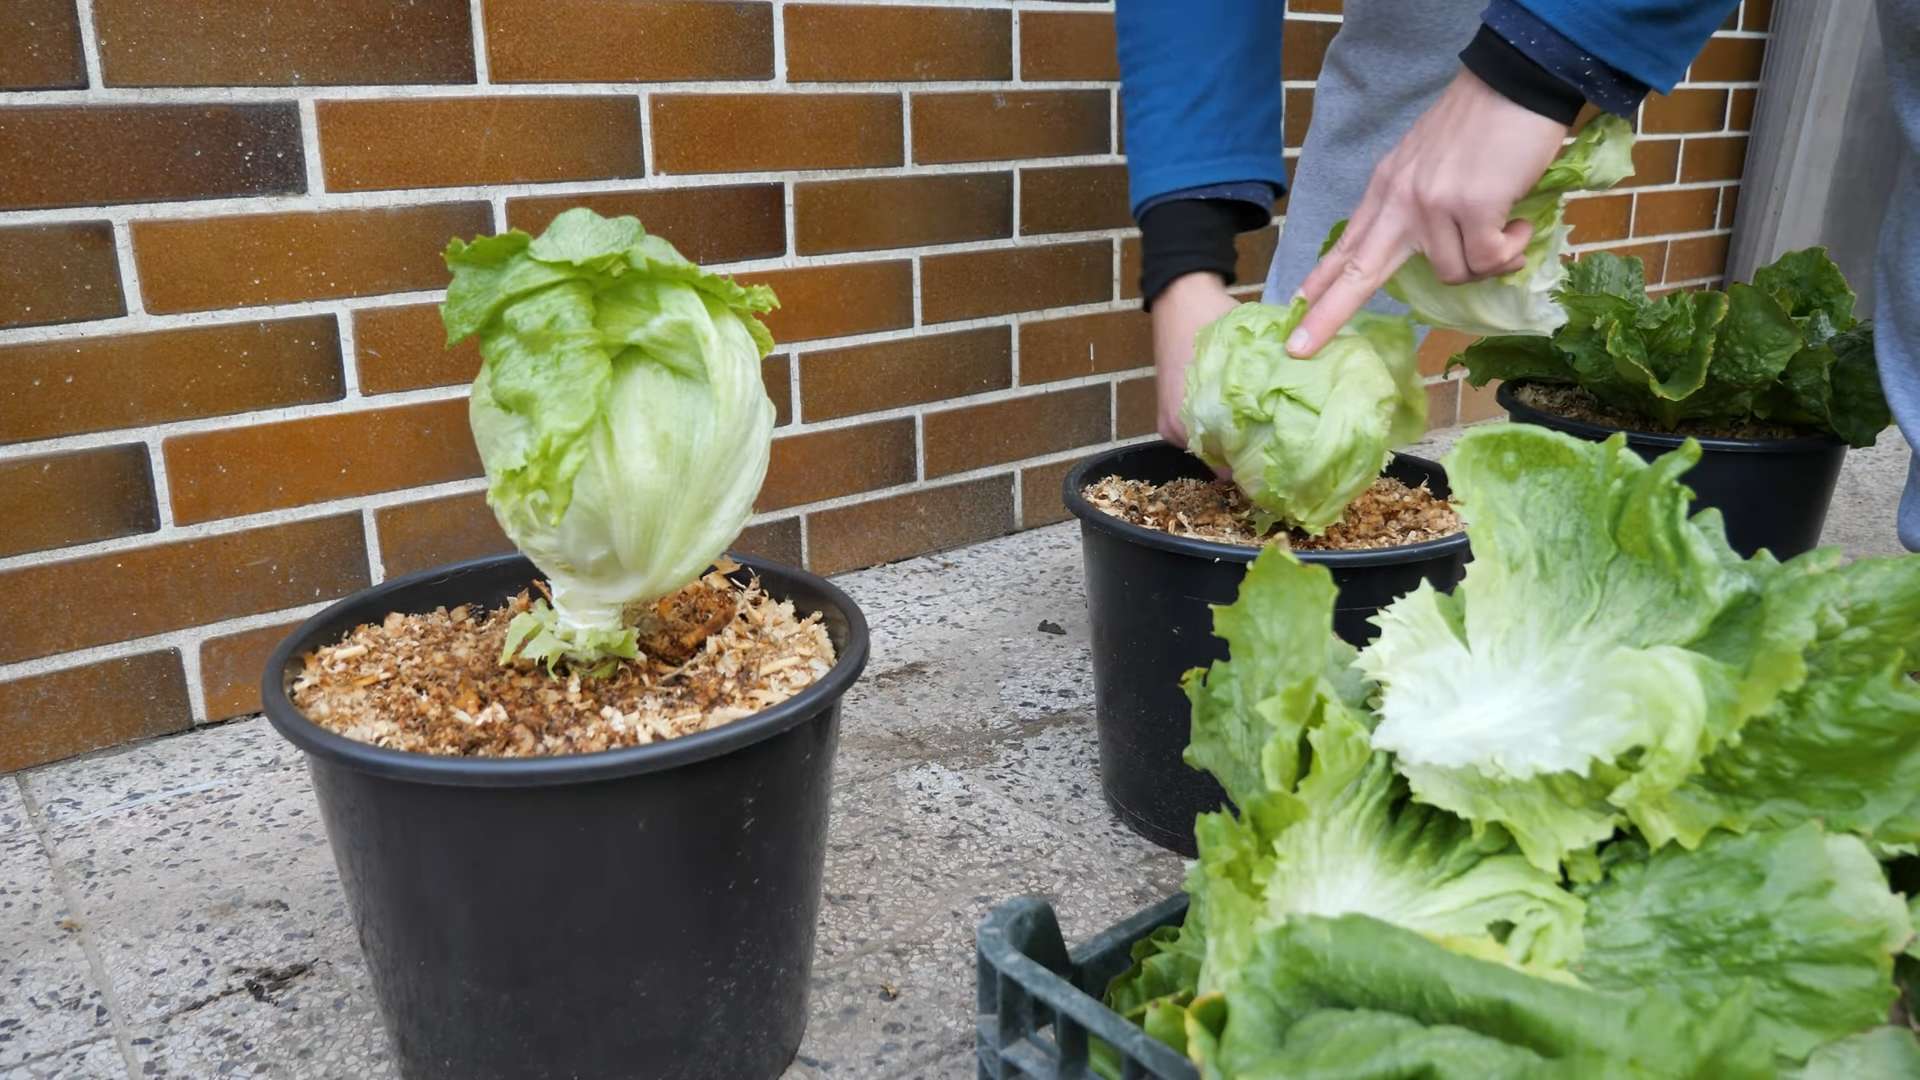
Growing Iceberg Lettuce Hack: Ever dream of biting into a crisp, refreshing head of iceberg lettuce, fresh from your own backyard? I know I have! But let’s be honest, growing iceberg lettuce can be a bit… temperamental. It’s notorious for bolting (going to seed) at the slightest hint of heat, leaving you with bitter, inedible leaves. That’s where this DIY article comes in – your secret weapon for achieving iceberg lettuce success!
Lettuce, in general, has a rich history, dating back to ancient Egypt where it was initially cultivated for its seeds and oil. Over time, the leafy varieties we know and love emerged, eventually leading to the development of the tightly packed heads of iceberg lettuce in the early 20th century. While not as nutrient-dense as some of its leafy green cousins, iceberg lettuce still holds a special place in our hearts (and salads!) for its satisfying crunch and mild flavor.
But why do you need this growing iceberg lettuce hack? Because store-bought lettuce, while convenient, often lacks the freshness and flavor of homegrown produce. Plus, knowing exactly where your food comes from and how it’s grown is incredibly empowering. This DIY trick will help you overcome the common challenges of growing iceberg lettuce, ensuring a bountiful harvest of crisp, delicious heads, even in warmer climates. Get ready to ditch the grocery store lettuce and embrace the joy of homegrown goodness!
Growing Your Own Spuds: A Beginner’s Guide to Homegrown Potatoes
Okay, potato lovers, gather ’round! I’m going to walk you through the surprisingly simple process of growing your own potatoes right at home. Forget those bland supermarket spuds – homegrown potatoes are bursting with flavor and freshness. Plus, there’s something incredibly satisfying about digging up your own dinner. Let’s get started!
Choosing Your Potato Variety
Before we even think about dirt, we need to pick our potato stars. Different varieties offer different flavors, textures, and growing times. Here’s a quick rundown of some popular choices:
* Russet: The classic baking potato. High in starch, fluffy when baked, and great for fries.
* Yukon Gold: Buttery, slightly sweet, and excellent for roasting, mashing, or boiling.
* Red Potatoes: Waxy texture, holds its shape well when cooked, perfect for potato salad or boiling.
* Fingerling Potatoes: Small, elongated shape, nutty flavor, and delicious roasted or steamed.
* Purple Potatoes: Vibrant color, slightly earthy flavor, and fun for adding a pop of color to your dishes.
Consider your climate and what you plan to do with your potatoes when choosing a variety. Some varieties are better suited for certain climates than others. Also, think about how you like to eat your potatoes!
Getting Your Seed Potatoes Ready
Now, you can’t just plant any old potato from the grocery store. You need “seed potatoes,” which are potatoes specifically grown for planting. You can buy these from garden centers or online retailers.
* What are Seed Potatoes?: Seed potatoes are essentially potatoes that have been grown to be planted and grown into new potato plants. They are not seeds in the traditional sense, but rather small potatoes or pieces of potatoes that have “eyes” or buds on them. These eyes will sprout and grow into new potato plants.
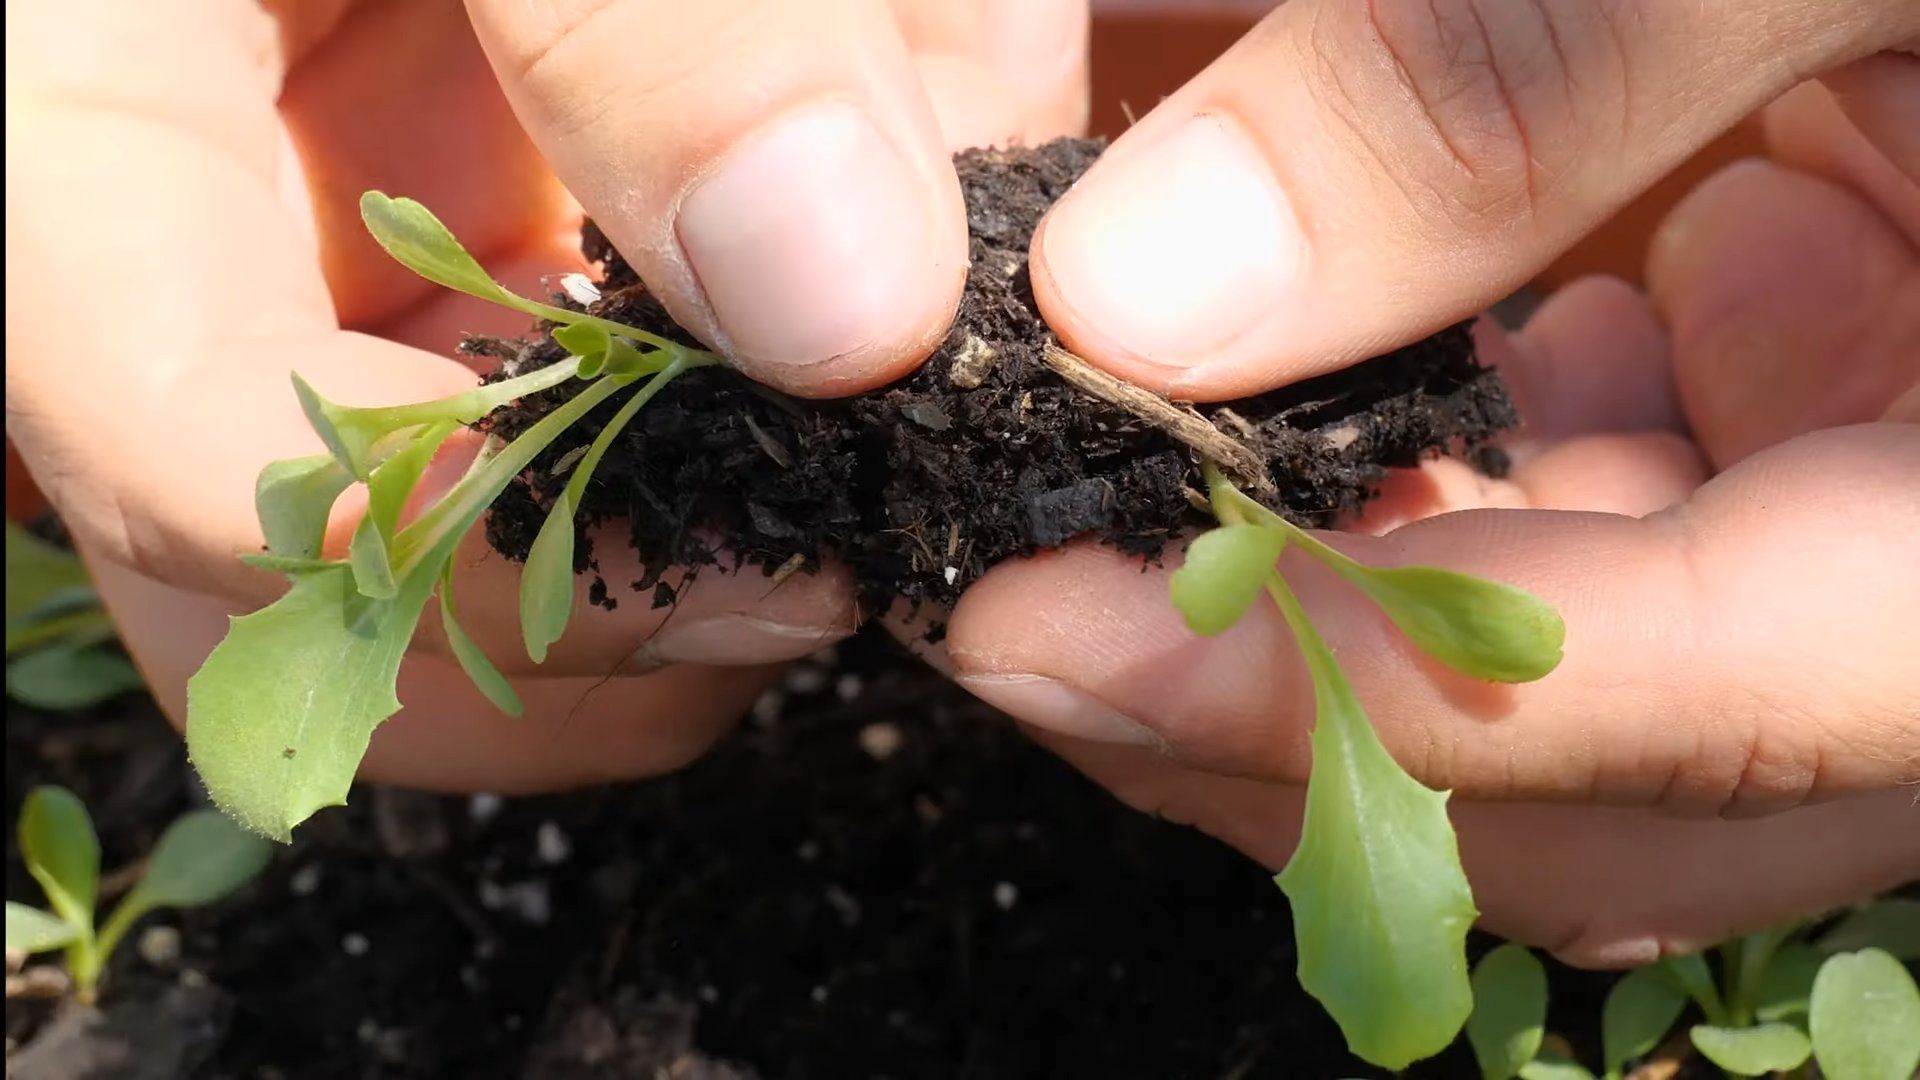
* Chitting (Sprouting) Your Potatoes: This is an optional but highly recommended step. Chitting, or sprouting, your potatoes before planting gives them a head start and can result in an earlier harvest.
1. A few weeks before planting (about 4-6 weeks), place your seed potatoes in a cool, bright location. An egg carton or a tray works well.
2. Make sure the “eyes” (those little bumps on the potato) are facing upwards.
3. Wait for the eyes to sprout. You’re looking for short, green sprouts to emerge.
4. If your potatoes are large, you can cut them into pieces, ensuring each piece has at least 2-3 eyes. Let the cut pieces dry for a day or two to callous over before planting. This helps prevent rot.
Preparing Your Planting Location
Potatoes need plenty of sunlight and well-drained soil. Choose a spot in your garden that gets at least 6-8 hours of sunlight per day.
* Soil Preparation: Potatoes prefer slightly acidic soil with a pH between 6.0 and 6.5.
1. Loosen the soil to a depth of at least 12 inches. Remove any rocks, weeds, or debris.
2. Amend the soil with compost or well-rotted manure. This will improve drainage and provide essential nutrients. Potatoes are heavy feeders!
3. Consider adding a slow-release fertilizer specifically formulated for potatoes. Follow the instructions on the package.
Planting Your Potatoes
Now for the fun part!
1. Dig trenches that are about 6-8 inches deep and 2-3 feet apart. The spacing depends on the variety of potato you’re planting. Check the seed potato package for specific recommendations.
2. Place your seed potatoes (or potato pieces) in the trenches, with the sprouts facing upwards. Space them about 12 inches apart.
3. Cover the potatoes with soil. Gently pat the soil down.
4. Water thoroughly.
Hilling Your Potatoes
This is a crucial step for maximizing your potato harvest. As the potato plants grow, you’ll need to “hill” them, which means mounding soil around the base of the plants.
* Why Hill Potatoes?: Hilling encourages the plants to produce more potatoes along the buried stems. Potatoes form along the stem, so the more stem that is buried, the more potatoes you’ll get. It also protects the developing potatoes from sunlight, which can cause them to turn green and produce solanine, a toxic compound.
1. When the potato plants are about 6-8 inches tall, use a hoe or shovel to pull soil from between the rows and mound it around the base of the plants. Leave about 2-3 inches of the plant exposed.
2. Repeat this process every few weeks as the plants continue to grow. Aim to create a mound that is about 12 inches high.
Watering and Fertilizing
Potatoes need consistent moisture, especially during tuber formation.
1. Water deeply whenever the top inch of soil feels dry. Avoid overwatering, as this can lead to rot.
2. Fertilize every few weeks with a balanced fertilizer. Follow the instructions on the package.
Pest and Disease Control
Keep an eye out for common potato pests and diseases.
* Common Pests:
* Colorado Potato Beetles: These beetles can defoliate your potato plants. Handpick them off the plants or use an organic insecticide like neem oil.
* Aphids: These tiny insects suck the sap from plants. Spray them with insecticidal soap.
* Potato Leafhoppers: These insects can cause stunted growth and yellowing leaves. Use row covers to protect your plants.
* Common Diseases:
* Early Blight: This fungal disease causes brown spots on the leaves. Remove infected leaves and spray with a fungicide.
* Late Blight: This is a more serious fungal disease that can quickly destroy your potato crop. Choose disease-resistant varieties and spray with a fungicide if necessary.
* Scab: This bacterial disease causes rough, scabby patches on the potatoes. Avoid planting potatoes in soil that is too alkaline.
Harvesting Your Potatoes
The moment we’ve all been waiting for!
1. Harvest time depends on the variety of potato you’re growing. Generally, early varieties are ready to harvest in about 70-80 days, while late varieties take 100-120 days.
2. You can harvest “new potatoes” (small, immature potatoes) a few weeks after the plants flower. Gently dig around the base of the plants and remove a few potatoes.
3. For a full harvest, wait until the potato plants have flowered and the foliage starts to die back. This indicates that the potatoes have reached their full size.
4. Use a garden fork to carefully dig up the potatoes. Be careful not to damage them.
5. Gently brush off the soil and let the potatoes cure in a cool, dry place for a week or two. This will help them develop a thicker skin and improve their storage life.
Storing Your Potatoes
Proper storage is essential for keeping your potatoes fresh and delicious.
1. Store potatoes in a cool, dark, and well-ventilated place. A root cellar is ideal, but a basement or garage can also work.
2. Avoid storing potatoes near apples or onions, as these fruits and vegetables release ethylene gas, which can cause potatoes to sprout.
3. Check your potatoes regularly for signs of spoilage. Discard any potatoes that are soft, rotten, or have green spots.
Troubleshooting
Even with the best planning, things can sometimes go wrong. Here are a few common problems and how to fix them:
* No Sprouts: If your seed potatoes aren’t sprouting, make sure they’re getting enough light and warmth. You can also try gently scratching the skin around the eyes to encourage sprouting.
* Yellowing Leaves: Yellowing leaves can be a sign of nutrient deficiency, overwatering, or pest infestation. Check the soil moisture and fertilize if necessary. Inspect the plants for pests.
* Small Potatoes: Small potatoes can be caused by poor soil, insufficient watering, or overcrowding. Amend the soil with compost, water regularly, and space your plants properly.
* Green Potatoes: Green potatoes have been exposed to sunlight and contain solanine, a toxic compound. Discard any green potatoes.
Enjoying Your Homegrown Potatoes
Congratulations! You’ve successfully grown your own potatoes. Now it’s time to enjoy the fruits (or rather, tubers) of your labor.
* Roast them with herbs and garlic.
* Mash them with butter and cream.
* Boil them and toss them in a potato salad.
* Fry them into crispy, golden fries.
Conclusion
So, there you have it! This simple yet effective DIY trick for growing iceberg lettuce is a game-changer for any home gardener, regardless of experience level. No more limp, expensive heads of lettuce from the grocery store. Imagine crisp, refreshing iceberg lettuce, bursting with flavor, harvested straight from your own backyard. This method not only saves you money but also guarantees the freshest possible ingredients for your salads, sandwiches, and wraps.
Why is this a must-try? Because it addresses the common challenges of growing iceberg lettuce – bolting, bitterness, and pest control – head-on. By providing consistent moisture, shade during the hottest parts of the day, and improved air circulation, you create an environment where your lettuce can thrive. The reduced risk of bolting means you’ll enjoy a longer harvest period, and the improved growing conditions result in sweeter, more tender leaves. Plus, the satisfaction of nurturing your own food from seed to table is simply unparalleled.
But don’t stop there! Experiment with different variations to personalize your growing experience. Try using different types of shade cloth to adjust the amount of sunlight your lettuce receives. Consider companion planting with herbs like mint or basil to deter pests naturally. You could even explore different soil amendments to further enhance the nutrient content of your lettuce. For example, adding compost tea every few weeks can provide a boost of beneficial microbes and nutrients.
This DIY iceberg lettuce growing hack is more than just a gardening tip; it’s an invitation to connect with nature, cultivate your own food, and enjoy the simple pleasures of homegrown produce. It’s about taking control of what you eat and knowing exactly where your food comes from. It’s about reducing your carbon footprint and contributing to a more sustainable lifestyle.
We are confident that once you try this method, you’ll be amazed by the results. The difference between store-bought and homegrown iceberg lettuce is truly remarkable. The taste, the texture, the freshness – it’s all elevated to a new level.
So, grab your seeds, gather your materials, and get ready to embark on a rewarding gardening adventure. We encourage you to try this DIY trick for growing iceberg lettuce and share your experiences with us! Let us know what works best for you, what challenges you encounter, and what delicious dishes you create with your homegrown harvest. Share your photos and stories on social media using #HomegrownIcebergLettuce and inspire others to join the movement. Happy gardening!
Frequently Asked Questions (FAQ)
What kind of soil is best for growing iceberg lettuce using this DIY trick?
Iceberg lettuce thrives in well-draining, fertile soil that is rich in organic matter. A slightly acidic to neutral pH (around 6.0 to 7.0) is ideal. Before planting, amend your soil with compost or well-rotted manure to improve its structure, drainage, and nutrient content. Avoid heavy clay soils, as they can retain too much moisture and lead to root rot. If you have clay soil, consider growing your lettuce in raised beds or containers with a potting mix specifically designed for vegetables. You can also add perlite or vermiculite to improve drainage.
How often should I water my iceberg lettuce when using this method?
Consistent moisture is crucial for growing healthy iceberg lettuce. Water deeply and regularly, especially during hot and dry periods. Aim to keep the soil consistently moist but not waterlogged. Check the soil moisture level regularly by sticking your finger about an inch into the soil. If it feels dry, it’s time to water. Water in the morning to allow the foliage to dry before nightfall, which can help prevent fungal diseases. Using a soaker hose or drip irrigation can help deliver water directly to the roots and minimize water loss through evaporation. Mulching around the plants can also help retain moisture in the soil.
How much sunlight does iceberg lettuce need when using this DIY shade trick?
While iceberg lettuce needs sunlight to grow, it is also susceptible to bolting (going to seed) in hot weather. This DIY trick helps provide the necessary shade to prevent bolting. Aim for at least 6 hours of sunlight per day, but provide shade during the hottest part of the afternoon, especially in warmer climates. The shade cloth will help filter the sunlight and reduce the temperature around the plants. If you live in a very hot climate, you may need to provide shade for a longer period of the day. Observe your plants closely and adjust the amount of shade as needed.
What are some common pests and diseases that affect iceberg lettuce, and how can I prevent them?
Common pests that affect iceberg lettuce include aphids, slugs, snails, and cutworms. Diseases include downy mildew, powdery mildew, and bottom rot. To prevent these problems, practice good garden hygiene. Remove any dead or decaying leaves from around the plants. Water in the morning to allow the foliage to dry before nightfall. Provide good air circulation by spacing the plants properly. Use organic pest control methods, such as introducing beneficial insects like ladybugs or using insecticidal soap. For diseases, use a copper fungicide or neem oil as a preventative measure. Regularly inspect your plants for any signs of pests or diseases and take action promptly.
Can I grow iceberg lettuce in containers using this DIY trick?
Yes, you can absolutely grow iceberg lettuce in containers using this DIY trick. Choose a container that is at least 12 inches deep and wide to provide enough room for the roots to grow. Use a high-quality potting mix that is well-draining and rich in organic matter. Place the container in a location that receives at least 6 hours of sunlight per day, but provide shade during the hottest part of the afternoon. Water regularly and fertilize every few weeks with a balanced liquid fertilizer. The DIY shade structure can be easily adapted to fit over a container.
How do I know when my iceberg lettuce is ready to harvest?
Iceberg lettuce is ready to harvest when the head is firm and feels solid to the touch. The size of the head will vary depending on the variety, but generally, it should be about 6-8 inches in diameter. To harvest, use a sharp knife to cut the head at the base of the plant. Remove any outer leaves that are damaged or discolored. Store the harvested lettuce in the refrigerator in a plastic bag or container.
What are some variations I can try with this DIY iceberg lettuce growing hack?
There are many variations you can try to personalize your growing experience. You can experiment with different types of shade cloth to adjust the amount of sunlight your lettuce receives. Consider companion planting with herbs like mint or basil to deter pests naturally. You could even explore different soil amendments to further enhance the nutrient content of your lettuce. Try succession planting, where you plant new seeds every few weeks, to ensure a continuous harvest throughout the growing season. You can also try growing different varieties of lettuce, such as romaine or butter lettuce, using this same DIY trick.
What if my iceberg lettuce still bolts even with the shade?
Even with shade, extreme heat can still cause bolting. Ensure adequate watering, especially during heat waves. Consider using a thicker shade cloth or moving the lettuce to a cooler location if possible. Some varieties are more heat-tolerant than others, so research and choose varieties suited to your climate. You can also try watering the lettuce with cold water in the morning to help cool it down. If bolting does occur, you can still harvest the leaves for salads, although they may be slightly more bitter.
How can I improve air circulation around my iceberg lettuce plants?
Good air circulation is essential for preventing fungal diseases. Ensure that your plants are spaced properly to allow for adequate airflow. Avoid overcrowding. Prune any lower leaves that are touching the soil. Consider using a fan to circulate air around the plants, especially in humid conditions. You can also try growing your lettuce in a raised bed or container to improve drainage and air circulation.
Is this DIY trick only for iceberg lettuce, or can it be used for other leafy greens?
While this trick is specifically tailored for iceberg lettuce, the principles of providing shade and consistent moisture can benefit other leafy greens as well. Spinach, kale, and arugula can also benefit from shade during the hottest part of the day. Experiment with different leafy greens and adjust the amount of shade and watering as needed. Remember to research the specific needs of each type of leafy green to ensure optimal growth.


Leave a Comment