
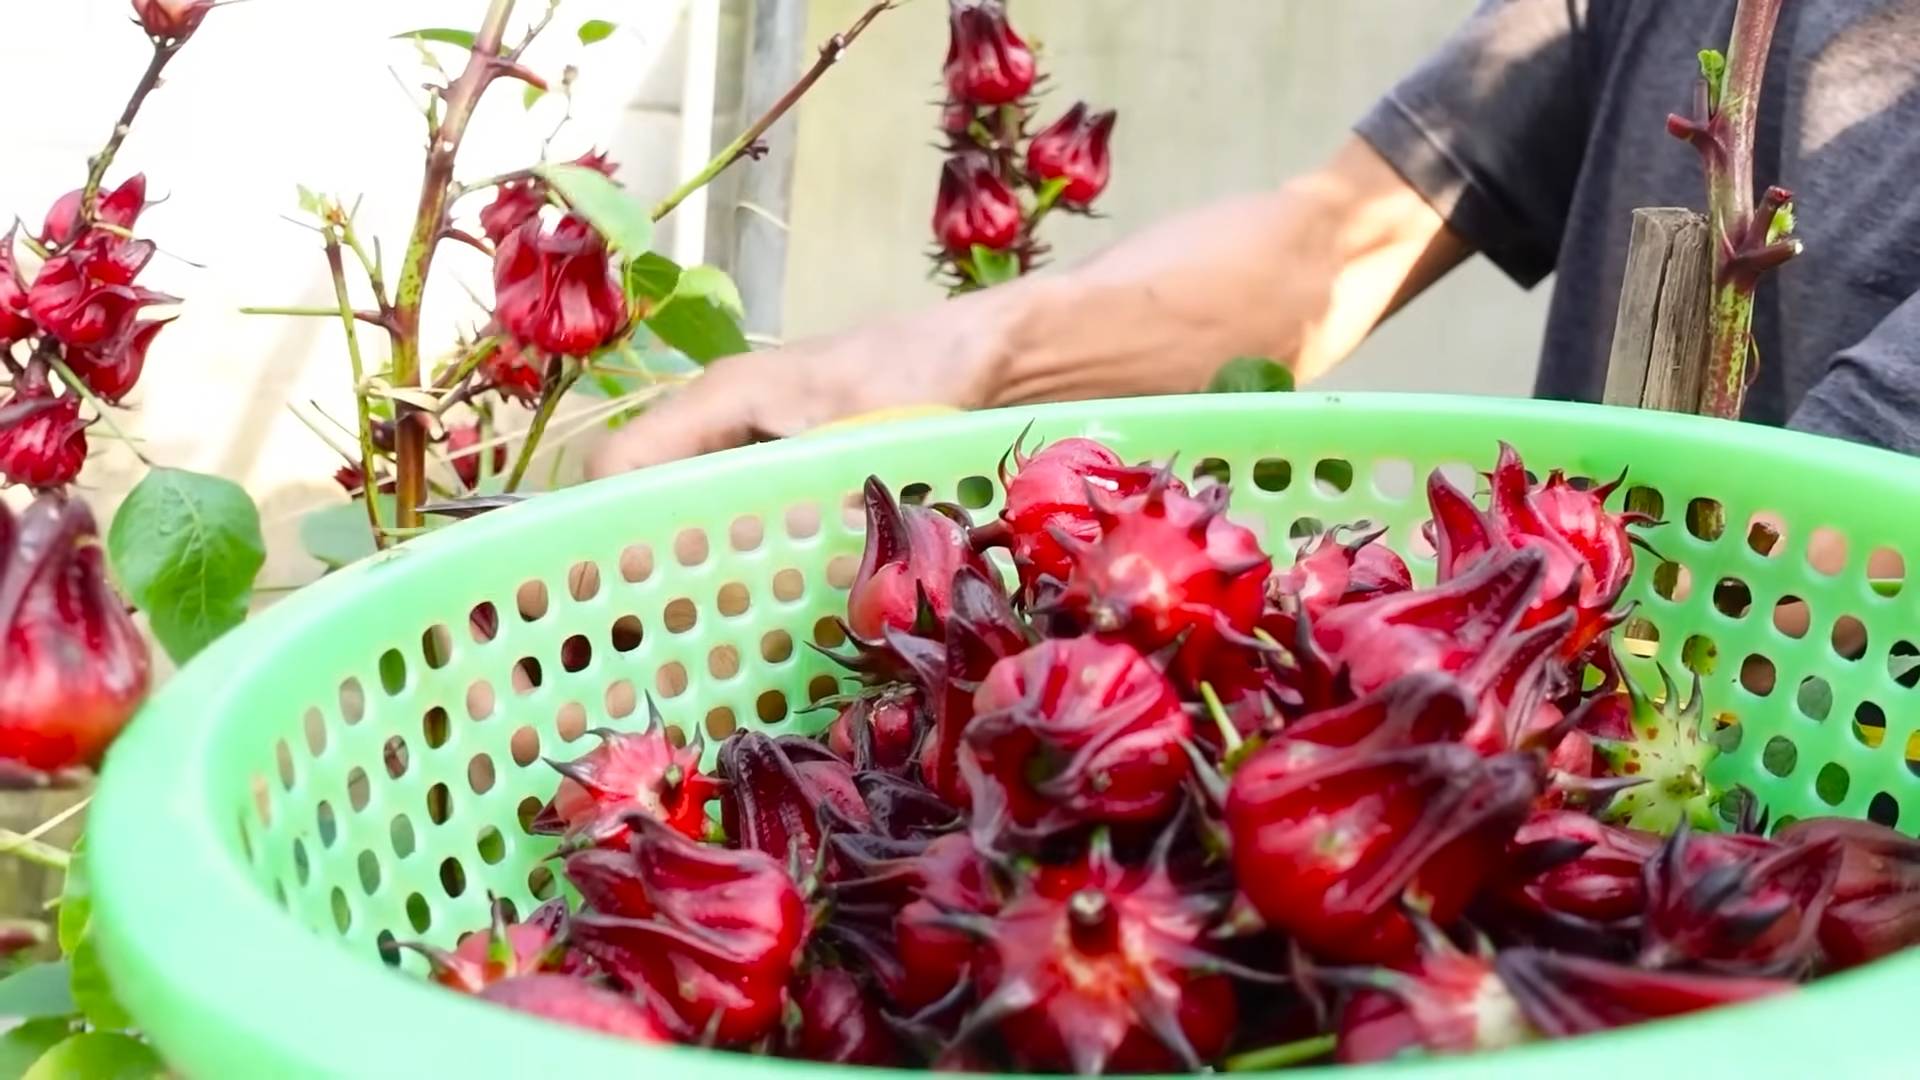
Grow Hibiscus Continuous Blooms – imagine your garden bursting with vibrant, exotic hibiscus flowers, a kaleidoscope of color that lasts all season long! Forget fleeting blooms and disappointing displays; I’m going to share some incredible DIY tricks and hacks that will transform your hibiscus plants into continuous blooming machines.
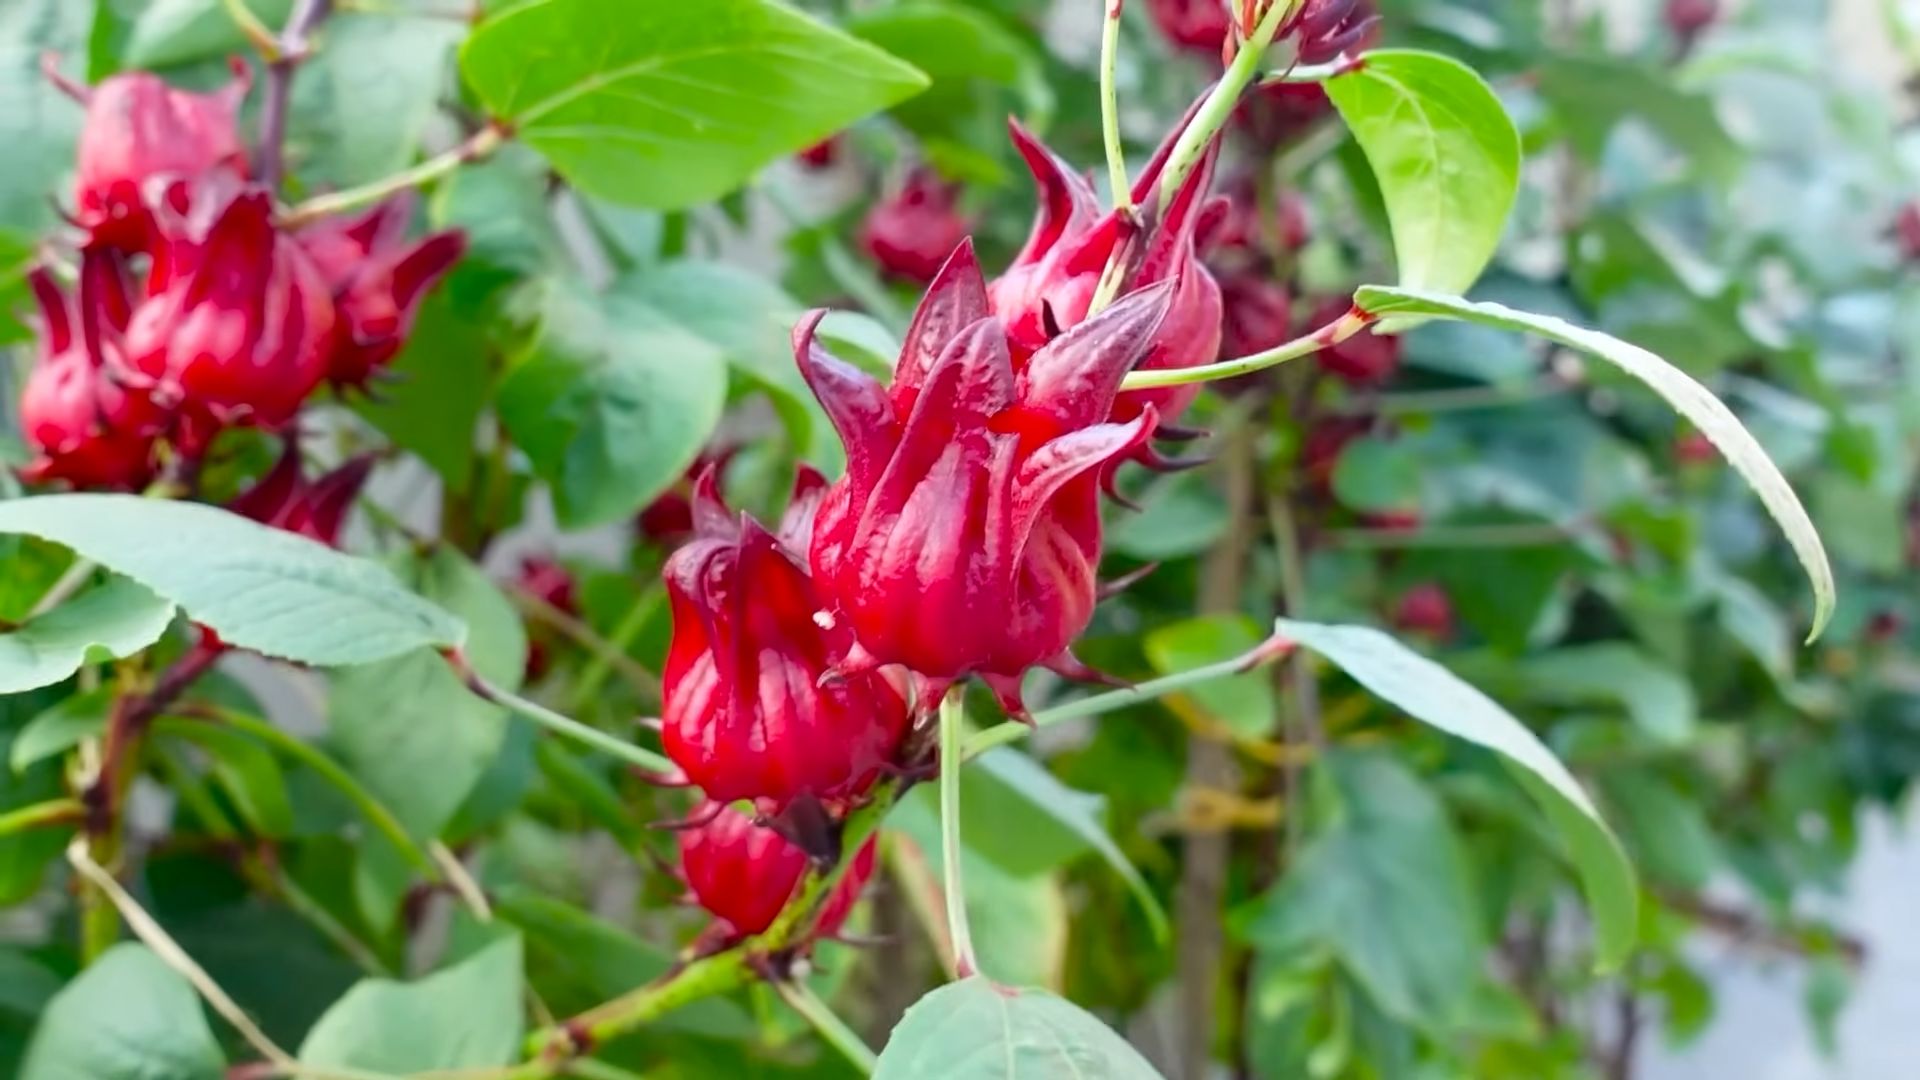
Hibiscus flowers have captivated hearts for centuries, holding deep cultural significance in many societies. From being symbols of delicate beauty in Hawaii to representing fleeting glory in Victorian flower language, these blooms have always been admired. But let’s be honest, sometimes getting them to bloom consistently can feel like a battle against nature!
That’s where these DIY tricks come in. Are you tired of waiting impatiently for your hibiscus to flower, only to be greeted with a single, short-lived bloom? Do you dream of a garden overflowing with these tropical beauties? Many gardeners struggle with getting their hibiscus to reach their full potential, often due to simple, easily fixable issues. This article will equip you with the knowledge and practical tips you need to grow hibiscus continuous blooms, ensuring a vibrant and stunning display all season long. I’ll show you how to optimize everything from soil composition to watering techniques, so you can finally enjoy the hibiscus garden of your dreams!
DIY: Unlock Non-Stop Hibiscus Blooms!
Hey there, fellow plant lovers! Are you dreaming of a hibiscus plant that’s constantly bursting with vibrant, tropical flowers? I know I was! For years, I struggled to get my hibiscus to bloom consistently. It would have a few glorious flowers and then… nothing. But after a lot of research, experimentation, and a few happy accidents, I’ve finally cracked the code! I’m going to share my secrets with you so you can enjoy a hibiscus plant that’s practically overflowing with blooms all season long.
Understanding Hibiscus Blooming Habits
Before we dive into the DIY magic, let’s understand why hibiscus plants sometimes refuse to cooperate. Hibiscus are tropical plants, and they need specific conditions to thrive and bloom profusely. These include:
* Sunlight: Hibiscus are sun-worshippers! They need at least 6-8 hours of direct sunlight each day to produce lots of flowers.
* Watering: Consistent moisture is key, but avoid overwatering. Soggy soil can lead to root rot, which will definitely put a damper on blooming.
* Fertilizing: Hibiscus are heavy feeders and need regular fertilization to fuel their blooming.
* Pruning: Pruning encourages new growth, and new growth is where the flowers appear!
* Temperature: Hibiscus thrive in warm temperatures (60-90°F). Cold temperatures can stress the plant and reduce blooming.
* Pot Size: If your hibiscus is root-bound in a pot that’s too small, it won’t have the resources to bloom well.
Now that we know what hibiscus needs, let’s get started on the DIY hacks!
Hack #1: The Sunlight Optimization Strategy
Sunlight is the most crucial factor for hibiscus blooming. If your plant isn’t getting enough sun, it simply won’t bloom. Here’s how to maximize sunlight exposure:
1. Assess Your Current Sunlight Situation: Observe your hibiscus plant throughout the day. How many hours of direct sunlight does it receive? If it’s less than 6 hours, you need to make a change.
2. Relocate Your Plant (If Possible): If your hibiscus is in a pot, move it to a sunnier location. South-facing windows or patios are usually ideal. If it’s planted in the ground, consider whether transplanting is feasible. This is a bit more involved, but sometimes necessary.
3. Use Reflective Surfaces: If you can’t move your plant to a sunnier spot, try using reflective surfaces to bounce more light onto it. White walls, mirrors, or even aluminum foil can help. Be careful not to scorch the leaves with concentrated sunlight.
4. Consider Grow Lights: If you live in a region with short days or cloudy weather, consider using grow lights to supplement natural sunlight. Full-spectrum LED grow lights are a great option. Position the light about 12-18 inches above the plant.
5. Rotate Your Plant Regularly: If your hibiscus is indoors, rotate it every few days to ensure that all sides of the plant receive equal sunlight. This will prevent it from leaning towards the light source and promote even growth.
Hack #2: The Watering and Humidity Harmony
Hibiscus needs consistent moisture, but overwatering is a common mistake. Here’s how to strike the perfect balance:
1. Check the Soil Moisture: Before watering, stick your finger about an inch into the soil. If it feels dry, it’s time to water. If it feels moist, wait a day or two and check again.
2. Water Deeply: When you do water, water deeply until water drains out of the bottom of the pot. This ensures that the roots are thoroughly saturated.
3. Avoid Overwatering: Never let your hibiscus sit in standing water. This can lead to root rot. Make sure your pot has drainage holes and empty the saucer underneath after watering.
4. Increase Humidity: Hibiscus loves humidity! If you live in a dry climate, you’ll need to increase the humidity around your plant. Here are a few ways to do that:
* Use a Humidifier: A humidifier is the most effective way to increase humidity.
* Group Plants Together: Grouping plants together creates a microclimate with higher humidity.
* Place a Tray of Water Near the Plant: As the water evaporates, it will increase the humidity around the plant.
* Mist Your Plant Regularly: Mist your plant with water a few times a day.
5. Watering Schedule: During the growing season (spring and summer), you’ll likely need to water your hibiscus every 2-3 days. In the fall and winter, when the plant is dormant, you can reduce watering to once a week or even less.
Hack #3: The Fertilizer Fiesta
Hibiscus are heavy feeders and need regular fertilization to bloom profusely. Here’s my fertilizer strategy:
1. Choose the Right Fertilizer: Look for a fertilizer that’s specifically formulated for hibiscus or flowering plants. These fertilizers typically have a higher phosphorus content (the middle number in the N-P-K ratio), which promotes blooming. I personally love using a balanced fertilizer with micronutrients.
2. Fertilize Regularly: During the growing season (spring and summer), fertilize your hibiscus every 2-4 weeks. Follow the instructions on the fertilizer label.
3. Use a Slow-Release Fertilizer: You can also use a slow-release fertilizer, which will gradually release nutrients over a longer period of time. This is a great option if you’re forgetful about fertilizing.
4. Foliar Feeding: In addition to regular fertilizing, you can also foliar feed your hibiscus by spraying the leaves with a diluted fertilizer solution. This allows the plant to absorb nutrients directly through its leaves.
5. Avoid Over-Fertilizing: Over-fertilizing can burn the roots and damage the plant. Always follow the instructions on the fertilizer label and err on the side of caution.
Hack #4: The Pruning Power-Up
Pruning is essential for encouraging new growth and promoting blooming. Here’s how to prune your hibiscus:
1. When to Prune: The best time to prune your hibiscus is in late winter or early spring, before new growth begins. You can also do some light pruning throughout the growing season to remove dead or damaged branches.
2. How to Prune: Use sharp, clean pruning shears to make your cuts. Cut back branches to just above a node (the point where a leaf or branch emerges from the stem).
3. Remove Dead or Damaged Branches: Start by removing any dead, damaged, or diseased branches.
4. Shape Your Plant: Prune your hibiscus to maintain its desired shape and size. You can also prune to encourage bushier growth.
5. Encourage Blooming: To encourage blooming, prune back the tips of the branches. This will stimulate the plant to produce new growth, which is where the flowers will appear.
6. Don’t Be Afraid to Prune: Hibiscus are resilient plants and can tolerate heavy pruning. Don’t be afraid to prune your plant aggressively if necessary.
Hack #5: The Temperature Tweak
Hibiscus thrives in warm temperatures. Here’s how to keep your plant happy:
1. Maintain Warm Temperatures: Hibiscus prefers temperatures between 60-90°F. Avoid exposing your plant to temperatures below 50°F.
2. Protect from Frost: If you live in a region with frost, you’ll need to protect your hibiscus from the cold. You can bring it indoors, cover it with a blanket, or move it to a sheltered location.
3. Avoid Drafts: Keep your hibiscus away from drafts, which can stress the plant.
4. Provide Adequate Ventilation: While hibiscus loves warmth, it also needs adequate ventilation. Make sure the air is circulating around your plant.
5. Monitor Temperature: Keep an eye on the temperature around your hibiscus. If it’s too hot or too cold, adjust accordingly.
Hack #6: The Potting Perfection
The size of your pot can significantly impact your hibiscus’s blooming potential.
1. Choose the Right Pot Size: Make sure your hibiscus is planted in a pot that’s large enough to accommodate its root system. If the plant is root-bound, it won’t have the resources to bloom well.
2. Repot When Necessary: Repot your hibiscus every 1-2 years, or when it becomes root-bound. Choose a pot that’s slightly larger than the previous one.
3. Use Well-Draining Soil: Hibiscus needs well-draining soil to prevent root rot. Use a potting mix that’s specifically formulated for hibiscus or flowering plants.
4. Ensure Drainage: Make sure your pot has drainage holes to allow excess water to drain away.
5. Consider Pot Material:
Conclusion
So, there you have it! Unlocking the secret to continuous hibiscus blooms isn’t about expensive fertilizers or complicated gardening techniques. It’s about understanding your hibiscus’s needs and implementing a few simple, yet incredibly effective, DIY tricks. We’ve shown you how to create a customized feeding schedule using readily available ingredients, optimize sunlight exposure, and master the art of strategic pruning.
Why is this DIY approach a must-try? Because it empowers you to take control of your hibiscus’s health and flowering potential. You’re not just passively waiting for blooms; you’re actively nurturing them. The satisfaction of seeing your hibiscus burst into a riot of color, knowing you played a direct role in its success, is truly unparalleled. Plus, you’re saving money by avoiding costly commercial fertilizers and relying on natural, sustainable methods.
But the beauty of this DIY approach lies in its adaptability. Feel free to experiment with variations to suit your specific hibiscus variety and growing conditions. For example, if you live in a particularly humid climate, you might want to focus on improving air circulation around your plant to prevent fungal diseases. If your hibiscus is already a prolific bloomer, you might only need to implement the feeding schedule every other month. Consider adding a small amount of Epsom salts (magnesium sulfate) to your feeding solution every few months; magnesium is crucial for chlorophyll production and vibrant blooms. You can also try different types of organic matter in your soil mix, such as composted leaves or aged manure, to provide a slow-release source of nutrients. Remember to always observe your plant closely and adjust your approach accordingly.
The key to success is observation and adaptation. Pay attention to your hibiscus’s leaves, stems, and buds. Are the leaves a healthy green color? Are the stems strong and sturdy? Are the buds developing properly? If you notice any signs of stress or nutrient deficiency, adjust your feeding schedule or soil composition accordingly.
We are confident that by implementing these DIY tricks, you’ll be well on your way to enjoying a continuous display of stunning hibiscus blooms. Don’t be intimidated by the prospect of DIY gardening. It’s a rewarding and educational experience that will deepen your connection to nature.
Now, it’s your turn! We wholeheartedly encourage you to try these DIY tricks and witness the transformation in your own hibiscus plants. We are eager to hear about your experiences. Share your success stories, challenges, and variations in the comments section below. Let’s create a community of hibiscus enthusiasts who are passionate about nurturing these beautiful plants and sharing their knowledge. Let us know what worked best for you and any unique challenges you faced. Your insights will be invaluable to other gardeners who are embarking on their own hibiscus-growing journey. Remember, the best way to learn is by doing and sharing your experiences with others. So, get your hands dirty, experiment with these techniques, and prepare to be amazed by the results. Happy gardening, and may your hibiscus always be in bloom! Remember, consistent effort in providing the right conditions is the key to achieving grow hibiscus continuous blooms.
Frequently Asked Questions (FAQ)
Q: How often should I water my hibiscus?
A: Watering frequency depends on several factors, including the climate, the size of the pot, and the type of soil. Generally, hibiscus plants prefer consistently moist soil, but not soggy. Water deeply when the top inch of soil feels dry to the touch. In hot, dry weather, you may need to water daily. In cooler, wetter weather, you may only need to water every few days. Always check the soil moisture before watering to avoid overwatering, which can lead to root rot. A well-draining soil mix is crucial to prevent waterlogging.
Q: What kind of fertilizer should I use for my hibiscus?
A: While we advocate for a DIY approach, understanding fertilizer basics is helpful. Hibiscus plants benefit from a balanced fertilizer with a slightly higher phosphorus content (the middle number in the N-P-K ratio). Phosphorus promotes blooming. However, avoid fertilizers with excessive nitrogen, as this can lead to lush foliage growth at the expense of flowers. Our DIY feeding schedule provides a natural and balanced source of nutrients. If you choose to use a commercial fertilizer, look for one specifically formulated for hibiscus or flowering plants. Always follow the instructions on the label carefully.
Q: My hibiscus is not blooming. What could be the problem?
A: There are several reasons why your hibiscus might not be blooming. The most common causes include insufficient sunlight, improper watering, nutrient deficiencies, and pest infestations. Ensure your hibiscus is receiving at least 6 hours of direct sunlight per day. Check the soil moisture regularly and water accordingly. Implement our DIY feeding schedule to provide essential nutrients. Inspect your plant for signs of pests, such as aphids or spider mites, and take appropriate action if necessary. Pruning can also encourage blooming by stimulating new growth.
Q: How do I prune my hibiscus?
A: Pruning is essential for maintaining a healthy and productive hibiscus plant. The best time to prune is in late winter or early spring, before new growth begins. Remove any dead, damaged, or diseased branches. Trim back leggy growth to encourage bushier growth and more blooms. You can also pinch back the tips of new growth to promote branching. Avoid pruning too heavily, as this can reduce flowering.
Q: What kind of soil is best for hibiscus?
A: Hibiscus plants prefer well-draining soil that is rich in organic matter. A good soil mix consists of equal parts potting soil, peat moss, and perlite or vermiculite. This combination provides good drainage, aeration, and moisture retention. Avoid using heavy clay soil, as it can become waterlogged and suffocate the roots. You can also amend your soil with compost or aged manure to improve its fertility and drainage.
Q: How do I protect my hibiscus from pests and diseases?
A: Regular inspection is the best way to prevent pest and disease problems. Check your plant regularly for signs of pests, such as aphids, spider mites, or whiteflies. If you find any pests, treat them promptly with insecticidal soap or neem oil. To prevent fungal diseases, ensure good air circulation around your plant and avoid overwatering. Remove any dead or diseased leaves promptly.
Q: Can I grow hibiscus indoors?
A: Yes, you can grow hibiscus indoors, but it requires some extra care. Choose a sunny location, such as a south-facing window. Provide adequate humidity by misting the plant regularly or using a humidifier. Water regularly and fertilize as needed. Be aware that indoor hibiscus plants may not bloom as profusely as outdoor plants.
Q: My hibiscus leaves are turning yellow. What does this mean?
A: Yellowing leaves can indicate several problems, including overwatering, underwatering, nutrient deficiencies, or pest infestations. Check the soil moisture and adjust your watering accordingly. Ensure your plant is receiving adequate sunlight and nutrients. Inspect your plant for signs of pests. If the yellowing is accompanied by brown spots, it could be a sign of a fungal disease.
Q: How do I propagate hibiscus?
A: Hibiscus can be propagated from stem cuttings. Take a 4-6 inch cutting from a healthy stem, removing the lower leaves. Dip the cut end in rooting hormone and plant it in a pot filled with moist potting mix. Cover the pot with a plastic bag to create a humid environment. Keep the soil moist and warm. Roots should develop in a few weeks.
Q: What are some common hibiscus varieties?
A: There are many different hibiscus varieties, each with its own unique characteristics. Some popular varieties include ‘President,’ ‘Fiesta,’ ‘Cajun Hibiscus,’ and ‘Snow Queen.’ Choose a variety that is well-suited to your climate and growing conditions.
Q: How do I overwinter my hibiscus?
A: In colder climates, hibiscus plants need to be overwintered indoors. Before the first frost, bring your hibiscus indoors and place it in a sunny location. Reduce watering and fertilization during the winter months. You may notice some leaf drop, but this is normal. In the spring, gradually acclimate your hibiscus to outdoor conditions before placing it back in its permanent location.

Leave a Comment