
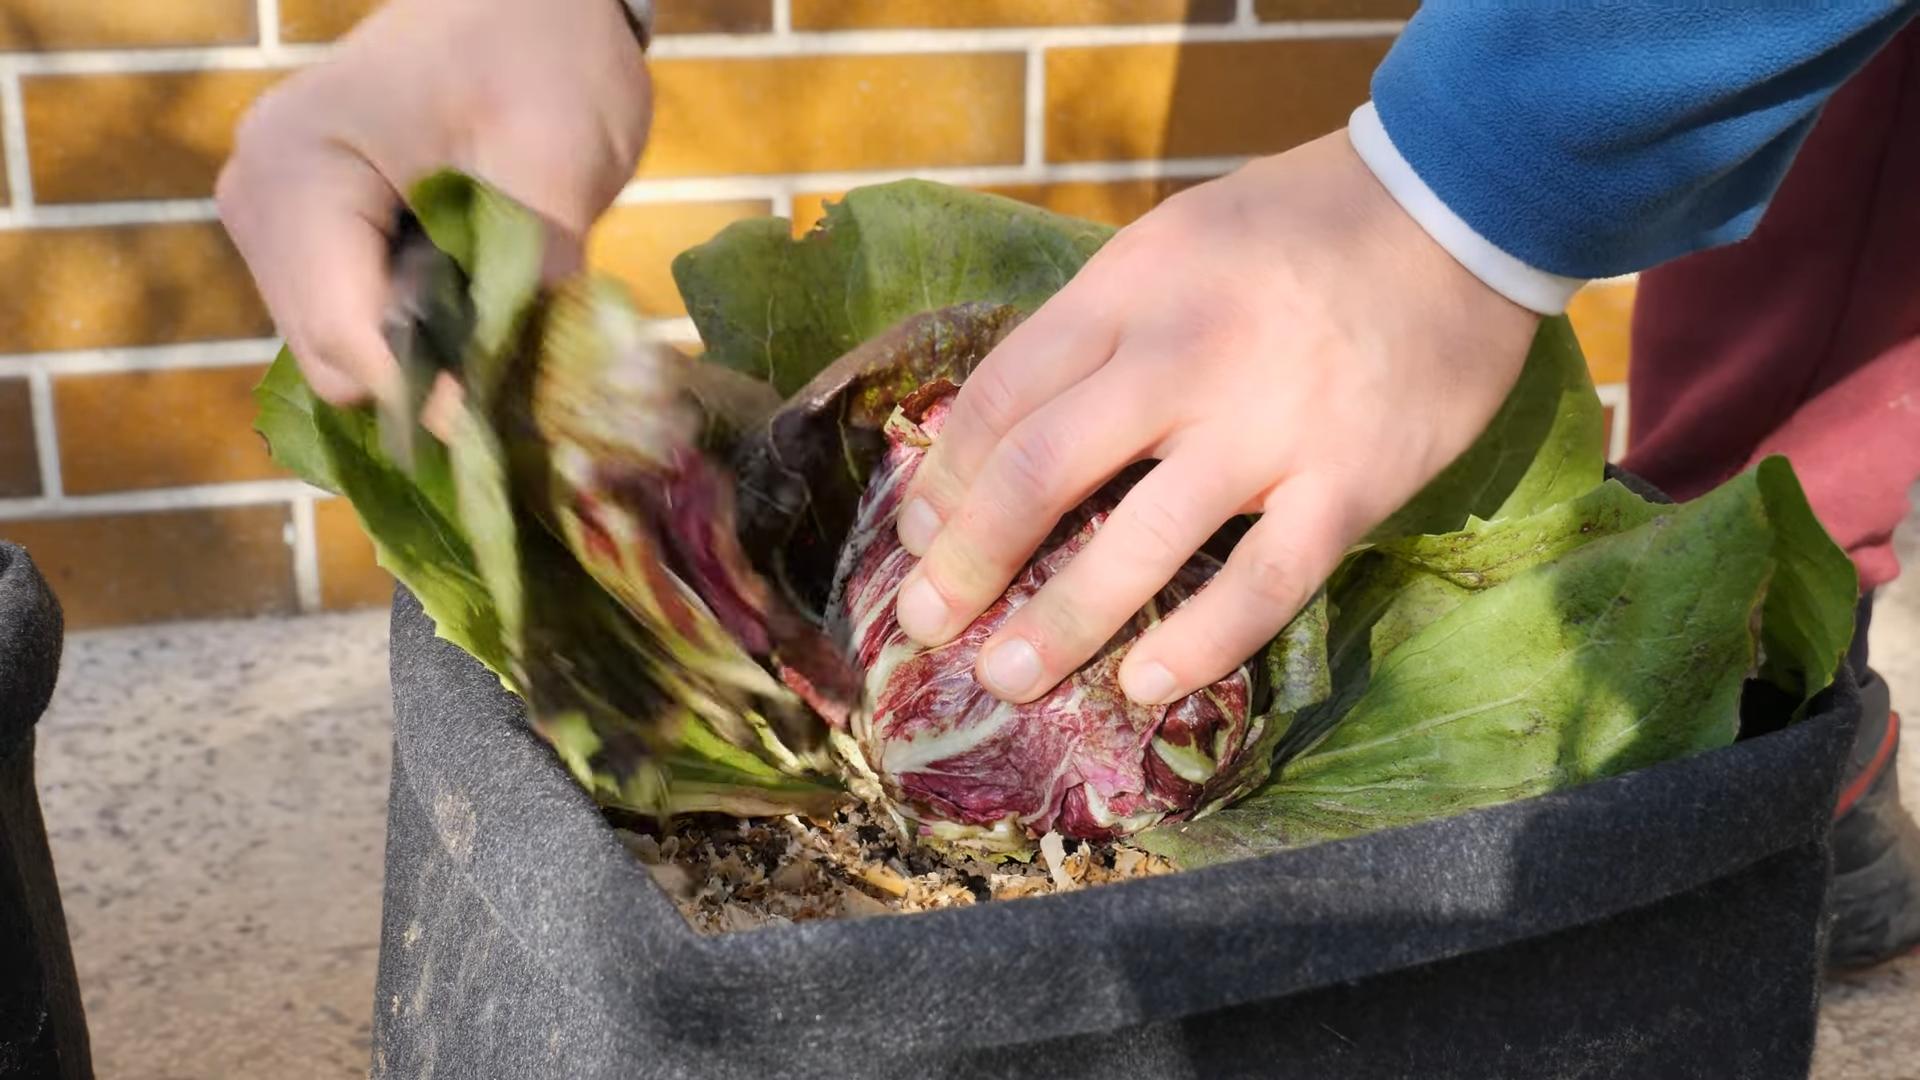
Grow Radicchio Indoors
Have you ever dreamed of enjoying crisp, vibrant radicchio salads all year round, regardless of the weather outside? Then you’re in the right place! This article is all about sharing my secrets for successfully growing radicchio indoors, transforming your home into a thriving little garden. I’ll walk you through simple, effective techniques, turning even the smallest apartment into a productive space.
For centuries, gardening has been a source of sustenance and joy, connecting us to the earth and its bounty. While radicchio, with its striking red leaves, might be a relatively recent addition to many Western gardens, its cultivation speaks to our enduring desire to nurture and harvest our own food. The satisfaction of biting into a leaf you’ve grown yourself is unparalleled!
Why Grow Radicchio Indoors?
Growing your own radicchio offers numerous advantages. Firstly, it allows you to bypass the often-expensive and sometimes unreliable grocery store supply. Secondly, you control the growing conditions, ensuring pesticide-free, flavorful leaves. And finally, there’s an undeniable sense of accomplishment that comes with nurturing a plant from seed to harvest. Learning how to grow radicchio indoors opens up a world of possibilities, even for those with limited outdoor space.
So, whether you’re a seasoned gardener or a complete beginner, get ready to discover the simple joys and surprising ease of cultivating your own delicious radicchio indoors. Let’s get started!
Growing Artichokes for Beginners: A Step-by-Step Guide
I’ve always loved artichokes, those magnificent thistle-like vegetables. The thought of growing my own, however, seemed daunting. But I’m here to tell you, it’s totally achievable, even for a beginner like I was! This guide will walk you through the entire process, from choosing the right plant to harvesting your delicious bounty.
Choosing Your Artichoke Variety and Location
- Select a variety suitable for your climate. Artichokes need a long, warm growing season (at least 100 frost-free days). Research varieties that thrive in your region. Some popular choices include ‘Green Globe’, ‘Imperial Star’, and ‘Violetta’. Consider the size of the plant as well; some varieties get quite large.
- Find a sunny spot. Artichokes need at least six to eight hours of direct sunlight daily. A south-facing location is ideal in the Northern Hemisphere.
- Prepare the soil. Artichokes prefer well-drained, fertile soil with a slightly acidic pH (6.0-7.0). Amend heavy clay soil with compost or other organic matter to improve drainage and aeration. Sandy soil might need the addition of peat moss or other organic matter to retain moisture.
- Consider spacing. Give your artichoke plants plenty of room to grow. Spacing depends on the variety, but generally, allow 3-4 feet between plants.
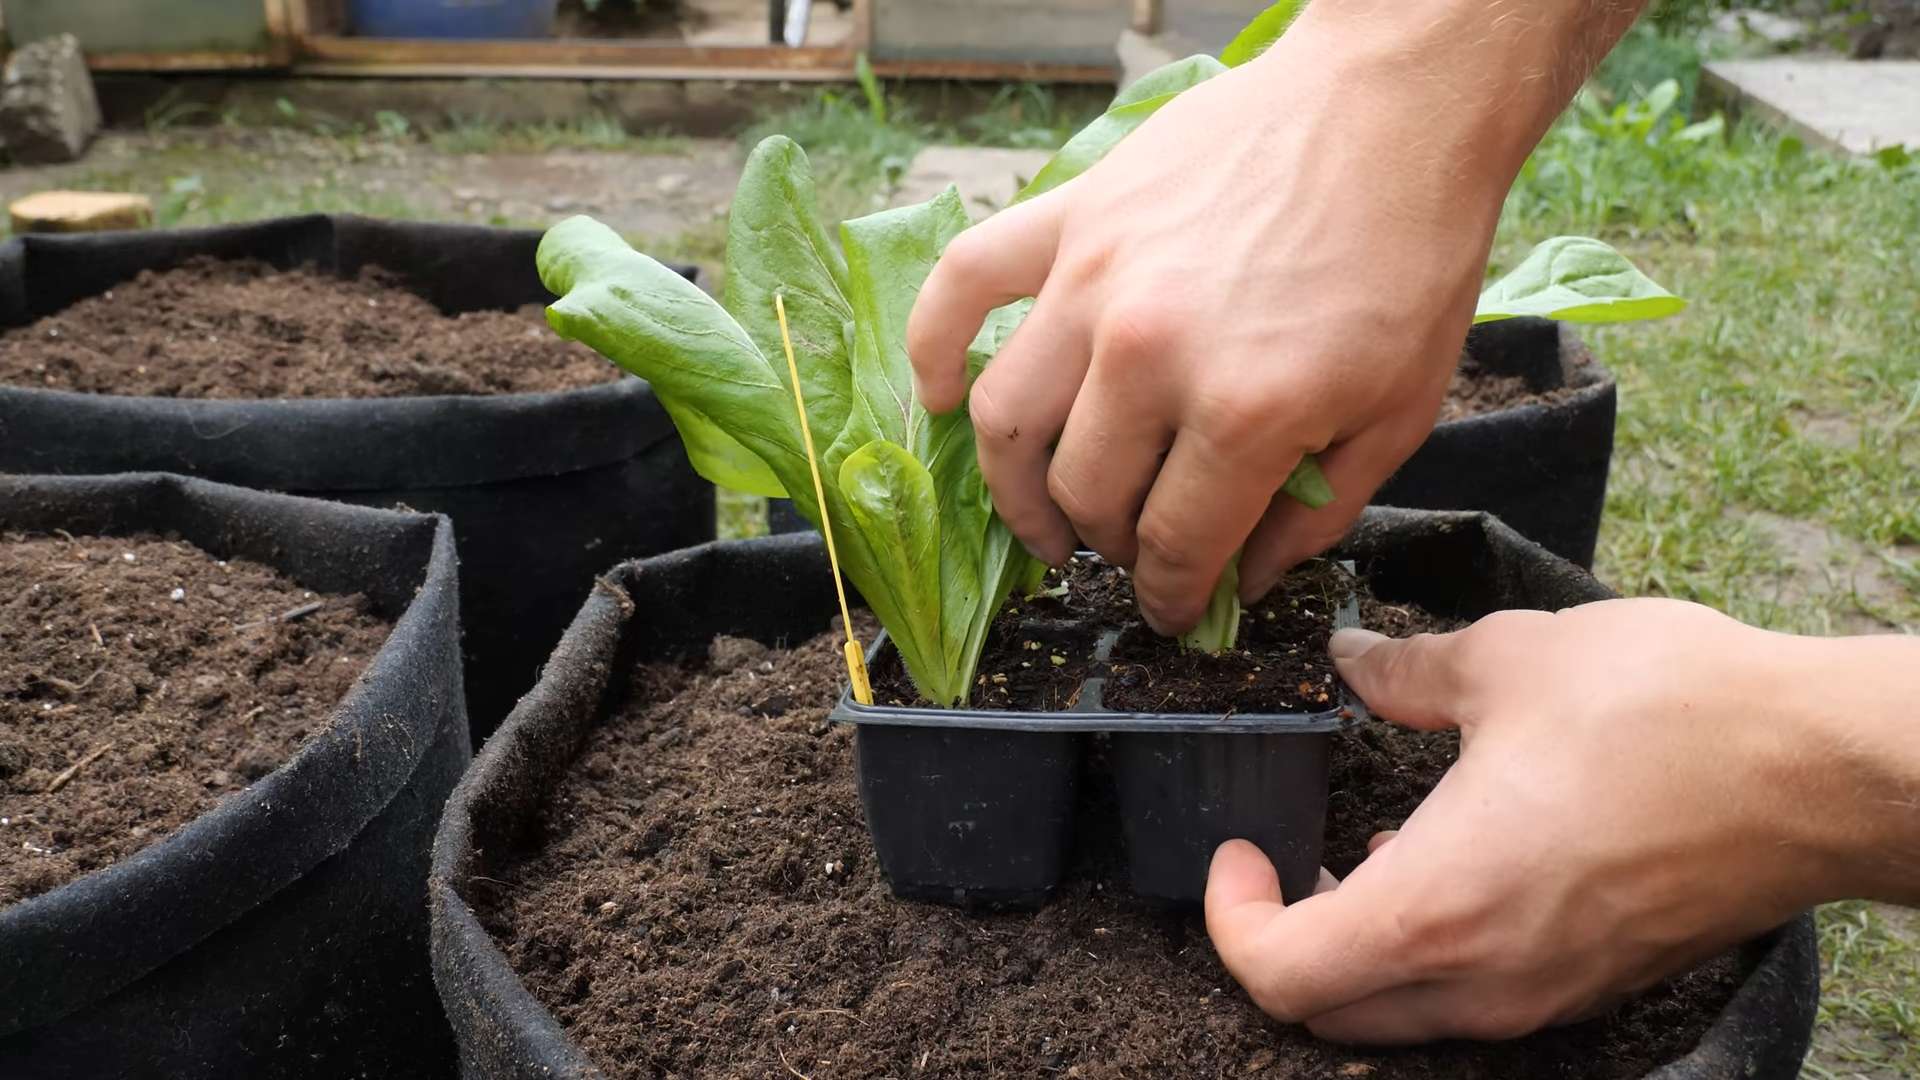
Planting Your Artichokes
- Purchase artichoke plants. You can buy artichoke plants from nurseries, garden centers, or online retailers. Choose healthy plants with strong stems and vibrant green leaves. Avoid plants with signs of disease or pests.
- Prepare the planting holes. Dig holes twice as wide and as deep as the root ball of your artichoke plants. This allows for good root establishment.
- Plant the artichokes. Gently remove the artichoke plant from its container, being careful not to damage the roots. Place the plant in the hole, ensuring the top of the root ball is level with the ground. Fill the hole with soil, gently firming it around the base of the plant.
- Water thoroughly. After planting, water deeply to settle the soil and help the plant establish itself. A good soaking is crucial for successful establishment.
Ongoing Care and Maintenance
- Watering. Artichokes need consistent moisture, especially during dry periods. Water deeply and regularly, aiming for about 1 inch of water per week. Mulching around the plants helps retain soil moisture and suppress weeds.
- Fertilizing. Feed your artichokes regularly with a balanced fertilizer. A slow-release fertilizer is a good option. Follow the instructions on the fertilizer packaging for application rates. You can also use compost tea or other organic fertilizers.
- Weeding. Keep the area around your artichoke plants free of weeds. Weeds compete with your plants for water and nutrients. Mulching helps reduce weed growth.
- Pest and disease control. Monitor your plants regularly for signs of pests or diseases. Common artichoke pests include aphids, spider mites, and caterpillars. Treat infestations promptly with appropriate insecticides or organic pest control methods. Good air circulation can help prevent fungal diseases.
- Winter protection (if needed). In colder climates, artichokes may need winter protection. Mulch heavily around the base of the plants to insulate them from freezing temperatures. You can also cover the plants with burlap or other protective material.
Harvesting Your Artichokes
- Harvest at the right time. Artichokes are ready for harvest when the buds are firm and the outer bracts are tightly closed. The buds should feel heavy and slightly tender.
- Harvesting technique. Use a sharp knife to cut the artichoke bud from the stem, leaving about an inch of stem attached. Avoid damaging the surrounding buds.
- Post-harvest care. Store harvested artichokes in the refrigerator for up to a week. You can also freeze them for longer storage.
Troubleshooting Common Artichoke Problems
Problem: Yellowing Leaves
Possible causes: Nutrient deficiencies, overwatering, underwatering, or pest infestations. Solution: Check your soil’s nutrient levels and adjust your fertilization accordingly. Adjust your watering schedule as needed. Inspect for pests and treat any infestations.
Problem: Small or Few Artichokes
Possible causes: Insufficient sunlight, poor soil drainage, lack of nutrients, or improper planting. Solution: Ensure your plants receive adequate sunlight. Improve soil drainage if necessary. Fertilize regularly and ensure proper planting depth.
Problem: Bud Rot
Possible causes: Fungal diseases, often caused by poor air circulation or excessive moisture. Solution: Improve air circulation around the plants by thinning out overcrowded plants. Avoid overhead watering. Consider using a fungicide if necessary.
Remember to always research the specific needs of your chosen artichoke variety for optimal results. Happy growing!
Conclusion
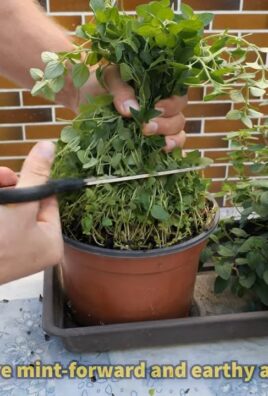
Growing your own radicchio indoors is a surprisingly rewarding experience, offering a fresh, vibrant addition to your winter meals. This DIY trick isn’t just about saving money on grocery bills; it’s about connecting with nature, even in the confines of your home. The satisfying process of nurturing a tiny radicchio cutting into a mature head is incredibly fulfilling. The intense flavor and crisp texture of homegrown radicchio far surpasses anything you can find in the supermarket, and knowing exactly where your food comes from adds a layer of satisfaction that’s hard to replicate. This method is perfect for apartment dwellers, balcony gardeners, or anyone who wants to enjoy the taste of fresh radicchio year-round, regardless of the weather outside. Beyond the simple satisfaction of growing your own food, you’ll also find yourself appreciating the beauty of the plant as it develops, adding a touch of vibrant color to your indoor space. So, ditch the supermarket and embrace the simplicity and deliciousness of growing your own radicchio indoors. You won’t regret it! Experiment with different varieties of radicchio, and don’t be afraid to try different growing mediums and lighting setups to find what works best for you and your space. Share your successes (and even your learning curves!) with us on social media – we’d love to see your thriving radicchio plants! Let’s build a community of indoor radicchio growers!
Frequently Asked Questions
Can I grow radicchio from seed indoors?
While it’s possible to grow radicchio from seed indoors, it’s generally easier and faster to propagate it from cuttings. Seeds can be finicky and require more precise temperature and humidity control. Starting with a cutting ensures a quicker harvest and a higher success rate, especially for beginner indoor gardeners. However, if you choose to start from seed, ensure you use high-quality radicchio seeds and follow the instructions on the seed packet carefully, paying close attention to light and temperature requirements.
What type of light is best for indoor radicchio?
Radicchio needs plenty of light to thrive indoors. A south-facing windowsill provides ample natural light, but supplemental grow lights are highly recommended, especially during shorter winter days. LED grow lights are a popular and energy-efficient choice. Aim for at least 6-8 hours of light per day. You can also experiment with different light intensities to see what works best for your specific setup. Observe your plants closely – if they appear leggy or stretched, they likely need more light. If they are stunted or yellowing, they may be getting too much light.
What kind of soil is best for growing radicchio indoors?
Radicchio prefers well-draining soil that’s rich in organic matter. A good quality potting mix designed for vegetables is ideal. Avoid using heavy clay soils, as they can retain too much water and lead to root rot. You can amend your potting mix with compost or other organic materials to improve drainage and fertility. Ensuring proper drainage is crucial to prevent waterlogging, which can be detrimental to your radicchio’s health.
How often should I water my indoor radicchio?
Water your radicchio regularly, keeping the soil consistently moist but not soggy. Overwatering is a common mistake that can lead to root rot. Check the soil moisture before watering – stick your finger about an inch into the soil; if it feels dry, it’s time to water. Water thoroughly until water drains from the bottom of the pot, but avoid letting the plant sit in standing water. The frequency of watering will depend on factors such as the size of your pot, the type of soil, and the ambient temperature and humidity.
How long does it take to grow radicchio indoors?
The time it takes to harvest your indoor radicchio will depend on the variety you’re growing and the growing conditions. Generally, you can expect to harvest your radicchio within 60-90 days from planting a cutting. However, with optimal conditions and a fast-growing variety, you might be able to harvest even sooner. Regular monitoring and proper care will contribute to a faster and more successful harvest.
What are some common problems when growing radicchio indoors?
Some common problems include pests (like aphids or spider mites), diseases (like downy mildew), and nutrient deficiencies. Regularly inspect your plants for signs of pests or diseases, and address any issues promptly. Ensure your radicchio receives adequate nutrients by using a balanced fertilizer specifically formulated for vegetables. Proper ventilation can also help prevent fungal diseases. If you encounter problems, research the specific issue and implement appropriate solutions.
What can I do with my homegrown radicchio?
The possibilities are endless! Use your homegrown radicchio in salads, sandwiches, pizzas, pasta dishes, or as a vibrant garnish. Its slightly bitter flavor pairs well with many other ingredients, adding a unique and delicious touch to your culinary creations. Experiment with different recipes and discover your favorite ways to enjoy this flavorful vegetable.
Can I save seeds from my homegrown radicchio to plant next year?
Radicchio is a biennial plant, meaning it takes two years to complete its life cycle. While you can technically collect seeds from your plant, it’s often more reliable and easier to propagate new plants from cuttings. Saving seeds can be challenging, and the resulting plants may not always be true to the parent plant’s characteristics. Therefore, starting with cuttings is generally the more efficient and successful method for indoor radicchio cultivation.
Leave a Comment