
Grow radishes at home? Absolutely! Imagine plucking crisp, peppery radishes straight from your own backyard, adding a vibrant crunch to your salads and snacks. It’s easier than you think, and this DIY guide is your secret weapon to radish-growing success, even if you’ve never gardened before.
Radishes have a surprisingly rich history, dating back to ancient Egypt, where they were a staple food and even used as currency! From humble beginnings to global popularity, these root vegetables have earned their place in our gardens and on our plates. But let’s face it, store-bought radishes can sometimes be a bit… underwhelming. They might lack that fresh, zesty flavor you crave.
That’s where this DIY article comes in. I’m going to share my favorite home gardening tricks and hacks to help you grow radishes at home that are bursting with flavor and ready in just a few weeks. We’ll cover everything from choosing the right variety to preventing common problems, ensuring you have a bountiful harvest. So, grab your gardening gloves, and let’s get started on this exciting radish-growing adventure! You’ll be amazed at how rewarding it is to cultivate your own delicious radishes.
Growing Radishes: A Beginner’s Guide to Crunchy, Homegrown Goodness
Hey there, fellow gardening enthusiasts! I’m so excited to share my love for growing radishes with you. These little peppery gems are incredibly easy to cultivate, even if you’re a complete newbie like I was when I started. Plus, they mature super quickly, meaning you can enjoy fresh, homegrown radishes in just a few weeks! Get ready to add a zesty kick to your salads and snacks.
Why Radishes?
Before we dive in, let’s talk about why radishes are such a fantastic choice for home gardeners:
* Fast Growers: Seriously, they’re ready to harvest in as little as 3-4 weeks. Talk about instant gratification!
* Easy to Grow: Radishes are very forgiving and don’t require a lot of fuss.
* Space-Saving: They don’t need much room, making them perfect for small gardens, containers, or even balconies.
* Nutritious: Radishes are packed with vitamins, minerals, and fiber.
* Delicious: That peppery bite adds a wonderful flavor to salads, sandwiches, and more.
Getting Started: What You’ll Need
Okay, let’s gather our supplies. Here’s what you’ll need to grow your own radishes:
* Radish Seeds: Choose your favorite variety! There are tons of options, from the classic red globe radishes to colorful French Breakfast radishes and even larger, milder varieties like Daikon.
* Well-Draining Soil: Radishes prefer loose, fertile soil that drains well. You can use a good quality potting mix if you’re growing in containers, or amend your garden soil with compost or other organic matter.
* Sunlight: Radishes need at least 6 hours of sunlight per day.
* Water: Consistent moisture is key for plump, juicy radishes.
* Container (Optional): If you’re growing in containers, choose one that’s at least 6 inches deep.
* Gardening Tools: A trowel, hand rake, and watering can will come in handy.
* Fertilizer (Optional): A balanced fertilizer can help boost growth, but it’s not essential.
Step-by-Step Planting Guide
Alright, let’s get our hands dirty! Here’s how to plant your radish seeds:
1. Prepare the Soil: Whether you’re using a container or a garden bed, make sure the soil is loose and free of rocks and debris. Rake the surface smooth.
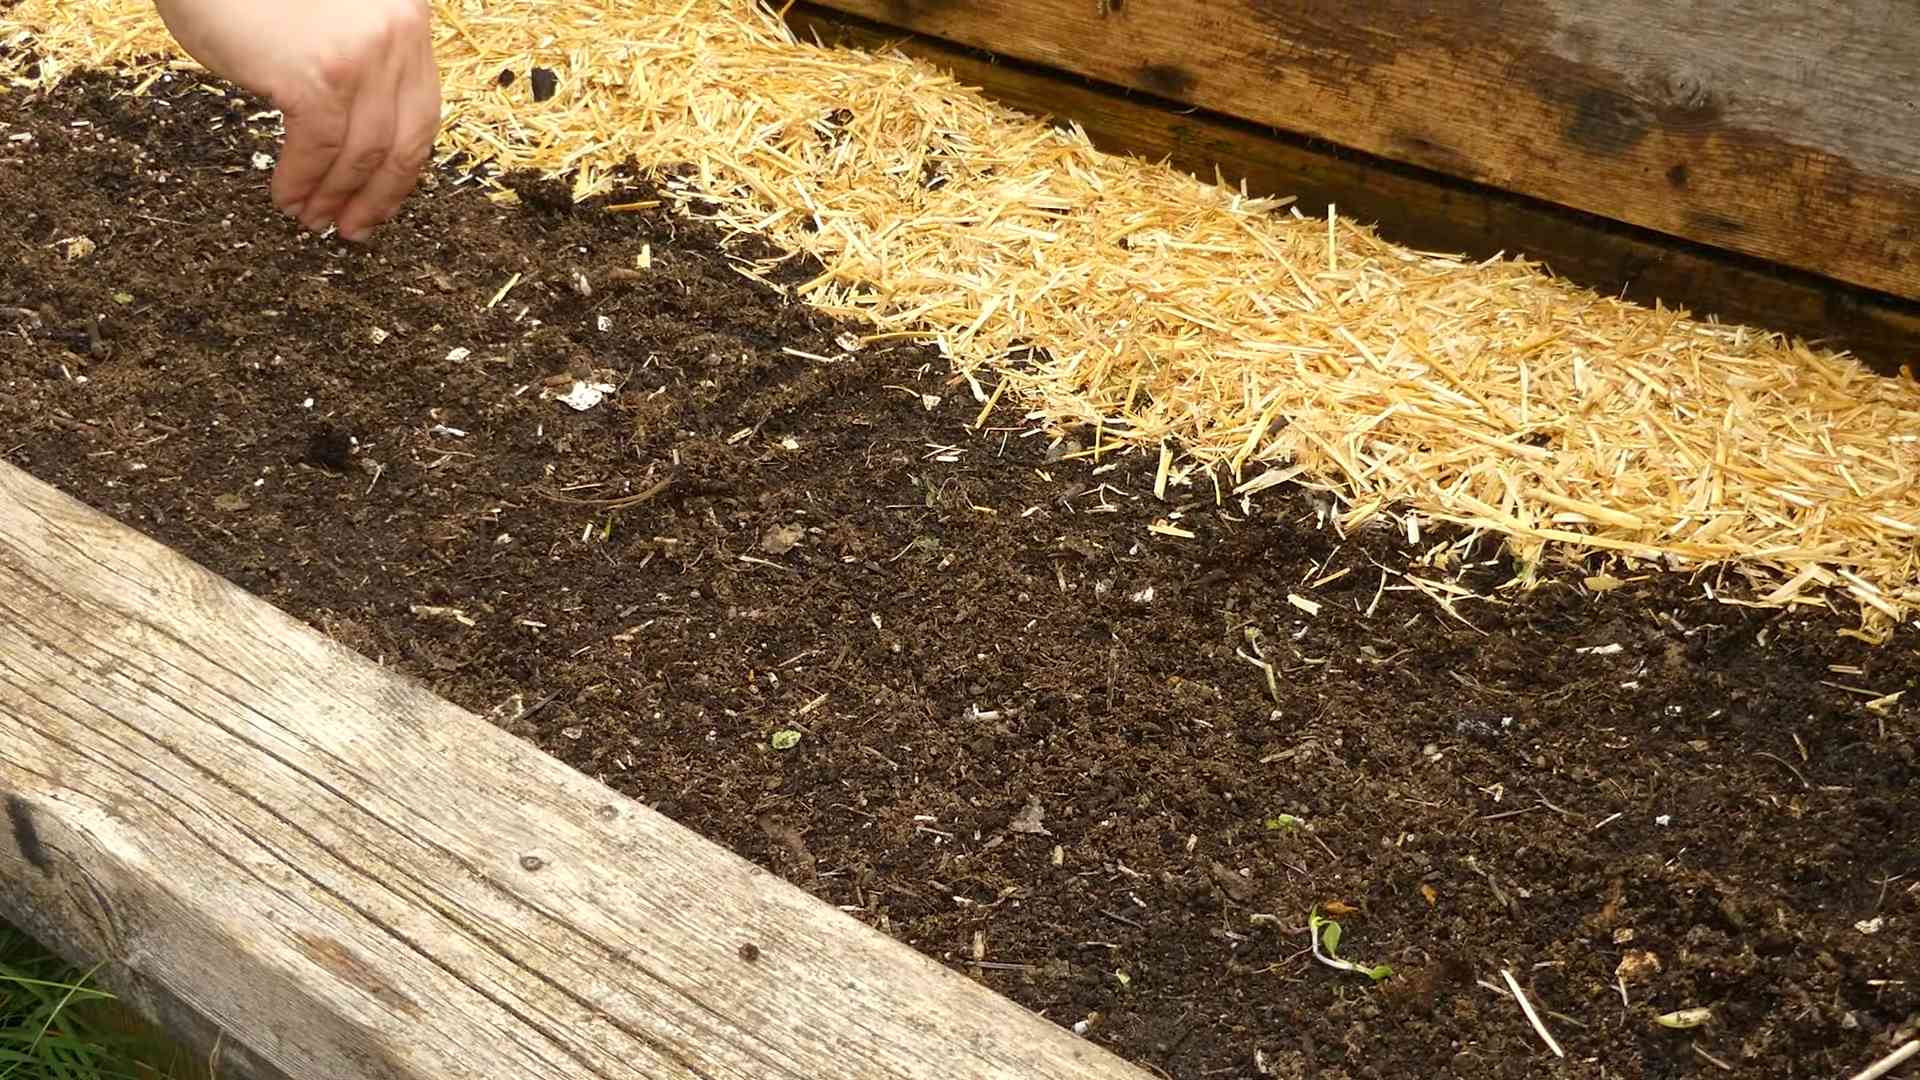
2. Sow the Seeds: Radish seeds are small, so you don’t need to plant them too deep. Sow the seeds about ½ inch deep and 1 inch apart. If you’re planting in rows, space the rows about 6 inches apart.
3. Cover the Seeds: Gently cover the seeds with soil and pat it down lightly.
4. Water Thoroughly: Water the soil gently but thoroughly, making sure to moisten the entire area.
5. Keep the Soil Moist: Radishes need consistent moisture to germinate and grow properly. Check the soil daily and water as needed to keep it moist but not soggy.
Caring for Your Radishes
Now that your radishes are planted, here’s how to keep them happy and healthy:
1. Thinning: Once the seedlings emerge (usually in about 4-7 days), thin them out so that they’re about 2 inches apart. This will give them enough room to grow. Don’t just pull them out! Gently snip the unwanted seedlings at the soil line with scissors to avoid disturbing the roots of the remaining plants.
2. Watering: Water your radishes regularly, especially during dry spells. Aim for about 1 inch of water per week.
3. Weeding: Keep the area around your radishes free of weeds. Weeds can compete with your radishes for nutrients and water.
4. Fertilizing (Optional): If you want to give your radishes a boost, you can fertilize them with a balanced fertilizer about 2 weeks after planting. Follow the instructions on the fertilizer package. I personally prefer using compost tea for a gentle, organic boost.
5. Pest Control: Radishes are generally pest-resistant, but they can sometimes be bothered by flea beetles or aphids. If you notice any pests, you can try spraying them with insecticidal soap or neem oil.
Harvesting Your Radishes
The best part! Here’s how to harvest your radishes:
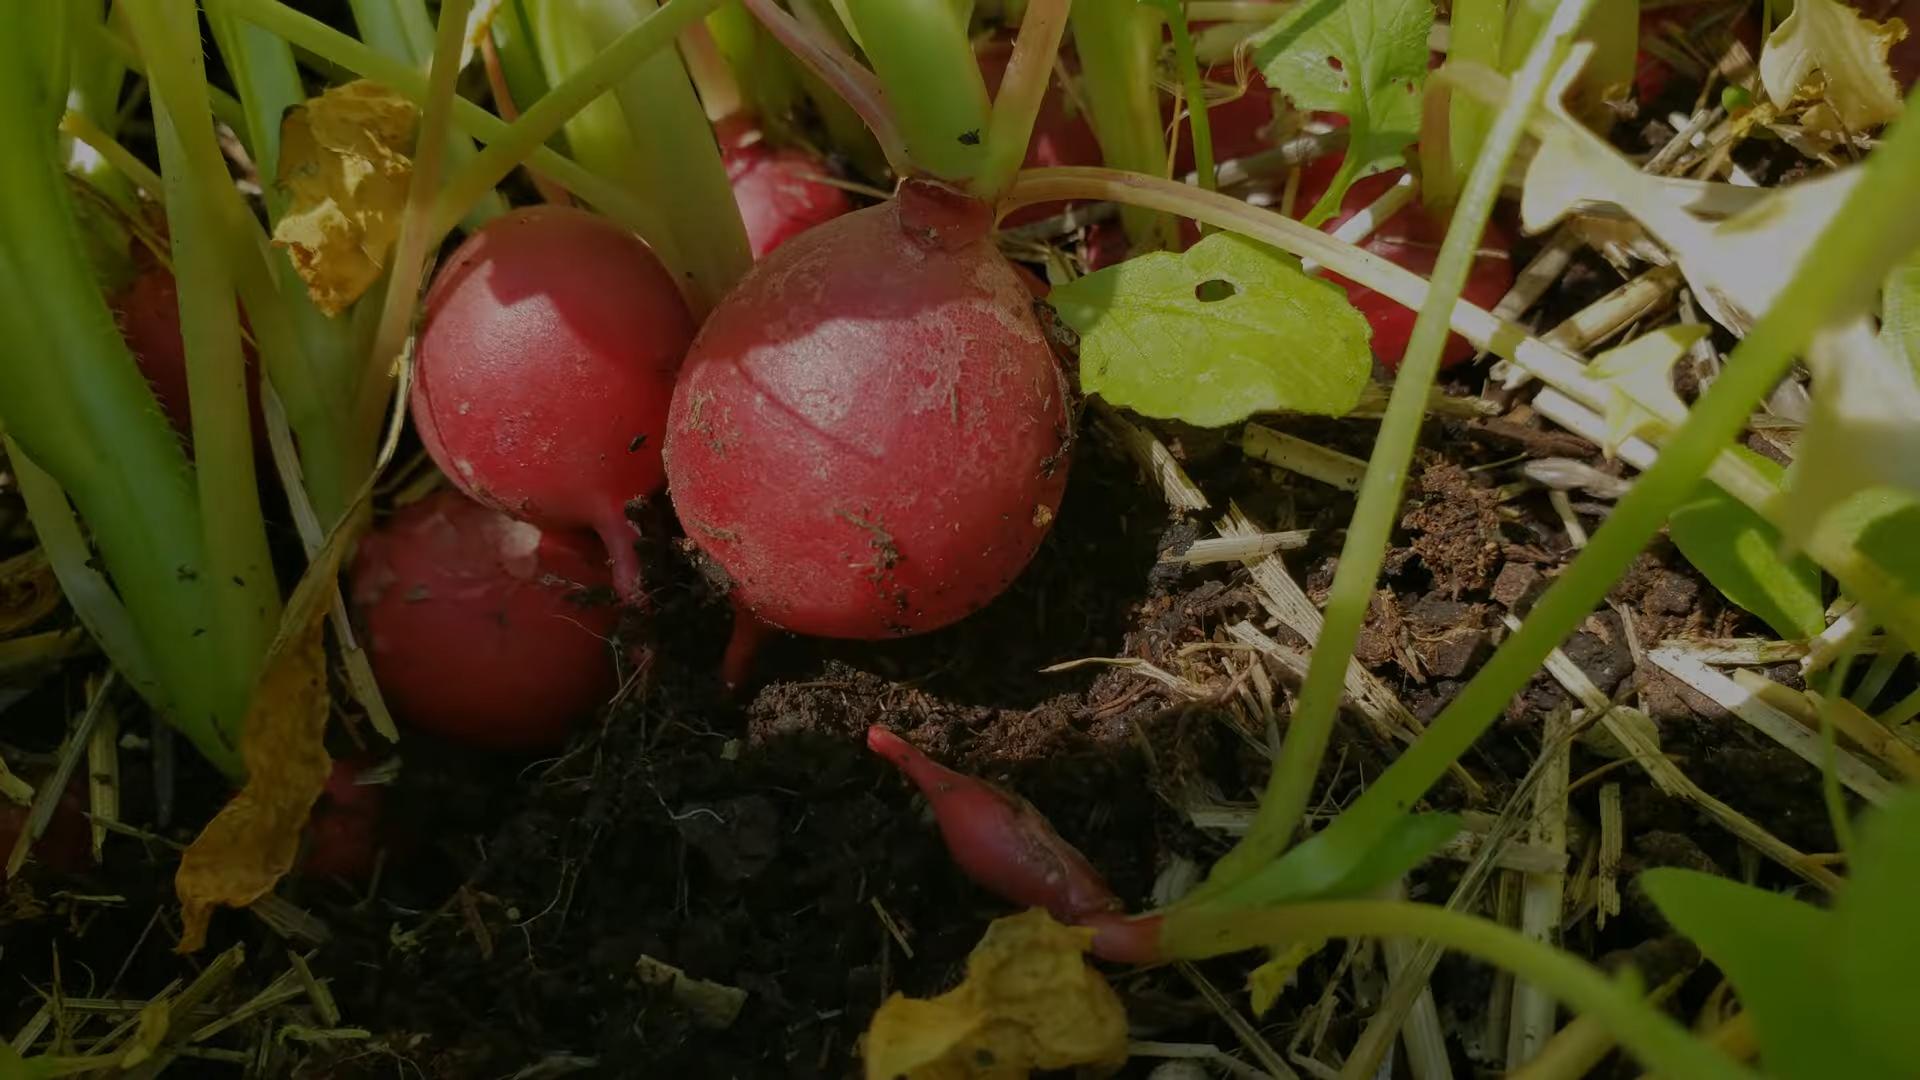
1. Check for Maturity: Radishes are usually ready to harvest about 3-4 weeks after planting. Check the seed packet for the specific maturity time for your variety. The tops of the radishes should be visible above the soil, and they should be about 1 inch in diameter.
2. Harvest Carefully: Gently pull the radishes out of the soil by the greens. If the soil is dry, you may need to loosen it with a trowel first.
3. Wash and Enjoy: Wash the radishes thoroughly and enjoy them fresh! You can eat them raw in salads, sandwiches, or as a snack. You can also cook them in stir-fries or soups.
Troubleshooting: Common Radish Problems
Even with the best care, you might encounter a few problems while growing radishes. Here are some common issues and how to fix them:
* Radishes are too small: This is usually caused by overcrowding or lack of water. Make sure you thin your seedlings properly and water them regularly.
* Radishes are cracked: This is usually caused by inconsistent watering. Try to keep the soil consistently moist.
* Radishes are too spicy: This can be caused by hot weather or letting the radishes grow too large. Harvest them when they’re still relatively small.
* Radishes are all tops and no roots: This can be caused by soil that’s too rich in nitrogen. Avoid using high-nitrogen fertilizers.
Radish Varieties to Try
There are so many different radish varieties to choose from! Here are a few of my favorites:
* Cherry Belle: A classic red globe radish that’s easy to grow and has a mild flavor.
* French Breakfast: A long, slender radish with a mild, slightly sweet flavor.
* Easter Egg: A mix of colorful radishes in shades of red, pink, purple, and white.
* Daikon: A large, white radish with a mild, slightly sweet flavor. Perfect for pickling or grating into salads.
* Black Spanish: A black-skinned radish with a pungent, peppery flavor.
Extending Your Radish Harvest
Want to enjoy fresh radishes all season long? Here are a few tips for extending your harvest:
* Succession Planting: Plant a new batch of radish seeds every 2 weeks. This will ensure a continuous supply of radishes.
* Choose Heat-Tolerant Varieties: If you live in a hot climate, choose radish varieties that are known to be heat-tolerant.
* Provide Shade: During the hottest part of the day, provide your radishes with some shade. You can use shade cloth or plant them near taller plants.
Radish Recipes to Try
Now that you’ve got a bounty of fresh radishes, here are a few delicious recipes to try:
* Radish and Butter Sandwiches: A classic French snack. Simply spread butter on a slice of baguette and top with thinly sliced radishes and a sprinkle of sea salt.
* Radish Salad: Combine thinly sliced radishes with mixed greens, cucumbers, and a light vinaigrette.
* Roasted Radishes: Toss radishes with olive oil, salt, and pepper and roast them in the oven until tender.
* Radish Top Pesto: Don’t throw away those radish greens! Use them to make a delicious pesto.
* Pickled Radishes: A great way to preserve your radish harvest.
Final Thoughts
Growing radishes is a rewarding and easy way to add fresh, flavorful produce to your diet. With a little bit of care and attention, you can enjoy a continuous supply of these peppery gems all season long. So, grab some seeds, get your hands dirty, and start growing your own radishes today! Happy gardening!
Conclusion
So, there you have it! Growing radishes at home is not only surprisingly simple, but it’s also incredibly rewarding. Forget those bland, store-bought radishes that lack that peppery punch. With just a few simple steps, you can cultivate your own vibrant, crisp, and flavorful radishes right in your backyard or even on your balcony.
This DIY trick is a must-try for several reasons. First, it’s incredibly cost-effective. A packet of radish seeds is inexpensive, and you’ll be amazed at the abundance of radishes you can harvest from it. Second, it’s fast! Radishes are known for their quick growth, meaning you can enjoy your homegrown harvest in as little as three to four weeks. This makes them perfect for impatient gardeners or those looking for a quick gardening win. Third, and perhaps most importantly, the taste is simply superior. Homegrown radishes have a fresher, more intense flavor than anything you’ll find in the supermarket.
But the fun doesn’t stop there! Feel free to experiment with different varieties of radishes. Try French Breakfast radishes for their mild flavor and elongated shape, or go for the vibrant Watermelon radish for a stunning visual display. You can also adjust the growing conditions to influence the flavor. For a milder taste, ensure consistent watering and partial shade. For a spicier kick, let the soil dry out slightly between waterings and provide more sunlight.
Consider companion planting your radishes with carrots. The radishes help deter pests that might attack the carrots, and their quick growth helps break up the soil, making it easier for the carrots to thrive. You can also interplant them with lettuce or spinach to maximize your garden space.
Growing radishes at home is also a fantastic way to get kids involved in gardening. Their rapid growth cycle makes them exciting for children to watch, and they’ll be more likely to try new vegetables when they’ve grown them themselves. Imagine the pride they’ll feel when they harvest their own radishes and add them to a salad or snack!
Beyond the taste and convenience, growing your own radishes is also a sustainable choice. You’ll reduce your reliance on commercially grown produce, which often travels long distances and contributes to carbon emissions. Plus, you’ll have the satisfaction of knowing exactly where your food comes from and how it was grown.
Don’t be intimidated if you’re a beginner gardener. Radishes are incredibly forgiving and can tolerate a wide range of conditions. Just remember to choose a sunny spot, prepare the soil well, and water regularly. Even if you make a few mistakes along the way, you’re likely to still end up with a delicious harvest.
So, what are you waiting for? Grab a packet of radish seeds and give this DIY trick a try. You won’t regret it! We’re confident that you’ll be amazed at how easy and rewarding it is to grow your own radishes at home.
We encourage you to share your experiences with us! Post photos of your radish harvest on social media using #HomegrownRadishes and tell us about your favorite varieties and growing tips. We can’t wait to see what you create! Let’s spread the joy of homegrown radishes and inspire others to get their hands dirty.
Frequently Asked Questions (FAQ)
What is the best time of year to grow radishes?
Radishes are cool-season crops, which means they thrive in cooler temperatures. The best time to plant them is in early spring or late summer/early fall. Avoid planting them during the hottest months of summer, as the heat can cause them to bolt (go to seed) and develop a bitter taste. In spring, plant them as soon as the soil is workable. For a continuous harvest, sow seeds every two weeks. In the fall, plant them about a month before the first expected frost.
How much sunlight do radishes need?
Radishes need at least six hours of sunlight per day to grow properly. However, they can tolerate partial shade, especially in warmer climates. If you’re growing them in a hot climate, providing some afternoon shade can help prevent them from bolting.
What kind of soil is best for growing radishes?
Radishes prefer loose, well-drained soil that is rich in organic matter. Before planting, amend the soil with compost or well-rotted manure to improve its fertility and drainage. Avoid heavy clay soils, as they can become compacted and prevent the radishes from developing properly. The ideal soil pH for radishes is between 6.0 and 7.0.
How often should I water radishes?
Radishes need consistent moisture to grow quickly and develop a crisp texture. Water them regularly, especially during dry periods. Aim to keep the soil consistently moist but not waterlogged. Overwatering can lead to root rot, while underwatering can cause the radishes to become tough and bitter. A good rule of thumb is to water them deeply once or twice a week, depending on the weather conditions.
How do I know when radishes are ready to harvest?
Radishes are typically ready to harvest in about three to four weeks after planting, depending on the variety. The best way to tell if they’re ready is to check their size. Most varieties are ready when they are about 1 inch in diameter. You can also gently brush away the soil around the top of the radish to check its size. Don’t let them get too large, as they can become woody and bitter.
What are some common problems when growing radishes?
Some common problems when growing radishes include flea beetles, root maggots, and bolting. Flea beetles are small, jumping insects that can chew holes in the leaves of radishes. You can control them by covering the plants with row covers or by using insecticidal soap. Root maggots are small, white larvae that feed on the roots of radishes. You can prevent them by practicing crop rotation and by using row covers. Bolting is when the radishes go to seed prematurely, usually due to hot weather or stress. You can prevent bolting by planting radishes in the spring or fall and by providing them with consistent moisture.
Can I grow radishes in containers?
Yes, radishes are well-suited for container gardening. Choose a container that is at least 6 inches deep and has drainage holes. Fill the container with a good-quality potting mix and plant the radish seeds according to the package directions. Water regularly and fertilize with a balanced fertilizer every few weeks.
How do I store radishes after harvesting?
After harvesting, remove the radish greens and store them separately. The greens can be used in salads or cooked like spinach. Wash the radishes thoroughly and store them in a plastic bag in the refrigerator. They will keep for about a week.
Are radish greens edible?
Yes, radish greens are edible and nutritious. They have a peppery flavor similar to the radishes themselves. You can use them in salads, soups, or stir-fries. They are also a good source of vitamins A and C, as well as calcium and iron.
What are some creative ways to use radishes?
Beyond salads, radishes can be used in a variety of creative ways. Try roasting them with other root vegetables for a sweet and savory side dish. You can also pickle them for a tangy condiment. Thinly sliced radishes make a great addition to sandwiches and tacos. And don’t forget about radish butter! Simply blend softened butter with finely chopped radishes and herbs for a flavorful spread.

Leave a Comment