
Growing green beans in containers might seem like a challenge, especially if you’re short on space, but trust me, it’s totally doable and incredibly rewarding! Imagine stepping onto your balcony or patio and harvesting fresh, crisp green beans for dinner – grown entirely by you. That’s the magic of container gardening!
For centuries, humans have cultivated beans, with evidence suggesting their domestication dates back thousands of years in the Americas. From ancient civilizations relying on them as a staple food source to modern gardeners enjoying their ease of growth and nutritional value, beans have always held a special place in our hearts (and diets!).
But why should you bother with growing green beans in containers? Well, for starters, it’s a fantastic way to enjoy fresh produce even if you don’t have a sprawling backyard. Container gardening also gives you greater control over soil quality, watering, and pest management. Plus, let’s be honest, there’s something incredibly satisfying about nurturing a plant from seed to harvest. In this article, I’m going to share some simple yet effective DIY tricks and hacks that will help you achieve a bountiful green bean harvest, right from your own container garden. Get ready to unleash your inner gardener!
DIY Container Gardening: Growing Green Beans Like a Pro!
Hey there, fellow gardening enthusiasts! I’m so excited to share my tried-and-true method for growing delicious, crisp green beans right in containers. Forget sprawling gardens – with a little know-how, you can enjoy a bountiful harvest even on a small balcony or patio. I’ve been doing this for years, and trust me, the satisfaction of picking your own fresh beans is unbeatable. Let’s get started!
Choosing the Right Container and Soil
Before we even think about seeds, let’s talk about the foundation of our green bean garden: the container and the soil. This is crucial for success!
* Container Size: Green beans need room to stretch their roots. I recommend a container that’s at least 12 inches deep and 12 inches in diameter. Bigger is always better, especially if you’re planning to grow multiple plants. A half-barrel planter works wonderfully!
* Drainage: This is non-negotiable! Make sure your container has drainage holes. Green beans hate soggy feet, and poor drainage can lead to root rot. If your container doesn’t have holes, you’ll need to drill some.
* Material: Plastic, terracotta, or even fabric pots will work. I personally prefer plastic because they retain moisture better, which is helpful in hot weather. Terracotta looks beautiful but dries out faster.
* Soil: Don’t even think about using garden soil straight from the ground! It’s often too heavy and doesn’t drain well. Instead, opt for a high-quality potting mix. Look for a mix that’s specifically formulated for vegetables. I like to amend mine with compost for extra nutrients.
Selecting Your Green Bean Variety
Now for the fun part: choosing your green bean variety! There are two main types: bush beans and pole beans.
* Bush Beans: These are compact and don’t require staking. They’re perfect for containers because they stay relatively small. Popular varieties include ‘Bush Blue Lake’, ‘Contender’, and ‘Provider’.
* Pole Beans: These are vining beans that need a trellis or other support to climb. While they require more space, they tend to produce a larger harvest over a longer period. If you have a larger container and a sunny spot, consider varieties like ‘Kentucky Wonder’ or ‘Blue Lake Pole’.
I usually go with bush beans for my container gardens because they’re easier to manage. But if you’re feeling ambitious, pole beans can be incredibly rewarding!
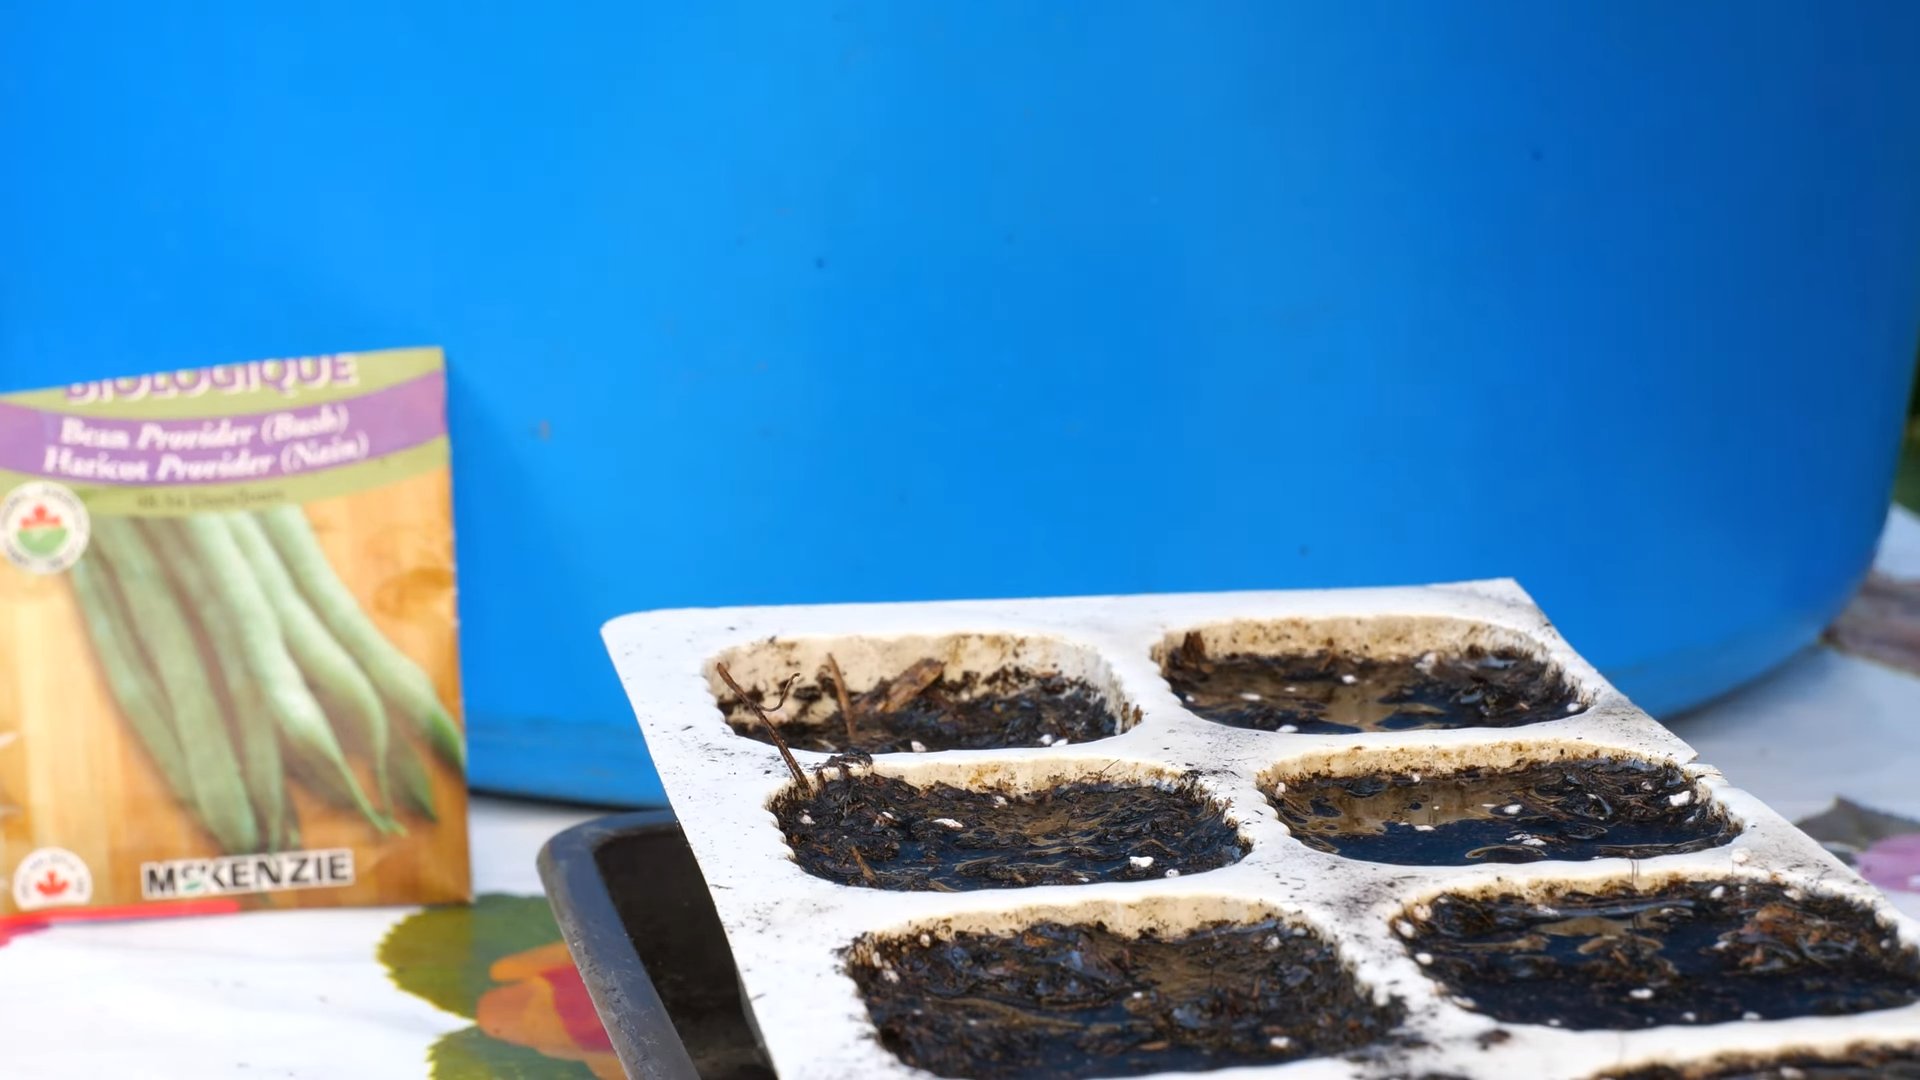
Planting Your Green Bean Seeds
Alright, let’s get our hands dirty! Here’s how to plant your green bean seeds:
1. Fill the Container: Fill your container with potting mix, leaving about an inch or two of space at the top.
2. Moisten the Soil: Water the soil thoroughly until it’s evenly moist but not soggy.
3. Sow the Seeds: For bush beans, sow seeds about 1 inch deep and 2-3 inches apart. For pole beans, sow seeds around the base of your trellis, spacing them about 4-6 inches apart.
4. Cover the Seeds: Gently cover the seeds with soil and pat it down lightly.
5. Water Again: Water the soil again gently to settle it.
6. Label Your Container: Don’t forget to label your container with the variety of green beans you planted and the date. This will help you keep track of your progress.
Caring for Your Green Bean Plants
Once your seeds are planted, it’s time to nurture them into thriving green bean plants. Here’s what you need to do:
1. Sunlight: Green beans need at least 6-8 hours of sunlight per day. Place your container in a sunny spot where it will receive plenty of light.
2. Watering: Water your green bean plants regularly, especially during hot, dry weather. The soil should be consistently moist but not waterlogged. Check the soil moisture by sticking your finger into the soil. If the top inch feels dry, it’s time to water.
3. Fertilizing: Green beans are heavy feeders, so they need regular fertilization. I like to use a balanced liquid fertilizer every two weeks. Follow the instructions on the fertilizer package. You can also amend the soil with compost tea for a natural boost.
4. Support (for Pole Beans): If you’re growing pole beans, make sure they have a sturdy trellis or other support to climb. As the plants grow, gently guide the vines onto the trellis.
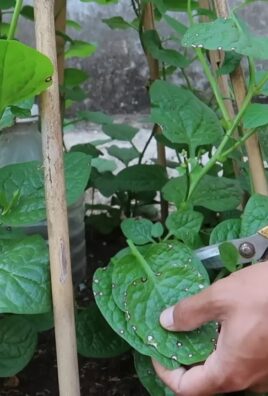
5. Pest Control: Keep an eye out for pests like aphids, bean beetles, and spider mites. If you spot any pests, treat them promptly with insecticidal soap or neem oil. I prefer organic pest control methods whenever possible.
6. Weeding: Remove any weeds that pop up in your container. Weeds can compete with your green bean plants for nutrients and water.
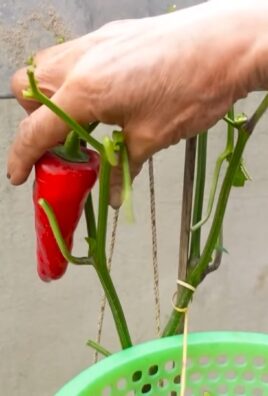
Harvesting Your Green Beans
The moment we’ve all been waiting for: harvesting!
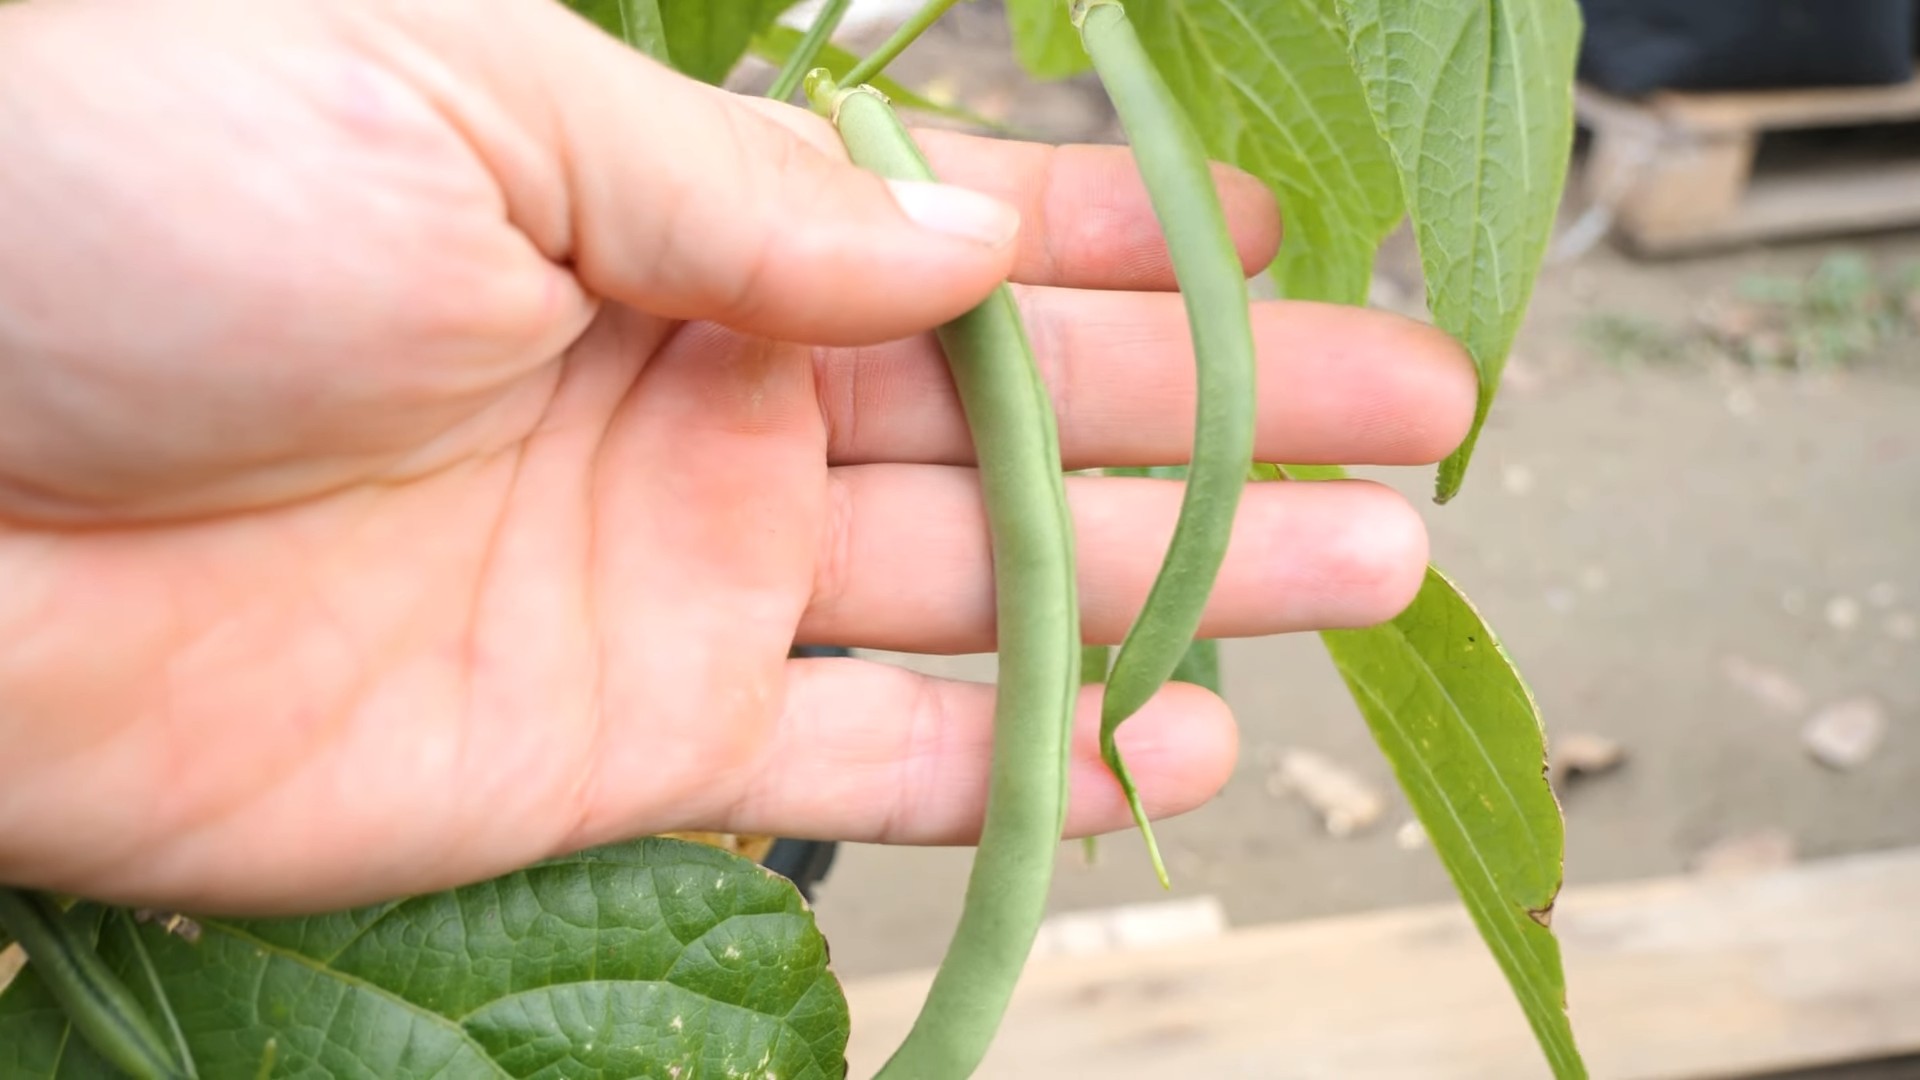
1. Timing: Green beans are usually ready to harvest about 50-60 days after planting. The pods should be firm, crisp, and about the size of your finger.
2. Technique: Gently snap the beans off the plant, being careful not to damage the stems.
3. Frequency: Harvest your green beans regularly to encourage continued production. The more you pick, the more they’ll grow!
4. Enjoy: Enjoy your fresh green beans in salads, stir-fries, or as a simple side dish. They’re also delicious blanched and frozen for later use.
Troubleshooting Common Problems
Even with the best care, you might encounter some problems along the way. Here are a few common issues and how to address them:
* Yellowing Leaves: This could be a sign of overwatering, underwatering, or nutrient deficiency. Check the soil moisture and adjust your watering accordingly. Fertilize your plants with a balanced fertilizer.
* Lack of Flowers: This could be due to insufficient sunlight or over-fertilization with nitrogen. Make sure your plants are getting enough sunlight and avoid using fertilizers that are high in nitrogen.
* Pest Infestations: As mentioned earlier, keep an eye out for pests and treat them promptly with insecticidal soap or neem oil.
* Powdery Mildew: This fungal disease can cause a white, powdery coating on the leaves. Improve air circulation around your plants and treat them with a fungicide if necessary.
Extending Your Harvest
Want to keep those green beans coming? Here are a few tips for extending your harvest:
* Succession Planting: Plant a new batch of seeds every two weeks to ensure a continuous supply of green beans.
* Deadheading: Remove any spent flowers to encourage the plant to produce more beans.
* Proper Watering and Fertilizing: Consistent watering and fertilizing will keep your plants healthy and productive.
Choosing the right fertilizer
Choosing the right fertilizer is crucial for healthy and productive green bean plants. Here’s a breakdown of what to look for and some options I’ve found successful:
* Understanding N-P-K Ratios: Fertilizer labels display three numbers representing the percentage of Nitrogen (N), Phosphorus (P), and Potassium (K) in the fertilizer. Green beans benefit from a balanced fertilizer, especially during their early growth stages. A ratio like 5-10-10 or 10-10-10 works well. However, avoid fertilizers with very high nitrogen levels, as this can promote leafy growth at the expense of bean production.
* Balanced Liquid Fertilizers: Liquid fertilizers are easy to apply and quickly absorbed by the plants. I often use a balanced liquid fertilizer diluted according to the package instructions every two weeks. Brands like Miracle-Gro Performance Organics All Purpose Plant Nutrition or FoxFarm Grow Big (diluted appropriately) are good choices.
* Slow-Release Granular Fertilizers: Slow-release fertilizers provide a steady stream of nutrients over a longer period. These are great for incorporating into the soil at planting time. Look for a granular fertilizer with a balanced N-P-K ratio and follow the package instructions for application rates. Osmocote Smart-Release Plant Food is a popular option.
* Organic Options: If you prefer organic gardening, there are plenty of excellent organic fertilizers available.
* Compost Tea: This is a fantastic way to provide a gentle boost of nutrients and beneficial microbes to your plants. Simply steep compost in water for a few days, then strain and use the liquid to water your plants.
* Fish Emulsion: Fish emulsion is a rich source of nitrogen and other nutrients. Dilute it according to the package instructions and apply it to the soil around your plants. Be aware that it has a strong odor!
* Bone Meal: Bone meal is high in phosphorus, which is essential for root development and flowering. Incorporate it into the soil at planting time.
* Kelp Meal: Kelp meal
Conclusion
So, there you have it! Growing green beans in containers is not only achievable, but it’s also incredibly rewarding. We’ve walked you through the process, from selecting the right container and soil to providing the necessary support and care. But why should you bother with this DIY project?
Simply put, growing your own green beans offers a freshness and flavor that you just can’t find in store-bought varieties. Imagine stepping out onto your balcony or patio and harvesting crisp, tender green beans just minutes before adding them to your dinner plate. The taste difference is remarkable. Plus, you have complete control over the growing process, ensuring that your beans are free from harmful pesticides and chemicals.
Beyond the superior taste and health benefits, container gardening is a fantastic way to connect with nature, even in the smallest of spaces. It’s a therapeutic activity that can reduce stress and improve your overall well-being. Watching your green bean plants sprout, climb, and produce a bountiful harvest is an incredibly satisfying experience.
Ready to take your container gardening to the next level? Consider these variations:
* **Bush Beans vs. Pole Beans:** We focused on pole beans in this guide, but bush beans are another excellent option for containers. They require less support and are generally more compact, making them ideal for smaller spaces. Experiment with both to see which you prefer.
* **Companion Planting:** Enhance your green bean container by planting companion herbs and flowers. Marigolds can deter pests, while basil can improve the flavor of your beans.
* **Succession Planting:** Extend your harvest season by planting new green bean seeds every few weeks. This ensures a continuous supply of fresh beans throughout the summer.
* **Vertical Gardening:** If you’re short on space, explore vertical gardening techniques. Use trellises, netting, or even repurposed materials to create a stunning green bean wall.
Growing green beans in containers is a must-try for any gardener, regardless of experience level. It’s a simple, affordable, and incredibly rewarding way to enjoy fresh, homegrown produce. Don’t be intimidated by the process. With a little planning and effort, you can transform your balcony, patio, or even a sunny windowsill into a thriving green bean garden.
We encourage you to give this DIY trick a try. Start small, learn as you go, and don’t be afraid to experiment. And most importantly, share your experience with us! We’d love to hear about your successes, challenges, and any tips or tricks you discover along the way. Post photos of your green bean containers on social media using [Your Hashtag] and let’s inspire others to embrace the joy of homegrown goodness. Happy gardening!
Frequently Asked Questions (FAQ)
What is the best type of container for growing green beans?
The ideal container size depends on whether you’re growing bush beans or pole beans. For bush beans, a container that is at least 12 inches in diameter and 8 inches deep is sufficient. For pole beans, which require more space for their roots and climbing structure, opt for a container that is at least 18 inches in diameter and 12 inches deep. Ensure the container has drainage holes to prevent waterlogging. Materials like plastic, terracotta, or even repurposed buckets can work well, as long as they are clean and provide adequate drainage.
What kind of soil should I use for growing green beans in containers?
Green beans thrive in well-draining, nutrient-rich soil. Avoid using garden soil directly in containers, as it can become compacted and hinder drainage. Instead, use a high-quality potting mix specifically formulated for containers. You can also amend the potting mix with compost or aged manure to provide additional nutrients. A slightly acidic to neutral pH (around 6.0 to 7.0) is ideal for green beans.
How often should I water my green bean plants in containers?
Watering frequency depends on factors like weather conditions, container size, and soil type. Generally, you should water your green bean plants whenever the top inch of soil feels dry to the touch. During hot, dry weather, you may need to water daily. Avoid overwatering, as this can lead to root rot. Ensure that excess water drains freely from the drainage holes. A good rule of thumb is to water deeply and less frequently, rather than shallowly and more often.
How much sunlight do green bean plants need?
Green beans require at least 6-8 hours of direct sunlight per day to thrive. Choose a location for your container that receives ample sunlight throughout the day. If you live in a particularly hot climate, providing some afternoon shade can help prevent the plants from overheating. If you don’t have access to enough natural sunlight, you can supplement with grow lights.
What kind of support do pole beans need in containers?
Pole beans are climbing plants and require a sturdy support structure to grow properly. You can use a trellis, bamboo stakes, netting, or even a repurposed ladder as a support. The support should be tall enough to accommodate the full height of the bean plants, which can reach several feet. Secure the support firmly in the container to prevent it from tipping over. Train the bean vines to climb the support by gently guiding them and tying them loosely with twine or plant ties.
How do I fertilize my green bean plants in containers?
Green beans are relatively light feeders, but they still benefit from regular fertilization. Use a balanced fertilizer with an NPK ratio of 10-10-10 or 5-10-10. Apply the fertilizer according to the package instructions, typically every 2-3 weeks. You can also use organic fertilizers like compost tea or fish emulsion. Avoid over-fertilizing, as this can lead to excessive foliage growth at the expense of bean production.
How do I protect my green bean plants from pests and diseases?
Regularly inspect your green bean plants for signs of pests and diseases. Common pests include aphids, bean beetles, and spider mites. You can control these pests with insecticidal soap, neem oil, or by handpicking them off the plants. Diseases like powdery mildew and bean rust can be prevented by ensuring good air circulation and avoiding overhead watering. If you notice any signs of disease, remove the affected leaves or plants immediately.
When can I harvest my green beans?
Green beans are typically ready to harvest about 50-60 days after planting. The beans should be firm, crisp, and tender, and the pods should be about the thickness of a pencil. Harvest the beans regularly to encourage continued production. Use scissors or pruning shears to cut the beans from the plant, being careful not to damage the vines.
Can I grow green beans indoors?
While it’s possible to grow green beans indoors, it can be challenging to provide them with the necessary sunlight and space. If you want to try growing green beans indoors, choose a sunny windowsill or use grow lights to provide at least 6-8 hours of light per day. Select bush bean varieties, as they are more compact and better suited for indoor growing. Ensure that the container is large enough and that the soil is well-draining.
What are some common problems when growing green beans in containers and how can I fix them?
Some common problems include:
* **Yellowing leaves:** This can be caused by nutrient deficiencies, overwatering, or underwatering. Adjust your watering schedule and fertilize as needed.
* **Lack of bean production:** This can be due to insufficient sunlight, poor pollination, or over-fertilization. Ensure that your plants are getting enough sunlight and consider hand-pollinating the flowers.
* **Pest infestations:** Regularly inspect your plants for pests and take appropriate action to control them.
* **Disease:** Prevent diseases by ensuring good air circulation and avoiding overhead watering. Remove any affected leaves or plants immediately.
Leave a Comment