
Indoor Celery Growing: Who knew you could cultivate crisp, refreshing celery right in your own kitchen? Forget those limp, store-bought stalks! I’m about to share some amazing DIY tricks that will have you enjoying homegrown celery in no time.
For centuries, celery has been valued not only for its culinary uses but also for its medicinal properties. Ancient Greeks and Romans used it in wreaths and as a flavoring, recognizing its unique taste and health benefits. Now, we’re bringing this ancient vegetable into the modern home, and you don’t even need a sprawling garden to do it!
Let’s face it, buying celery from the grocery store can be a gamble. Sometimes it’s fresh, other times it’s wilted and flavorless. Plus, think of all the plastic packaging! That’s why learning indoor celery growing is such a game-changer. Imagine the satisfaction of snipping off exactly what you need for a salad, soup, or a healthy snack, knowing it’s fresh, organic, and grown with your own two hands. This DIY guide will walk you through simple, effective methods to regrow celery from scraps, saving you money, reducing waste, and adding a touch of green to your indoor space. Get ready to unleash your inner gardener and enjoy the delicious rewards!
Regrow Celery from Scraps: A Beginner’s Guide
Hey there, fellow plant enthusiasts! Ever find yourself tossing away the base of your celery stalk after chopping it up for a snack or soup? Well, stop right there! Did you know you can actually regrow celery from that very scrap? It’s a super easy and rewarding DIY project, perfect for beginners and a great way to reduce food waste. I’m going to walk you through the whole process, step-by-step, so you can have your own little celery garden going in no time.
What You’ll Need
Before we dive in, let’s gather our supplies. This is a pretty low-key project, so you probably already have most of this stuff lying around:
* Celery Stalk Base: The star of the show! Choose a healthy-looking base with about 2-3 inches of stalk attached. Make sure it’s firm and not mushy.
* Shallow Dish or Bowl: Something to hold water and the celery base.
* Water: Tap water is fine!
* Small Pot: A pot about 6-8 inches in diameter will work perfectly.
* Potting Soil: Use a good quality potting mix that drains well.
* Sunny Spot: Celery loves sunshine, so find a bright windowsill or a spot in your garden that gets at least 6 hours of sunlight per day.
* Spray Bottle (Optional): For misting the celery as it grows.
Phase 1: Rooting Your Celery Base
This is where the magic begins! We’re going to coax those roots out of the celery base.
1. Prepare the Celery Base: Gently clean the celery base under cool water to remove any dirt or debris. Don’t scrub too hard, you don’t want to damage it.
2. Place in Water: Fill your shallow dish or bowl with about an inch of water. Place the celery base, cut-side up, in the water. Make sure the bottom of the base is submerged, but the top part of the stalk is above the water line. We don’t want the whole thing to rot!
3. Find a Sunny Spot: Place the dish with the celery base in a sunny windowsill or another bright location. Celery needs light to grow, even at this early stage.
4. Change the Water Regularly: This is important! Change the water every 1-2 days to keep it fresh and prevent bacteria from growing. This will help your celery base stay healthy and encourage root growth.
5. Observe and Wait: Now comes the waiting game. Over the next few days, you should start to see small roots emerging from the bottom of the celery base. You might also notice some new green growth sprouting from the top. This is a great sign!
6. Patience is Key: It usually takes about 5-7 days for the roots to develop enough for planting. You want the roots to be at least an inch or two long before moving on to the next phase. Don’t rush it!
Phase 2: Planting Your Celery
Once your celery base has developed a good root system, it’s time to plant it in soil. This will give it the nutrients it needs to grow into a full-fledged celery plant.
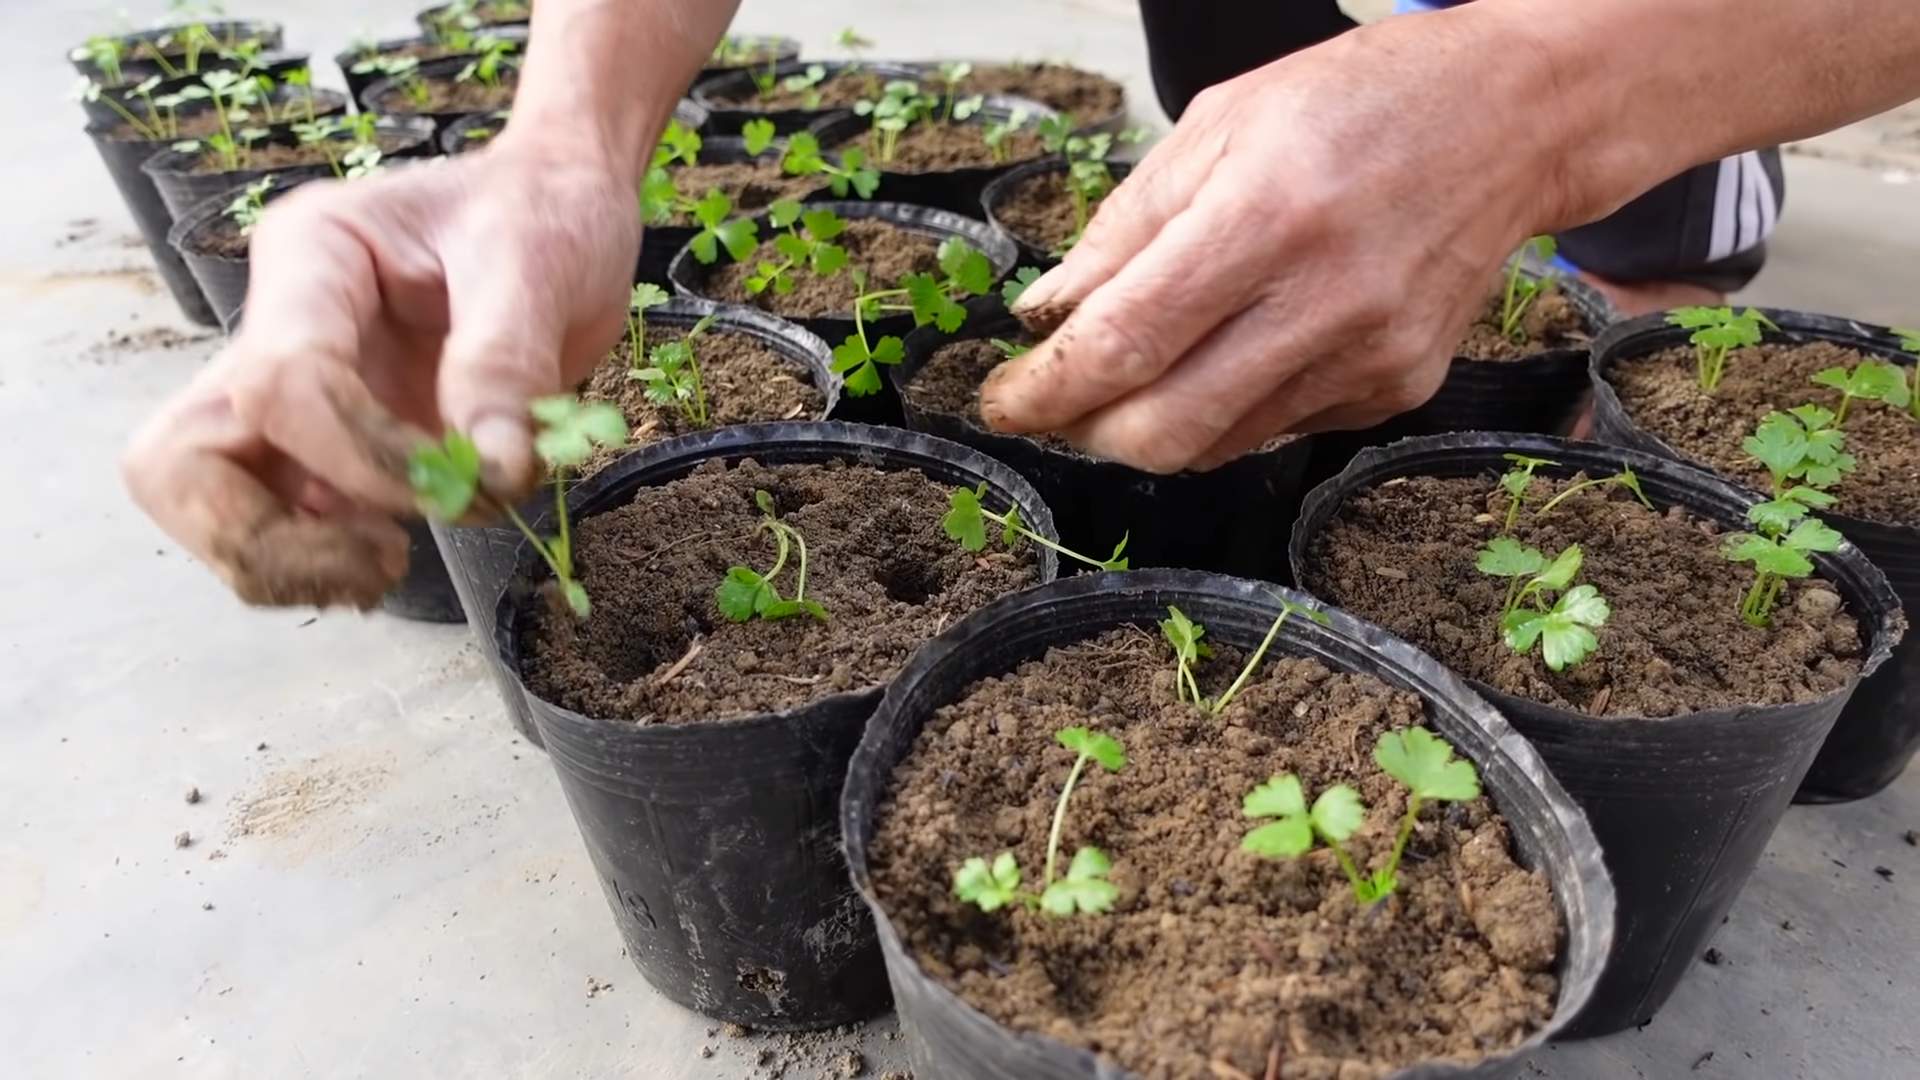
1. Prepare the Pot: Fill your pot with potting soil, leaving about an inch of space at the top. Gently pat the soil down to remove any air pockets.
2. Make a Hole: Use your finger or a small trowel to create a hole in the center of the pot, large enough to accommodate the celery base and its roots.
3. Carefully Plant the Celery: Gently remove the celery base from the water and carefully place it in the hole. Make sure the roots are spread out and not bunched together.
4. Cover with Soil: Fill the hole with soil, gently covering the roots. Leave the top of the celery base exposed. You don’t want to bury it too deep.
5. Water Thoroughly: Water the soil thoroughly until water drains out of the bottom of the pot. This will help settle the soil and ensure the roots are properly hydrated.
6. Return to a Sunny Spot: Place the pot back in your sunny windowsill or garden location.
Phase 3: Caring for Your Growing Celery
Now that your celery is planted, it’s time to provide it with the care it needs to thrive.
1. Watering: Celery needs consistent moisture, but it doesn’t like to be waterlogged. Water the plant whenever the top inch of soil feels dry to the touch. Check the soil moisture regularly, especially during hot weather.
2. Sunlight: Celery loves sunshine! Make sure it gets at least 6 hours of direct sunlight per day. If you don’t have a sunny spot indoors, you might consider using a grow light.
3. Fertilizing (Optional): To give your celery a boost, you can fertilize it every few weeks with a balanced liquid fertilizer. Follow the instructions on the fertilizer packaging. I usually dilute the fertilizer to half strength to avoid burning the roots.
4. Misting (Optional): Celery also appreciates humidity. You can mist the leaves with water every few days, especially if you live in a dry climate. This will help keep the plant healthy and happy.
5. Pest Control: Keep an eye out for pests like aphids or spider mites. If you notice any, you can try spraying the plant with insecticidal soap or neem oil.
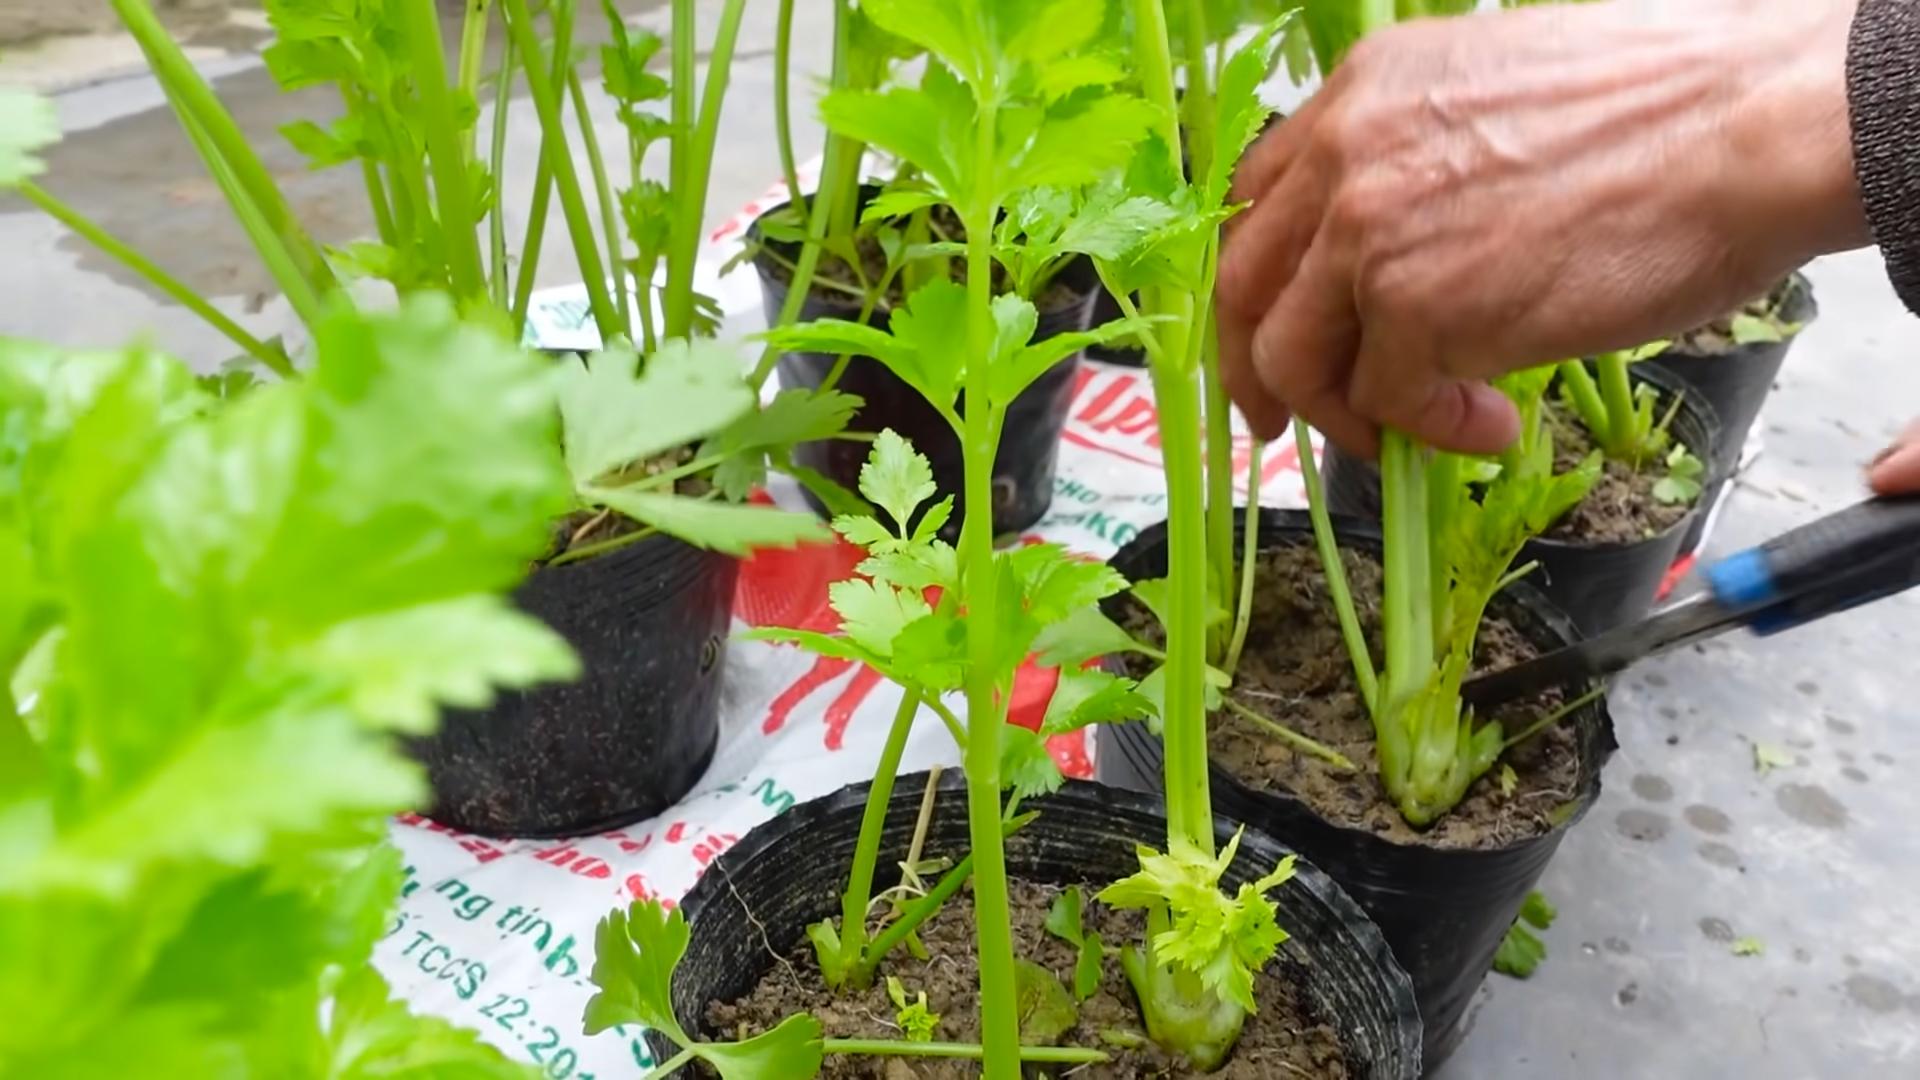
6. Harvesting: You can start harvesting your celery when the stalks are about 6-8 inches long. Simply cut off the stalks you need, leaving the base of the plant intact. This will allow it to continue growing and producing more celery.
Troubleshooting
Sometimes things don’t go exactly as planned. Here are a few common issues you might encounter and how to fix them:
* Celery Base Rotting: This is usually caused by too much moisture or stagnant water. Make sure you’re changing the water regularly and that the top of the celery base is not submerged.
* Slow Growth: This could be due to lack of sunlight, nutrients, or water. Make sure your celery is getting enough light, water, and fertilizer.
* Yellowing Leaves: This could be a sign of overwatering or underwatering. Check the soil moisture and adjust your watering accordingly. It could also be a sign of nutrient deficiency, so try fertilizing the plant.
* Pests: As mentioned earlier, keep an eye out for pests and treat them promptly.
Tips for Success
Here are a few extra tips to help you succeed with your celery regrowing project:
* Start with a Healthy Base: Choose a celery base that is firm, fresh, and free from blemishes.
* Use Good Quality Potting Soil: This will provide your celery with the nutrients it needs to grow.
* Don’t Overwater: Celery needs consistent moisture, but it doesn’t like to be waterlogged.
* Be Patient: It takes time for celery to grow, so don’t get discouraged if you don’t see results immediately.
* Experiment: Try regrowing different varieties of celery to see which ones you like best.
Why Regrow Celery?
Besides being a fun and easy project, regrowing celery has several benefits:
* Reduces Food Waste: You’re using a part of the celery that you would normally throw away.
* Saves Money: You’re growing your own celery, which means you don’t have to buy it from the store.
* It’s Environmentally Friendly: You’re reducing your carbon footprint by growing your own food.
* It’s Educational: It’s a great way to learn about plant growth and gardening.
* It’s Rewarding: There’s nothing quite like the feeling of harvesting your own homegrown celery!
So, there you have it! A complete guide to regrowing celery from scraps. I hope you found this helpful and that you’re inspired to give it a try. It’s a fun, easy, and rewarding project that anyone can do. Happy growing!
Conclusion
So, there you have it! Growing celery indoors might seem like a challenge, but with a little patience and these simple steps, you can enjoy fresh, crisp celery right from your own home. This DIY trick is a must-try for several reasons. First, it offers a sustainable way to reduce your grocery bills and minimize food waste. Instead of tossing those celery ends, you’re giving them a new lease on life, contributing to a more eco-friendly lifestyle. Second, it’s incredibly rewarding to watch something grow from scraps. There’s a unique satisfaction in nurturing a plant and harvesting your own produce, even if it’s just a few stalks of celery. Third, and perhaps most importantly, homegrown celery tastes amazing! It’s often more flavorful and tender than store-bought varieties, making it a delicious addition to your salads, soups, and snacks.
But the benefits don’t stop there. Growing celery indoors can also be a fun and educational activity for kids. It’s a great way to teach them about plant life cycles, responsibility, and the importance of healthy eating. Plus, it adds a touch of greenery to your indoor space, creating a more vibrant and inviting atmosphere.
Why is this method superior to buying celery at the store? Beyond the cost savings and environmental benefits, growing your own celery allows you to control the growing conditions. You can ensure that your celery is grown without harmful pesticides or chemicals, giving you peace of mind about what you’re consuming.
Ready to take your indoor celery growing to the next level? Consider experimenting with different varieties of celery. Some varieties are more compact and better suited for indoor growing than others. You can also try adding different types of fertilizer to see how it affects the growth and flavor of your celery. Another variation is to use hydroponics instead of soil. This can lead to faster growth and higher yields.
Don’t be afraid to get creative and adapt the process to suit your own needs and preferences. The key is to provide your celery with plenty of light, water, and nutrients, and to be patient. It may take a few weeks to see significant growth, but the results are well worth the effort.
We wholeheartedly encourage you to try this DIY trick for growing celery indoors. It’s a simple, sustainable, and rewarding way to enjoy fresh produce and add a touch of green to your home. Once you’ve given it a try, we’d love to hear about your experience! Share your tips, tricks, and photos in the comments below. Let’s create a community of indoor celery growers and inspire others to embrace this fun and eco-friendly activity. Let us know if you found this **indoor celery growing** guide helpful!
Frequently Asked Questions (FAQ)
How long does it take to grow celery from a base indoors?
It typically takes around 4-6 weeks to see significant growth from a celery base indoors. The initial sprouting and root development may take a week or two, followed by several weeks of leaf and stalk growth. Keep in mind that the exact timeframe can vary depending on factors such as light exposure, temperature, and nutrient availability. Be patient and consistent with watering and care, and you’ll be rewarded with fresh celery in due time.
What kind of light does indoor celery need?
Celery requires plenty of bright, indirect light to thrive indoors. Aim for at least 6-8 hours of sunlight per day. A south-facing window is ideal, but if you don’t have one, you can supplement with artificial grow lights. Position the grow lights about 6-12 inches above the celery plant and keep them on for 12-14 hours per day. Insufficient light can lead to leggy growth and pale, weak stalks.
What type of soil is best for growing celery indoors?
Celery prefers a rich, well-draining soil that is high in organic matter. A good potting mix for celery should contain a blend of peat moss, perlite, and vermiculite. You can also amend your potting mix with compost or aged manure to provide additional nutrients. Avoid using heavy clay soils, as they can retain too much moisture and lead to root rot.
How often should I water my indoor celery?
Celery needs consistent moisture to grow properly. Water your celery plant thoroughly whenever the top inch of soil feels dry to the touch. Avoid overwatering, as this can lead to root rot. Ensure that your pot has drainage holes to allow excess water to escape. During hot, dry weather, you may need to water your celery more frequently.
What kind of fertilizer should I use for indoor celery?
Celery is a heavy feeder and benefits from regular fertilization. Use a balanced liquid fertilizer (such as 10-10-10) diluted to half strength. Apply the fertilizer every 2-3 weeks during the growing season. You can also supplement with organic fertilizers such as compost tea or fish emulsion. Avoid over-fertilizing, as this can burn the roots and damage the plant.
Can I grow celery indoors in water only (hydroponically)?
Yes, you can grow celery indoors hydroponically. This involves suspending the celery base in water and providing it with nutrients through a hydroponic solution. Hydroponic celery growing can often result in faster growth and higher yields compared to traditional soil-based methods. You’ll need to change the water and nutrient solution regularly to prevent algae growth and maintain optimal nutrient levels.
How do I prevent pests and diseases from affecting my indoor celery?
To prevent pests and diseases, start with healthy celery bases and use a clean potting mix. Regularly inspect your plants for signs of pests such as aphids, spider mites, or whiteflies. If you find any pests, treat them with insecticidal soap or neem oil. Ensure good air circulation around your plants to prevent fungal diseases. Avoid overwatering, as this can create a favorable environment for fungal growth.
How do I harvest my indoor celery?
You can harvest your indoor celery when the stalks are at least 6-8 inches long and have reached a desirable thickness. To harvest, simply cut the stalks near the base of the plant with a sharp knife. You can harvest individual stalks as needed, or harvest the entire plant at once. After harvesting, store your celery in the refrigerator to keep it fresh.
Can I regrow celery from the same base multiple times?
While you can often get a second or even third growth from a celery base, the subsequent harvests may be smaller and less vigorous than the first. The celery base will eventually exhaust its nutrient reserves and stop producing new growth. For best results, start with a fresh celery base each time you want to grow new celery.
Is growing celery indoors difficult?
Growing celery indoors is relatively easy, especially if you follow the tips and guidelines provided in this article. The key is to provide your celery with plenty of light, water, and nutrients, and to be patient. With a little care and attention, you can enjoy fresh, homegrown celery right from your own home. Don’t be discouraged if your first attempt isn’t perfect. Learning and experimenting is part of the fun!


Leave a Comment