
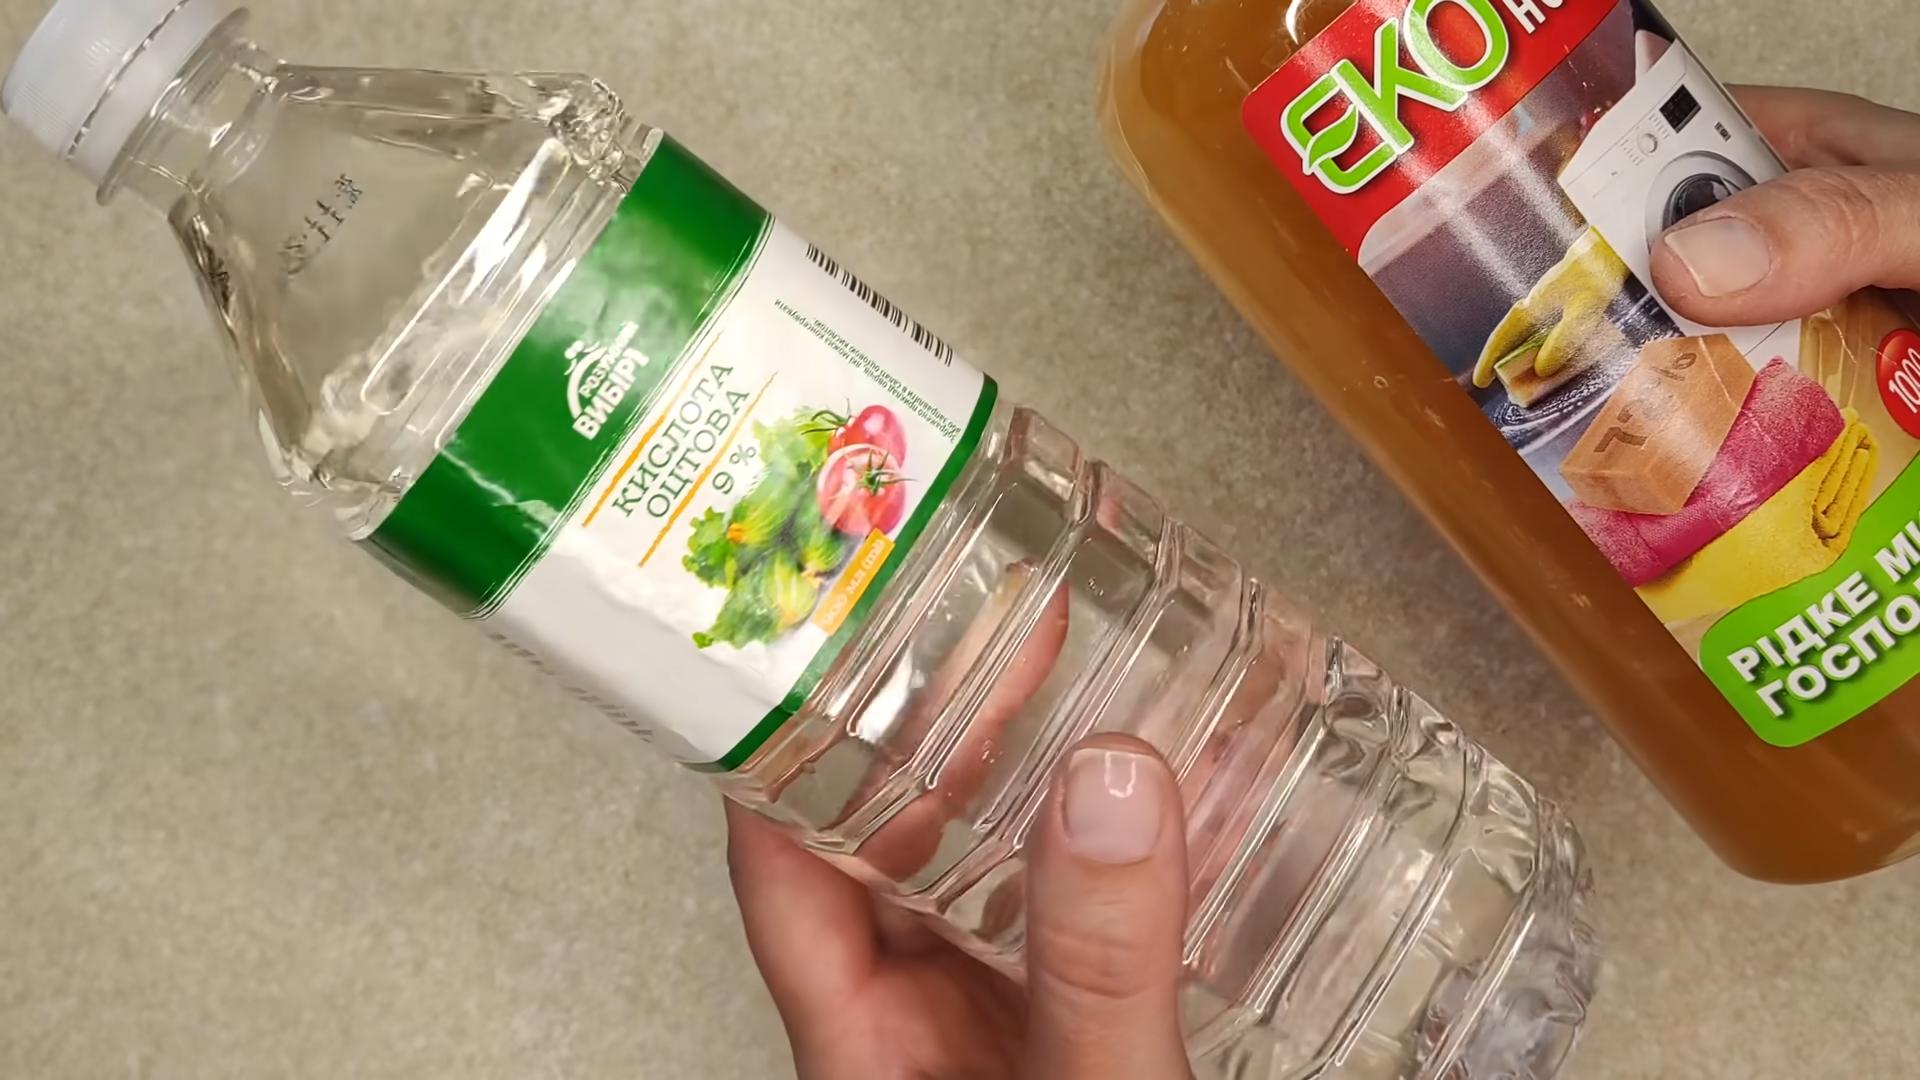
Laundry soap and vinegar cleaning: Sounds like a science experiment gone right, doesn’t it? But trust me, this isn’t about bubbling beakers and safety goggles. It’s about unlocking the secret to a sparkling clean home using two ingredients you probably already have sitting in your laundry room and pantry! For generations, resourceful homemakers have turned to simple, natural solutions for cleaning, long before fancy detergents lined supermarket shelves. Vinegar, in particular, boasts a history stretching back to ancient civilizations, used not only for culinary purposes but also as a potent disinfectant and cleaning agent.
In today’s world, we’re all looking for ways to simplify our lives, save money, and reduce our reliance on harsh chemicals. That’s where this DIY cleaning hack comes in. I’m going to show you how to harness the power of laundry soap and vinegar cleaning to tackle everything from stubborn stains to grimy surfaces. Forget spending a fortune on specialized cleaners; this simple combination is surprisingly effective, eco-friendly, and gentle on your wallet. Plus, there’s a certain satisfaction that comes from creating your own cleaning solutions, knowing exactly what’s going into them and how they work. So, let’s dive in and discover the magic of laundry soap and vinegar!
Growing Pink Radishes in Containers: A Beginner’s Guide
Hey there, fellow gardening enthusiasts! Ever thought about growing your own radishes? They’re super easy, quick to harvest, and add a delightful peppery crunch to salads and snacks. Plus, those vibrant pink roots are just plain fun! Today, I’m going to walk you through how to grow beautiful pink radishes right in containers, even if you’re a complete newbie. Let’s get our hands dirty!
Choosing the Right Container and Soil
First things first, we need to set the stage for our radishy success. This means picking the perfect pot and soil.
* Container Size: Radishes don’t need a ton of space, but they do need some depth. Aim for a container that’s at least 6 inches deep. A wider container is better than a tall, narrow one, as it allows for more radishes. I’ve had great luck with rectangular planters and even repurposed plastic tubs (just make sure they’re clean!).
* Drainage is Key: This is non-negotiable! Radishes hate soggy feet. Make sure your container has drainage holes at the bottom. If it doesn’t, you’ll need to drill some.
* Soil Matters: Radishes thrive in loose, well-draining soil. Heavy clay soil will result in stunted, misshapen roots. I recommend using a good quality potting mix specifically formulated for vegetables. You can also amend regular potting mix with perlite or vermiculite to improve drainage. Avoid using garden soil directly in containers, as it tends to compact and doesn’t drain well.
Planting Your Radish Seeds
Now for the fun part – planting!
1. Prepare the Soil: Fill your container with potting mix, leaving about an inch of space at the top. Gently pat the soil down to remove any large air pockets.
2. Sowing the Seeds: Radish seeds are tiny, so be careful not to plant them too deep. I usually aim for about ½ inch deep. You can either sow the seeds directly into the container or start them indoors in seed trays. For direct sowing, space the seeds about 1 inch apart. If you’re starting them indoors, you can transplant them once they have a couple of true leaves.
3. Cover and Water: Lightly cover the seeds with soil and gently water the container. You want the soil to be moist but not waterlogged. A spray bottle works well for this.
4. Location, Location, Location: Radishes need plenty of sunlight – at least 6 hours a day. Place your container in a sunny spot, like a balcony, patio, or windowsill. If you don’t have enough natural light, you can supplement with a grow light.
Caring for Your Radishes
Radishes are relatively low-maintenance, but they do need a little TLC.
1. Watering: Keep the soil consistently moist, but avoid overwatering. Check the soil moisture level daily by sticking your finger into the soil. If the top inch feels dry, it’s time to water.
2. Thinning: Once the seedlings emerge, you’ll need to thin them out to give them enough space to grow. This is crucial for getting good-sized radishes. When the seedlings are about 1-2 inches tall, thin them to about 2 inches apart. Don’t just pull them out! Gently snip them off at the soil line with scissors to avoid disturbing the roots of the remaining plants.
3. Fertilizing: Radishes don’t need a lot of fertilizer, but a light feeding can help them grow faster. I like to use a balanced liquid fertilizer diluted to half strength. Apply it every 2-3 weeks.
4. Weed Control: Keep an eye out for weeds and remove them promptly. Weeds compete with radishes for nutrients and water.
5. Pest Control: Radishes are generally pest-resistant, but they can sometimes be bothered by flea beetles or aphids. If you notice any pests, you can try spraying them with insecticidal soap or neem oil.
Harvesting Your Radishes
This is the moment we’ve been waiting for! Radishes are one of the fastest-growing vegetables, so you won’t have to wait long to enjoy your harvest.
1. Timing is Everything: Radishes are typically ready to harvest in about 3-4 weeks after planting. Check the seed packet for the specific maturity date for your variety.
2. Signs of Readiness: The tops of the radishes will start to peek out of the soil. Gently brush away some soil to check the size of the roots. They should be about 1 inch in diameter.
3. Harvesting Technique: Gently pull the radishes out of the soil. If they’re difficult to pull, you can loosen the soil around them with a trowel.
4. Succession Planting: To enjoy a continuous harvest of radishes, sow a new batch of seeds every 2 weeks. This is called succession planting.
Troubleshooting Common Problems
Even with the best care, you might encounter a few challenges along the way. Here are some common problems and how to fix them:
* Radishes are small and skinny: This is usually caused by overcrowding or poor soil. Make sure you thin the seedlings properly and use a good quality potting mix.
* Radishes are cracked: This is often due to inconsistent watering. Keep the soil consistently moist, especially during hot weather.
* Radishes are too spicy: This can be caused by hot weather or letting the radishes grow too large. Harvest them when they’re still relatively small.
* Radishes are bolting (going to seed): This is usually caused by hot weather or stress. Try to plant radishes in the spring or fall when the weather is cooler.
Choosing the Right Radish Variety
There are tons of radish varieties to choose from, each with its own unique flavor and appearance. Here are a few of my favorites:
* Cherry Belle: A classic round, red radish with a mild flavor.
* French Breakfast: An elongated, red and white radish with a slightly peppery flavor.
* Easter Egg: A mix of colorful radishes in shades of red, pink, purple, and white.
* Black Spanish: A large, black radish with a strong, pungent flavor.
* Watermelon Radish: A beautiful radish with a green exterior and a bright pink interior.
Section: Enhancing Your Radish Growing Experience
Let’s dive into some extra tips and tricks to really elevate your radish game!
Companion Planting
Companion planting is the practice of growing different plants together that benefit each other. Radishes are great companions for many vegetables, including:
* Carrots: Radishes help to deter carrot root flies.
* Lettuce: Radishes provide shade for lettuce seedlings.
* Spinach: Radishes help to loosen the soil for spinach.
* Cucumbers: Radishes deter cucumber beetles.
* Tomatoes: Radishes can help to improve the flavor of tomatoes.
Using Radish Greens
Don’t throw away those radish greens! They’re packed with nutrients and can be used in a variety of dishes. You can add them to salads, soups, or stir-fries. They have a slightly peppery flavor, similar to the roots. Just make sure to wash them thoroughly before using them.
Extending the Growing Season
To extend your radish growing season, you can use row covers or cold frames to protect your plants from frost. You can also plant radishes in succession, as mentioned earlier. This will ensure that you have a continuous harvest of radishes throughout the spring and fall.
Saving Radish Seeds
If you want to save your own radish seeds, you’ll need to let a few plants bolt (go to seed). Once the seed pods are dry and brown, you can harvest them and store the seeds in a cool, dry place. Keep in mind that radishes are cross-pollinated, so if you’re growing multiple varieties, the seeds may not be true to type.
Creative Container Ideas
Don’t limit yourself to traditional pots! Get creative with your container gardening. Here are a few ideas:
* Repurposed Buckets: Old buckets can be easily transformed into radish planters.
* Hanging Baskets: Radishes can also be grown in hanging baskets.
* Strawberry Pots: These pots have multiple openings, perfect for growing radishes.
* Window Boxes: Window boxes are a great way to grow radishes on a windowsill.
Section: Radish Recipes to Try
Now that you’ve harvested your beautiful pink radishes, it’s time to enjoy them! Here are a few of my favorite radish recipes:
Radish and Butter Sandwiches
This is a classic French snack that’s simple and delicious.
1. Slice radishes thinly.
2. Spread butter on a slice of baguette or
Conclusion
So, there you have it! Ditching the expensive, chemical-laden detergents and embracing the power of laundry soap and vinegar cleaning is not just a trend; it’s a revolution in how we approach laundry. We’ve explored how this simple yet effective combination can transform your laundry routine, leaving your clothes cleaner, fresher, and your wallet happier.
But why is this DIY trick a must-try? It boils down to several key factors. First and foremost, it’s incredibly cost-effective. Compared to the ever-increasing prices of commercial detergents, laundry soap and vinegar offer a budget-friendly alternative without compromising on cleaning power. You’re essentially getting a premium clean for a fraction of the cost.
Secondly, it’s a much gentler option for your clothes and your skin. The harsh chemicals found in many commercial detergents can strip fabrics of their natural oils, leading to fading, wear and tear, and even skin irritation. Laundry soap, especially when combined with the natural softening and deodorizing properties of vinegar, provides a milder yet equally effective clean. This is particularly beneficial for those with sensitive skin or allergies.
Thirdly, and perhaps most importantly, it’s an environmentally conscious choice. By reducing your reliance on commercially produced detergents, you’re minimizing your contribution to the harmful chemicals that end up in our waterways. Laundry soap and vinegar are biodegradable and far less damaging to the environment, making them a sustainable option for a greener lifestyle.
Variations and Suggestions:
Don’t be afraid to experiment and tailor this DIY trick to your specific needs and preferences. Here are a few suggestions to get you started:
* Scent Boost: Add a few drops of your favorite essential oil to the vinegar for a natural fragrance boost. Lavender, lemon, and eucalyptus are all excellent choices.
* Stain Removal Power: For stubborn stains, pre-treat the affected area with a paste made from baking soda and water before washing with laundry soap and vinegar.
* Fabric Softener Alternative: If you prefer a more traditional fabric softener, add a few drops of essential oil to a clean cloth and toss it in the dryer with your clothes.
* Water Hardness Adjustment: If you have hard water, you may need to increase the amount of vinegar slightly to achieve optimal results. Start with an extra quarter cup and adjust as needed.
* Borax Boost: For heavily soiled items, consider adding a half cup of borax to the wash along with the laundry soap and vinegar. Borax acts as a natural booster and helps to remove tough stains and odors.
We truly believe that this DIY laundry solution is a game-changer, offering a cost-effective, gentle, and environmentally friendly way to keep your clothes clean and fresh. It’s time to ditch the harsh chemicals and embrace the power of simplicity.
So, what are you waiting for? Give this laundry soap and vinegar cleaning trick a try! We’re confident that you’ll be amazed by the results. And most importantly, we want to hear about your experience. Share your tips, tricks, and feedback in the comments below. Let’s build a community of eco-conscious laundry enthusiasts! Your insights could help others discover the benefits of this amazing DIY solution. Let us know what worked for you, what variations you tried, and any challenges you encountered. Together, we can make laundry day a little bit easier, a little bit greener, and a whole lot more affordable.
Frequently Asked Questions (FAQ)
Q: What kind of laundry soap should I use?
A: The best type of laundry soap to use is a simple, unscented bar soap like castile soap or a natural laundry soap bar. Grate the bar soap finely using a cheese grater or food processor. Avoid using beauty bars or soaps with added moisturizers, as these can leave a residue on your clothes. You can also use powdered laundry soap, but be sure to check the ingredients to ensure it’s free of harsh chemicals and additives.
Q: How much laundry soap and vinegar should I use per load?
A: A general guideline is to use 1-2 tablespoons of grated laundry soap per regular load of laundry. For the vinegar, use 1/2 cup of white distilled vinegar in the fabric softener dispenser. Adjust the amount of soap based on the size and soil level of your load. If you have a particularly dirty load, you may want to increase the amount of soap slightly.
Q: Will the vinegar make my clothes smell like vinegar?
A: No, the vinegar smell will dissipate during the wash cycle. In fact, vinegar acts as a natural deodorizer, helping to remove unpleasant odors from your clothes. You won’t be left with any lingering vinegar scent. If you’re still concerned, you can add a few drops of essential oil to the vinegar for a pleasant fragrance.
Q: Can I use this method for all types of fabrics?
A: This method is generally safe for most types of fabrics, including cotton, linen, and synthetic blends. However, it’s always a good idea to test a small, inconspicuous area of the fabric first, especially for delicate fabrics like silk or wool. Avoid using vinegar on fabrics that are known to be sensitive to acids, such as rayon.
Q: Can I use this method in a high-efficiency (HE) washing machine?
A: Yes, this method is safe to use in both standard and high-efficiency (HE) washing machines. HE machines use less water, so you may need to adjust the amount of soap accordingly. Start with the recommended amount and adjust as needed based on the results. Make sure to add the vinegar to the fabric softener dispenser, as adding it directly to the drum could affect the machine’s sensors.
Q: What if I have hard water?
A: Hard water can make it more difficult for soap to lather and clean effectively. If you have hard water, you may need to increase the amount of vinegar slightly to help soften the water and improve cleaning performance. Start by adding an extra quarter cup of vinegar and adjust as needed. You can also consider adding a water softener to your washing machine.
Q: Can I use this method for baby clothes?
A: Yes, this method is a great option for washing baby clothes, as it’s gentle and free of harsh chemicals. Be sure to use an unscented laundry soap and avoid adding any essential oils, as these could irritate your baby’s sensitive skin.
Q: How do I remove stains using this method?
A: For stubborn stains, pre-treat the affected area with a paste made from baking soda and water. Apply the paste to the stain and let it sit for 30 minutes before washing as usual with laundry soap and vinegar. You can also try soaking the stained garment in a solution of water and vinegar before washing.
Q: Can I use this method to clean my washing machine?
A: Yes, you can use vinegar to clean your washing machine. Simply add 2 cups of white distilled vinegar to the empty washing machine and run a hot water cycle. This will help to remove buildup and odors from the machine. You can also add a half cup of baking soda to the drum for extra cleaning power.
Q: What are the benefits of using laundry soap and vinegar compared to commercial detergents?
A: The benefits are numerous! Laundry soap and vinegar are more cost-effective, gentler on clothes and skin, environmentally friendly, and free of harsh chemicals and artificial fragrances. They also help to deodorize and soften clothes naturally. By switching to this DIY method, you can save money, protect your health, and reduce your impact on the environment.
Leave a Comment