
Lime cleaning hack: who knew such a simple citrus fruit could be your secret weapon to a sparkling clean home? I’m always on the lookout for natural, effective, and budget-friendly cleaning solutions, and let me tell you, this one is a game-changer! Forget harsh chemicals and expensive cleaners; the humble lime is here to revolutionize your cleaning routine.
For centuries, citrus fruits have been valued not only for their culinary uses but also for their potent cleaning properties. Think back to ancient civilizations using lemon juice to brighten fabrics and disinfect surfaces. This knowledge has been passed down through generations, and now, we’re bringing it to you with a modern twist.
Let’s face it, nobody enjoys spending hours scrubbing away stubborn grime and stains. We all crave a clean and fresh home, but often, the thought of the effort involved is enough to make us procrastinate. That’s where this lime cleaning hack comes in! It’s quick, easy, and incredibly effective for tackling everything from hard water stains in your bathroom to greasy buildup in your kitchen. Plus, you’ll be ditching those chemical-laden cleaners and embracing a more eco-friendly approach. I’m excited to share these simple yet powerful tips that will transform the way you clean your home, making it a healthier and happier space for you and your family.
Sponge Hacks: Unleash the Cleaning Power You Never Knew You Had!
Hey there, fellow DIY enthusiasts! I’m super excited to share some amazing sponge hacks that will seriously change your cleaning game. Sponges are so much more than just dish scrubbers, and I’m going to show you how to unlock their full potential. Get ready to be amazed!
Hack 1: The Ultimate Grout Cleaner
Tired of scrubbing grout lines until your arms ache? This hack is a lifesaver!
What you’ll need:
* A new, clean sponge (the kind with a scrubbing side works best)
* Baking soda
* White vinegar
* An old toothbrush (optional, for stubborn stains)
* Spray bottle
Step-by-step instructions:
1. Prepare the Baking Soda Paste: In a small bowl, mix baking soda with just enough water to form a thick paste. The consistency should be similar to toothpaste. This paste will act as a gentle abrasive to lift dirt and grime from the grout.
2. Apply the Paste: Using your fingers or a small spatula, apply the baking soda paste generously to the grout lines you want to clean. Make sure to cover the entire area.
3. Vinegar Power: Fill your spray bottle with white vinegar. Now, spray the vinegar directly onto the baking soda paste-covered grout lines. You’ll see it fizz – that’s the magic happening! The vinegar reacts with the baking soda to create a powerful cleaning action.
4. Let it Fizz: Allow the vinegar and baking soda mixture to fizz and sit for about 5-10 minutes. This gives the cleaning agents time to penetrate the grout and loosen the dirt.
5. Scrub-a-dub-dub: Now comes the fun part! Wet your sponge and use the scrubbing side to scrub the grout lines. Apply firm, even pressure. For really stubborn stains, you can use an old toothbrush to get into those tight corners.
6. Rinse and Repeat: Rinse the area thoroughly with clean water. If necessary, repeat the process for any remaining stains. You might need to go over heavily soiled areas a couple of times.
7. Dry and Admire: Once you’re satisfied with the cleanliness, dry the area with a clean cloth or towel. Step back and admire your sparkling clean grout!
Hack 2: Streak-Free Window Cleaning
Say goodbye to streaks and hello to crystal-clear windows! This hack uses a simple sponge technique for professional-looking results.
What you’ll need:
* Two clean sponges (one for washing, one for drying)
* A bucket of warm water
* Dish soap (a tiny amount!)
* White vinegar
* Spray bottle
* Microfiber cloth (optional, for final polishing)
Step-by-step instructions:
1. Prepare the Cleaning Solution: Fill your bucket with warm water and add just a few drops of dish soap. Too much soap will leave a residue. A teaspoon or less is usually enough for a standard-sized bucket. Add about ¼ cup of white vinegar to the water. Vinegar helps to cut through grime and prevent streaks.
2. Wet the Washing Sponge: Dip one of your sponges into the cleaning solution and wring it out so it’s damp, not dripping.
3. Wash the Window: Use the damp sponge to wash the entire window surface. Overlap your strokes to ensure you cover every inch. Don’t forget the corners!
4. Wipe with the Drying Sponge: Now, take your second, clean sponge and wring it out completely. This sponge should be as dry as possible. Use it to wipe the window dry, again overlapping your strokes. The key here is to wipe in a consistent direction (either up and down or side to side) to avoid streaks.
5. Spot Treat Stubborn Areas: If you notice any stubborn spots or streaks, spray them lightly with a mixture of equal parts water and white vinegar in a spray bottle. Wipe clean with the dry sponge.
6. Final Polish (Optional): For an extra-sparkly finish, you can use a clean, dry microfiber cloth to polish the window after wiping with the sponge. This will remove any remaining water spots and leave your windows gleaming.
Hack 3: DIY Swiffer Pads
Save money and reduce waste by making your own reusable Swiffer pads!
What you’ll need:
* A clean sponge (the thicker, the better)
* Scissors
* An old towel or microfiber cloth
* Hot glue gun (optional, but recommended)
* Your Swiffer mop
Step-by-step instructions:
1. Cut the Sponge to Size: Place your Swiffer mop head on top of the sponge and trace its outline with a marker or pen. Cut the sponge along the outline, making sure it’s slightly larger than the mop head. This will allow for some overlap.
2. Prepare the Cleaning Cloth: Cut your old towel or microfiber cloth into a piece that’s large enough to wrap around the sponge and attach to the back. You’ll want enough fabric to create a secure attachment point.
3. Attach the Cloth to the Sponge: This is where the hot glue gun comes in handy. Apply a thin line of hot glue along the edges of the sponge on the back side. Carefully wrap the cloth around the sponge, pressing it firmly onto the glue. If you don’t have a hot glue gun, you can use fabric glue or even sew the cloth to the sponge.
4. Secure the Pad: Make sure the cloth is securely attached to the sponge. You can add extra glue or stitches to reinforce the attachment points.
5. Attach to Your Swiffer: Now, simply attach your DIY Swiffer pad to your Swiffer mop head just like you would with a disposable pad. The sponge will provide the absorbency, and the cloth will trap dirt and grime.
6. Clean and Reuse: After each use, remove the pad from the Swiffer, rinse it thoroughly with water, and allow it to air dry. You can even throw it in the washing machine for a more thorough cleaning.
Hack 4: Odor-Absorbing Fridge Freshener
Keep your fridge smelling fresh and clean with this simple sponge trick.
What you’ll need:
* A clean sponge
* Baking soda
* A small container or dish
Step-by-step instructions:
1. Wet the Sponge: Dampen the sponge with water and wring it out so it’s not dripping.
2. Coat with Baking Soda: Sprinkle a generous amount of baking soda onto the damp sponge. Make sure to cover the entire surface.
3. Place in a Container: Place the baking soda-covered sponge in a small container or dish. This will prevent the baking soda from making a mess in your fridge.
4. Refrigerate: Place the container with the sponge in your refrigerator. The baking soda will absorb odors, keeping your fridge smelling fresh.
5. Replace Regularly: Replace the sponge and baking soda every 1-2 weeks, or more often if you notice strong odors.
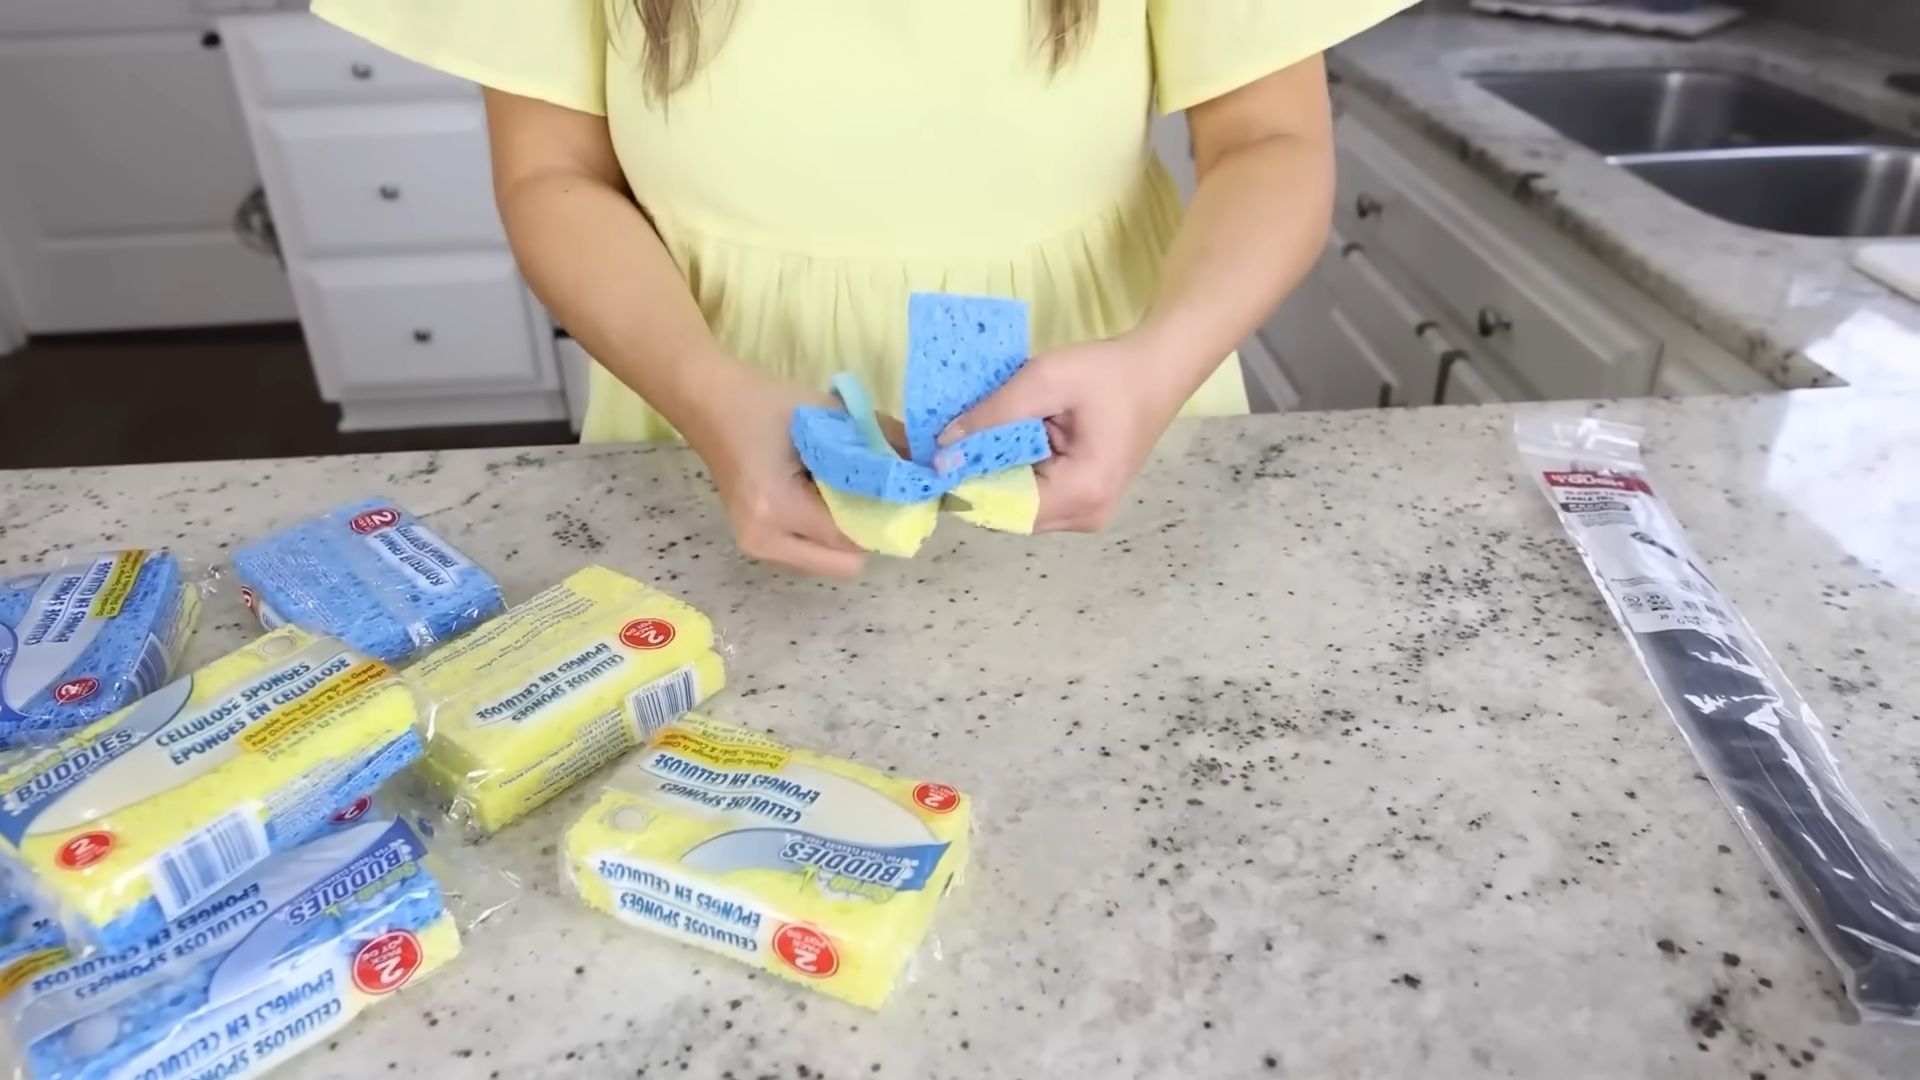
Hack 5: Plant Watering Trick
Going on vacation? Keep your plants watered while you’re away with this clever sponge hack.
What you’ll need:
* A clean sponge
* A water bottle or container
* Scissors
Step-by-step instructions:
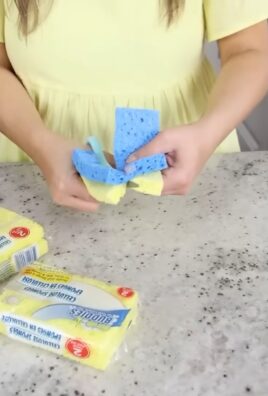
1. Cut the Sponge: Cut the sponge into smaller pieces, depending on the size of your plant pots. You’ll want enough sponge to fit snugly in the bottom of the pot.
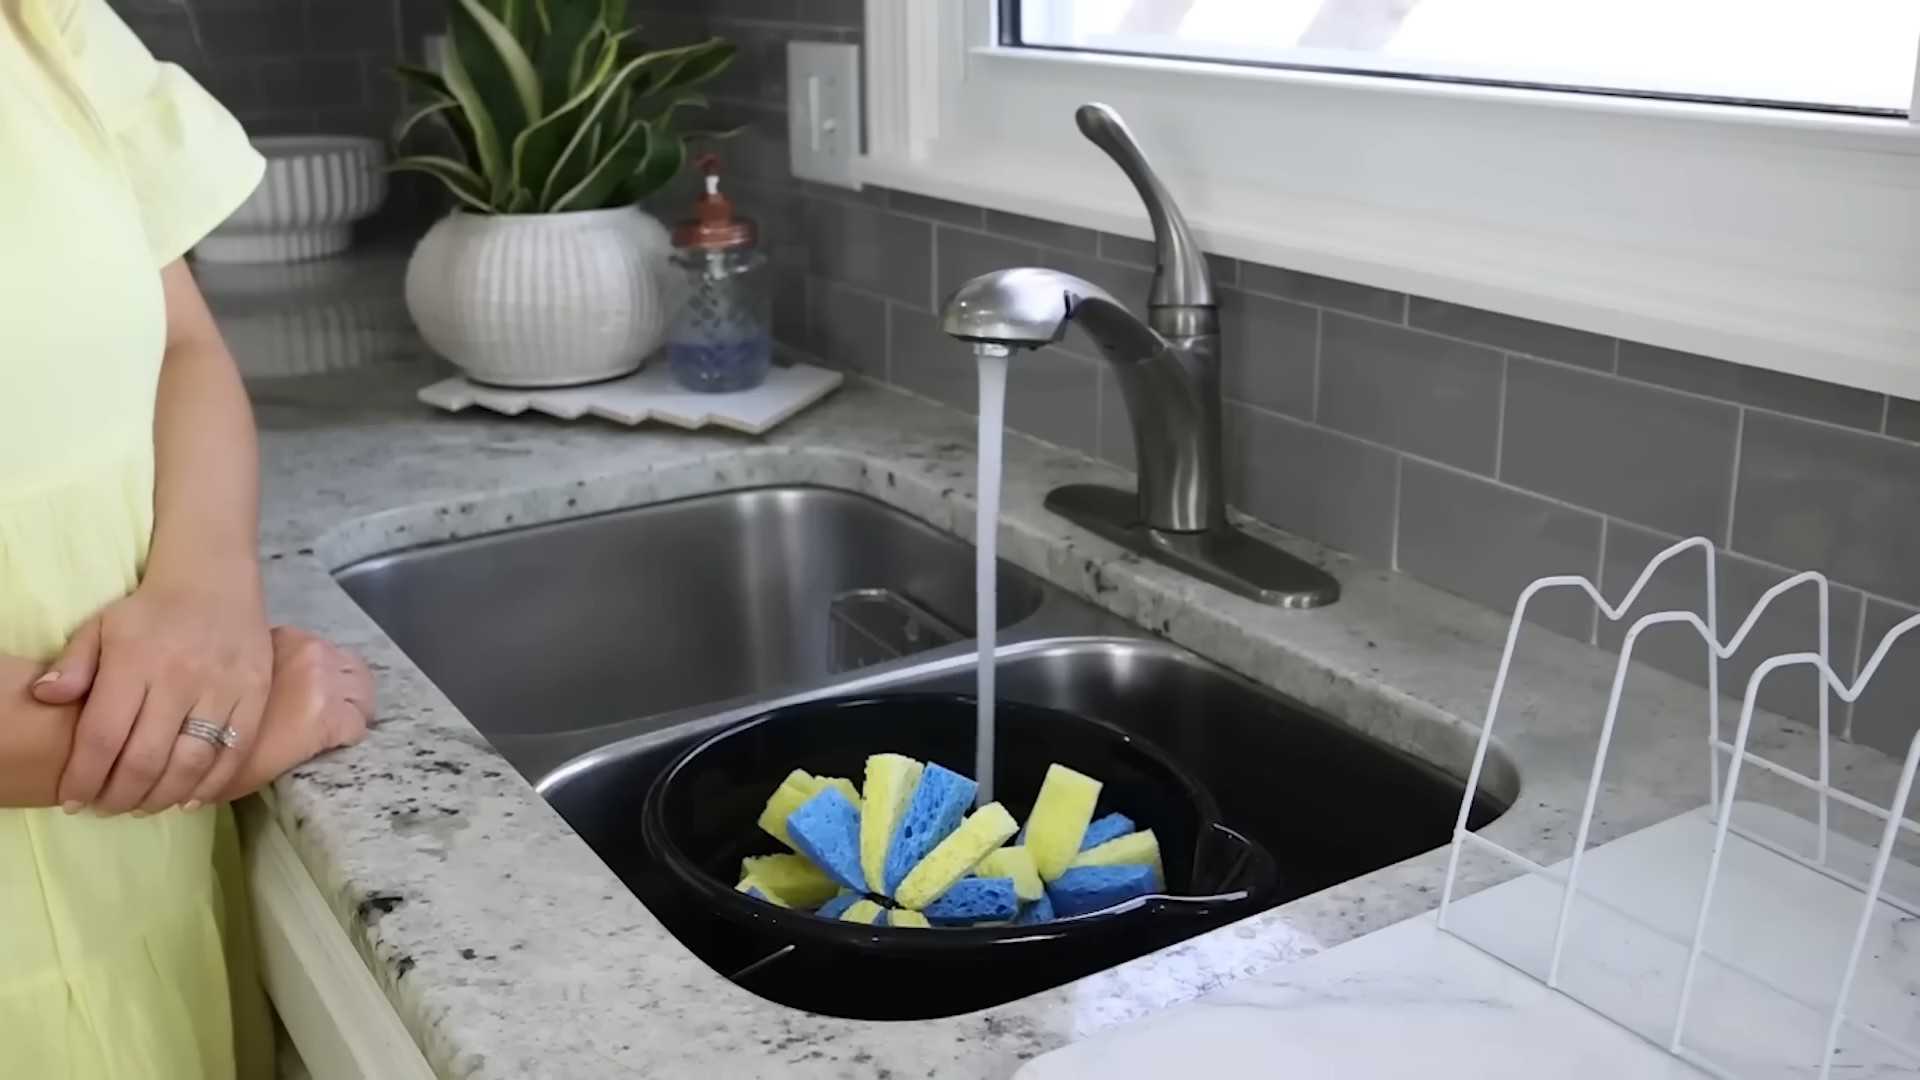
2. Soak the Sponges: Soak the sponge pieces in water until they are fully saturated.
3. Place in the Pot: Place the soaked sponge pieces in the bottom of your plant pot, covering the drainage holes.
4. Water Reservoir: Fill a water bottle or container with water and place it upside down in the plant pot, with the opening buried slightly in the soil. The sponge will act as a wick, drawing water from the bottle and keeping the soil moist.
5. Monitor and Refill: Check the water level in the bottle regularly and refill as needed. This hack should keep your plants watered for several days, depending on the size of the pot and the plant’s water needs.
Hack 6: Soap Saver
Extend the life of your bar soap and prevent it from becoming a mushy mess with this simple hack.
What you’ll need:
* A clean sponge
* Scissors
* Your bar of soap
Step-by-step instructions:
1. Cut the Sponge: Cut the sponge to a size slightly larger than your bar of soap.
2. Place the Soap on the Sponge: Place your bar of soap on top of the sponge. The sponge will absorb excess water, keeping the soap dry and preventing it from dissolving quickly.
Conclusion
So there you have it! This simple, yet incredibly effective, lime cleaning hack is a game-changer for anyone looking to ditch harsh chemicals and embrace a more natural and sustainable cleaning routine. We’ve shown you how the acidity of limes, a readily available and often underappreciated fruit, can be harnessed to tackle grime, soap scum, hard water stains, and even lingering odors in your home.
Why is this a must-try? Because it’s not just about cleaning; it’s about cleaning smarter. It’s about leveraging the power of nature to achieve sparkling results without exposing yourself, your family, or the environment to potentially harmful substances. Think about the money you’ll save by reducing your reliance on expensive, store-bought cleaners. Think about the peace of mind knowing that you’re using a non-toxic solution, especially if you have children or pets. And think about the satisfaction of transforming something as simple as a lime into a powerful cleaning agent.
But the beauty of this lime cleaning hack lies in its versatility. Feel free to experiment with variations to suit your specific needs and preferences. For instance:
* Infused Cleaning Power: Add a few drops of your favorite essential oil, like lavender or tea tree, to the lime juice solution for an extra boost of fragrance and antibacterial properties.
* Lime Peel Scrub: Don’t discard the lime peels after juicing! They make excellent abrasive scrubbers for tougher stains on surfaces like stainless steel sinks or stovetops. Just sprinkle some baking soda on the surface and use the lime peel to scrub away the grime.
* Lime-Infused Vinegar: For an even more potent cleaning solution, infuse white vinegar with lime peels for a few weeks. The acidity of the vinegar combined with the cleaning power of the lime creates a formidable cleaning agent.
* Lime and Salt Power: Mix lime juice with coarse salt to create a paste for scrubbing stubborn stains in your bathroom or kitchen. The salt acts as a gentle abrasive, while the lime juice helps to dissolve the grime.
We encourage you to give this lime cleaning hack a try. Start with a small area, like a faucet or a shower door, and witness the magic for yourself. We’re confident that you’ll be amazed by the results.
But don’t just take our word for it! We want to hear about your experiences. Share your before-and-after photos, your favorite variations, and any tips or tricks you discover along the way in the comments section below. Let’s build a community of eco-conscious cleaners who are passionate about harnessing the power of nature to create sparkling homes. Your feedback will not only inspire others but also help us refine and improve this already fantastic lime cleaning hack. So go ahead, grab a lime, and get cleaning! You’ll be amazed at how easy and effective it is to achieve a sparkling clean home with this natural solution.
Frequently Asked Questions (FAQs)
Q: What types of surfaces can I safely clean with lime juice?
A: Lime juice is generally safe for cleaning a variety of surfaces, including stainless steel, ceramic tile, porcelain, glass, and some plastics. However, it’s crucial to exercise caution when using it on certain materials. Avoid using lime juice on natural stone surfaces like marble, granite, or limestone, as the acidity can etch and damage them. Similarly, be careful when cleaning wood surfaces, especially those with a delicate finish, as the lime juice can strip the finish or cause discoloration. Always test the lime juice solution on a small, inconspicuous area first to ensure it doesn’t cause any adverse reactions. If you’re unsure about a particular surface, it’s best to err on the side of caution and use a cleaner specifically designed for that material.
Q: Can I use bottled lime juice instead of fresh limes?
A: While fresh lime juice is generally preferred for its superior cleaning power and natural aroma, bottled lime juice can be used as a substitute in a pinch. However, keep in mind that bottled lime juice may contain preservatives and additives that could affect its cleaning effectiveness. It’s also often less acidic than fresh lime juice, so you may need to use a larger quantity to achieve the same results. If using bottled lime juice, opt for a variety that is 100% lime juice with no added sugar or artificial flavors. Be sure to check the ingredient list carefully before using it.
Q: How do I store leftover lime juice cleaning solution?
A: Leftover lime juice cleaning solution can be stored in an airtight container in the refrigerator for up to a week. Be sure to label the container clearly to avoid any accidental ingestion. Before using the stored solution, give it a good shake to ensure the ingredients are properly mixed. If the solution develops an unusual odor or appearance, discard it immediately. It’s generally best to make fresh lime juice cleaning solution as needed to ensure maximum effectiveness.
Q: Will the lime juice leave a sticky residue on surfaces?
A: If used properly, lime juice should not leave a sticky residue on surfaces. However, if you use too much lime juice or don’t rinse the surface thoroughly after cleaning, a slight residue may occur. To prevent this, use a diluted lime juice solution and always rinse the cleaned surface with clean water afterward. You can also wipe the surface dry with a clean cloth to remove any remaining moisture. If you do notice a sticky residue, simply wipe the surface with a damp cloth and dry it thoroughly.
Q: Is lime juice safe to use around pets and children?
A: Lime juice is generally considered safe to use around pets and children, as it is a natural and non-toxic cleaning agent. However, it’s still important to exercise caution and prevent them from ingesting the lime juice solution. Keep the cleaning solution out of reach of children and pets, and supervise them closely when cleaning with lime juice. If your pet or child accidentally ingests lime juice, it may cause mild stomach upset. Contact your veterinarian or a medical professional if you have any concerns.
Q: Can I use lime juice to clean my toilet bowl?
A: Yes, lime juice can be an effective and natural way to clean your toilet bowl. The acidity of the lime juice helps to dissolve mineral deposits, stains, and odors. To clean your toilet bowl with lime juice, pour about 1 cup of lime juice into the bowl and let it sit for at least 30 minutes, or preferably overnight. Then, scrub the bowl with a toilet brush and flush. For stubborn stains, you can add a sprinkle of baking soda to the lime juice before scrubbing.
Q: How can I get rid of the lime scent after cleaning?
A: While many people enjoy the fresh scent of lime, some may prefer to eliminate it after cleaning. To get rid of the lime scent, simply ventilate the room by opening windows and doors. You can also use a fan to circulate the air. Another option is to wipe the cleaned surfaces with a damp cloth and dry them thoroughly. If the lime scent persists, you can try using an odor absorber, such as baking soda or activated charcoal. Place a bowl of baking soda or activated charcoal in the room to absorb any lingering odors.
Q: Can I use lime juice to remove hard water stains?
A: Yes, lime juice is excellent for removing hard water stains due to its acidity. Hard water stains are caused by mineral deposits, and the acid in lime juice helps to dissolve these deposits. To remove hard water stains with lime juice, apply the lime juice directly to the stained area and let it sit for about 15-20 minutes. Then, scrub the area with a sponge or cloth and rinse with clean water. For stubborn hard water stains, you may need to repeat the process or use a stronger concentration of lime juice.
Q: What are some other natural cleaning agents I can combine with lime juice?
A: Lime juice can be effectively combined with other natural cleaning agents to create even more powerful cleaning solutions. Some popular combinations include:
* Lime juice and baking soda: This combination is great for scrubbing stubborn stains and removing odors.
* Lime juice and vinegar: This combination creates a potent cleaning solution for tackling grime and hard water stains.
* Lime juice and salt: This combination is ideal for scrubbing abrasive surfaces like stainless steel sinks and stovetops.
* Lime juice and essential oils: Adding a few drops of your favorite essential oil to lime juice can enhance its cleaning power and add a pleasant fragrance.
Remember to always test any new cleaning solution on a small, inconspicuous area first to ensure it doesn’t cause any damage or discoloration.
Leave a Comment