
Malabar Spinach Continuous Harvest: Unlock the secrets to a never-ending supply of this vibrant, nutritious leafy green right in your own backyard! Have you ever dreamed of snipping fresh, delicious spinach for your salads and stir-fries whenever you please? Well, dream no more! This DIY guide will empower you to achieve just that, transforming your garden into a sustainable source of culinary delight.
Malabar spinach, though not a true spinach, boasts a rich history, particularly in Asian cuisine where it’s been cherished for centuries for its unique flavor and health benefits. It’s a climbing vine, making it a beautiful and space-saving addition to any garden. But beyond its aesthetic appeal, the real magic lies in its ability to provide a Malabar Spinach Continuous Harvest with the right techniques.
Let’s face it, buying fresh produce can be expensive and sometimes disappointing. Plus, who knows how long it’s been sitting on the shelf? That’s where this DIY trick comes in. I’m going to show you how to prune and care for your Malabar spinach plant in a way that encourages continuous growth and abundant harvests. Imagine the satisfaction of knowing exactly where your food comes from and enjoying the freshest, most flavorful spinach imaginable. So, grab your gardening gloves, and let’s get started on your journey to a bountiful and sustainable harvest!
Malabar Spinach: The Never-Ending Harvest Hack!
Hey fellow gardeners! I’m so excited to share my secret to a seemingly endless supply of delicious Malabar spinach. This climbing vine is a fantastic addition to any garden, providing nutritious greens throughout the growing season. But the real magic happens when you learn how to harvest it strategically for continuous growth. Let’s dive in!
Understanding Malabar Spinach Growth
Before we get into the harvesting technique, it’s important to understand how Malabar spinach grows. Unlike true spinach, which bolts in hot weather, Malabar spinach thrives in the heat. It’s a vine, so it will climb if given support, and it produces leaves along its stems. The key to continuous harvesting lies in understanding where the new growth comes from.
The Secret: Harvesting for Branching
The secret to a continuous harvest is to encourage branching. When you prune or harvest a stem, the plant responds by sending out new shoots from the nodes below the cut. This creates a bushier plant with more leaves, leading to a bigger and longer harvest.
Tools You’ll Need
* Sharp pruning shears or scissors
* A clean basket or container for your harvest
* Optional: Gloves (Malabar spinach sap can stain some hands)
Step-by-Step Harvesting Guide
Here’s my tried-and-true method for harvesting Malabar spinach for continuous growth:
1. Observe Your Plant: Before you even think about cutting, take a good look at your Malabar spinach vine. Identify the areas with the most lush growth and healthy leaves. Look for long stems with multiple leaves.
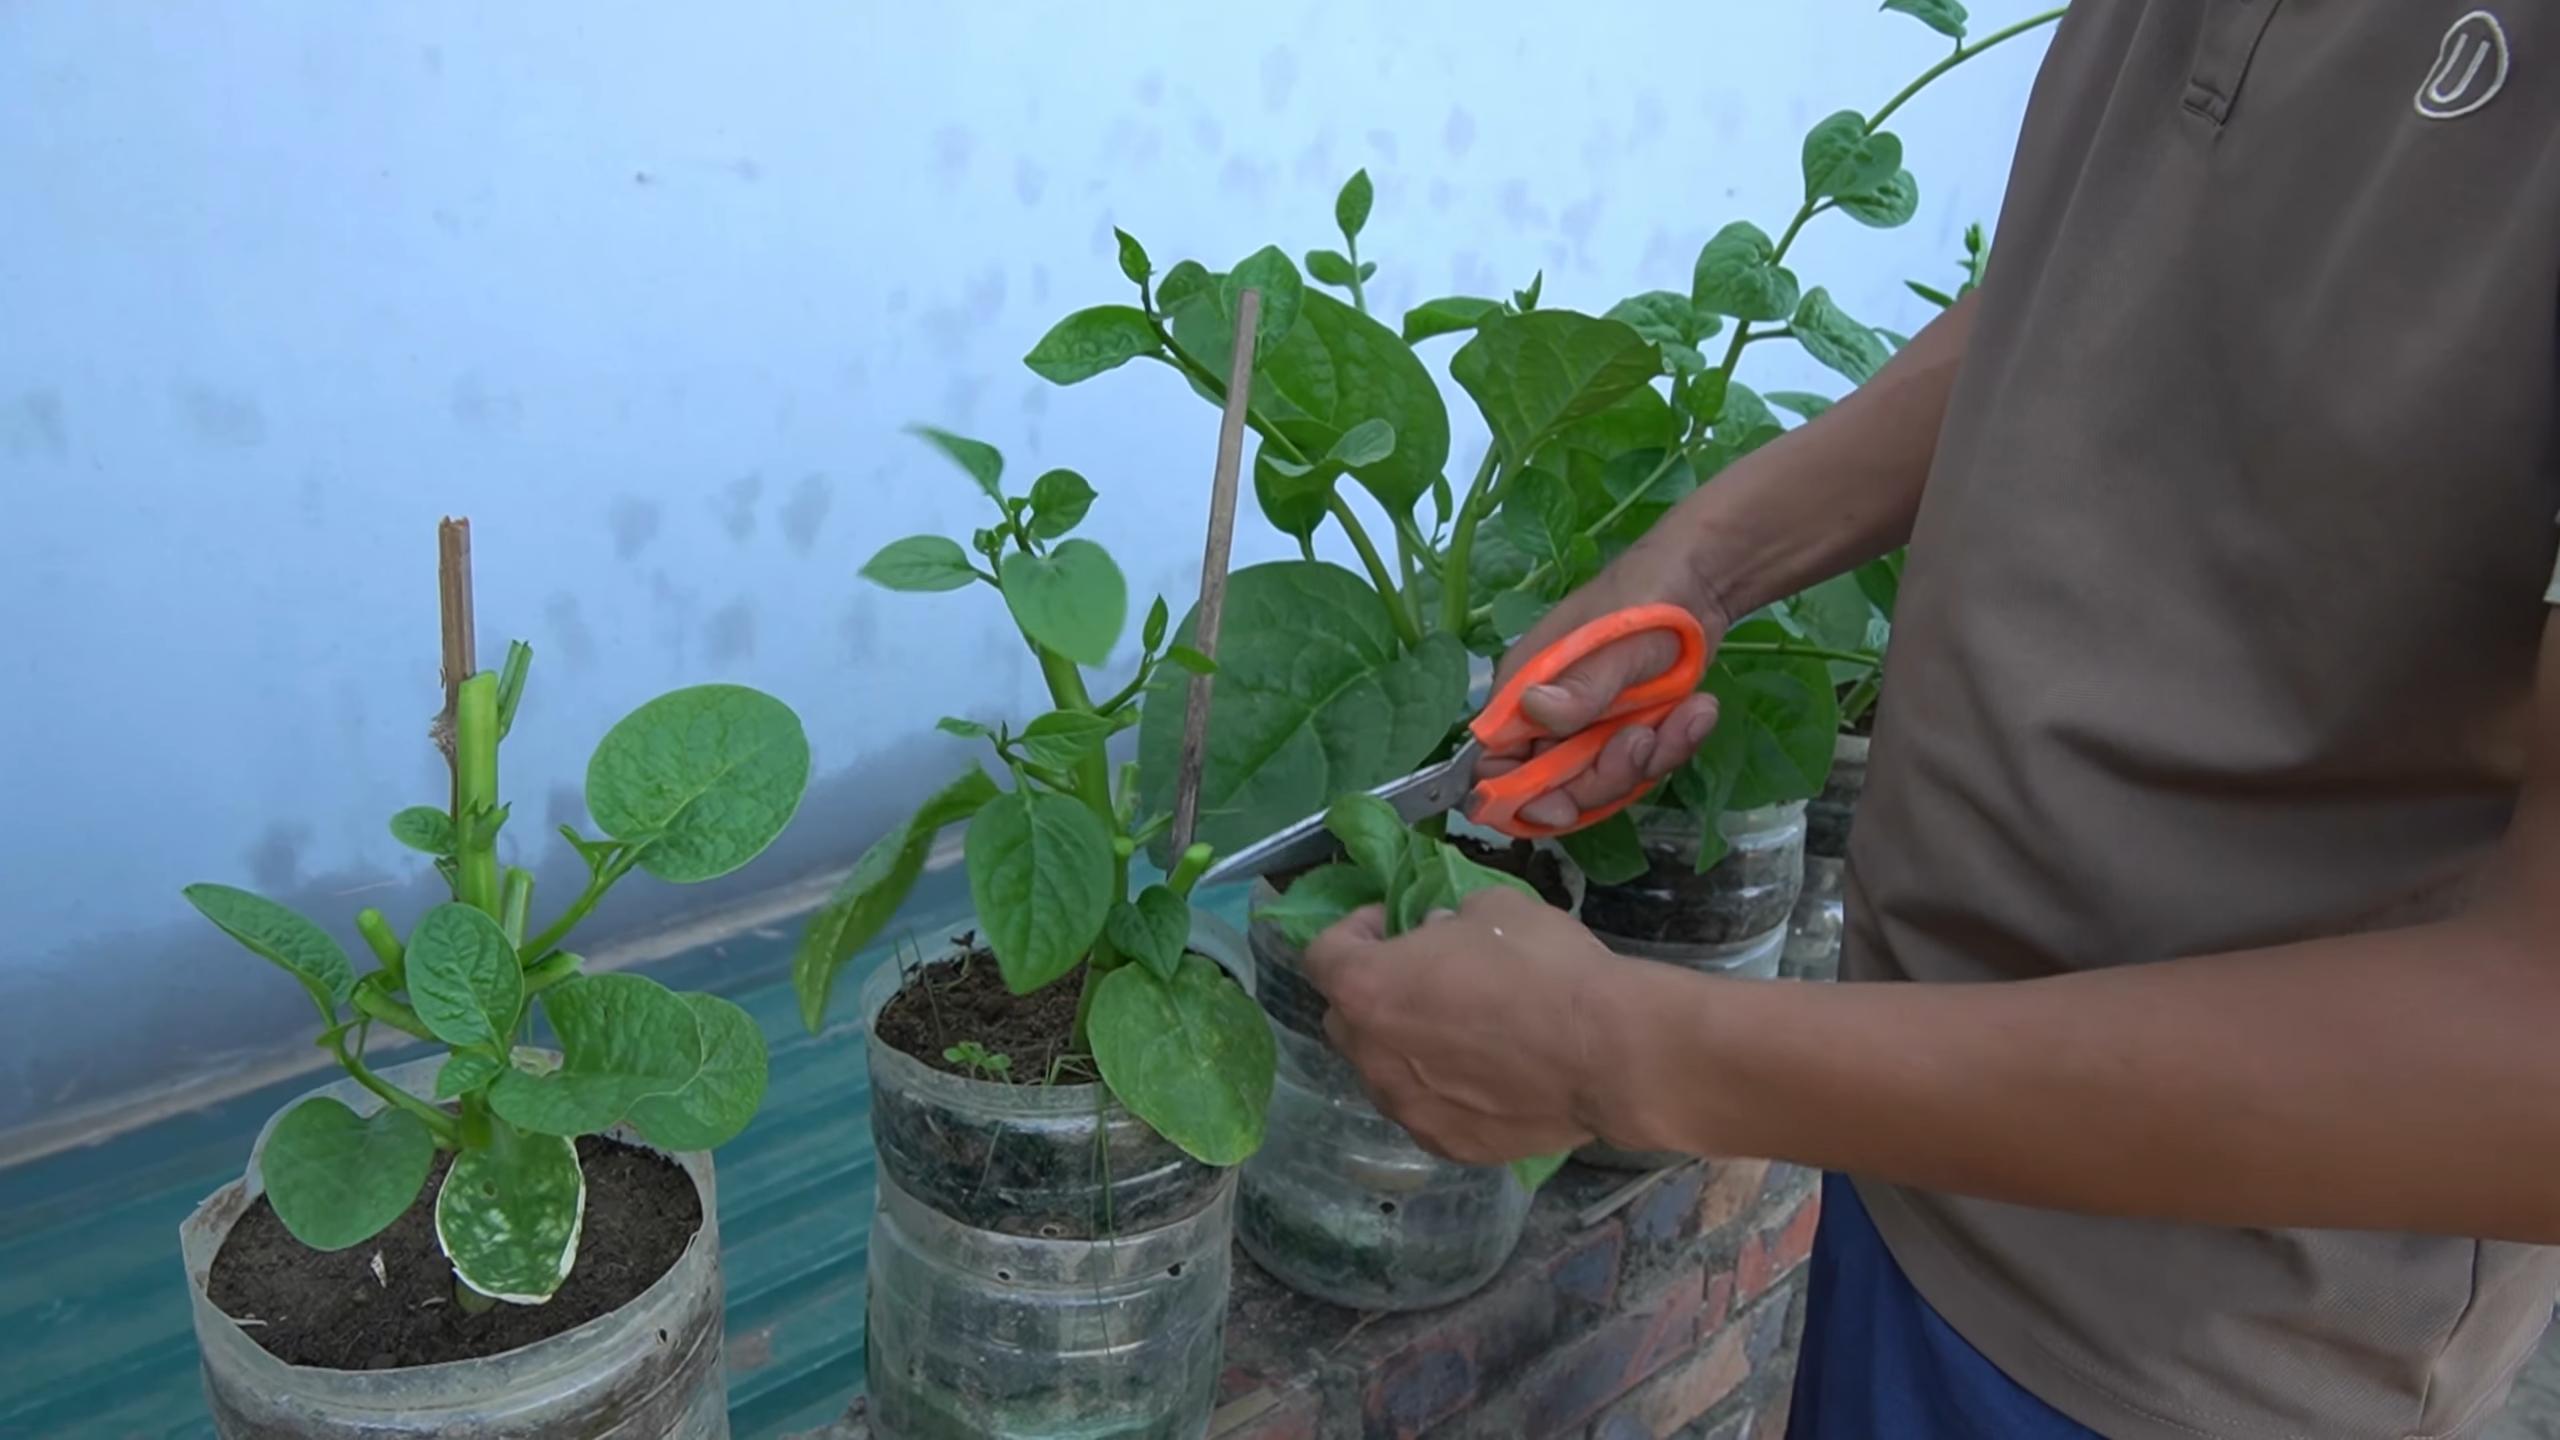
2. Choose Your Harvesting Point: This is the most crucial step. Don’t just randomly snip leaves. Instead, locate a node (the point where a leaf or stem grows out of the main vine). You want to cut the stem *just above* a node. This will encourage new growth to emerge from that node. I usually aim for stems that are at least 6-8 inches long.
3. Make the Cut: Using your sharp pruning shears or scissors, make a clean, angled cut about ¼ inch above the node. A clean cut helps prevent disease and encourages healthy regrowth.
4. Harvest the Stem: Gently pull the harvested stem away from the vine. You can use the leaves immediately or store them in the refrigerator for a few days.
5. Repeat the Process: Continue harvesting stems from different parts of the vine, always cutting above a node. Don’t be afraid to prune quite a bit – Malabar spinach is a vigorous grower! I usually harvest about a third of the plant at a time.
6. Monitor Regrowth: Keep an eye on the areas you’ve harvested. Within a week or two, you should see new shoots emerging from the nodes below the cuts. This is a sign that your harvesting technique is working!
7. Fertilize Regularly: To support continuous growth, feed your Malabar spinach with a balanced organic fertilizer every few weeks. This will provide the nutrients it needs to produce new leaves and stems. I like to use compost tea or a liquid seaweed fertilizer.
8. Provide Support: As your Malabar spinach grows, it will need support to climb. A trellis, fence, or even a sturdy stake will work well. This will also make harvesting easier.
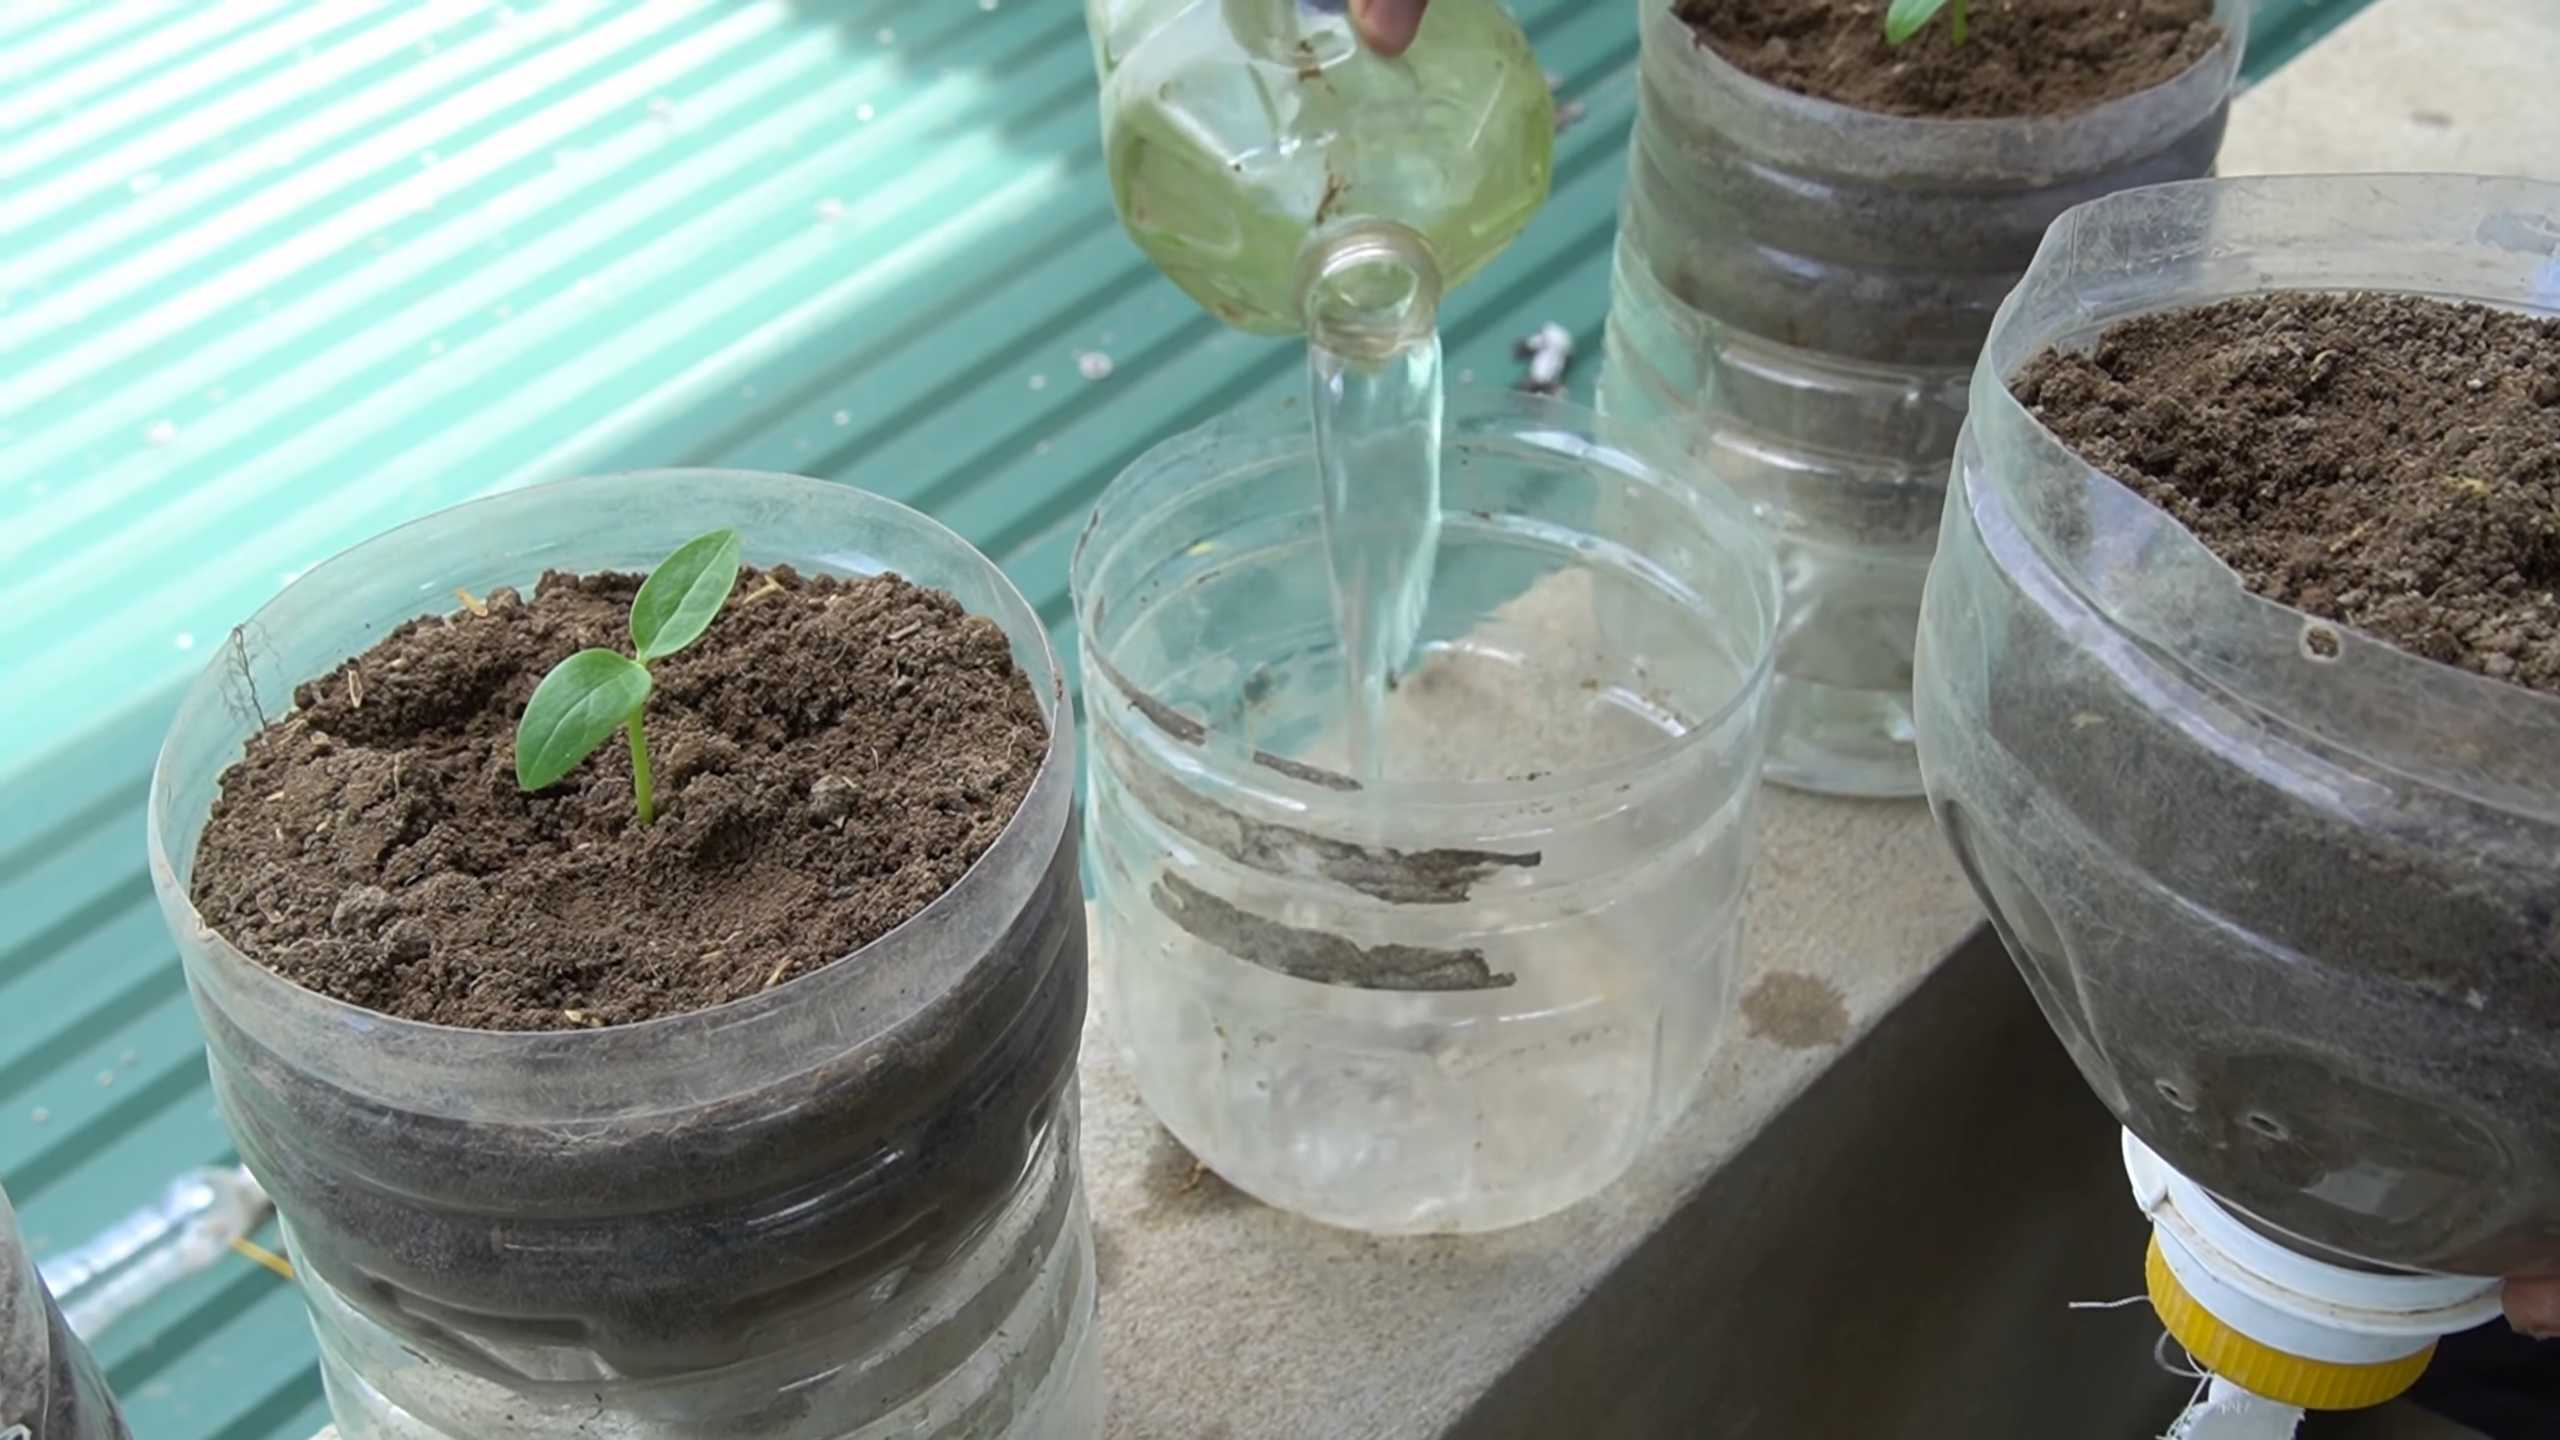
9. Water Consistently: Malabar spinach prefers consistently moist soil. Water regularly, especially during hot, dry weather.
10. Pest Control: Keep an eye out for pests like aphids or spider mites. Treat any infestations promptly with organic pest control methods. I find that a strong blast of water from the hose can often dislodge these pests.
Harvesting for Seed Saving (Optional)
If you want to save seeds from your Malabar spinach, allow some of the flowers to mature and form berries. The berries will turn dark purple when they are ripe. Harvest the berries and allow them to dry completely before storing the seeds in a cool, dry place. However, remember that harvesting for seeds will reduce leaf production in that area. So, I usually dedicate a small portion of the plant for seed saving and focus on leaf harvesting for the rest.
Troubleshooting
* Slow Growth: If your Malabar spinach isn’t growing as quickly as you’d like, it could be due to a lack of nutrients, water, or sunlight. Make sure it’s getting enough of all three.
* Yellowing Leaves: Yellowing leaves can be a sign of overwatering or nutrient deficiency. Adjust your watering schedule and fertilize regularly.
* Pest Infestations: Check your plant regularly for pests and treat any infestations promptly.
Cooking with Your Harvest
Now for the best part – enjoying your fresh Malabar spinach! The leaves have a slightly mucilaginous texture, similar to okra. They can be used in a variety of dishes, including:
* Soups and stews: Malabar spinach adds a thickening quality to soups and stews.
* Stir-fries: Add it to stir-fries for a healthy and flavorful boost.
* Salads: Young, tender leaves can be used in salads.
* Smoothies: Blend it into smoothies for a nutritious green boost.
* Sauteed: Sauté it with garlic and olive oil for a simple and delicious side dish.
Tips for Maximizing Your Harvest
* Start with Healthy Seedlings: Begin with strong, healthy seedlings from a reputable source.
* Choose the Right Location: Plant your Malabar spinach in a sunny location with well-drained soil.
* Succession Planting: Plant new seedlings every few weeks to ensure a continuous supply of greens.
* Don’t Be Afraid to Prune: Regular pruning is essential for encouraging branching and maximizing your harvest.
* Enjoy the Process: Gardening should be enjoyable! Experiment with different harvesting techniques and find what works best for you.
Overwintering Malabar Spinach (in some climates)
In warmer climates (zones 9 and above), Malabar spinach can be grown as a perennial. In colder climates, it’s typically grown as an annual. However, you can try to overwinter it by bringing it indoors before the first frost.
1. Cut Back the Vine: Before bringing it indoors, cut back the vine to about 6-12 inches.
2. Potting: Carefully dig up the plant and pot it in a large container with well-draining potting mix.
3. Location: Place the pot in a sunny window or under grow lights.
4. Watering: Water sparingly, allowing the soil to dry out slightly between waterings.
5. Fertilizing: Fertilize lightly every few weeks.
While overwintering isn’t always successful, it’s worth a try if you want to get a head start on the growing season next year.
Final Thoughts
With a little bit of care and attention, you can enjoy a continuous harvest of delicious and nutritious Malabar spinach throughout the growing season. This simple harvesting technique will encourage branching and maximize your yield. So, get out there and start pruning! Happy gardening! I hope you found this guide helpful and that you’ll be enjoying your own endless supply of Malabar spinach soon. Let me know if you have any questions!
Conclusion
So, there you have it! Mastering the art of Malabar Spinach Continuous Harvest is not just about getting more greens; it’s about maximizing your garden’s potential, minimizing waste, and enjoying a constant supply of fresh, nutritious leaves right at your fingertips. This simple yet effective technique transforms your Malabar spinach plant from a one-time harvest into a veritable leafy green machine.
Why is this a must-try? Because it’s efficient, sustainable, and incredibly rewarding. Imagine stepping into your garden and knowing that you can always snip off a handful of vibrant, healthy Malabar spinach whenever you need it. No more rushing to the store, no more wilted greens in the fridge – just pure, unadulterated garden-to-table goodness.
But the beauty of this method lies not only in its practicality but also in its adaptability. Feel free to experiment! Try different harvesting frequencies to see what works best for your plant and your climate. Some gardeners find that harvesting every other day yields the best results, while others prefer a weekly harvest. Don’t be afraid to prune more aggressively if you want to encourage bushier growth.
Consider these variations to further enhance your Malabar spinach experience:
* Vertical Gardening: If you’re short on space, train your Malabar spinach to climb a trellis or fence. This not only saves space but also makes harvesting even easier.
* Companion Planting: Plant your Malabar spinach alongside beneficial companions like basil or marigolds to deter pests and attract pollinators.
* Seed Saving: Allow a few of your plants to go to seed and collect them for future planting. This ensures a continuous supply of Malabar spinach for years to come.
* Culinary Creativity: Explore different ways to use your freshly harvested Malabar spinach. Add it to stir-fries, soups, salads, or even smoothies for a nutritional boost.
The key to successful Malabar Spinach Continuous Harvest is observation and responsiveness. Pay attention to your plant’s growth patterns, adjust your harvesting techniques as needed, and don’t be afraid to experiment.
We wholeheartedly encourage you to give this DIY trick a try. It’s a game-changer for any gardener looking to maximize their yield and enjoy a constant supply of fresh, healthy greens. Once you experience the satisfaction of harvesting your own Malabar spinach on a regular basis, you’ll never look back.
And most importantly, we want to hear about your experiences! Share your tips, tricks, and successes in the comments below. Let’s create a community of Malabar spinach enthusiasts and learn from each other. Your insights could help other gardeners discover the joys of continuous harvesting and unlock the full potential of their plants. So, get out there, get harvesting, and let us know how it goes! Happy gardening!
Frequently Asked Questions (FAQ)
What exactly is “continuous harvest” and why is it beneficial for Malabar spinach?
Continuous harvest refers to the practice of regularly harvesting leaves and stems from your Malabar spinach plant, rather than waiting for a single, large harvest. This method encourages the plant to produce more new growth, resulting in a significantly higher yield over the growing season. It’s beneficial because it allows you to enjoy a steady supply of fresh greens, prevents the plant from becoming overgrown and leggy, and promotes overall plant health. By consistently removing mature leaves, you stimulate the plant to produce new, tender shoots, ensuring a continuous supply of delicious and nutritious Malabar spinach.
How often should I harvest my Malabar spinach for continuous harvest?
The ideal harvesting frequency depends on several factors, including the plant’s age, size, and growing conditions. However, a good starting point is to harvest every 1-2 weeks. Observe your plant closely and adjust the frequency accordingly. If you notice that the plant is producing new growth rapidly, you can harvest more frequently. Conversely, if the plant seems to be slowing down, reduce the harvesting frequency to allow it to recover. The goal is to maintain a balance between harvesting and allowing the plant to regenerate.
Which parts of the Malabar spinach plant should I harvest for continuous harvest?
Focus on harvesting the mature leaves and the tender tips of the stems. These are the most flavorful and nutritious parts of the plant. Use sharp scissors or pruning shears to make clean cuts, leaving about 2-3 inches of stem above a leaf node. This will encourage new growth to emerge from that point. Avoid harvesting more than one-third of the plant at any given time, as this can stress the plant and reduce its overall yield.
Will continuous harvest harm my Malabar spinach plant?
When done correctly, continuous harvest is actually beneficial for your Malabar spinach plant. However, over-harvesting can weaken the plant and make it more susceptible to pests and diseases. Avoid removing too many leaves at once, and ensure that the plant receives adequate sunlight, water, and nutrients. Regularly fertilizing your Malabar spinach with a balanced organic fertilizer will help it to recover from harvesting and promote healthy growth.
What if my Malabar spinach plant starts to flower? Should I still harvest it?
Flowering can sometimes signal the end of the plant’s productive life, but it doesn’t necessarily mean you should stop harvesting. If your Malabar spinach plant starts to flower, you can still harvest the leaves, but they may become slightly more bitter. To encourage continued leaf production, pinch off the flower buds as soon as you see them. This will redirect the plant’s energy back into producing leaves.
How do I store harvested Malabar spinach leaves?
Freshly harvested Malabar spinach leaves can be stored in the refrigerator for up to a week. To keep them fresh, wrap them loosely in a damp paper towel and place them in a plastic bag or container. Avoid washing the leaves until just before you’re ready to use them, as this can accelerate spoilage.
My Malabar spinach leaves are turning yellow. What could be the problem?
Yellowing leaves can indicate several issues, including overwatering, underwatering, nutrient deficiencies, or pest infestations. Check the soil moisture level and adjust your watering accordingly. Ensure that the plant is receiving adequate sunlight and fertilize it with a balanced organic fertilizer. Inspect the leaves for signs of pests, such as aphids or spider mites, and take appropriate action if necessary.
Can I use the Malabar Spinach Continuous Harvest method for other leafy green vegetables?
While the specific techniques may vary slightly, the general principle of continuous harvest can be applied to many other leafy green vegetables, such as lettuce, kale, and spinach. The key is to understand the growth habits of each plant and adjust your harvesting accordingly. For example, with lettuce, you can harvest the outer leaves as they mature, while with kale, you can harvest the lower leaves, allowing the upper leaves to continue growing.
What are some common mistakes to avoid when practicing Malabar Spinach Continuous Harvest?
Some common mistakes include over-harvesting, neglecting to fertilize, and failing to provide adequate sunlight and water. Over-harvesting can stress the plant and reduce its yield. Neglecting to fertilize can lead to nutrient deficiencies, which can weaken the plant and make it more susceptible to pests and diseases. Insufficient sunlight and water can also hinder the plant’s growth and productivity.
How can I encourage bushier growth in my Malabar spinach plant?
To encourage bushier growth, prune the plant regularly, focusing on the tips of the stems. This will stimulate the plant to produce more side shoots, resulting in a fuller, more productive plant. You can also pinch off the flower buds as soon as you see them, as this will redirect the plant’s energy back into producing leaves. Providing adequate sunlight, water, and nutrients will also contribute to bushier growth.

Leave a Comment