
Practical Cleaning Hacks – who doesn’t need a few of those up their sleeve? Let’s be honest, cleaning isn’t usually anyone’s favorite pastime. It’s often seen as a chore, a necessary evil standing between us and a relaxing weekend. But what if I told you that cleaning could be less of a drag and more of a breeze? That’s where these DIY cleaning tricks come in!
For centuries, people have been devising clever ways to keep their homes sparkling. From ancient civilizations using natural ingredients like vinegar and baking soda to modern innovations in cleaning technology, the quest for a spotless home is a timeless pursuit. Our grandmothers certainly had their own secret weapons, passed down through generations. Now, it’s our turn to share some of those time-tested methods, along with a few new ones, to make your life easier.
In today’s busy world, time is precious. We’re all juggling work, family, and social lives, leaving little room for hours of scrubbing and polishing. That’s why these practical cleaning hacks are so essential. They’re designed to save you time, money, and effort, allowing you to reclaim your weekends and enjoy a cleaner, healthier home without breaking a sweat. I’m excited to share these simple yet effective solutions that will transform your cleaning routine from a daunting task into a manageable, even enjoyable, experience!
Growing Gourmet Mushrooms at Home: A Beginner’s Guide
Hey there, fellow fungi enthusiasts! Ever dreamt of harvesting your own delicious, gourmet mushrooms right in your kitchen? Well, dream no more! I’m going to walk you through a simple and rewarding DIY project: growing mushrooms at home. It’s easier than you think, and the taste of freshly grown mushrooms is simply unbeatable.
Choosing Your Mushroom Variety
Before we dive in, let’s talk about which mushrooms are best for beginners. While there are tons of fascinating fungi out there, some are easier to cultivate than others. I highly recommend starting with:
* Oyster Mushrooms (Pleurotus spp.): These are incredibly versatile, fast-growing, and relatively forgiving. They come in a variety of colors, from pearl white to blue to pink!
* Shiitake Mushrooms (Lentinula edodes): These have a rich, savory flavor and are another great option for beginners. They take a bit longer to fruit than oyster mushrooms, but they’re well worth the wait.
* Lion’s Mane (Hericium erinaceus): Known for its unique texture and reported cognitive benefits, Lion’s Mane is a fun and rewarding mushroom to grow. It requires slightly more attention to humidity, but it’s still manageable for beginners.
Gathering Your Supplies
Okay, now that you’ve chosen your mushroom, let’s gather the necessary supplies. Don’t worry, you probably already have some of these items at home!
* Mushroom Spawn: This is essentially the “seed” of the mushroom. You can purchase spawn online or from a local mushroom supplier. Make sure to choose a reputable source to ensure you’re getting healthy, viable spawn. You can find spawn in different forms:
* Grain Spawn: This is the most common type, where the mushroom mycelium (the vegetative part of the fungus) is grown on sterilized grains.
* Sawdust Spawn: Similar to grain spawn, but the mycelium is grown on sterilized sawdust.
* Plug Spawn: Small wooden dowels inoculated with mushroom mycelium. These are typically used for growing mushrooms on logs.
* Substrate: This is the material the mushrooms will grow on. The best substrate depends on the type of mushroom you’re growing.
* Oyster Mushrooms: Straw, coffee grounds, cardboard, or even shredded paper work well.
* Shiitake Mushrooms: Hardwood sawdust is the preferred substrate.
* Lion’s Mane: Hardwood sawdust supplemented with bran or other nutrients.
* Growing Container: A bucket, bag, or even a plastic tub will work. Just make sure it’s clean and has drainage holes.
* Spray Bottle: For misting the mushrooms to maintain humidity.
* Rubbing Alcohol: For sanitizing your work area and tools.
* Gloves: To prevent contamination.
* Optional:
* Humidity Tent: A clear plastic bag or container to create a humid environment.
* Hygrometer: To monitor humidity levels.
* Thermometer: To monitor temperature.
Preparing the Substrate
The substrate needs to be properly prepared to eliminate competing organisms and provide the mushrooms with the nutrients they need. This usually involves pasteurization or sterilization.
Pasteurizing Straw for Oyster Mushrooms
This is the method I usually use for oyster mushrooms because it’s relatively simple and effective.
1. Chop the Straw: Cut the straw into smaller pieces, about 2-3 inches long. This will make it easier to pack into the growing container and will increase the surface area for the mycelium to colonize.
2. Heat the Water: Fill a large pot or container with water and heat it to around 160-180°F (71-82°C). You can use a thermometer to monitor the temperature.
3. Submerge the Straw: Place the chopped straw into the hot water and let it soak for about an hour. This will kill off most of the unwanted bacteria and fungi.
4. Drain the Straw: After an hour, carefully drain the hot water from the straw. You can use a colander or a large strainer.
5. Cool the Straw: Allow the straw to cool down to room temperature before proceeding. It should be moist but not dripping wet.
Sterilizing Sawdust for Shiitake or Lion’s Mane
Sterilization is more intense than pasteurization and is necessary for substrates like sawdust that are more prone to contamination. I recommend using a pressure cooker for this.
1. Hydrate the Sawdust: Mix the sawdust with water until it’s moist but not dripping wet. You should be able to squeeze a handful of sawdust and only have a few drops of water come out.
2. Pack the Sawdust: Pack the hydrated sawdust into heat-resistant bags or jars. Leave some headspace at the top of the container.
3. Seal the Containers: If using bags, seal them with a heat sealer or tie them tightly with twine. If using jars, use lids with self-healing injection ports.
4. Sterilize in a Pressure Cooker: Place the bags or jars into a pressure cooker and sterilize them for 90 minutes at 15 PSI.
5. Cool the Substrate: Allow the substrate to cool completely inside the pressure cooker before opening it. This will prevent contamination.
Inoculating the Substrate
This is where the magic happens! Inoculation is the process of introducing the mushroom spawn to the prepared substrate.
1. Sanitize Your Work Area: Clean your work surface with rubbing alcohol to minimize the risk of contamination.
2. Put on Gloves: Wear gloves to prevent introducing bacteria or fungi from your hands to the substrate.
3. Mix the Spawn and Substrate: Carefully mix the mushroom spawn with the prepared substrate. The amount of spawn you’ll need depends on the type of mushroom and the size of your container. A good rule of thumb is to use about 5-10% spawn by weight. For example, if you have 10 pounds of substrate, use 0.5-1 pound of spawn.
4. Pack the Mixture: Pack the spawn-substrate mixture into your growing container. Make sure to pack it firmly but not too tightly.
5. Cover the Container: Cover the container with a lid or plastic wrap to help retain moisture. If using a lid, make sure to leave some small air holes for ventilation.
Incubation
During incubation, the mushroom mycelium will colonize the substrate. This process requires a specific temperature range, depending on the mushroom species.
1. Maintain the Correct Temperature: Oyster mushrooms typically prefer temperatures between 65-75°F (18-24°C). Shiitake mushrooms prefer slightly cooler temperatures, around 60-70°F (15-21°C). Lion’s Mane also prefers temperatures between 65-75°F (18-24°C).
2. Provide Darkness: Keep the container in a dark or dimly lit area. Light is not necessary during the incubation phase.
3. Monitor for Contamination: Check the container regularly for signs of contamination, such as mold or unusual odors. If you see any contamination, remove the affected area immediately.
4. Wait for Colonization: The incubation period can vary depending on the mushroom species and the temperature. Oyster mushrooms typically colonize the substrate in 1-2 weeks, while shiitake mushrooms can take 2-4 weeks. Lion’s Mane usually takes around 2-3 weeks. You’ll know the substrate is fully colonized when it’s covered in a white, fluffy mycelium.
Fruiting
Once the substrate is fully colonized, it’s time to initiate fruiting! This involves providing the mushrooms with the right conditions to develop and grow.
1. Increase Humidity: Mushrooms need high humidity to fruit properly. You can increase humidity by misting the mushrooms with water several times a day or by placing the container inside a humidity tent. Aim for a humidity level of 80-90%.
2. Provide Light: Mushrooms need some light to fruit. Indirect sunlight or artificial light will work.
3. Lower Temperature (for some species): For shiitake mushrooms, a temperature drop can help trigger fruiting. You can try moving the container to a cooler location for a few days.
4. Increase Airflow: Mushrooms need fresh air to fruit properly. Make sure the container has adequate ventilation. You can open the lid or plastic wrap for a few hours each day to provide fresh air.
5. Monitor for Pinning: After a few days, you should start to see small mushroom “pins” forming on the surface of the substrate. These are the baby mushrooms!
Harvesting
Harvesting is the most rewarding part of the process!
1. Harvest at the Right Time: Harvest
Conclusion
So, there you have it! These practical cleaning hacks aren’t just about saving money; they’re about reclaiming your time and creating a healthier, happier home. We’ve explored simple yet effective ways to tackle common cleaning challenges using ingredients you likely already have in your pantry. From banishing stubborn stains to revitalizing tired surfaces, these DIY solutions offer a powerful alternative to harsh chemical cleaners.
The beauty of these cleaning hacks lies in their versatility. Feel free to experiment and adapt them to your specific needs and preferences. For instance, if you’re sensitive to vinegar, try using lemon juice as a substitute in many of the recipes. Or, if you prefer a stronger scent, add a few drops of your favorite essential oil to your cleaning solutions. Lavender, tea tree, and eucalyptus are all excellent choices for their antibacterial and aromatic properties.
Don’t be afraid to get creative! You can even combine different hacks to create your own personalized cleaning routine. Perhaps you’ll discover a new and improved way to tackle a particularly stubborn cleaning problem. The possibilities are endless!
But the real magic happens when you put these practical cleaning hacks into action. Imagine the satisfaction of knowing you’re cleaning your home with safe, natural ingredients, all while saving money and reducing your environmental impact. It’s a win-win-win situation!
We truly believe that these hacks can transform your cleaning routine from a chore into a rewarding experience. So, ditch the expensive, chemical-laden cleaners and embrace the power of DIY. Your home – and your wallet – will thank you for it.
Now, it’s your turn! We encourage you to try out these practical cleaning hacks and see the difference for yourself. Share your experiences with us in the comments below. We’d love to hear your success stories, your variations, and any new hacks you’ve discovered along the way. Let’s create a community of clean-living enthusiasts who are passionate about making their homes sparkle without breaking the bank or harming the planet. Let us know which of these practical cleaning hacks worked best for you!
Frequently Asked Questions (FAQs)
General Questions
Q: Are these cleaning hacks safe for all surfaces?
A: While most of these practical cleaning hacks are generally safe, it’s always a good idea to test them on a small, inconspicuous area first, especially on delicate surfaces like marble, granite, or wood. Vinegar, for example, can etch marble if left on for too long. Always dilute cleaning solutions appropriately and avoid abrasive scrubbing that could damage surfaces. When in doubt, consult the manufacturer’s instructions for your specific surfaces.
Q: How long do these DIY cleaning solutions last?
A: The shelf life of DIY cleaning solutions varies depending on the ingredients. Solutions containing water are more prone to bacterial growth and should be used within a week or two. Solutions made with vinegar, alcohol, or essential oils tend to last longer, up to a month or two. Store your cleaning solutions in airtight containers in a cool, dark place to maximize their shelf life. Always label your containers with the date they were made. If you notice any changes in color, odor, or consistency, discard the solution.
Q: Can I use essential oils in all of these cleaning hacks?
A: Essential oils can be a wonderful addition to DIY cleaning solutions, adding fragrance and antibacterial properties. However, it’s important to use them safely and responsibly. Always dilute essential oils properly, as they can be irritating to the skin and respiratory system in concentrated form. Avoid using essential oils around pets, especially cats, as some can be toxic to them. Do your research and choose essential oils that are safe for your family and your home.
Q: Are these cleaning hacks environmentally friendly?
A: Yes, one of the biggest advantages of these practical cleaning hacks is that they are much more environmentally friendly than conventional cleaning products. By using natural ingredients like vinegar, baking soda, and lemon juice, you’re reducing your exposure to harmful chemicals and minimizing your impact on the environment. You’re also reducing plastic waste by making your own cleaning solutions instead of buying pre-packaged products.
Specific Ingredient Questions
Q: Can I substitute lemon juice for vinegar in these recipes?
A: Yes, lemon juice can often be used as a substitute for vinegar, especially for cleaning tasks that require acidity, such as removing hard water stains or disinfecting surfaces. Lemon juice has a pleasant scent and is a natural disinfectant. However, it’s important to note that lemon juice is not as strong as vinegar, so you may need to use a higher concentration or allow it to sit for a longer period of time to achieve the same results.
Q: What kind of vinegar should I use for cleaning?
A: White distilled vinegar is the best type of vinegar to use for cleaning. It’s inexpensive, readily available, and has a high acidity level, making it effective at killing bacteria and dissolving grime. Avoid using other types of vinegar, such as apple cider vinegar or balsamic vinegar, as they may contain sugars or other ingredients that could leave a sticky residue.
Q: Is baking soda safe to use on all surfaces?
A: Baking soda is a mild abrasive and can be used to clean a variety of surfaces. However, it’s important to use it with caution on delicate surfaces like polished metals or painted surfaces, as it could scratch them. Always test baking soda on a small, inconspicuous area first. When cleaning with baking soda, use a soft cloth or sponge and avoid applying too much pressure.
Q: Can I use these cleaning hacks on my appliances?
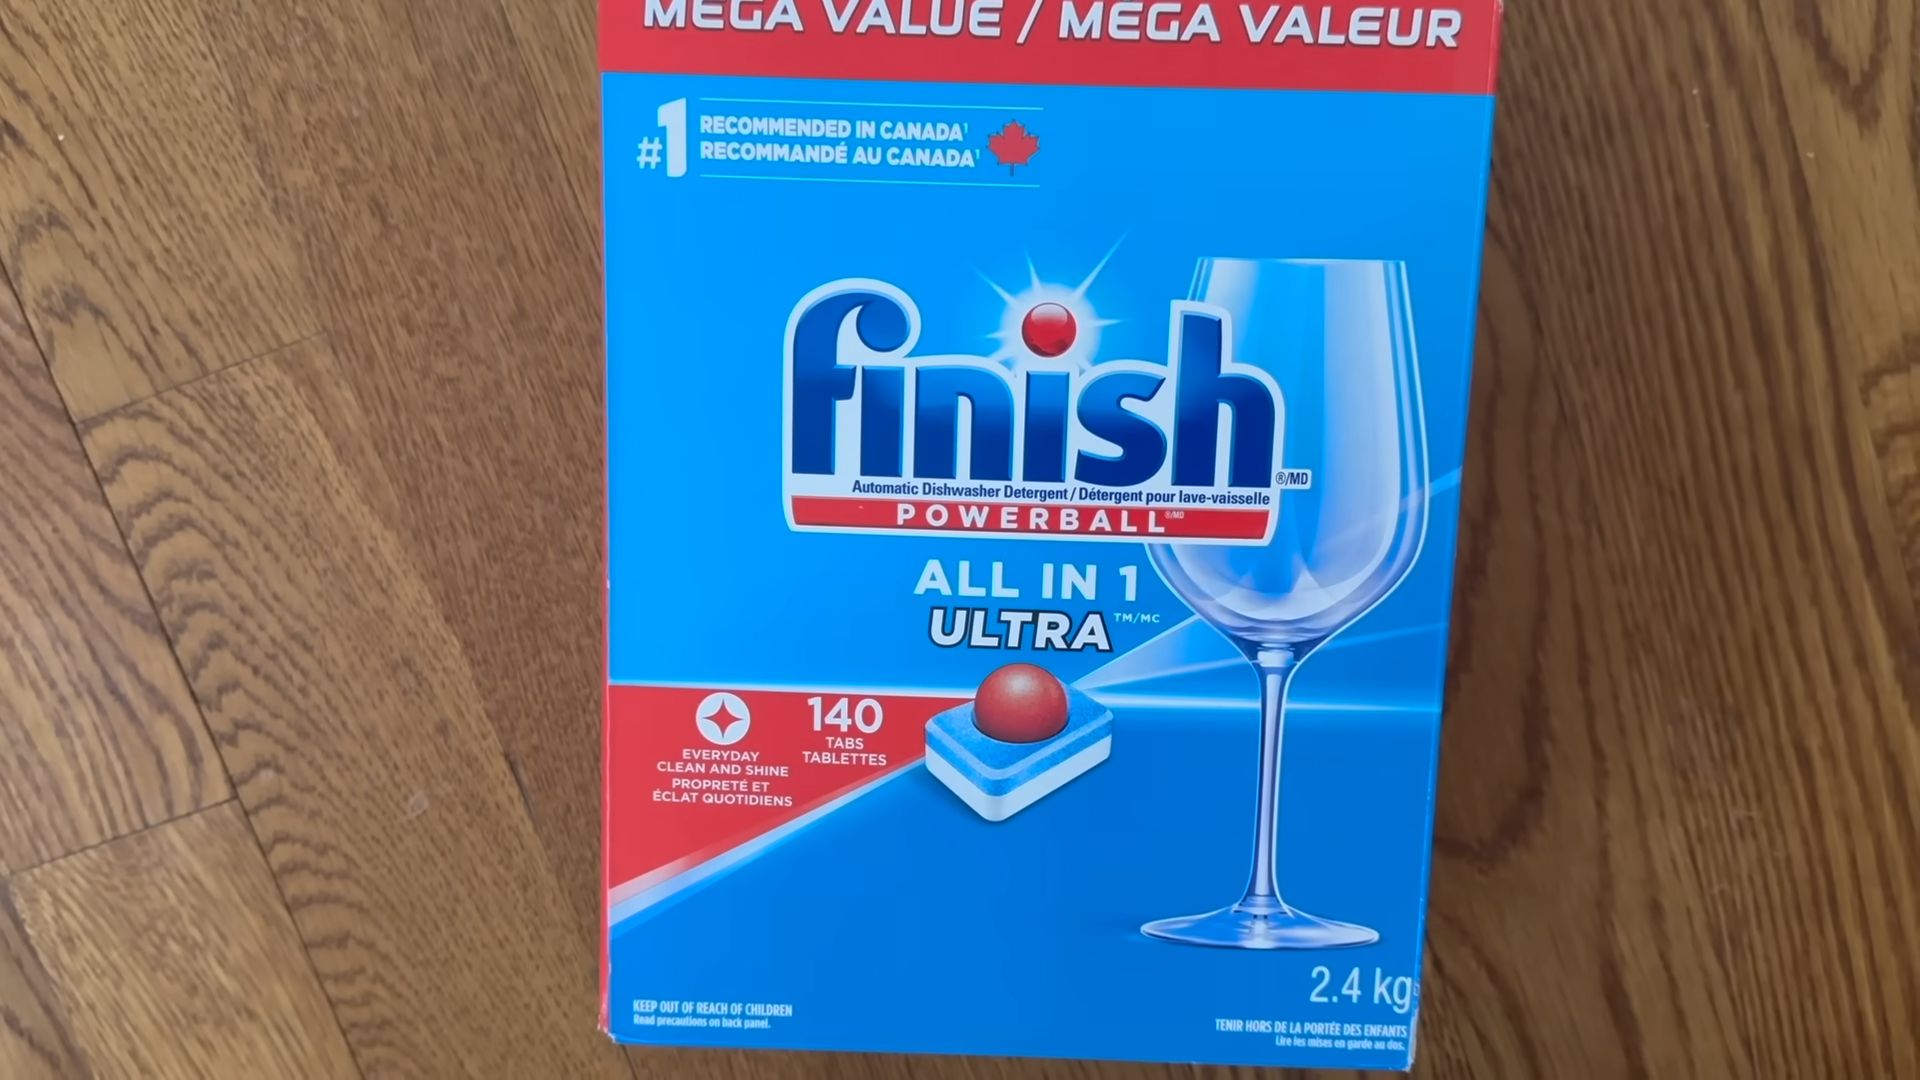
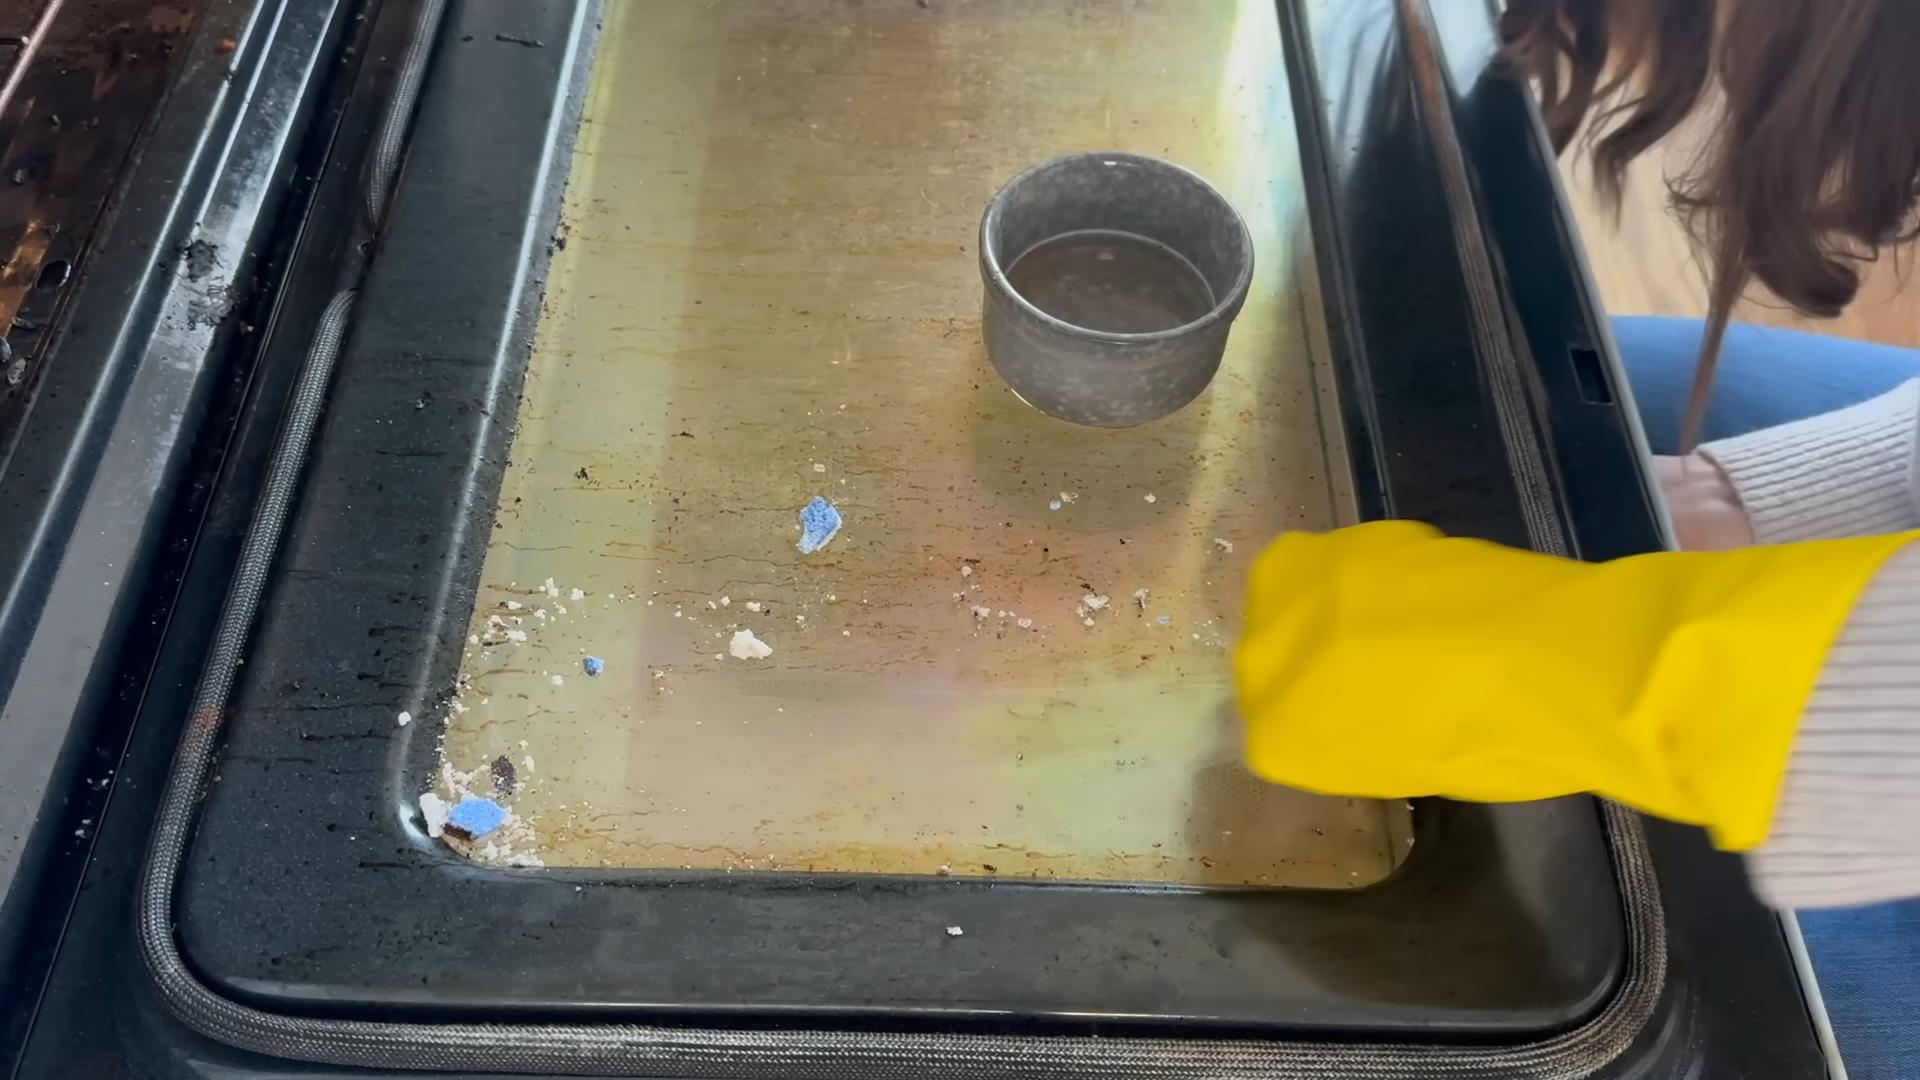
A: Yes, many of these practical cleaning hacks are safe and effective for cleaning appliances. For example, you can use a vinegar and water solution to clean the inside of your microwave or dishwasher. You can also use baking soda to remove stains from your oven or stovetop. However, always unplug appliances before cleaning them and avoid getting water inside electrical components. Consult the manufacturer’s instructions for your specific appliances before using any cleaning products.
Troubleshooting Questions
Q: My cleaning solution isn’t working as well as I expected. What am I doing wrong?
A: There are several reasons why your cleaning solution might not be working as well as you expected. First, make sure you’re using the correct proportions of ingredients. Too little of an active ingredient, like vinegar or baking soda, can reduce its effectiveness. Second, make sure you’re allowing the solution to sit on the surface for long enough to work. Stubborn stains may require longer soaking times. Finally, consider the type of stain you’re trying to remove. Some stains, like grease or ink, may require a more specialized cleaning solution.
Q: My cleaning solution has a strong odor. How can I reduce it?
A: Some cleaning solutions, like those containing vinegar, can have a strong odor. To reduce the odor, you can add a few drops of your favorite essential oil to the solution. You can also open windows and ventilate the area while you’re cleaning. The odor should dissipate quickly once the solution has dried.
Q: My cleaning solution is leaving a residue on my surfaces. What should I do?
A: If your cleaning solution is leaving a residue on your surfaces, it could be due to several factors. You may be using too much of the solution, or you may not be rinsing the surface thoroughly enough. Try using less solution and rinsing the surface with clean water after cleaning. You can also try wiping the surface with a dry cloth to remove any remaining residue.
We hope these FAQs have answered your questions about these practical cleaning hacks. Remember, cleaning doesn’t have to be a chore. With a little creativity and these simple DIY solutions, you can create a clean, healthy, and happy home without breaking the bank or harming the environment. Happy cleaning!
Leave a Comment